How To Draw A Kayak | A Step-by-Step Guide
Kayaks were invented around 4,000 years ago by the indigenous peoples of the Arctic regions, such as the Inuit and Aleut tribes.
These early kayaks were made from animal skins stretched over a wooden frame – designed to be lightweight, maneuverable, and efficient for hunting and transportation in icy waters.
Today, kayaking has become a popular recreational activity and water sport enjoyed by people all around the world.
By utilizing this tutorial, you will learn how to draw a standard kayak in 6 easy steps.
| Steps | Complexity Level |
| The Deck | 2 |
| The Keel | 1 |
| The Cockpit | 2 |
| The Paddle | 3 |
What You Will Need
- Sketchbook or a piece of paper
- Pencils (2b, 3b or 5b)
- An eraser
- A ruler
- Coloring supplies
- 25-30 minutes
How To Draw A Kayak
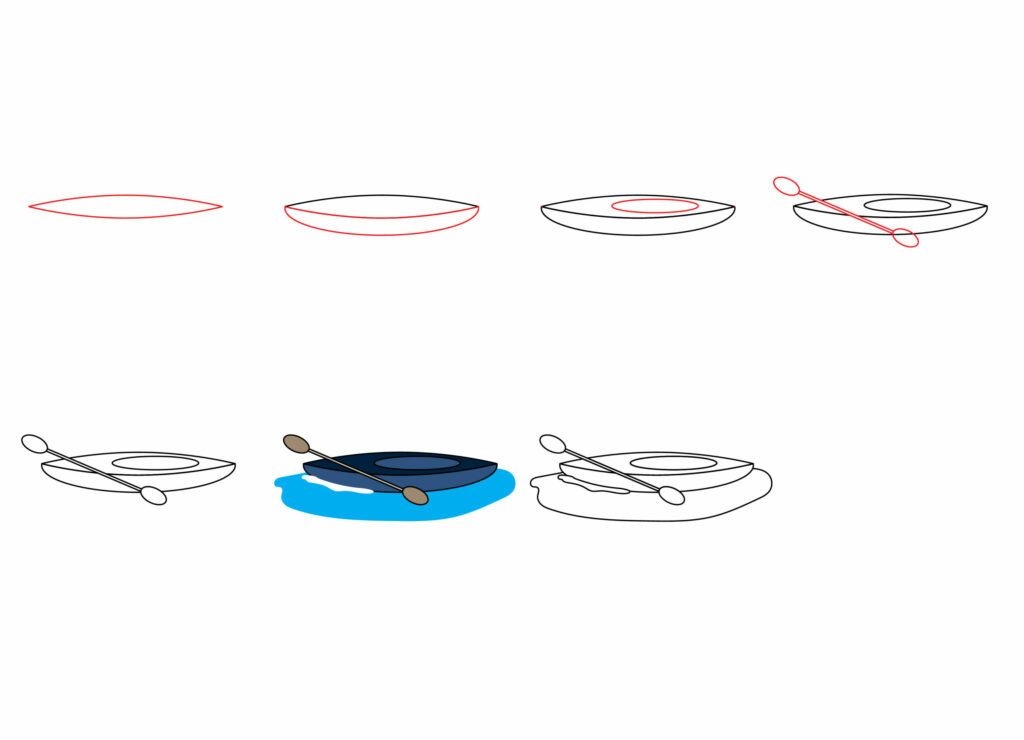
Drawing a kayak is a relatively easy activity as it only involves sketching four components: the deck, the keel, the cockpit, and the paddle.
For a quick idea and understanding of the process, peruse the image below. It provides an overview of all the steps you should follow to complete your kayak drawing.
Step 1: Draw the Deck
Before you begin, angle your drawing paper into a preferred orientation.
Considering the fact that kayaks are horizontal in shape, you might get the most of your drawing by angling your paper into a landscape orientation!
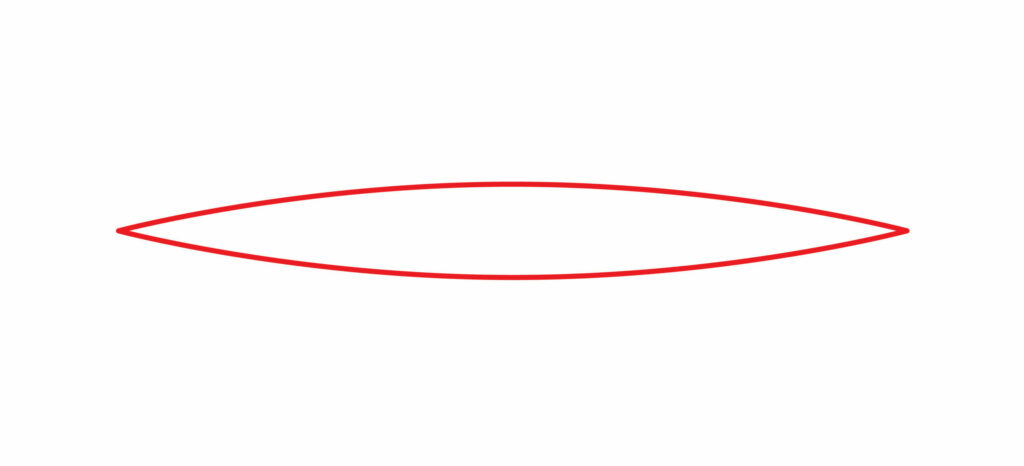
Then, when you’re ready, start by sketching the deck. This is the top surface or platform that covers and encloses the keel of the kayak.
To complete this step, draw a horizontal oval in the middle of your page.
Instead of round corners, ensure the sides of the oval are sharp and pointy to accurately resemble a keel.
- Flip your paper into landscape orientation for more room
- Start by drawing a horizontal oval in the middle of your page
- Erase the sides and make them sharp and pointy
Step 2: Draw the Keel
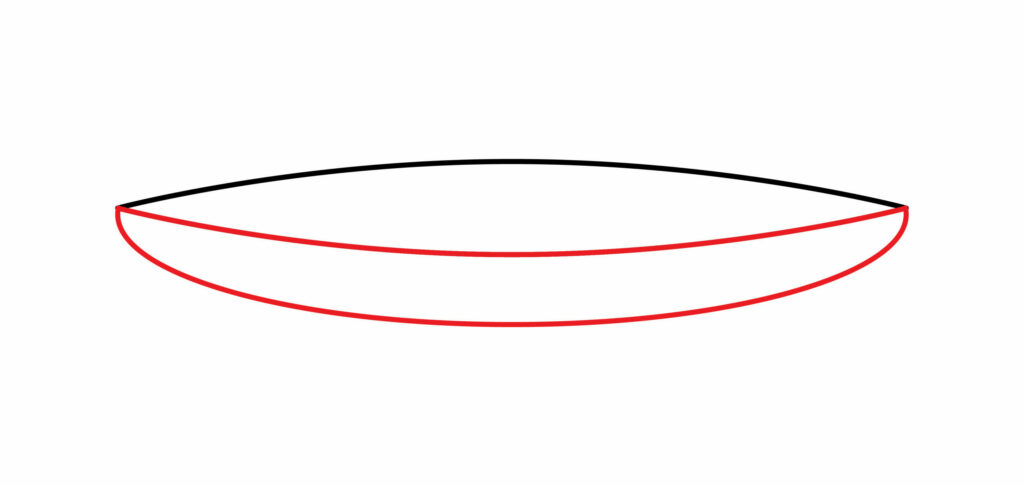
Next, add the keel. This is the central ridge that runs along the bottom of the kayak, providing stability and helping to track straight in water.
To complete this step, draw a wide inverted bell curve beneath the deck. Ensure that the lines where the keel and deck connect on the sides do not overlap.
Seeing as you’ve already added the upper curve while drawing the bottom part of the deck in step one, your drawing should now resemble the outline of a standard kayak!
- Draw a wide inverted bell curve directly beneath the deck
- Ensure a smooth connection on the sides
- Pay attention to the curvature of the keel
Step 3: Draw the Cockpit
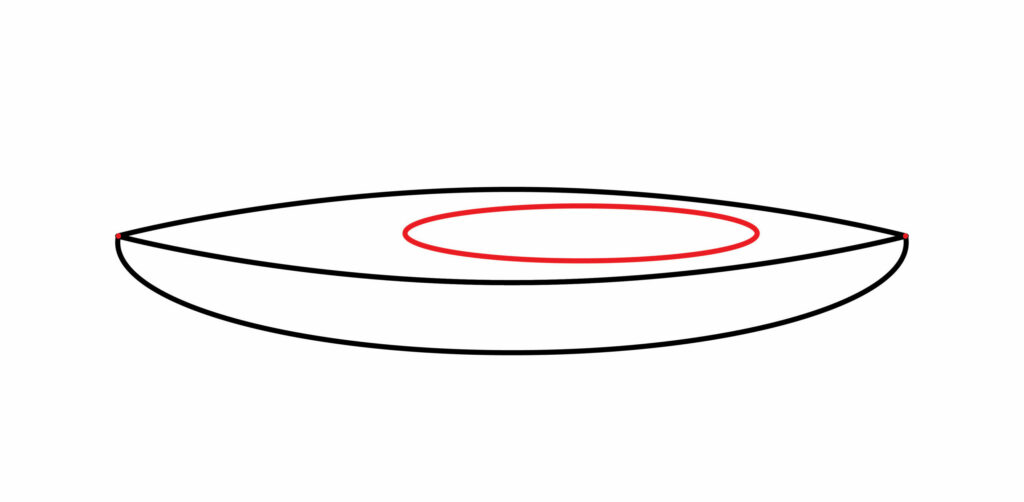
Now that you have the outline complete, it’s time to move on to the cockpit. This is where the kayaker sits and controls the kayak while traveling in the water.
To complete this step, draw a small oval within the body of the deck, placed on the right side.
Remember to maintain some open space above and below your newly added oval to avoid overlapping any lines or making the drawing too clustered.
- Draw a smaller oval angled towards the right side of the deck
- This smaller oval represents the cockpit
- Ensure some open space above and below the small oval
Step 4: Draw the Paddle
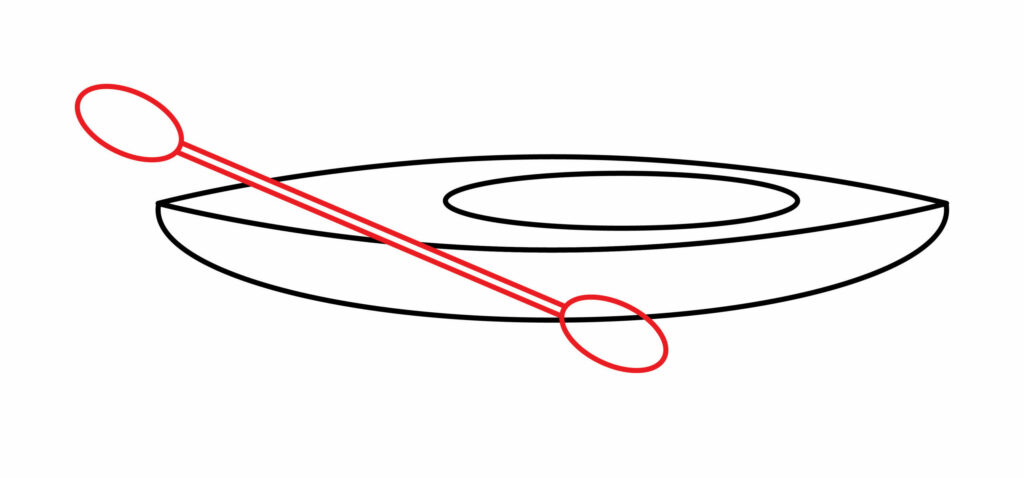
A paddle is often used to propel and steer kayaks through bodies of water, so for some added realism, be sure to include a paddle in your sketch.
Start by drawing a thin diagonal rectangle across the left side of your kayak. Use a ruler, if necessary, for some straight lines.
While the upper part of the rectangle should end above the kayak, make sure the bottom ends across the kayak’s hull (side).
Add an oval at both ends of the rectangle to represent the paddle’s blades.
- Draw a thin rectangle across the left-side of the kayak
- End the upper side above the kayak and the bottom side against the hull
- Add two ovals on the ends to resemble the paddle’s blades
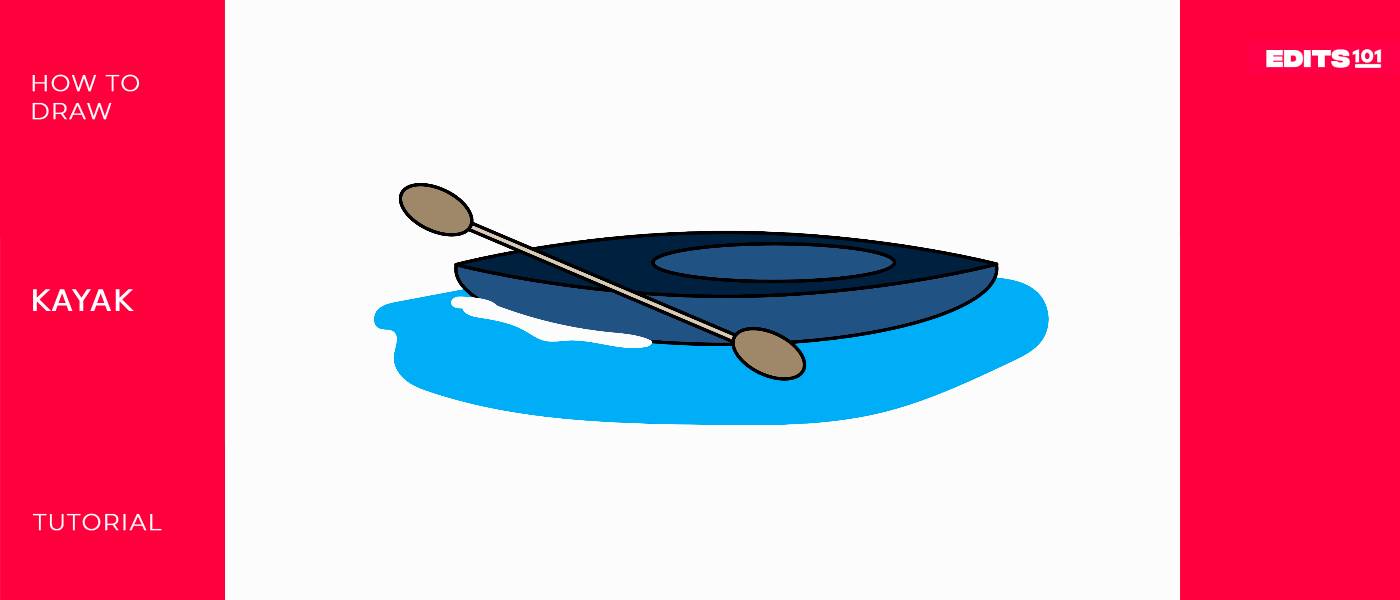
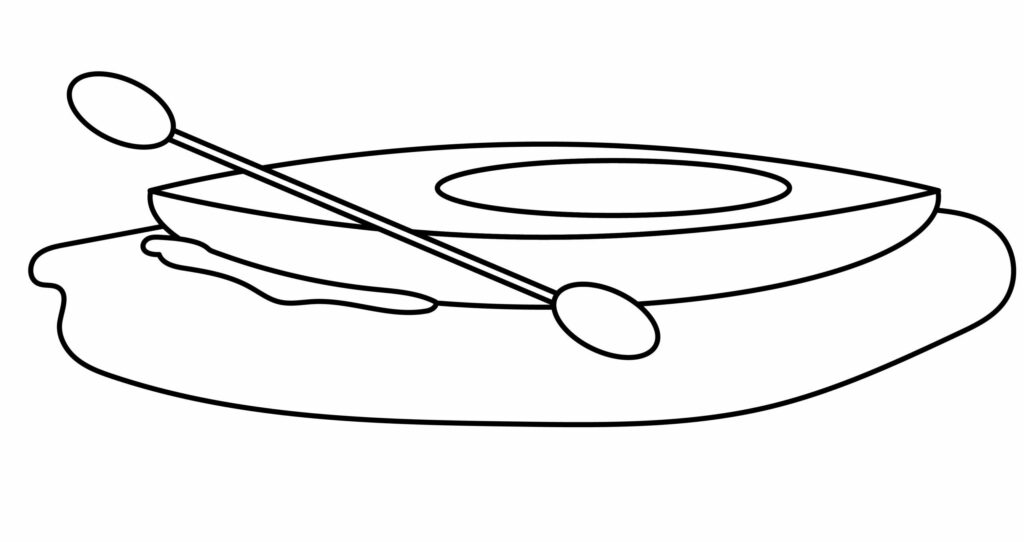
Congratulations! your Kayak Drawing is Complete
By following our detailed step-by-step tutorial, you have completed your kayak drawing!
Be sure to evaluate the outcome of your sketch. You’re welcome to use the image below as a guide for comparison and possible corrections.

Taking Your Drawing To The Next Level
To elevate your drawing, consider adding backgrounds and colors. This can transform your kayak drawing from a simple black-and-white sketch into a captivating work of art.
Step 5: Adding a Background
Adding a background is essential when giving your drawing an extra boost. It provides depth by encouraging creativity and imagination to those who view it.
There are a few background ideas to play around with when it comes to a kayak sketch. For a more realistic touch, draw water surrounding your kayak by adding large, wavy circles around the body.
Additionally, you can also add elements like rocks, plants, or a shoreline to give context to the water. For some inspiration on how to add water and waves, check out this tutorial. Furthermore, check out this tutorial for some guidance on how to draw shrubs, if necessary.
Besides our recommendations, you’re encouraged to try some background ideas of your own. Don’t shy away from utilizing your unique thinking.
Step 6: Adding Color
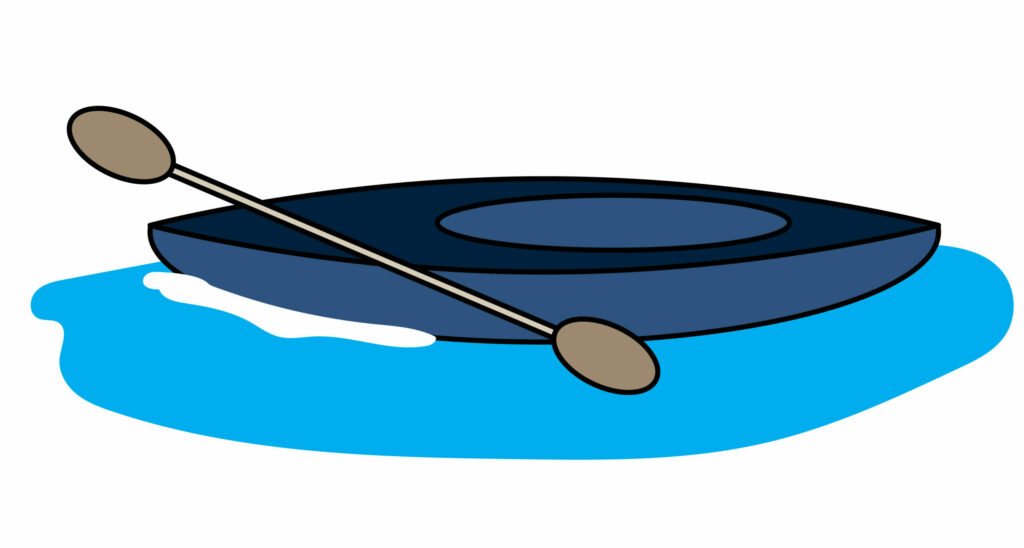
Adding color is what’s going to give your drawing an instant spark! Vibrant, lively colors on your kayak will make your drawing appear ten times more realistic, so be sure to include this step as you complete the tutorial.
You are encouraged to use whatever colors you prefer for your kayak sketch.
Simply, ensure you color neatly within the lines and that you choose different colors for different elements to highlight each part as we have done with ours.
If you like the way we have colored in our drawing, you’re more than welcome to use similar colors!
Add light blue for the water, white for the waves, gray for the paddle, and varying shades of a darker blue for the kayak.
Bonus Tips
Add some distinctive features of a kayak like a seat in the cockpit, or a few extra lines on the sides to resemble some “grab loops”.
Explore different color combinations as real-life kayaks come in various shades and designs.
Check out similar drawing tutorials for added insipiration and guidance. Objects similar to a kayak include a canoe, a sailboat, or a rowboat.
Add your name to the page to showcase your handiwork.
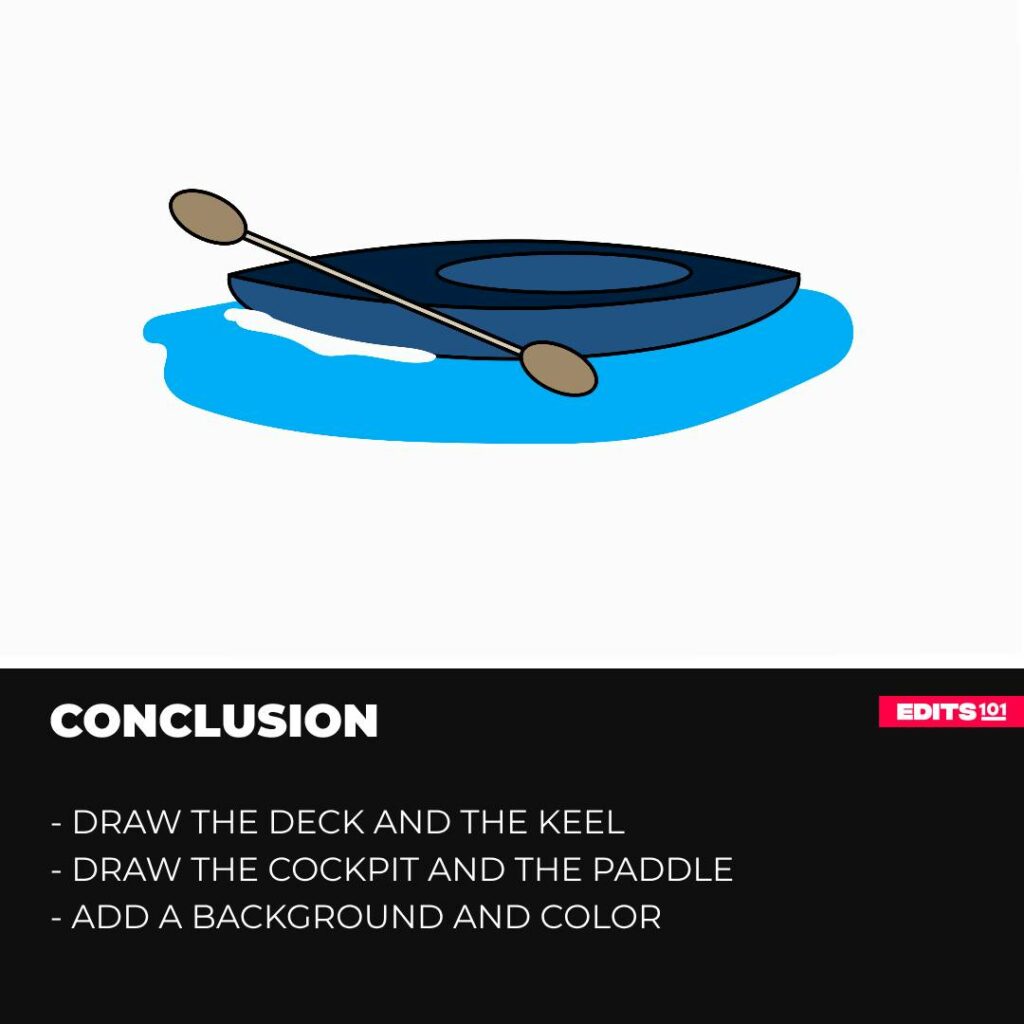
Conclusion
Your dedication to following this step-by-step tutorial is ultimately what’s going to result in a beautiful depiction of a kayak, so keep on going!
Practice drawing kayaks using basic supplies like paper and pencil. Start by sketching the deck, keel, cockpit, and paddle following our step-by-step instructions.
Once you’ve drawn the hull, cockpit, and paddle, experiment with different colors and backgrounds to enhance your drawings.
Thanks for reading & feel free to check out more of our articles!
Author Rating
Overall Rating
Summary
This tutorial provides detailed step-by-step instructions on how to draw a kayak. It also includes some bonus tips and tricks to enhance the overall quality of your drawing.