How To Draw A Bowler | A Beginner’s Artistic Journey
Whether depicting retro bowling alleys or stylish characters ready to roll strikes, drawing a classic bowler lets imagination play with nostalgia and fun. With simple shapes and strategic details, basic bowlers soon sport snazzy shoes, dramatic poses, and personalized patterns that make frames flashy and unique.
This lighthearted bowler drawing guide breaks down step-by-step methods for constructing figures from simple spheres to complete quirky characters. Along the way, discover shaping techniques, symmetry tricks, and accessorizing ideas to evolve basic bowlers into eye-catching stars of the lane! Soon, vivid bowling scenes will fill sketchbooks with strikes, spares, hijinks, and retro alley adventures.
| Steps | Complexity table |
| Draw the head | 3 |
| Draw the shirt | 3 |
| Draw the sleeves | 2 |
| Draw the hands | 3 |
| Draw the pants | 3 |
| Draw the shoes | 3 |
| Draw the bowl | 2 |
What You Will Need
Our bowler drawing guide only requires a few basic supplies:
- Paper – The printer or construction paper works well. Darker shades make lighter details pop!
- Drawing tool – Pencil, markers, pens – anything that feels right!
- Eraser (optional) In case the first bowling lines go astray
- Colors
How to draw a bowler
So grab drawing tools and clear creative paths towards crafting charming bowlers. With helpful instruction, a touch of practice, and belief in your vision, soon bowling brilliance will shine frame-by-frame through pen and paper! With practical tips in this guide, steady hands, and vivid personal vision, you’ll be drawing awesome bowlers in no time!
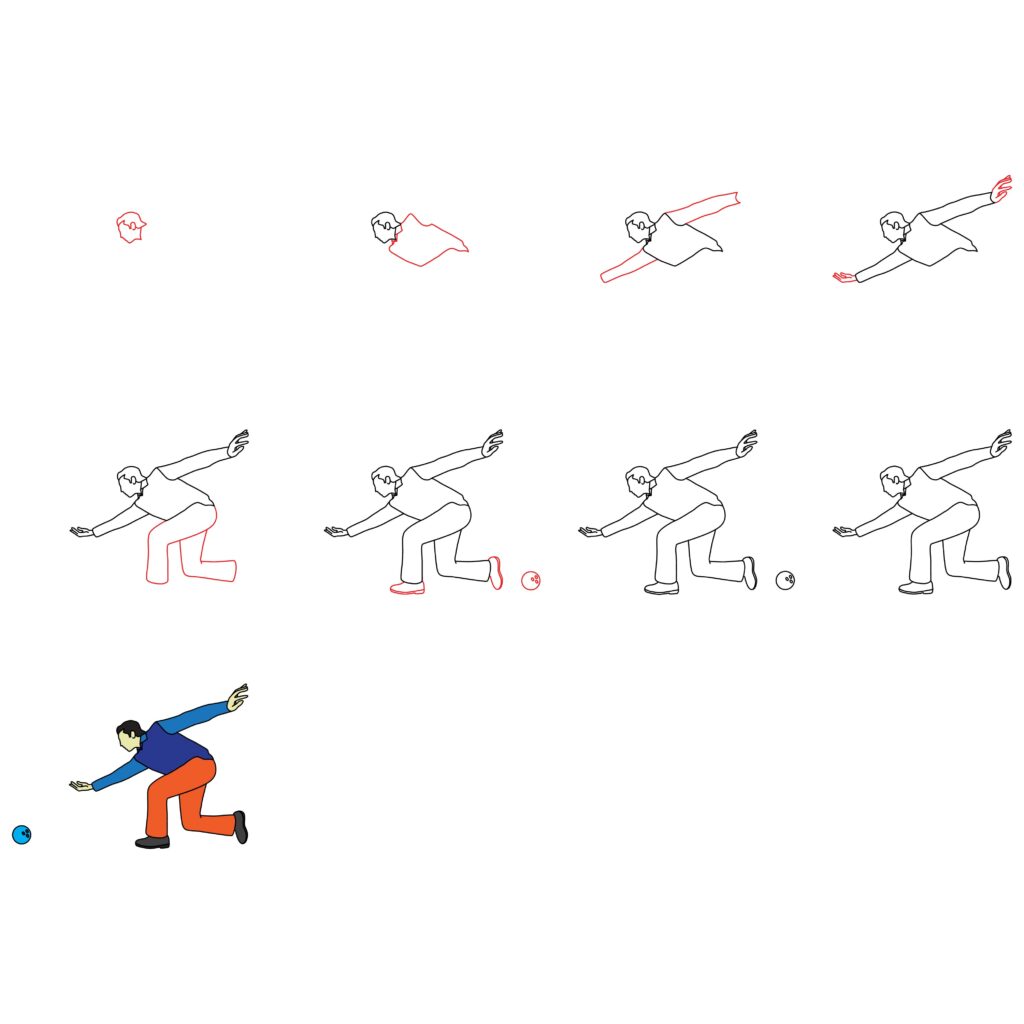
Step 1: Draw the Head
Start your bowler by lightly sketching a tilted oval to represent the head as we drew in football player drawing, keeping it near the top of your page to allow room for the body below. Gradually refine facial features like ears, eyes, nose, and mouth built upon this foundation. Define the cheek, brow, and chin to convey whimsical personality. Adding the facial features is optional. Whether depicting stoic focus or animated engagement, visage sets the tone. If you desire, reference photos of classic bowling concentration online to inspire expression flourishes!
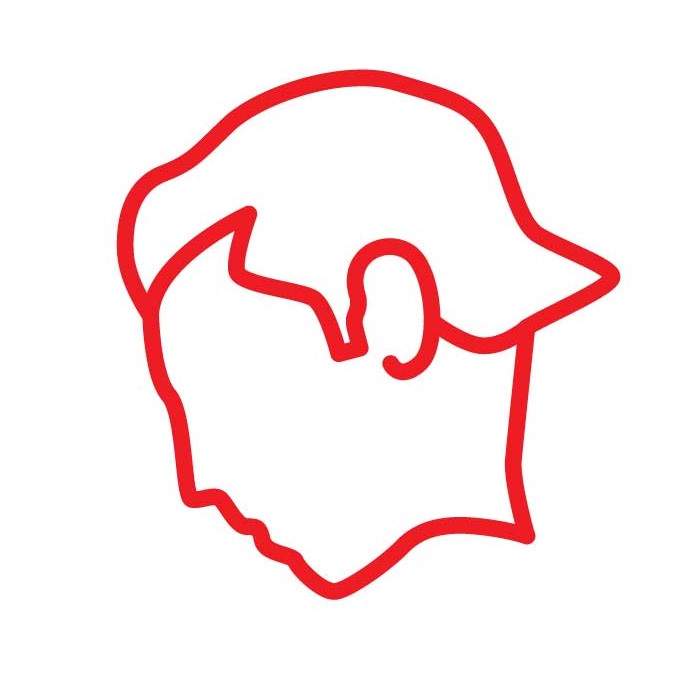
- Lightly sketch starting head circle near page top
- Refine face features to convey personality/mood
- Can reference photos for inspiration on expressions
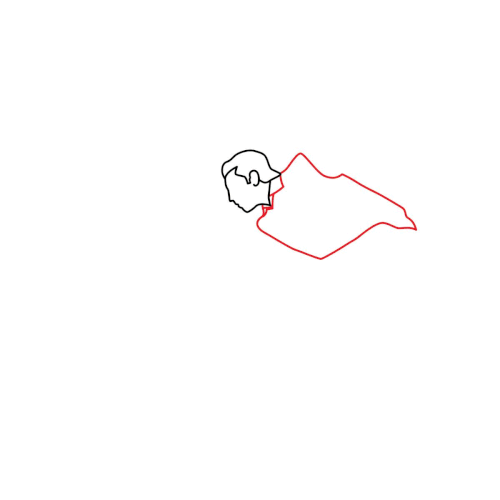
Step 2: Draw the Shirt
Connected to the head, use a mix of curved vertical and horizontal lines to form the general shirt shape wrapping around the bowler’s torso. Mind proportions as sleeves will later attach to shoulders and waist. Lightly sketch angles that capture torso movement and pose. For example, tilt lines suggest mid-throw ascent onto tip-toe or leaned concentration. Use smooth, connected lines to keep clothing cohesively draped across the underlying form.
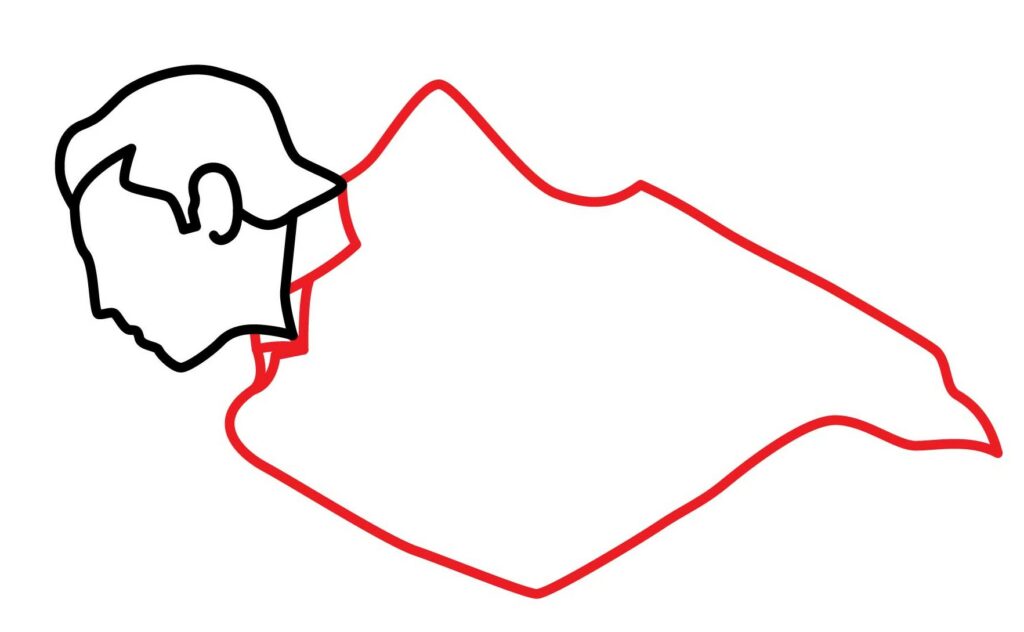
- Connect shirt shape with a mix of curved vertical/horizontal lines
- Mind proportions for later sleeve attachment points
- Sketch pose angles showing movement like mid-throw tip-toe
Step 3: Draw the Sleeves
Attaching to the shoulders of your underlying shirt form, draw a sleeve for each arm using fluid curved lines like we used in jersey drawing. Sketch one sleeve angled higher to convey an arm raised in bowling focus. Add natural crease lines near armpits and wrists for increased realism and a sense of weighty fabrics. Vary internal details to suggest folded, loose, or snug cuffed styles. Take care with proportions and make sure fabric hangs realistically off the arms as you refine.

- Attached to the shirt at the shoulder, add curved line sleeves
- Show one sleeve raised, suggesting bowling focus arm
- Add small creases at expected contact points for realism
Step 4: Draw the Hands
Sketch expressive hands using a mix of curved lines as finishing touches on your bowler’s sleeves. Pay special attention to conveying the athlete’s engaged activity, whether grasping bowling balls, gesturing concentration focus, or even pointing directions towards awaiting pins. Capture lifting, carrying, or throwing movements through dynamic finger and palm details. Let the hands lead the viewer’s imagination right down the alley!
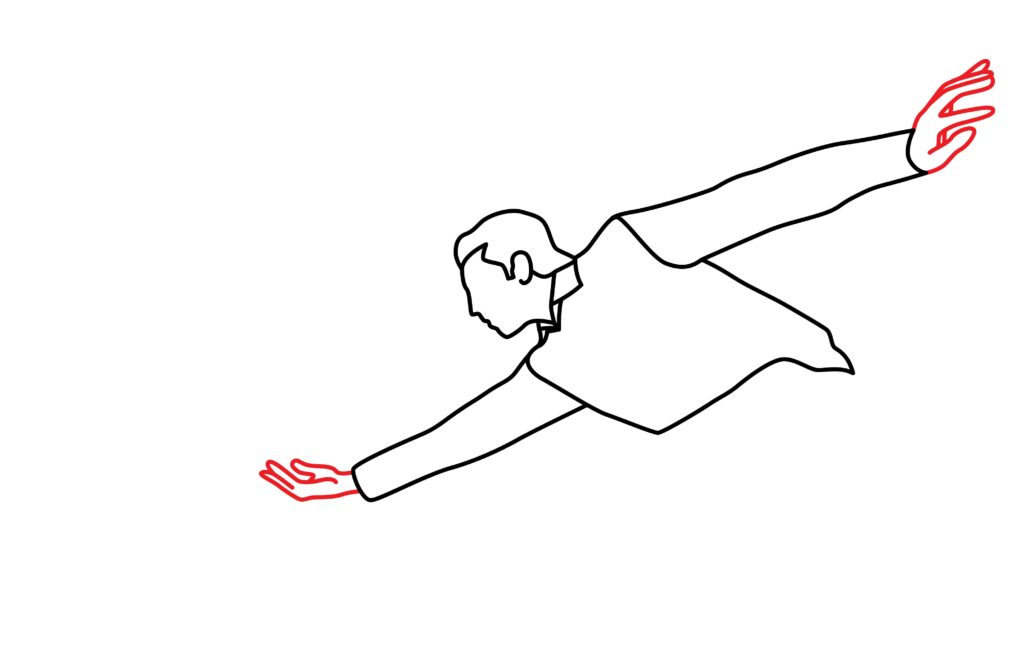
- Draw hands with a mix of curved lines as sleeve endpoints
- Pay attention to gestures that convey bowling action
- Guide viewer imagination through the lane with dynamic details
Step 5: Draw the Pants
Moving below the shirt line, gentle curves and straight lines convey fabric draping over the hips and legs. Connect pant sections smoothly to complete the bowler’s athletic physique framework. Mind angles that enhance movement, like knees bent in preparation, hems flaring on follow-through, or dangling untied laces. Whether form-fitting or billowing, let lower lines complement upper clothing contours. Keep your legs appropriately balanced beneath the torso’s established proportions.
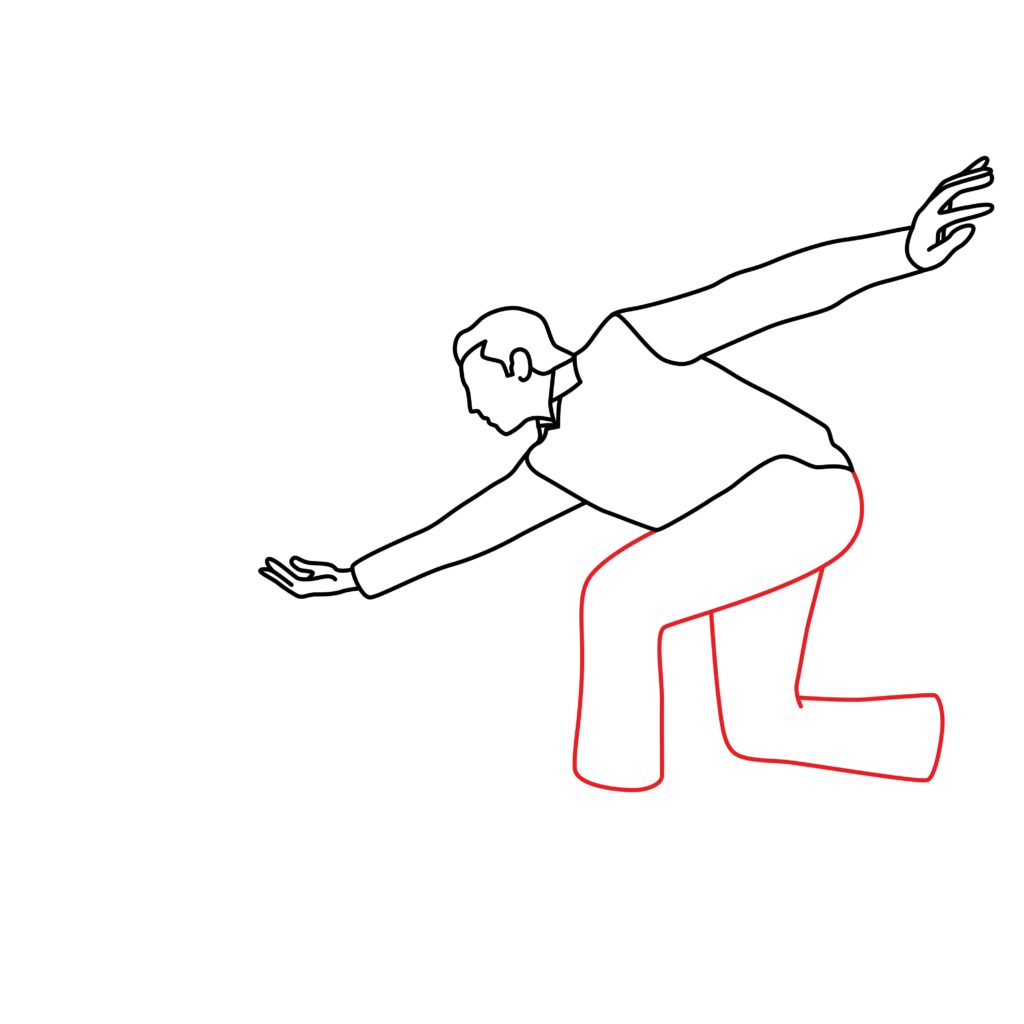
- Smooth curves/lines for fabric over hips and legs
- Connect to shirt naturally with bending/flaring for movement
- Balance legs appropriately under the established torso
Step 6: Draw the Shoe
No bowler is complete without statement footwear! Draw attractively exaggerated bowling shoes attached to pant hems using bold curving lines—design custom patterns or styles after classic rent-a-lane varieties. Sketch long tongue shapes up the ankle with defined laces crisscrossing upwards—complete soles with tread or slides. Studying, stripes, and decals all enhance flair. Give those feet funky fits, perfect for strutting up to throw strikes!
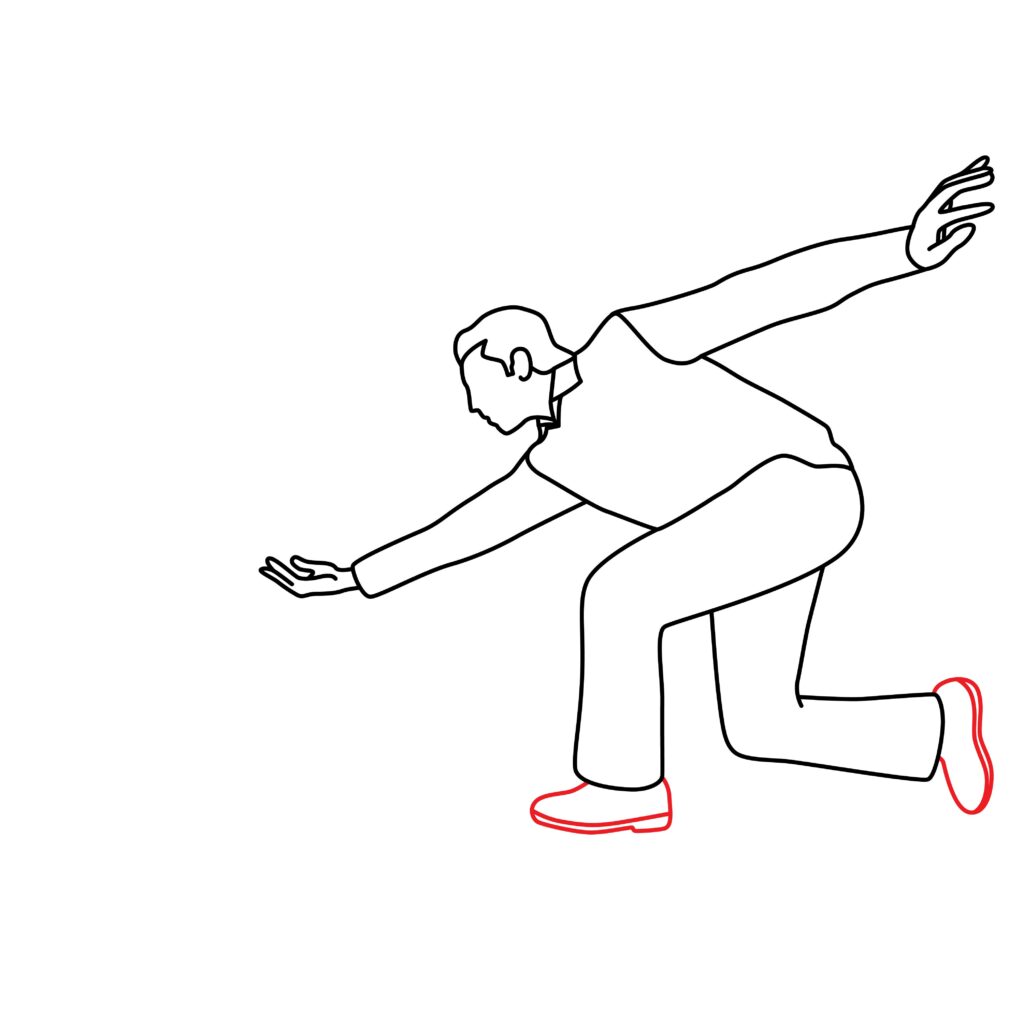
- Connect attractively exaggerated bowling shoes to pants
- Long tongue shapes, defined laces crisscrossing up
- Customize with prints, studs, and decals for maximum flair!
Step 7: Add a Bowl
What’s a bowler without their signature ball? Draw a large sphere above the character’s hand to represent a hefty bowling ball like we drew in volleyball. Then, as nestled for a handy rolling grip, add three smaller circles on the surface for finger holes. Balance composition weight by making the ball’s size proportional to the hand and body. Use subtle shading to convey convincing roundness, weight, and surface sheen. Add personalized details like custom-fitted grip patterns inside holes or swirling ball coverstock designs. And if feeling ambitious, have ball trails suggest dynamic throws in action!
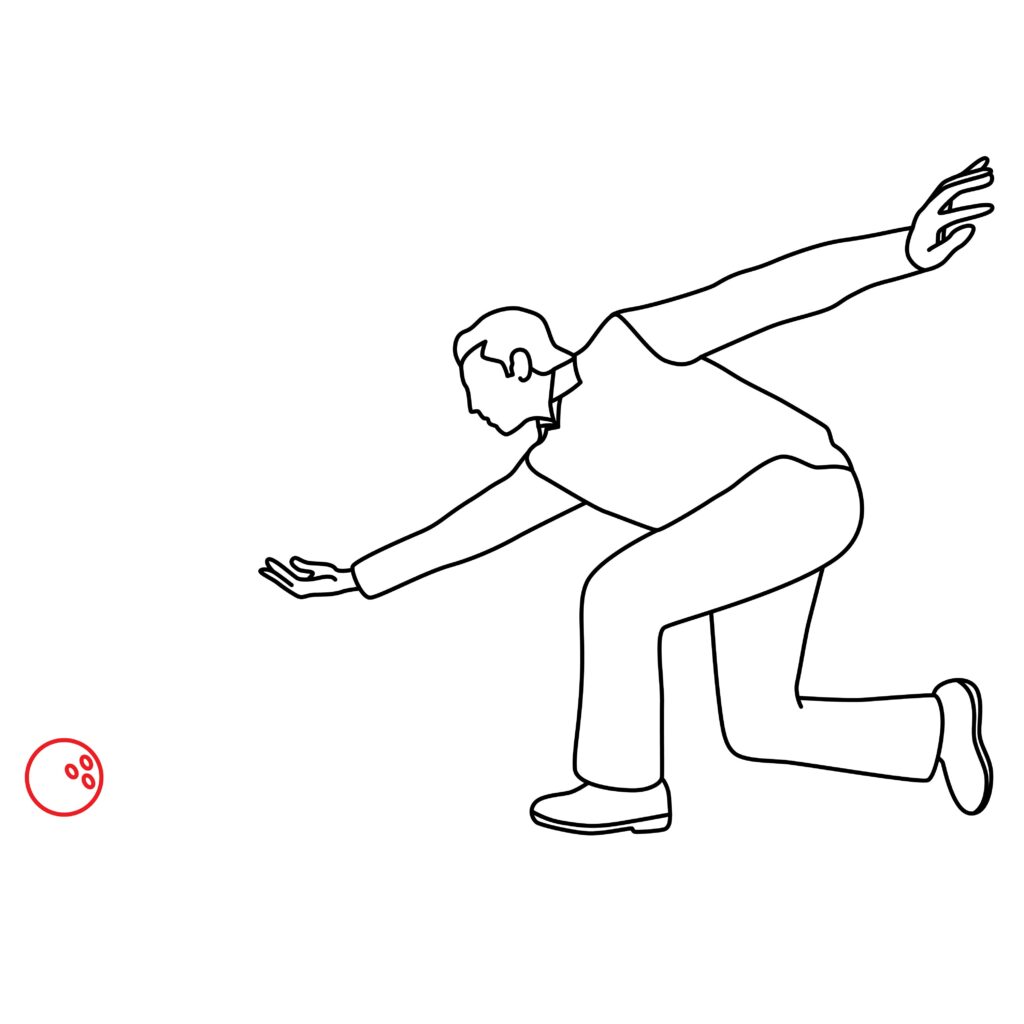
- Large sphere for bowling ball balanced above hand
- Add smaller circles as finger holes for a handy grip
- Personalize with coverstock designs and grip patterns
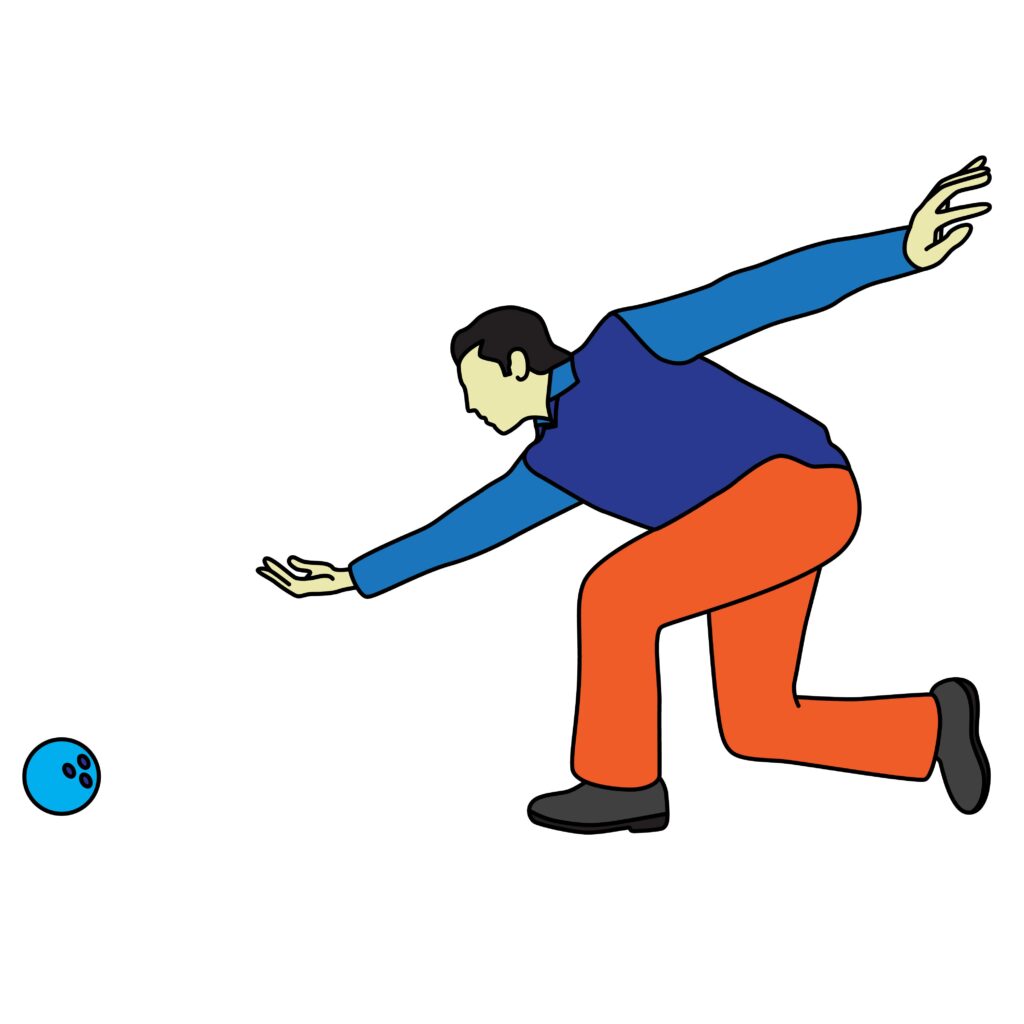
Step 8: Congratulations! Your Bowler Drawing Is Complete
Step back and appreciate your fundamental bowler creation, now brought to life! Building gradually from head to toe using simple shapes connected through key athletic extremes grants an understanding that empowers future drawings. Customize and embellish as desired, but recognize imagination made tangible through deliberate hand-to-paper progress. Keep practicing core techniques; soon, unique bowling worlds will flourish on page and mind. Believe in the journey of artistic creation stroke by stroke!

Taking your bowler to the next level
Now that we are done with the sketching, we will upgrade our bowler with a background and color.
Adding Background to Your Bowler Drawing
Whether honoring retro charm or inventing new realms, thoughtfully composed backgrounds immerse bowler drawings in a rich storytelling context. Frame sole figures against wooden lane textures, scattered bowling pins, and overhead scoring systems full of era atmosphere. Or transport athletes onto fantastic galactic bowling frontiers boasting cosmic venues, hovering anti-gravitational gear, and wildly imaginative extraterrestrial opponents!
When depicting old-school alleys, utilize reference photos to faithfully recreate hanging ball returns, seating areas full of pizazz, vibrant scoring animations, and other nostalgic details transporting viewers. Populate lanes with other bowlers, families, and friends cheering strikes or pouting after splits and gutterballs. Sketch bar areas serve pitchers of rootbeer floats alongside jukeboxes piping out golden oldies. The possibilities for nostalgic flourish are endless!
For fantastical scenes, build intricately imagined alien worlds perfect for interstellar roll-offs and space bowling championships. Design towering cosmic bowling palaces among alien megacities or carved into the craters of distant moons! Include hovering anti-gravity assist gear, cybernetically enhanced allies, and exotic lane surfaces twisting through alien jungles or active volcanoes for extreme challenges. Let backgrounds set stages where creativity and bowling fuse into visionary new realms!
Coloring Your Bowler Drawing
Strategic shading grants naturalistic dimension or dramatic moods. For lifelike bowlers, utilize gradations of color acknowledging shadows and light directionality. Use warm yellows and oranges contrasted by cooler blues and purples to define forms—spotlight bowlers against darker backgrounds through selective bright accents on faces, bowling balls, and footgear.
More creatively, convey superhero flair through vibrant primaries and neon hues popping against stark black and white environments. Try making balls glow, allies appear transparent; and bowling motions blur with trailing speed lines. Anything goes when introducing alternate reality pizzazz! Just ensure fundamental subject clarity isn’t lost amidst wild effects. Rein bold personalities through even bolder palettes!
Bonus Tips
Further bowler drawings by depicting elaborately patterned 70’s style shirts with popped collars and flared pants, engineering futuristic strength and speed enhancing cybernetic bowling exoskeletons, showing intense concentration facial expressions in professional players, personifying anthropomorphic bowling pins with expressive smiles nervously eyeing chaotic rollings balls barreling towards them, even illustrating entire comic stories or movies around bowling championships, rivalries, trick shots and more! Let fundamentals learned here shine through unlimited creative outlets!
Conclusion
Whether gleaning retro references or inventing alien astro-bowling leagues, embrace imagination and run free with all acquired knowledge! Artistic progress flows from the mind through the willing hand more wonderfully than any strike. So believe in homegrown bowling brilliance, reflect on connections between steps, then confidently expand new realities stroke by stroke until friends and family cheer the visions glowing from page’s lanes! Game on!

Thanks for reading & feel free to check out more of our articles!
Author Rating
Overall Rating
Summary
This guide explains how to draw a bowler bowling.