How To Draw A Bowling Shirt | A Simple Guide
Celebrating retro style or designing flashy new looks, drawing dynamic bowling shirts brings imagination to the lane! Basic tops transform into eye-catching statement pieces ready to strike style and bowling brilliance with easy stages from rough outlines to ravishing detail touches.
Follow along as we turn simple shapes into sensational shirts suited for any character – stylish bowlers, animals, or even aliens! Along the way, explore fabrics, custom patterns, and accessory embellishments to make creations unique as a perfect game. Soon, vivid figures will fill sketchbooks boasting bowling garb that practically glows under the backlights.
| Steps | Complexity table |
| Draw the collar | 2 |
| Draw the body | 3 |
| Draw the sleeves | 2 |
| Add details | 3 |
What You Will Need
Our bowling shirt drawing guide only calls for
- Paper – The printer and construction paper both work well
- Drawing tool – Pencils, pens, markers, etc to start lighting and darken lines
- Eraser (optional) – For reworking initial light sketch lines
- Colored pencils/pens (optional) – For added pop
How to draw a bowling shirt
So grab those drawing tools and line up creativity for a fun, foul-free frame of bowling shirt flair! You’ll design the hottest alley apparel on this side of the gutters in just steps. With these basics and helpful instructions, we’ll have you drawing dynamite bowling shirts in no time! Just take things step by step.
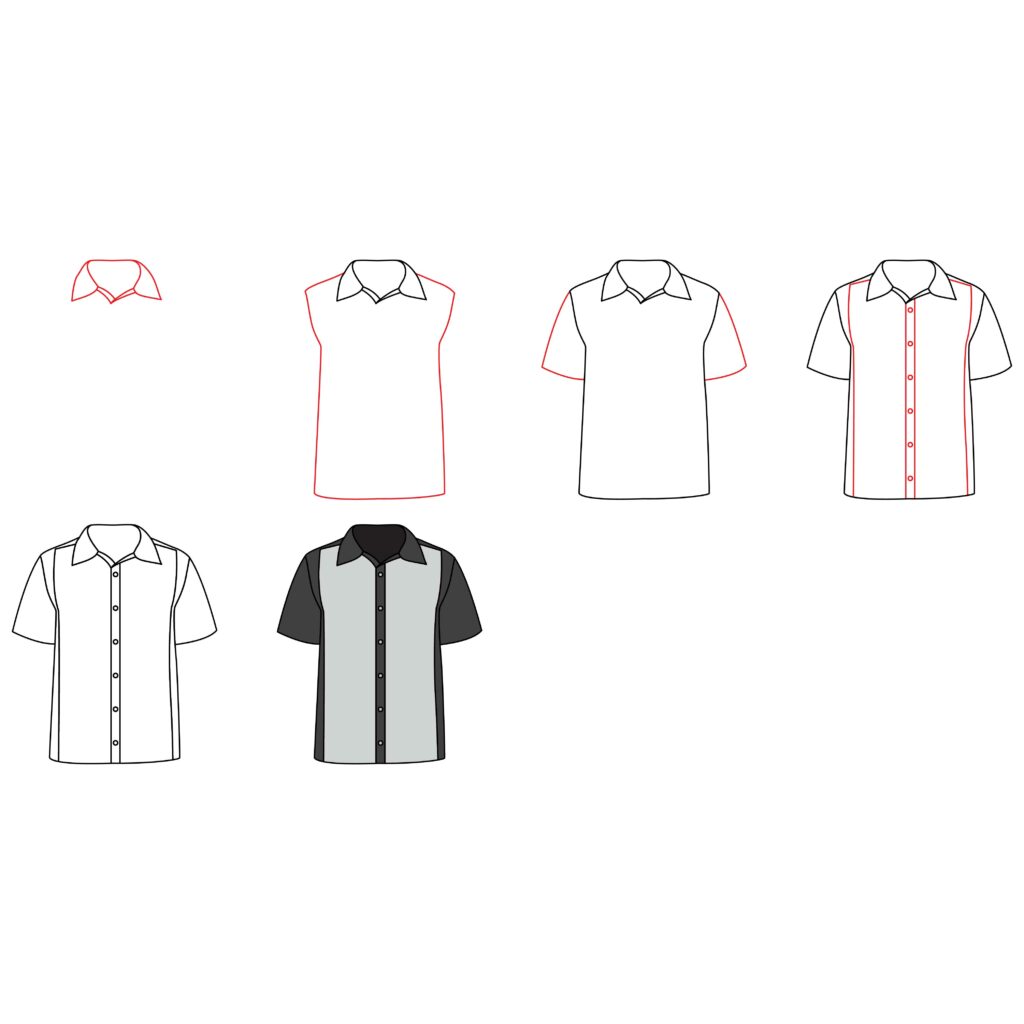
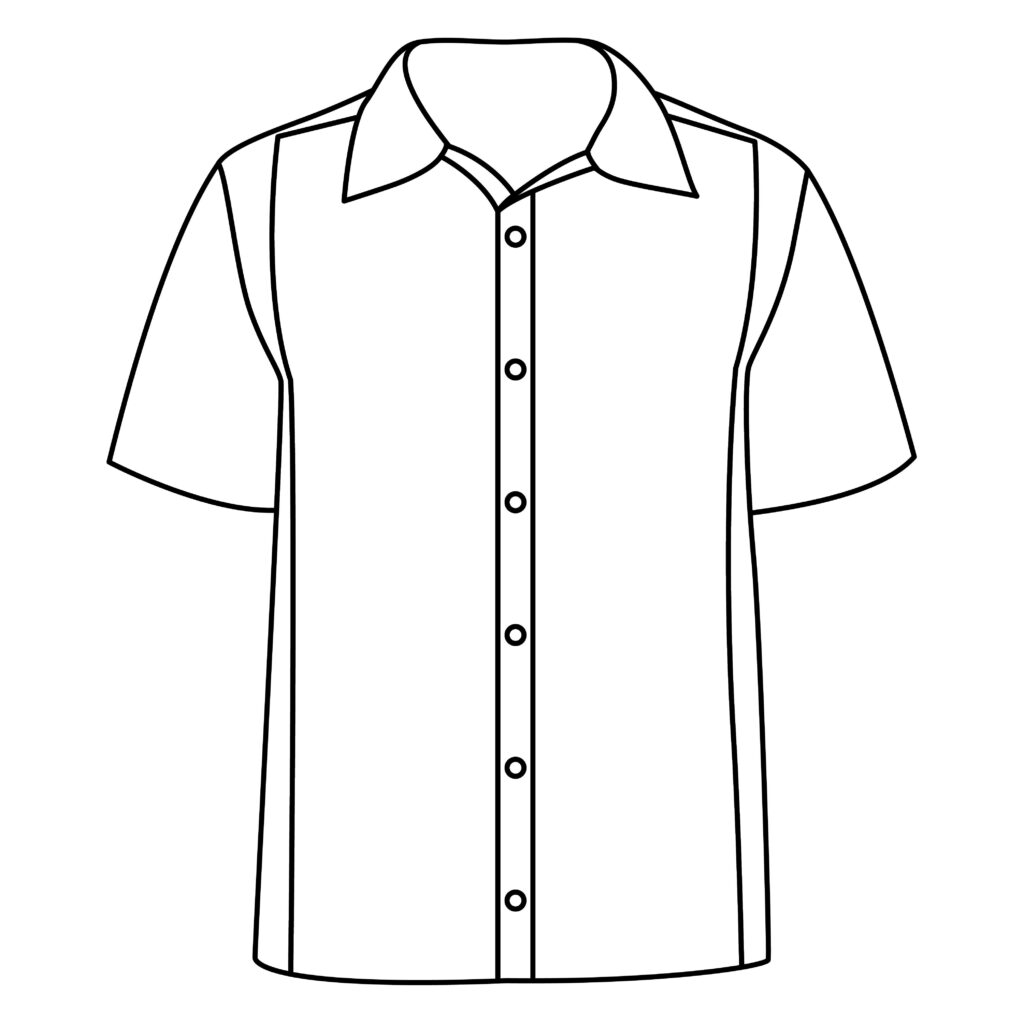
Step 1: Draw the Collar
A bowling shirt is a distinctive style of shirt associated with the sport of bowling, featuring unique design elements that contribute to its recognizable appearance. These shirts typically adopt a button-down style with a wide, pointed collar and short sleeves, providing a comfortable and relaxed fit for ease of movement during bowling games. Known for their bold and vibrant patterns, often featuring checkerboard designs, stripes, or solid colors with contrasting panels, bowling shirts exude a retro and vintage aesthetic. Some plans may incorporate additional details like embroidery, appliqué, or chest pockets, enhancing their visual appeal. Originally made from rayon, a synthetic fabric popular in mid-20th-century fashion, modern bowling shirts may use other synthetic materials for comfort and durability
.Start your bowling shirt illustration by lightly sketching the collar outline using curved lines. Create a folded-over collar style with one end slightly lifted as though breeze-blown. Use angles and tapering to give the collar ends a natural drape like we drew in a softball jersey. Build personality into the collar through stylistic choices – frame small faces with wide, rugged leather collars or draw tall stand-up varieties accenting height. Refine until the collar sets the right sartorial tone for your bowling superstar!
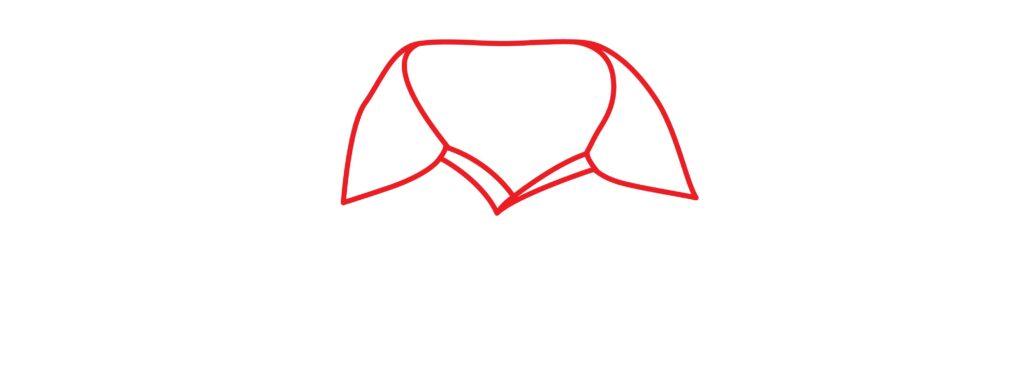
- Lightly sketch collar outline with a series of curved lines
- Create a folded shape with one lifted, breeze-blown end
- Style collar widths and angles to complement the character
Step 2: Draw the Body
Attached to your collar foundation, shape the shirt itself using curving vertical and horizontal lines. Mind proportions as you map out the general shirt body, leaving room for sleek sleeves later. Use fabric-draping lines and wrinkles to convey movement and form. Strategically sketch the shirt wrapped around your desired bowling athlete body type, whether furry animal, large alien, or classically mid-century human build.
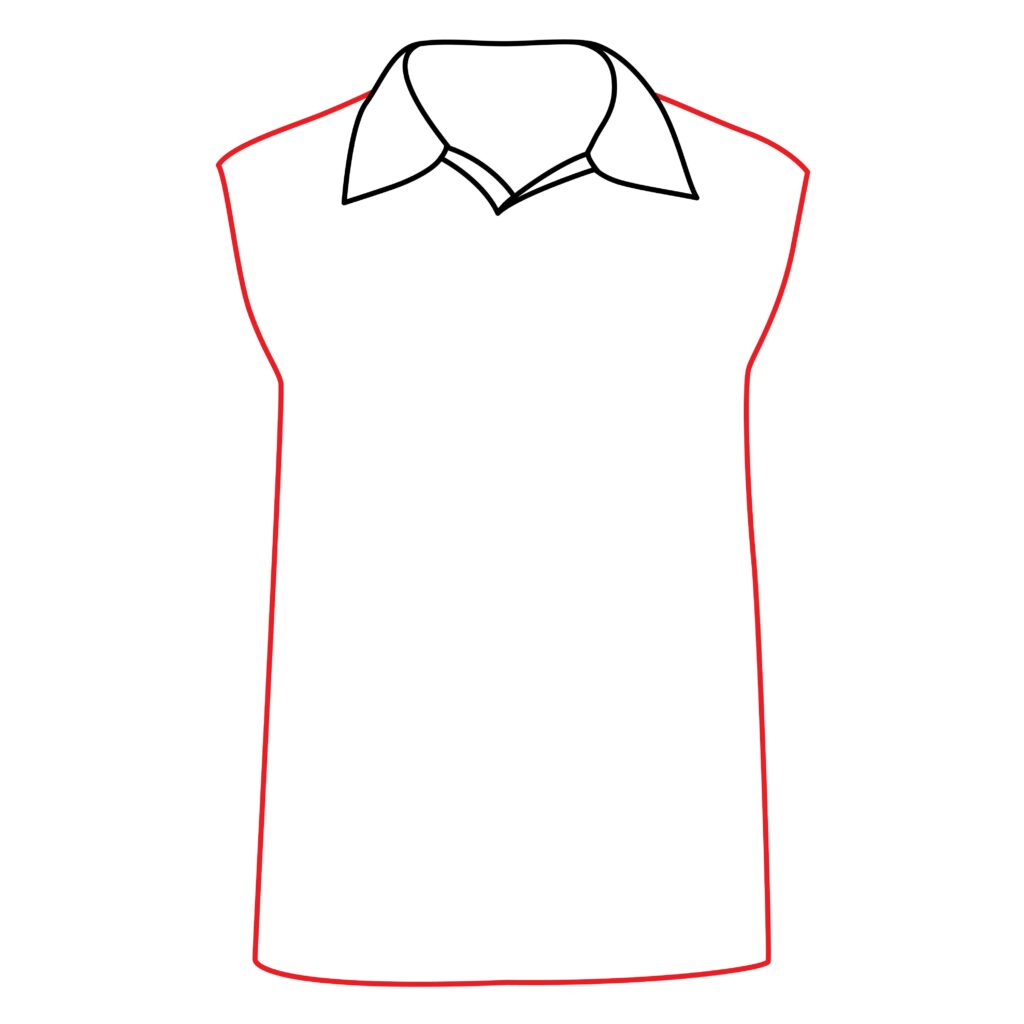
- Connect shirt body to collar using curved vertical/horizontal lines
- Mind proportions for later sleeves, movement lines for realism
- Wrap shirt lines around given athlete’s body type
Step 3: Draw the Sleeves
The sleeves take bowling shirts to the next stylish level. Attaching to armholes, use curved and angular lines to form cuffed sleeves tailored to your overall shirt shape. Make one sleeve appear slightly raised to suggest an arm-angled mid-bowling form. Sketch folded seam details and cuff ridges for added realism. Wide bellbottom sleeves or lean rolled cuff variants both welcome personal flair. Just ensure the fabric seems naturally connected to the underlying shirt body.
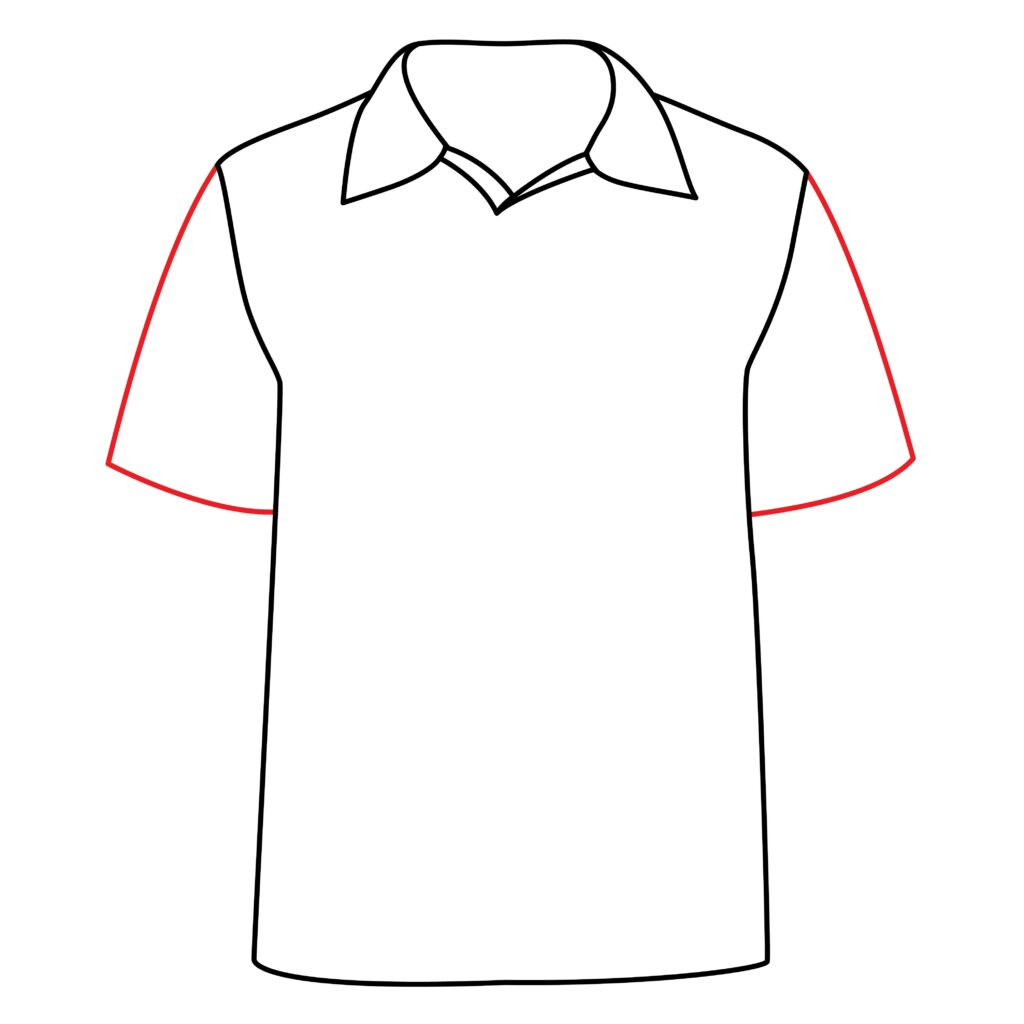
- Attach cuffed sleeves to armholes with curved/angular lines
- Make one sleeve raised to convey mid-bowling arm angle
- Personalize wide bellbottom or rolled cuff sleeve styles
Step 4: Add Details
Beyond their association with bowling, these shirts have transcended their sporting origins to become a fashion statement, appreciated for their nostalgic charm and retro flair. Worn casually, bowling shirts have found a place in vintage-inspired wardrobes, appealing to individuals who enjoy the unique blend of comfort, style, and mid-century aesthetics that these shirts embody. Whether on the bowling alley or as a fashionable choice in everyday wear, bowling shirts capture the spirit of a bygone era and remain timeless.
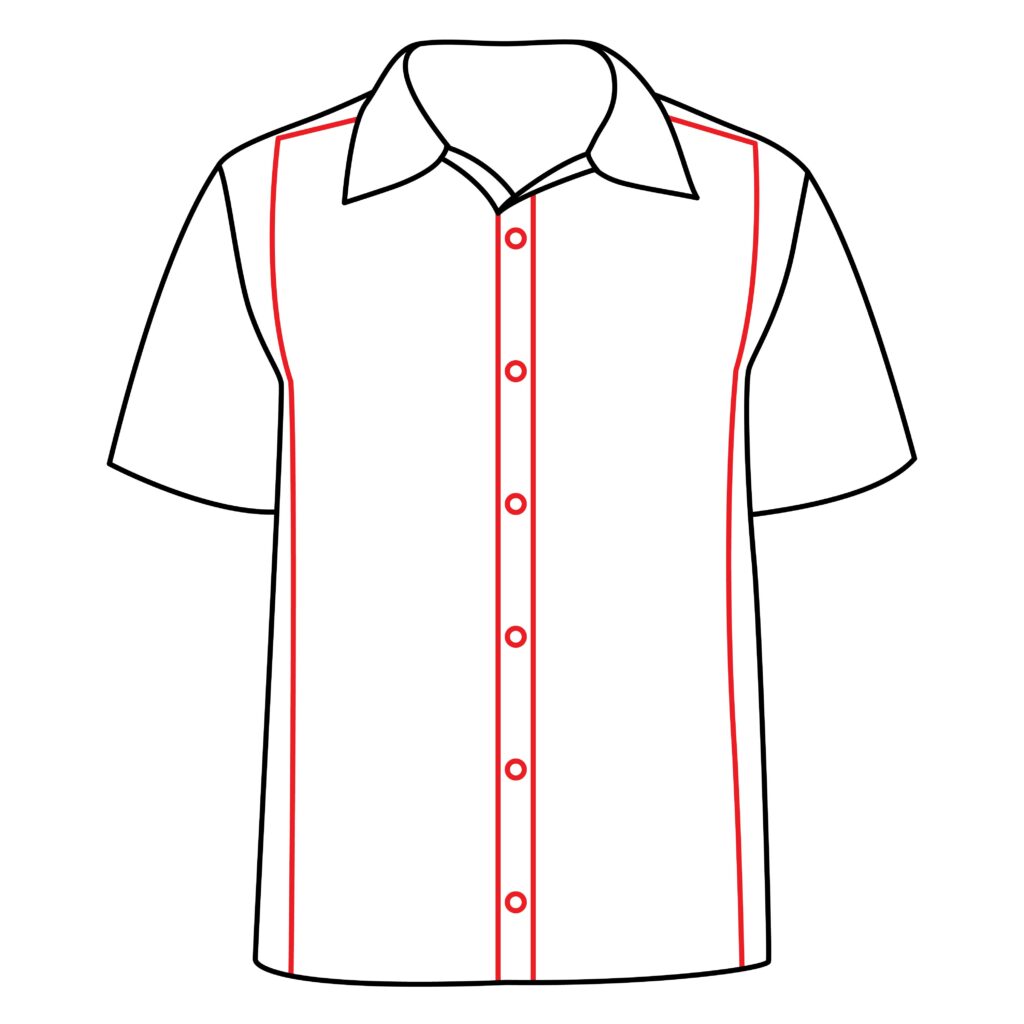
Final embellishing details grant bowling shirts intrigue and authenticity. First, draw two straight vertical lines down the shirt center to mimic a button-fastening placket. Complement with a series of small circle buttons lining one placket edge. Make precisely aligned buttons and button holes on opposing sides for realism if desired.
Further, enhance textures by incorporating subtle cross-hatching wrinkles across the shirt and sleeves like we did for the bowler. Add personalized elements like custom monogram lettering on pocket corners, lucky number patches, and bold name/nickname graphics resembling athletic jerseys. Finally, give that collar some pop-worthy flare with banded accent trim!
- Draw a central vertical line placket with circle buttons
- Add cross-hatching wrinkles for texture
- Monograms, patches, and numbers for personal flair!
Step 5: Congratulations! Your Bowling Shirt Drawing Is Complete!
Admire your fundamental bowling shirt creation, now brought to life! Building gradually from collar to cuffs using simple connected shapes grants understanding to empower future illustration flair. Continue practicing core techniques until personalized bowling apparel visions spill effortlessly from mind through pen to page. Then confidently adorn characters with custom-crafted looks perfect for striking sartorial splendor as easily as bowling brilliance!
Taking your Bowling Shirt to the next level
Like any other skill, sketching requires practice. Set aside time each day to sketch, even if it’s only for a little while. Be mindful of your surroundings. This enhances comprehension of details, dimensions, and forms. You can start with the basics and work up to more complex topics. Experiment with different drawing tools like charcoal, colored pencils, watercolors, markers, and pencils. Every medium has unique characteristics that could help you identify your preferences.
You can also play with basic hatching, blending, shading, and cross-hatching techniques. Understanding these techniques will greatly enhance the complexity and realism of your drawings. When you’re drawing, use your imagination and try out new concepts.
Adding Background to Your Bowling Shirt Drawing
Whether honoring retro nostalgia or pioneering future fashion frontiers, thoughtfully composed backgrounds immerse bowling shirt drawings in atmospheres that enrich stories and styles. Frame standalone shirts against abstract patterns resembling flashy fabric prints. Depict alley architecture, scoring animations, and lane textures to transport viewers into quaint bowling corners through eras. Or send your cosmic creations down space station runways against interstellar backdrops and fantastical astro-bowling tournaments!
For vintage charm, reference photos of midcentury bowling alleys to recreate era sights like ceiling ball returns, rental shoe desks, carpeted seating areas, and glowing neon marquees promising strikes, brews, and good times. Populate backgrounds with other retro-dressed bowlers and friends cheering under disco balls while jukeboxes pipe in golden oldies. The nostalgic possibilities stretch as far as the imagination allows!
Alternatively, beam bowling shirts onto extraterrestrial bowling frontiers that are equally funky and futuristic! Populate cosmic venues with hovering score robots, anti-gravity bowling gloves, glowing extraterrestrial bowlers, and intricately varied intergalactic lane surfaces twisting through alien architecture and bioluminescent jungles. Let sci-fi backdrops inspire technicolor bowling garb encrusted with space jewels and cybernetic enhancements!
Coloring Your Bowling Shirt Drawing
Vibrant colors allow bowling shirts to exhibit custom flair easily as strikes. For retro realism on vintage varsity jackets, utilize navy blues, cream whites, and golden yellows in careful shading suited to fabrics. Try period-accurate color-blocking with alternating leather sleeves or polyester/spandex paneling. Use sheens and shadows to make decorative metallic gold buttons pop brightly against surrounding hues.
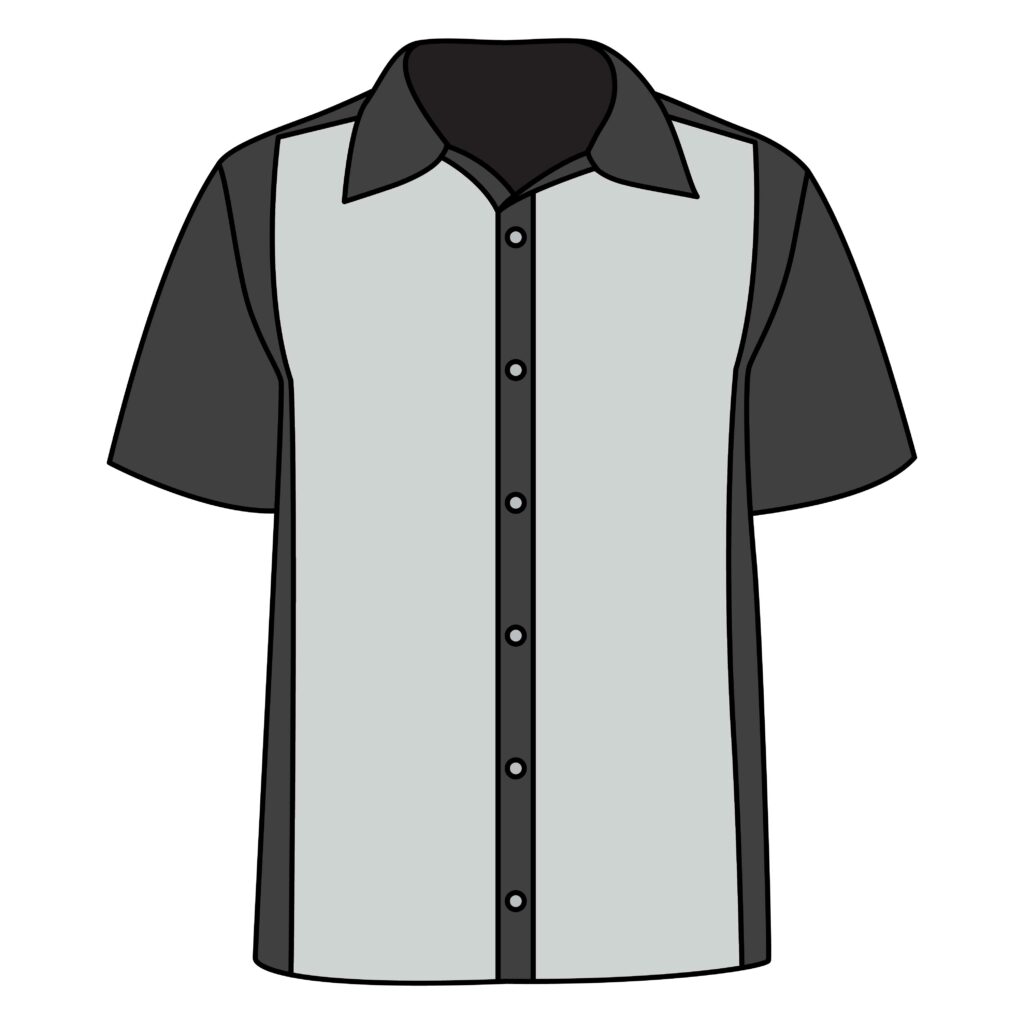
For more modern metallic madness, embrace loud neon palettes on cosmic bowling costumery with intricate airbrushed detailing. Make star fields shimmer amidst flaming constellations on galactic jacket fronts. Use glitter paints for added holographic dazzle! Or channel hip 90’s nostalgia with clashing primary shades zig-zagging sharply across fluorescent fabrics. Define essential design elements and preserve necessary shirt shape foundations amidst wild effects!
Bonus Tips
Take personalized bowling shirts further by engineering cybernetic sleeve enhancements boosting bowling release power, conceiving avant-garde shapeshifting fashions morphing with customized projection mapping flare, depicting intensely focused facial expressions on athletes psyching up pre-throw, embroidering nickname, logo, or club branding onto jacket fronts and sleeve patches, illustrating a diverse and inclusive cast of intergalactic bowling tournament participants of all shapes celebrating together, and infinitely more! Let imagination guide creativity past fundamentals into unlimited self-styled frontiers!
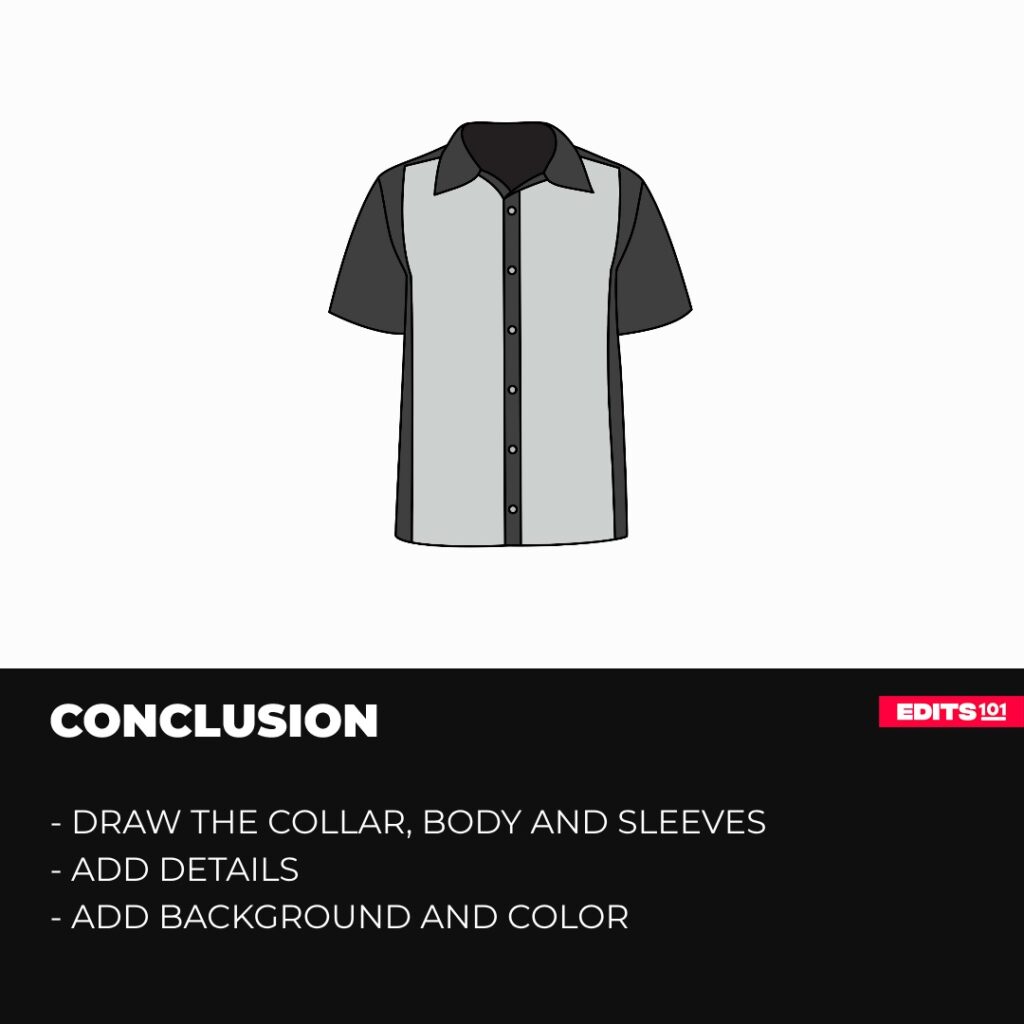
Conclusion
Whether honing retro references or pioneering far-flung fashion futures, trust yourself to build wonderfully on all acquired knowledge! Artistic progress manifests wondrously within through patient, willing hands. Continue thoughtfully bridging mind and pen until bowling visions spill effortlessly onto the page. In time, personalized realms will flourish as friends and family cheer the one-of-a-kind creations sparked by your vision. Believe in imaginative journeys just beginning!
Thanks for reading & feel free to check out more of our articles!
Author Rating
Overall Rating
Summary
This guide explains how to draw a bowling shirt that can also be worn casually.