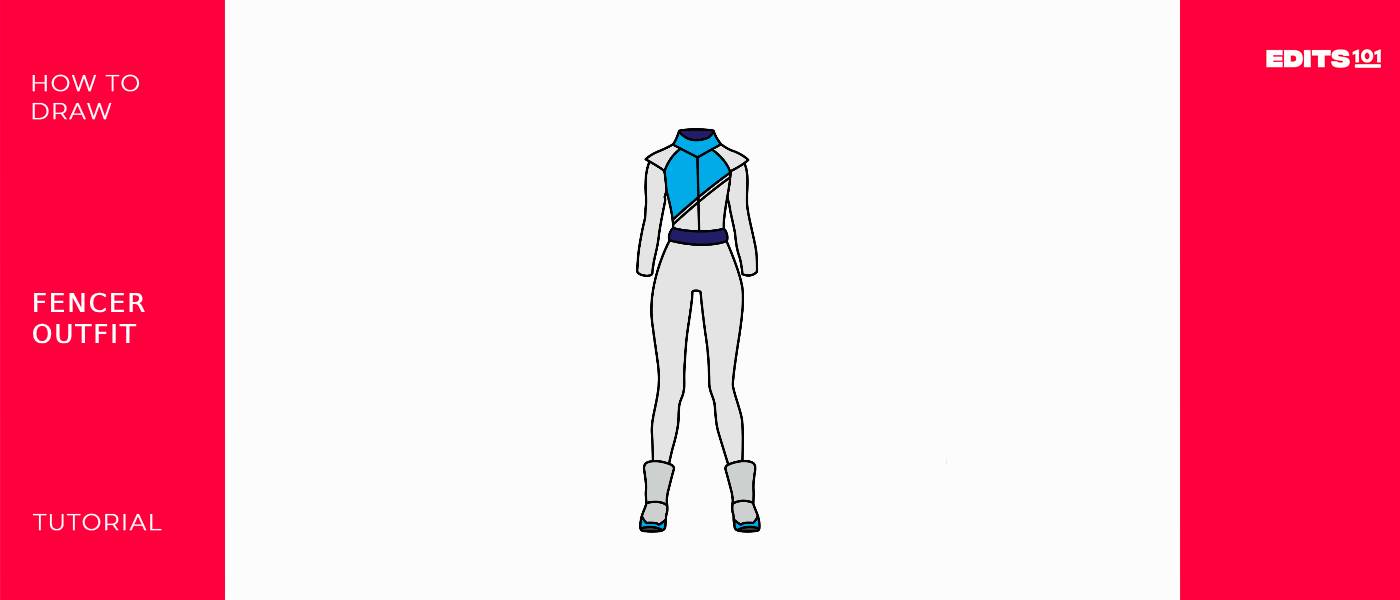
How To Draw A Fencer’s Outfit | Step-by-Step Guide
A fencer’s uniform is called a fencing kit or outfit. It consists of several different parts that are designed to provide protection and ease of movement during the sport. These include a jacket, also known as a plastron, and breeches, which are pants specially designed to protect the legs from hits and abrasive actions.
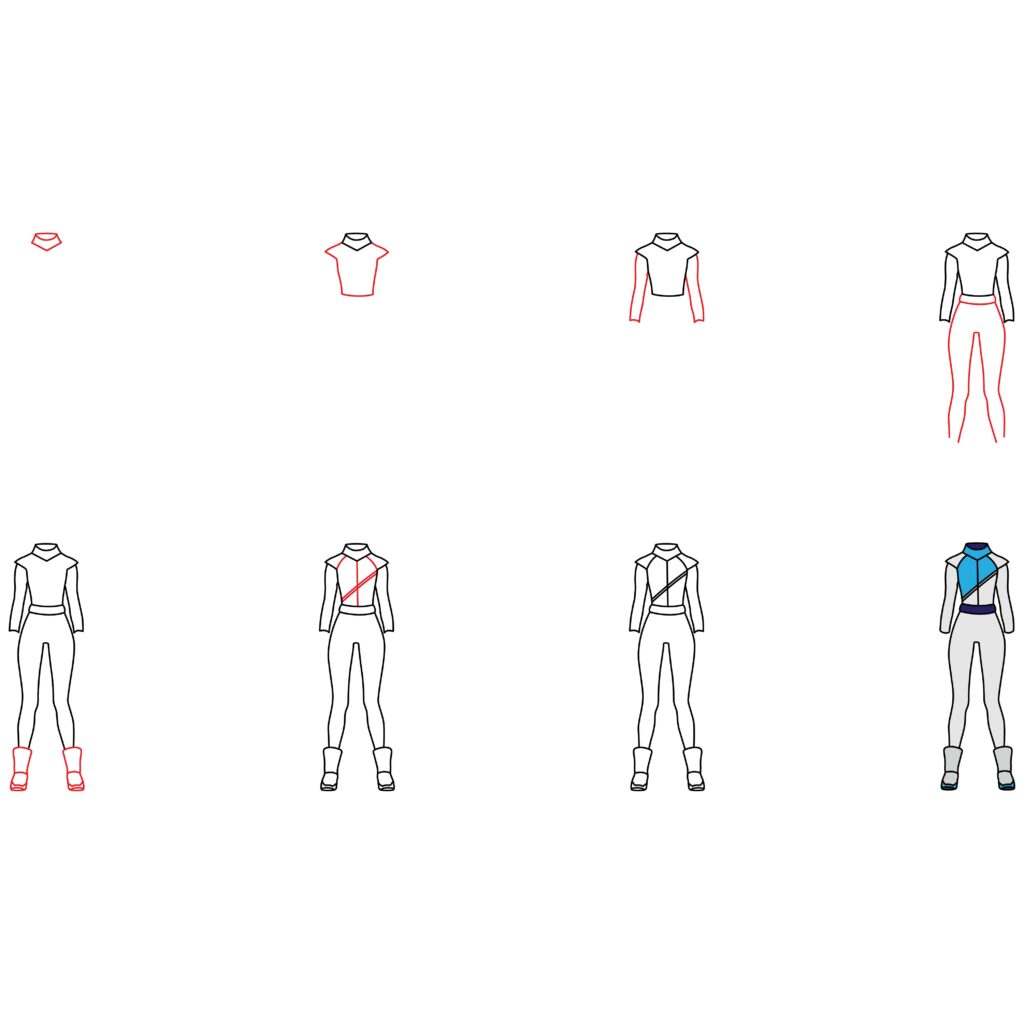
In today’s tutorial, you will learn how to draw a fully-fledged fencer’s outfit in 8 easy steps. You will also be provided with some tips and tricks on how to improve the quality of your drawing.
| Steps | Complexity level |
| The Collar | 1 |
| The Top | 2 |
| The Sleeves | 3 |
| The Belt and Legs | 3 |
| The Boots | 4 |
| Add Details | 2 |
What You Will Need
- A sheet of paper or sketchbook
- Pencils (2B, 3B or 5b)
- Eraser
- Ruler (optional)
- Coloring kit (markers, pens, crayons, etc.)
- 15-20 minutes
How to draw a fencer’s outfit
As aforementioned, there are different parts that each serve a function on a fencer’s outfit. Today you will be drawing all of them.
Before you start, make sure you have all of your drawing tools at your disposal and thoroughly check out the outline we provide to get you up to speed on all you will be drawing.
Without any further ado, let’s jump right in!
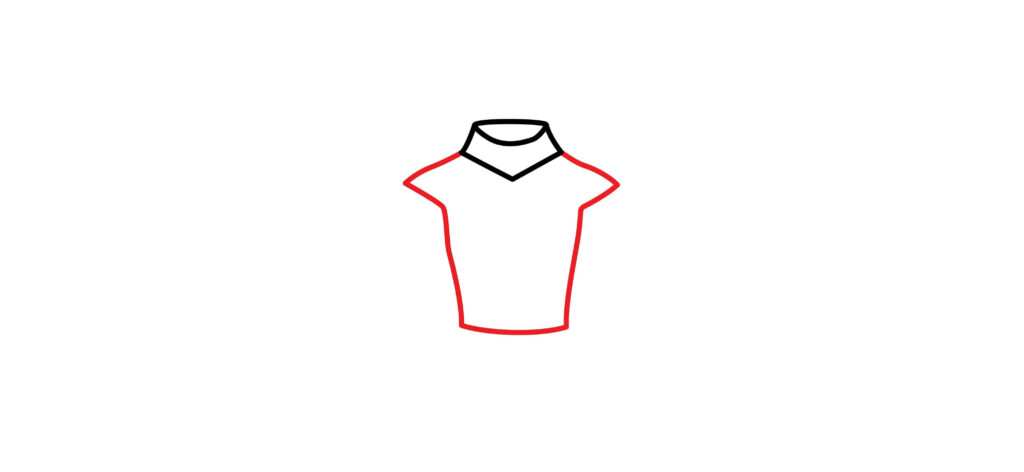
Step 1: Draw the Collar
We’ll start off by first drawing the collar. This will be the highest point of your drawing, so choose the top center of your drawing paper as the starting point. Begin by sketching a small horizontal line in the middle of your page, representing the base of the collar.
Then, draw two diagonal lines on each side of your horizontal line – left and right. Make sure your lines are attached to the end of your horizontal line, and that they flare out in opposing directions at the end. This will provide shape to your collar, similar to how a collar is drawn in an American football jersey.
Remember that symmetry is key! Try your best to make both lines symmetrical.
Once you’re finished, draw two diagonal lines starting from the ends of the lines you just completed. Make sure that these lines run inward and connect in a “V”-like shape. Finally, draw a “C” curve laying on its side, starting from one point of the first horizontal line you drew, and ending at the other point. This curve should be within the shape you just completed.
- Draw a small horizontal line on the upper half of your paper
- Draw a diagonal line flaring outward from the corners of the horizontal line
- Draw two diagonal lines that run inward in a V-shape
- Add a sideway C-shaped curve to the base

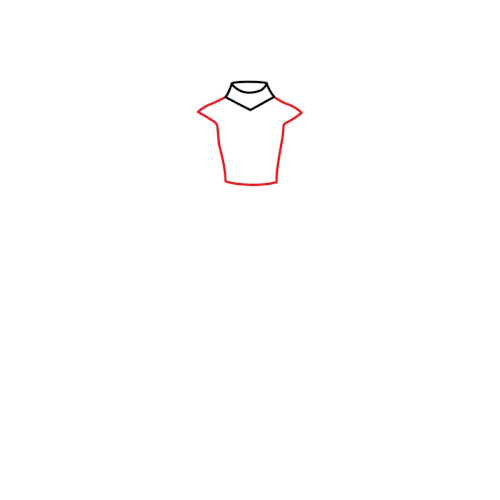
Step 2: Draw the Top
To make it easier for ourselves and you, we’ve isolated parts of the plastron (jacket) so that we can draw them separately. In this step, we will be drawing the top. This is primarily the torso region of our plastron.
First, start by drawing shoulder pads. You may begin on whatever side you prefer, though remember that both sides need to be symmetrical in the end.
Draw a diagonal line from one sharp point of your collar’s edge. If you’re starting on the left, make sure your line is flared out to the left and slightly wavy. Do the exact same thing on the other side, only now, you’re going to flare your diagonal line to the right.
Once complete, draw small diagonal lines which now run in the opposite direction – i.e, inward. They should look like small triangles on the sides.
Lastly, curve the ends of your diagonal lines sharply until they run vertically. Connect your two vertical lines with a horizontal one.
- Draw the shoulder pads using symmetrical diagonal lines
- Curve the bottom diagonal lines into wavy vertical lines
- Connect the lines with a horizontal one
- Make sure the width of the torso is wider around the bust and narrow around the waist
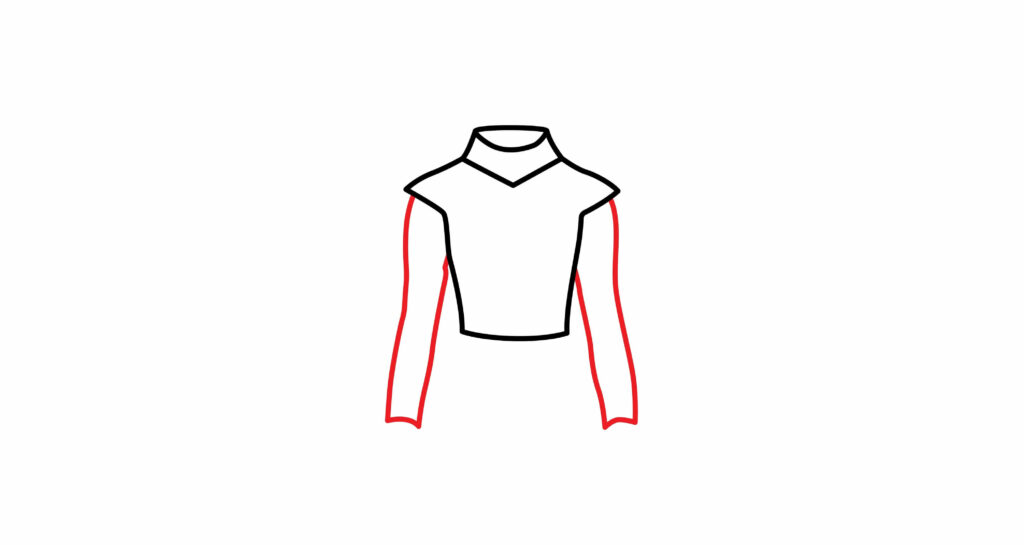
Step 3: Draw the Sleeves
Now we’re going to draw the sleeves.
Starting from one side of your top, draw two wavy vertical lines from under the pointy tip of the shoulder pad and the side of the bust. End your lines a nice distance away from the end of your top, and draw a horizontal line at the end to cut them off.
Then do the exact same thing on the other side, bearing in mind that they should be symmetrical.
You should now have two long rectangular shapes that resemble arms on each side of your top. Both your top and the sleeves combined represent the plastron. Your drawing is coming together beautifully!
- Draw two wavy vertical lines on each side of the bust to resemble arms
- Start one line underneath the pointy tip of the shoulder pad and the other against the side of the bust
- End the lines a good distance away from the end of the top
- Connect both sleeves with a horizontal line
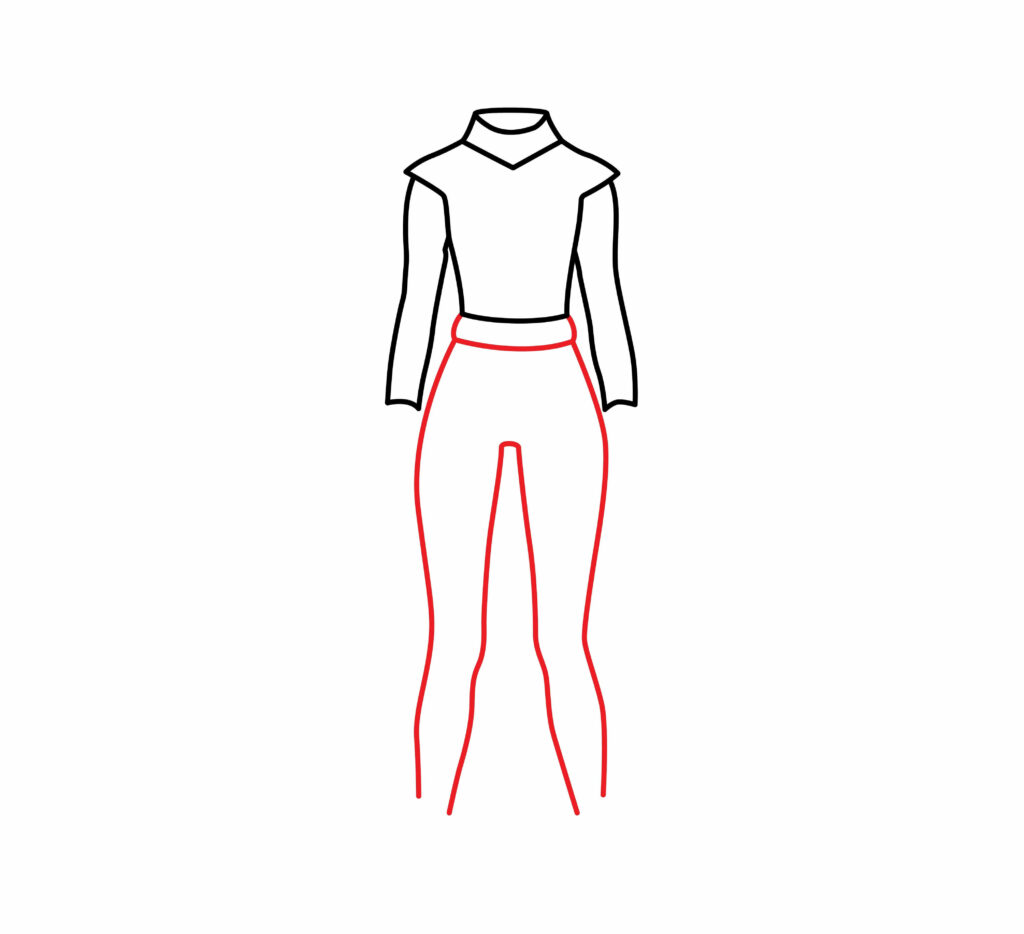
Step 4: Draw the Belt and Legs
Your fencer’s outfit requires a belt to make sure the pants are firmly attached to the jacket.
In order to add the belt, start by drawing a slightly curved horizontal line beneath the line of your top. Make sure there’s a generous amount of space in between them, and that your bottom line is somewhat longer than the upper one. Finish off your belt by adding curved vertical lines on the sides.
Next, draw the pants legs using some long wavy lines. Start from one side and slowly work your way to the other to make it easier for yourself. Make sure your vertical wavy lines have little bends and indents around the knees to make them look realistic. If necessary, follow our guide below for some assistance.
- Start by drawing a slightly curved horizontal line beneath the bottom of the top
- Draw two vertical lines on the side to connect both the top and bottom line
- Draw long wavy vertical lines to represent the legs
- Make sure there are bends and indents to resemble the knees and thighs
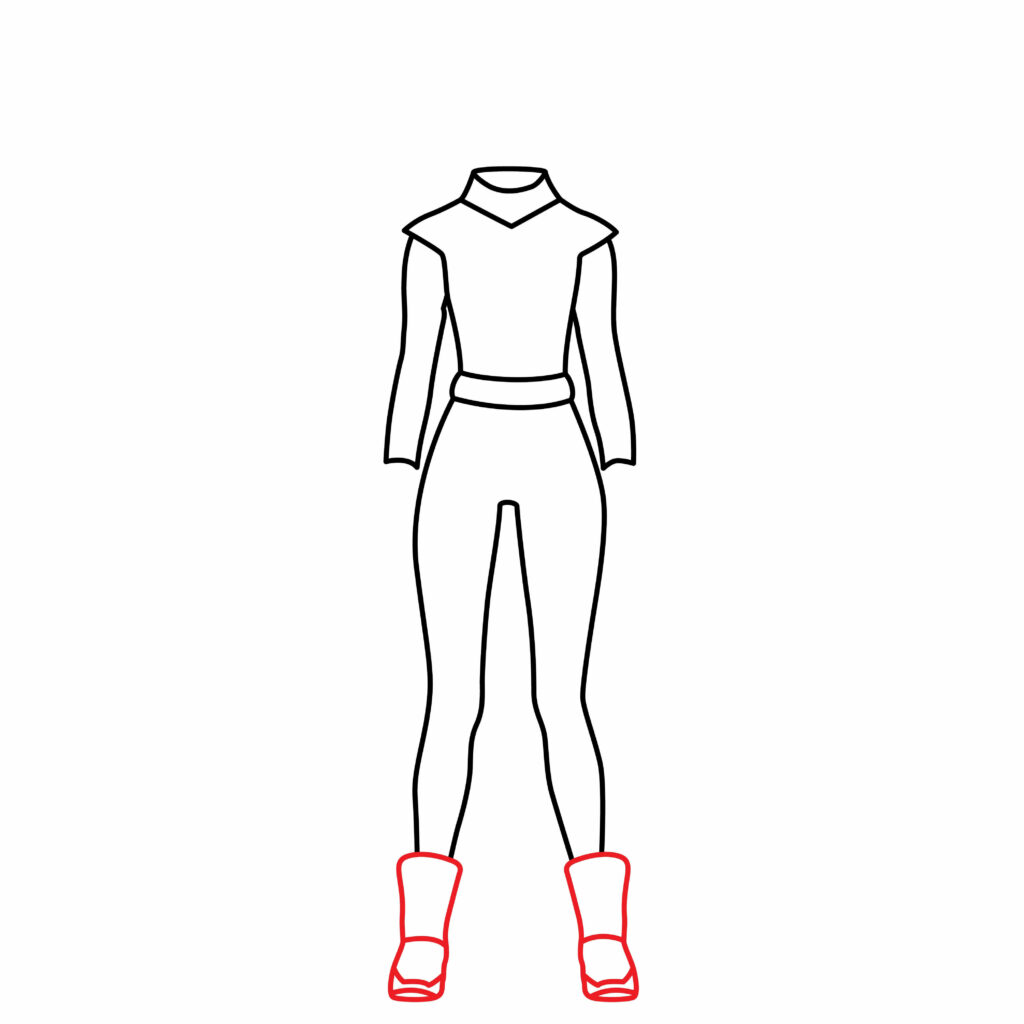
Step 5: Draw the Boots
Fencers usually wear specific shoes designed for the sport because they’re known to have some added features like reinforced toe areas and cushioning for impact protection.
For our fencing drawing today, we’ve decided to provide our fencer with ample cushioning in the form of some boots.
In order to draw the boots, draw a curved horizontal line over the vertical lines of each leg. Erase whatever lines may peak out beneath your newly added lines.
Then attach some vertical lines on the side to form the structure of the boot – keep them somewhat wide at the top and narrow at the bottom – and then draw another curved horizontal line that connects your two vertical lines together.
As we’ve mentioned before, you can decide which leg you’re going to start with, but make sure they’re both symmetrical.
Next, draw some slightly diagonal lines for the foot structure of the boot. Add some detailing around the front to make them look more realistic, and round everything off by connecting all the lines together. Take your time and make sure your boots are similar to that of the picture below.
- Start by drawing curvy horizontal lines on the bottom of each leg
- Erase the lines that overlap
- Add vertical and horizontal lines for the structure of the ankle and foot
- Add some extra detailing around the front part (toe area) of the boot
- Make sure all lines are connected
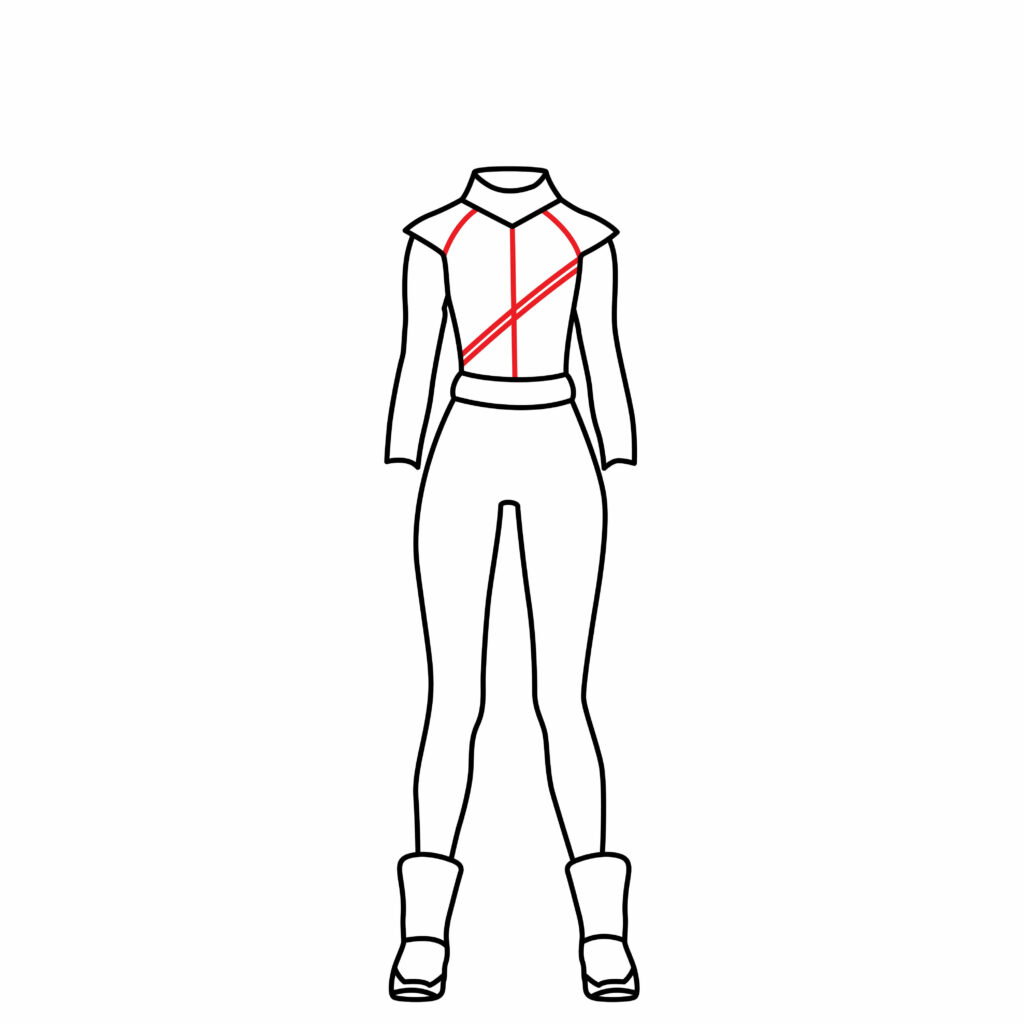
Step 6: Add Details to the Outfit
A plastron usually has a few seam lines running over the chest to represent the seams for extra padding and inner fabric. Add these little details to your drawing to make them stand out and look even more realistic than it already does!
In order for you to complete this step, start by drawing some diagonal lines from the side of your collar down to the corner of the underarms.
Next, draw a straight vertical line down the middle of your top – from the pointy tip of your collar down to the belt.
Finally, draw two diagonal lines against each other, starting from the corner of your underarm and ending at the opposite side of your top, which will be the bottom left side.
- Draw diagonal lines on the sides of the collar that connect to the underarms
- Use a ruler and draw a vertical line down the middle of the top
- Draw two diagonal lines against each other starting from the right corner of the underarm and ending at the bottom left side of the top
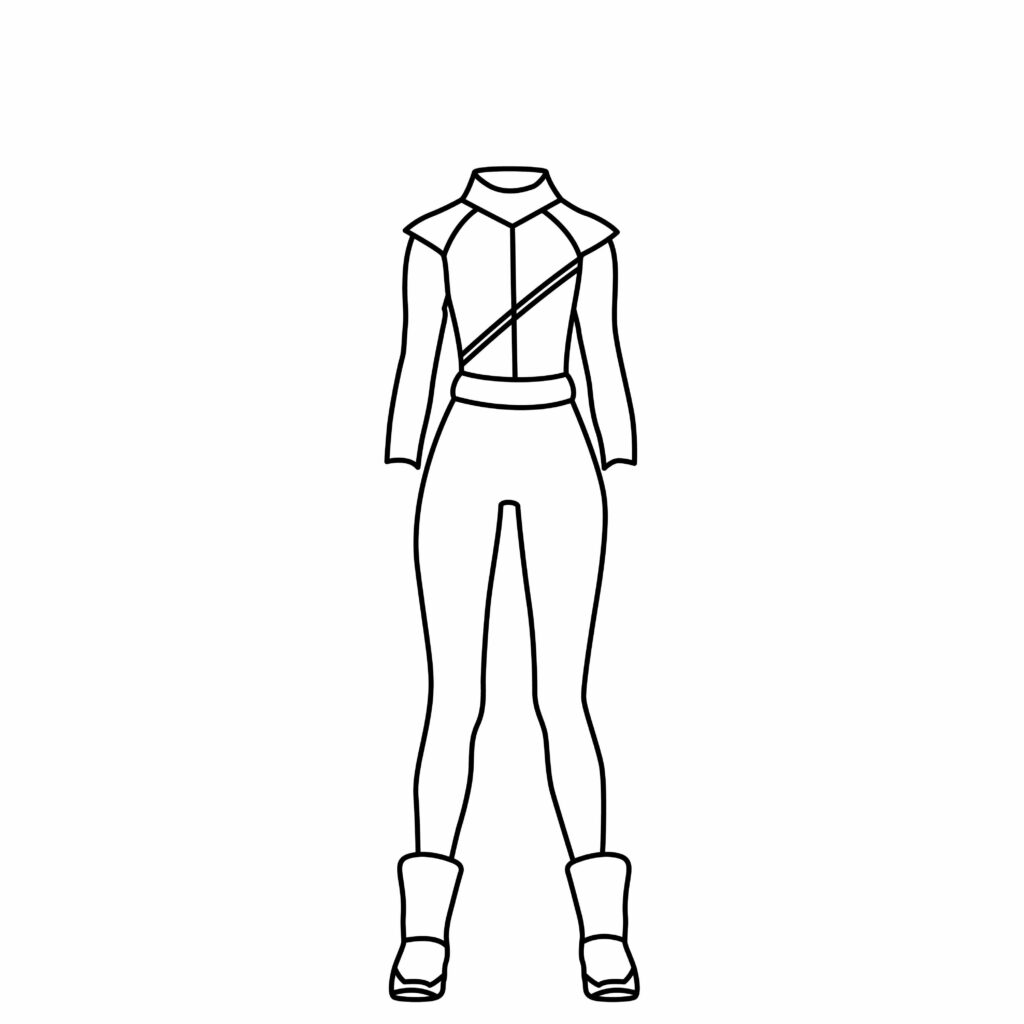
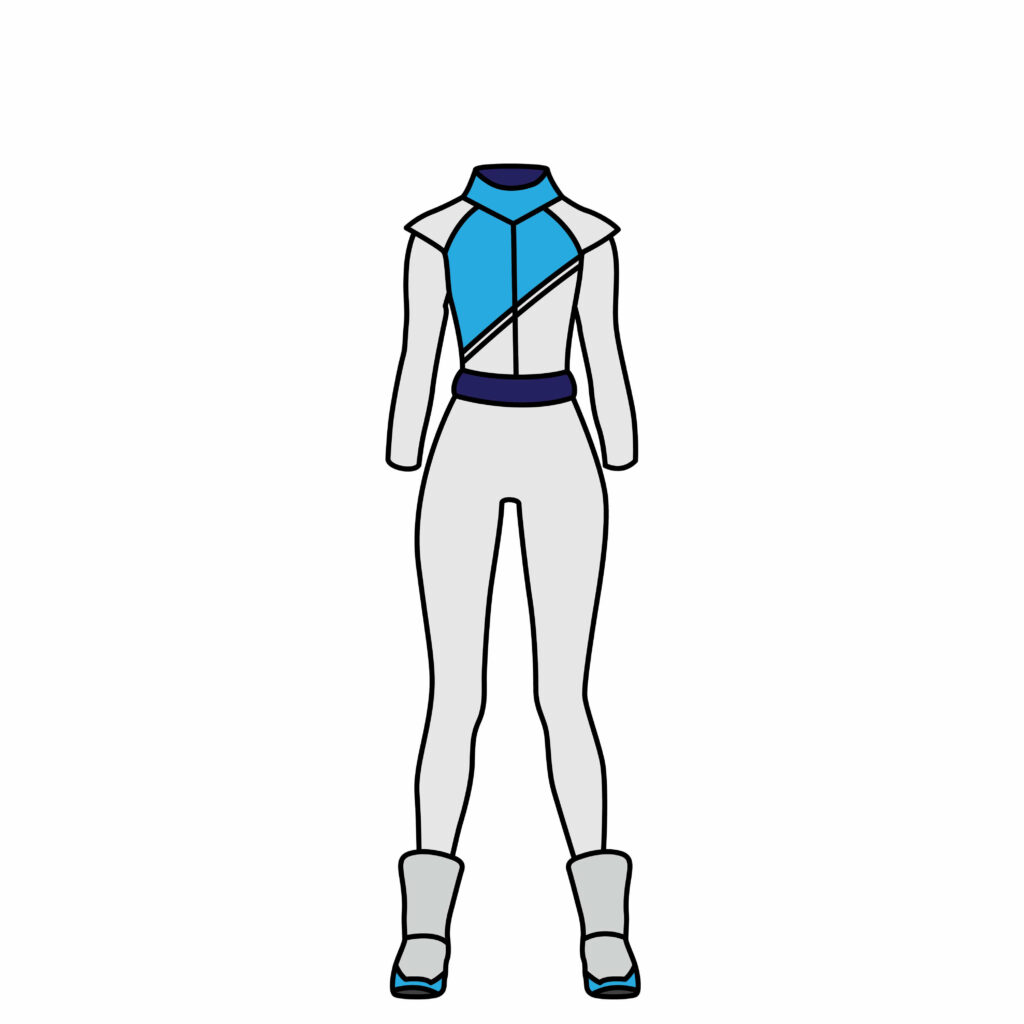
Congratulations! Your Fencer’s Outfit Drawing Is Complete
Take a moment to feel proud of what you’ve created and acknowledge the effort you put into drawing something from scratch. You did great!
If your drawing does not resemble ours entirely, that’s completely okay. It doesn’t have to look exactly the same, and the parts which look too unidentifiable to be considered realistic can be corrected using your eraser and some patience.
Don’t stop there, though. Follow the steps below to take your drawing to the next level.
Taking your Drawing to the Next Level
While you’ve just managed to take a blank page and give it a meaning, there are still ways to improve and better your drawing. Art never really ends, if you think about it. Ideas, imagination and creativity cannot be limited to a black and white sketch on a page. There’s more to unravel beneath your drawing, and we’re here to help you do so!
step 7: adding a background
A good background allows imagination to roam around and take a simple object, combine in with other objects in the immediate surrounding, and create a narrative.
For your fencer’s outfit, there’s a variety of background ideas to play around with. Fencing is both an indoor and outside sport, so your fencer’s outfit could either be placed inside a building or in a field.
Once you decide on where you want it to be, consider adding other objects in the background related to fencing, as well. Like a set of Olympic Rings, some fencing gloves or a fencing sword.
step 8: adding color
Similar to a background, color takes a black and white image and almost instantly transforms it into an eye-catching work of art. Those lucky enough to view your drawing might be inspired to imagine realistic settings and scenes after your drawing has color added to it.
With this step, you can let your personality shine through by adding whatever colors you prefer. Realistic fencing outfits are usually white, but considering the fact that your paper might be a creamy white color, you want to use some bright colors to make it pop.
If you like the way we’ve colored in our fencer’s outfit, you can go ahead and color yours in the same way. Make sure different parts have different colors to make each distinctive part attract attention.
Bonus Tips
You can add some shadows to your drawing by shading the right side of your fencer’s outline if you’d like. This will make your drawing more dimensional.
You can create a fully-formed fencer by drawing things like a fencing sword, a fencing mask and some gloves and then attach them to your fencer’s outfit.
Play around with different color ideas. Explore what works best for you!
Check out our wetsuit drawing for an idea of something similar you’d might like to draw next.
Add your name to your drawing once it’s finished for a nice personalized touch.
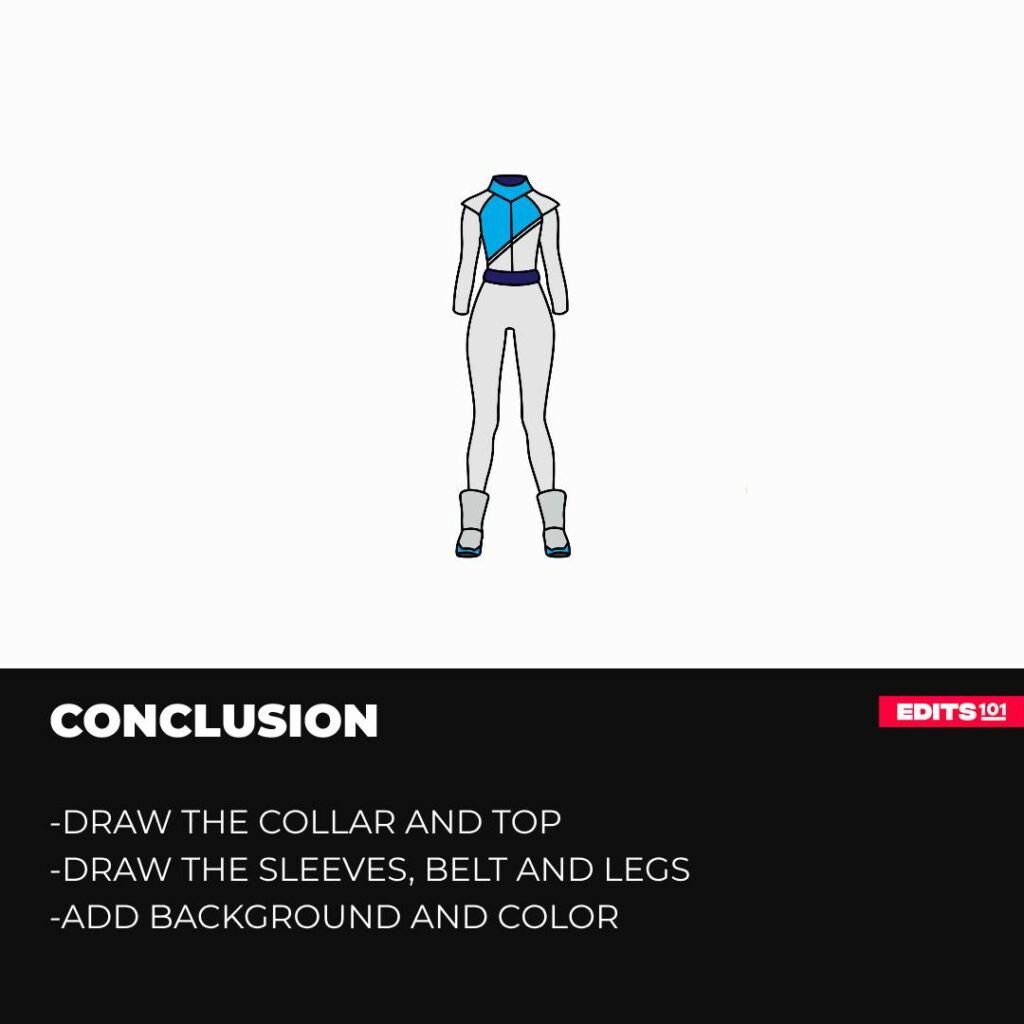
Conclusion
Your fencer’s outfit drawing is now fully complete! If you’ve followed all the steps and made it this far, well done! Truly! Remember, the more practice you put in, the better results you will see, so explore some other tutorials and add to your collection of drawings.
You have read and hopefully learnt so much from today’s tutorial; like the functions of a fencer’s outfit, how to draw one, the importance of colors and backgrounds, and how to always aim higher. For that, give yourself a pat on the back. Your journey with art can only get better from here!
Thanks for reading & feel free to check out more of our articles!
Author Rating
Overall Rating
Summary
This guide explains how to illustrate a fencer’s outfit, providing insights into its design elements and unique features.