How To Draw A Bowling Pin | A 2-Step Tutorial
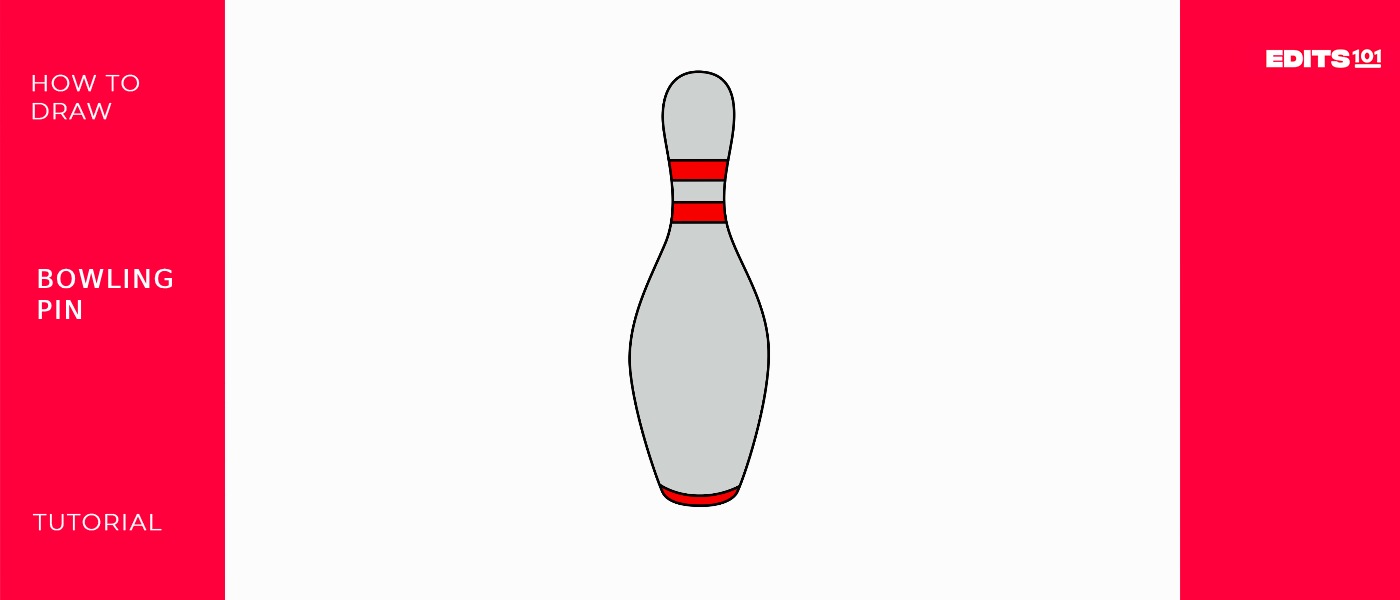
In bowling, pins are cylindrical, upright objects arranged in a triangular formation at the end of the bowling lane. The standard configuration consists of ten pins, and they are set up in the shape of an equilateral triangle with one pin in the front row, two in the second row, and three in the third row. The arrangement resembles an inverted V, with the point facing the bowler.
The game’s objective is for the bowler to knock down as many pins as possible with each throw of the bowling ball. The ultimate goal is to knock down all ten pins in one frame, called a “strike.” If a bowler fails to knock down all the pins in the first throw but succeeds in the second, it is called a “spare.” Each pin knocked down contributes to the bowler’s score.
| Steps | Complexity level |
| Draw the outline | 2 |
| Add details | 2 |
What You Will Need
- Pencil
- Eraser
- Paper
- Colored pencils or markers
- Patience and creativity
How to draw a Bowling Pin
Unlock your artistic potential with this step-by-step guide on drawing a bowling pin. Whether you’re a budding artist or just looking for a fun and creative activity, these simple steps will help you bring these sports-inspired images to life. Grab your drawing materials, and we will get started!

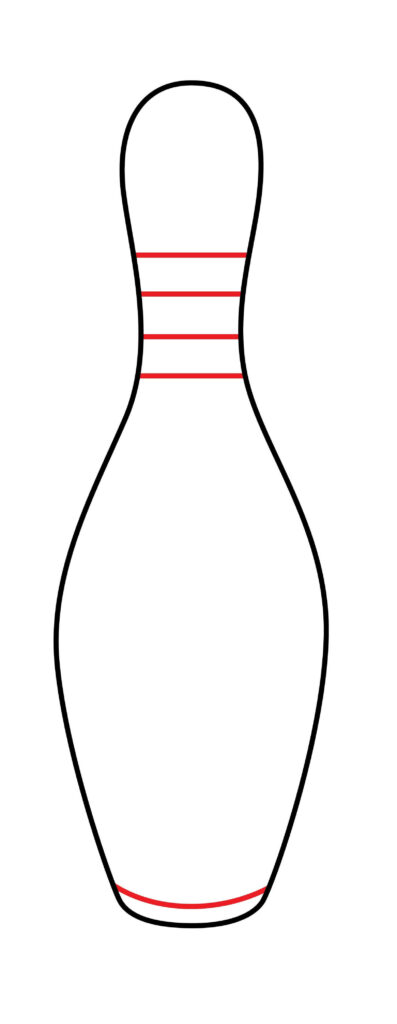
Step 1: Draw the Outline
The pins are automated in modern bowling alleys, and after each frame, they are automatically reset by machinery for the next bowler. The pin configuration and scoring system remain central to the game of bowling, providing the challenge and excitement that make it a popular sport and recreational activity worldwide.Start bringing your bowling pin illustration to life by lightly sketching its overall rounded silhouette using a single smooth curved line. This flowing stroke establishes the fundamental exterior form – a simplified yet iconic general shape recognizable to all as the classic “bowling pin”.
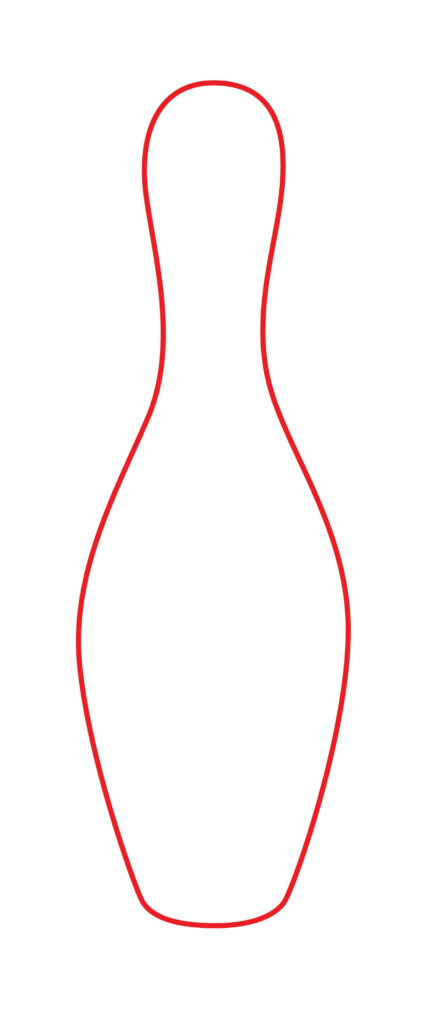
With a sturdy structure now visualized, gradually build up proportional dimensions using horizontal lines to mark key sections, helping inform evolving detail accuracy. For example, visually divide the pin vertically into thirds – a round head, solid rectangular mid-body, and rounder base stabilizer. Use lines to map realistic anchors for intricate creative elaboration ahead!
- Lightly sketch overall curved silhouette establishing the general shape
- Use faint horizontal lines to map proportional sections visually
- Section anchors evolve into realistic infrastructure for elaboration
Step 2: Add Details
With defined overall shape and guidelines, add structural details that transform a simplified silhouette into a convincingly tangible bowling pin. Focus first on etching straight vertical lines along the mid-section to indicate lengthwise wood planking grain direction running top to bottom. Vary line weights to suggest depth contours.
Additionally, add small indented circles scattered sparingly across plank lengths hinting at embedded knot holes naturally occurring in real wooden pins. Consider alternating light and dark wood tones on different boards for added dimension.
For the top spherical head, faintly sketch a circle then crisscross with slightly curved indent lines conveying the cracked and chipped surface weathering from repeated high speed ball impacts. Allow jagged graphite grittiness to accumulate, heightening realism.
Finally, draw another horizontal line near the base to define a separate stabilizer block. Then color in triangular shaped scuff marks along bottom edges to suggest grounded friction wear over many tossed games. Deliberately evolve levels of delicate detail until your pin drawing feels tangibly legitimate!
- Straight vertical plank lines with varied weights convey wooden construction
- Sparing knot holes and tonal variation builds real timber textures
- Jagged intersecting lines on spherical top mimic weathered game wear
- Base block line and ground scuff triangles add realistic touches
Step 3: The Bowling pin is ready
Great job! The Bowling pin is ready to have a match. You did an excellent job. You created your Bowling pin to be used by a bowler to get hit with a bowling ball, and we’re sure you followed every instruction. You can use a marker to outline the drawing to make it stand out. To improve the appearance, we will remove the pencil marks after tracing.
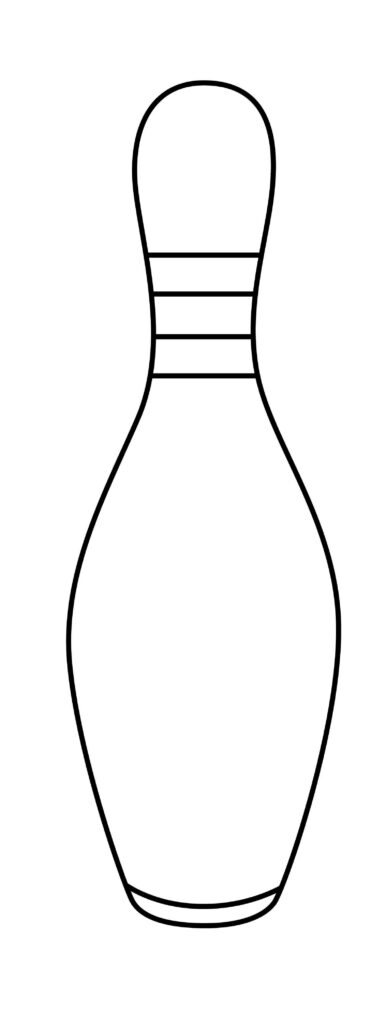
The actual fun is about to start. We are going to improve and add authenticity to our drawing. Can you produce a more refined picture with your creativity and imagination.
Taking your Bowling pin to the next level
Like any other skill, sketching requires practice. Set aside time each day to sketch, even if it’s only for a little while. Be mindful of your surroundings. This enhances comprehension of details, dimensions, and forms. You can start with the basics and work up to more complex topics. Experiment with different drawing tools like charcoal, colored pencils, watercolors, markers, and pencils. Every medium has unique characteristics that could help you identify your preferences.
You can also play with basic hatching, blending, shading, and cross-hatching techniques. Understanding these techniques will greatly enhance the complexity and realism of your drawings. When you’re drawing, use your imagination and try out new concepts.
Adding Background to Your Bowling Pin Drawing
Artfully composed backgrounds are displayed in neat competitive triangle formations or dramatically mid-clatter chaos and immerse bowling pin drawings in a suspenseful atmosphere. Frame static pins against textured wall wood paneling or lane dots guiding rolls towards not-so-stationary fates. Include fellow pins casting nervous sideways glances towards balls barreling forth hungry for strikes. Or showcase singular fallen soldiers being carried away after sacrificing for spares!
For added contexts, sketch sweeping ball trajectories using long curving arrows to imply vigorous rolls or furious spins sending pins. Populate lanes with other ball types like hammer-headed bowlers or stripe-gripped newcomers. Include stoic pinspotters carting battered casualties away, families cheering next in line kids stepping up with adorably oversized gloves, mascots rallying optimism against previous gutterball blunders! The background possibilities are endless!
Coloring Your Bowling Pin Drawing
Strategic colors allow key details to realistically reflect material authenticity – the natural wooden origins anchoring bowling pins’ earthly origins before abstraction. Use rustic pine gradients ranging from golden oak tans to rich walnut and cherrywood browns glinting subtly when carved into rounded forms. Pop intricate plank grain lines with strategic charcoal inking emphasizing age grain contours against lighter core color warmth.
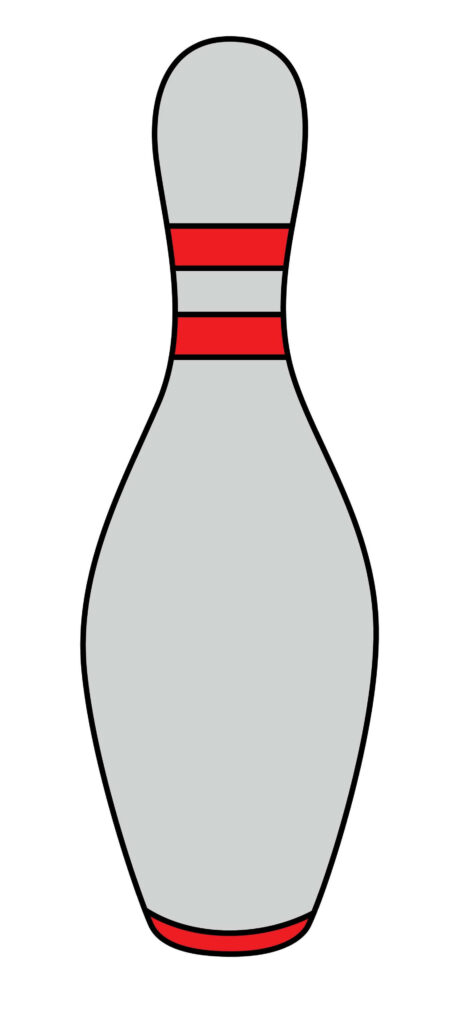
For impact wear accents, transition to grittier grays and blacks using jagged strokes approximating fragmented shadows and dirt smudges accumulated through repeatedly getting pummeled by speeding balls! Alternate youthful minimal scratches with elder veteran characters wearing entire histories of graphic dents, dings and scratches chronicling battles survived down the bowling years.
Bonus Tips for Building On Pins!
Take drawings further by: depicting entire themed bowling squads like football players, wizards, aliens or circus performers coordinated costumes, designing mechanical wind-up or string puppet variants capable of magically reassembling themselves when knocked down, choreographing acrobatic domino drop Rube Goldberg chain reactions setting aside competition for elaborate fun, even illustrating sentient pins gathering for underground candlelit support groups sharing tales of bowling woes! The possibilities are endless so imagine wildly!
Conclusion
Through gradually acquired techniques, now understand fundamentals well enough to invent delights limited only by imagination. Recreate beloved references or launch bowling tales into uncharted waters – creative growth flows freely through unjudging eyes finding reward in the visualization process itself. In time, simply believe varied wonders emerge sequentially stroke by stroke as willingness and patience strengthen artistic sails until unique pin worlds await unveiling deep inside. Game on!
Thanks for reading & feel free to check out more of our articles!
Author Rating
Overall Rating
Summary
This guide explains how to draw a bowling pins used in bowling.

