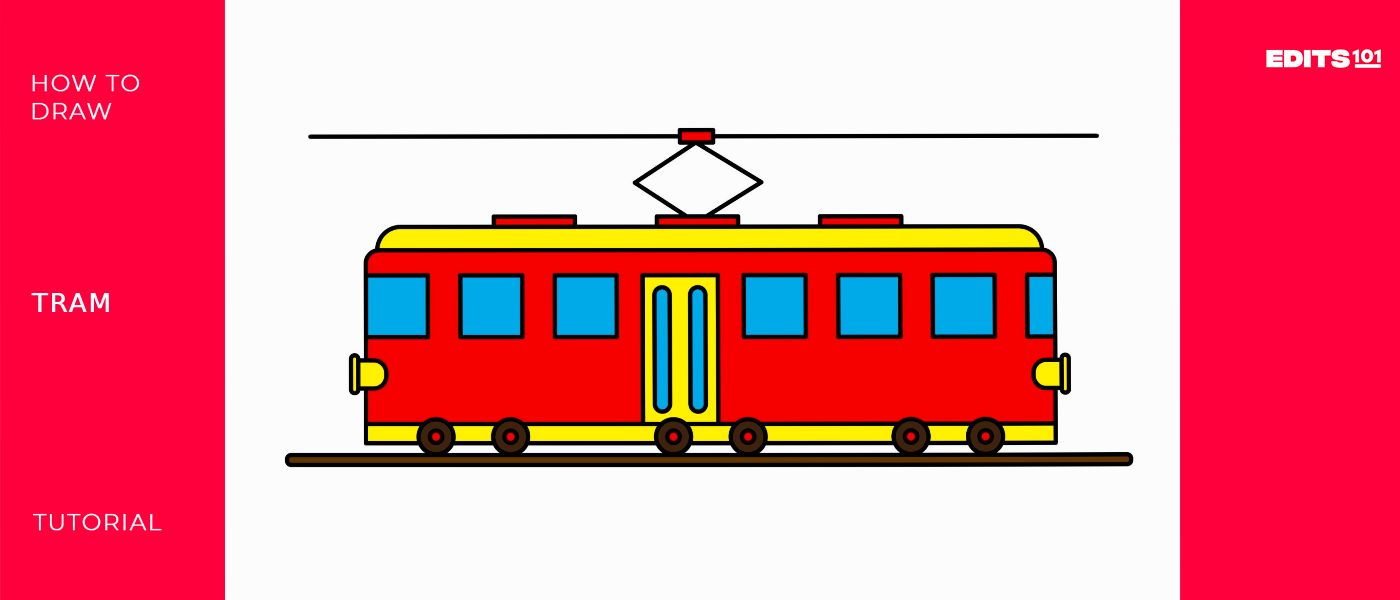
How to Draw a Tram | Step-By-Step
A tram is a vehicle that runs on a fixed rail and is designed to travel on the streets where it shares the road with other vehicles and pedestrians. In the United States, the tram is known as a trolley car, street car, or simply as a trolley.
Do you want to learn how to draw a tram? Well, this is one of the easiest vehicles to draw. In this tutorial, we will not only look at the steps you should follow to draw a tram but also share interesting facts about this vehicle. Let’s get started.
What You Will Need
- Pencil
- Ruler
- Eraser
- Drawing paper
- Coloring supplies
- 30 minutes
How to Draw a Tram
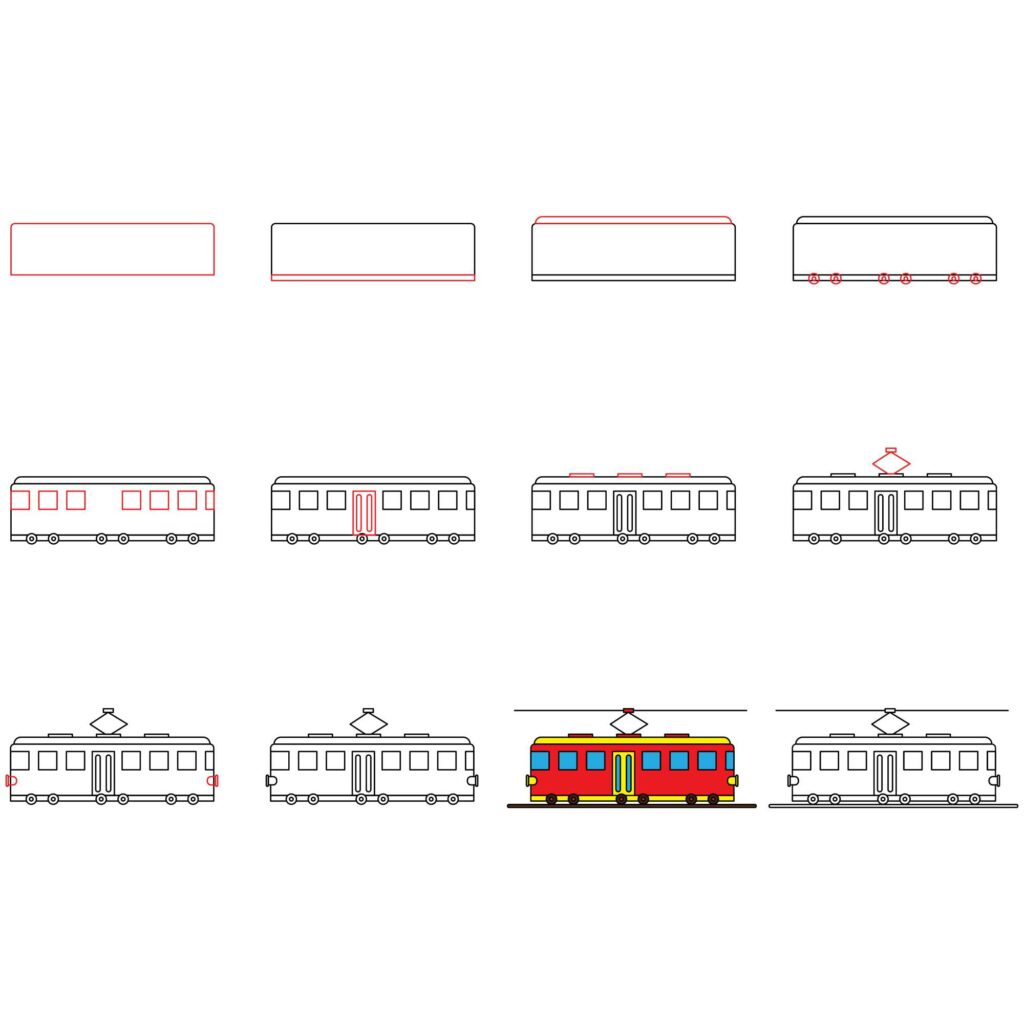
The best thing about drawing a tram is that you will only be working with simple shapes. This is why we asked that you have a ruler so that you can draw proportional shapes. Below are the steps we will be taking.
Unlike a train that has many cars and a locomotive, the tram is a single car. It is, however, not uncommon to find a tram that has more than one car. The main difference from a train is that a tram doesn’t have a separate locomotive.
In our simple drawing, we will be drawing a single-car tram. You can draw a multi-car tram later on once you get the gist of how to draw one.
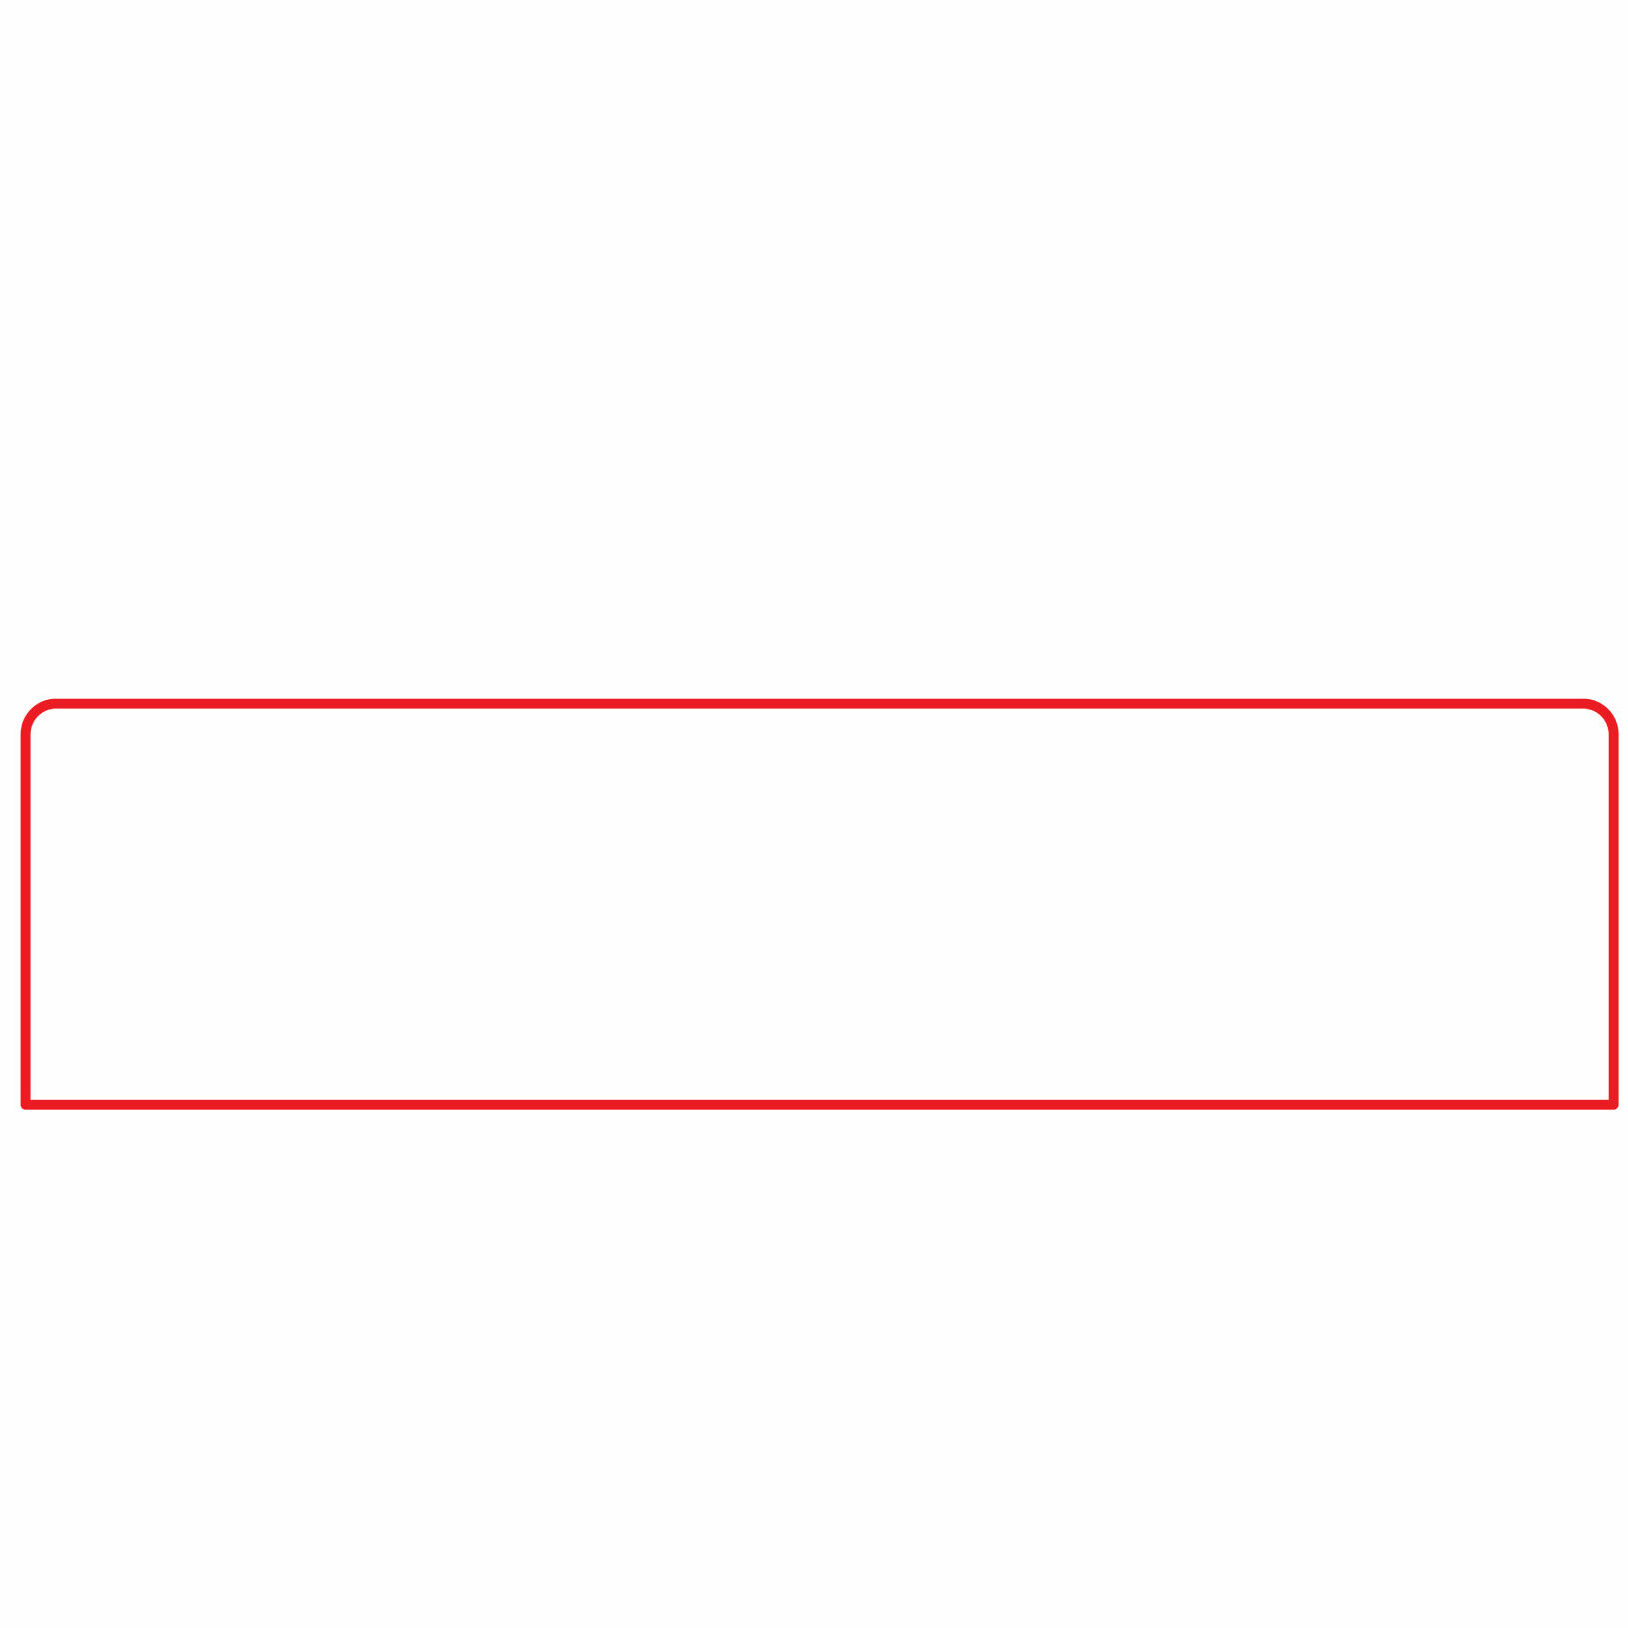
Step 1: Draw the Body of the Tram
New model trams are up to 236 feet (72 meters) long and can accommodate up to 510 passengers. Some trams are larger than buses. With that in mind, we need to draw a large tram body.
Use your ruler to draw a long rectangle. The rectangle should extend close to the left and right edges of your drawing paper as shown in the illustration below.
To make our tram more realistic, we need to make the top corners of our rectangle a bit rounded. To do so, use your eraser to remove the sharp corners and add rounded ones.
- Draw a large rectangle for the body
- Erase the sharp top corners and make them rounded
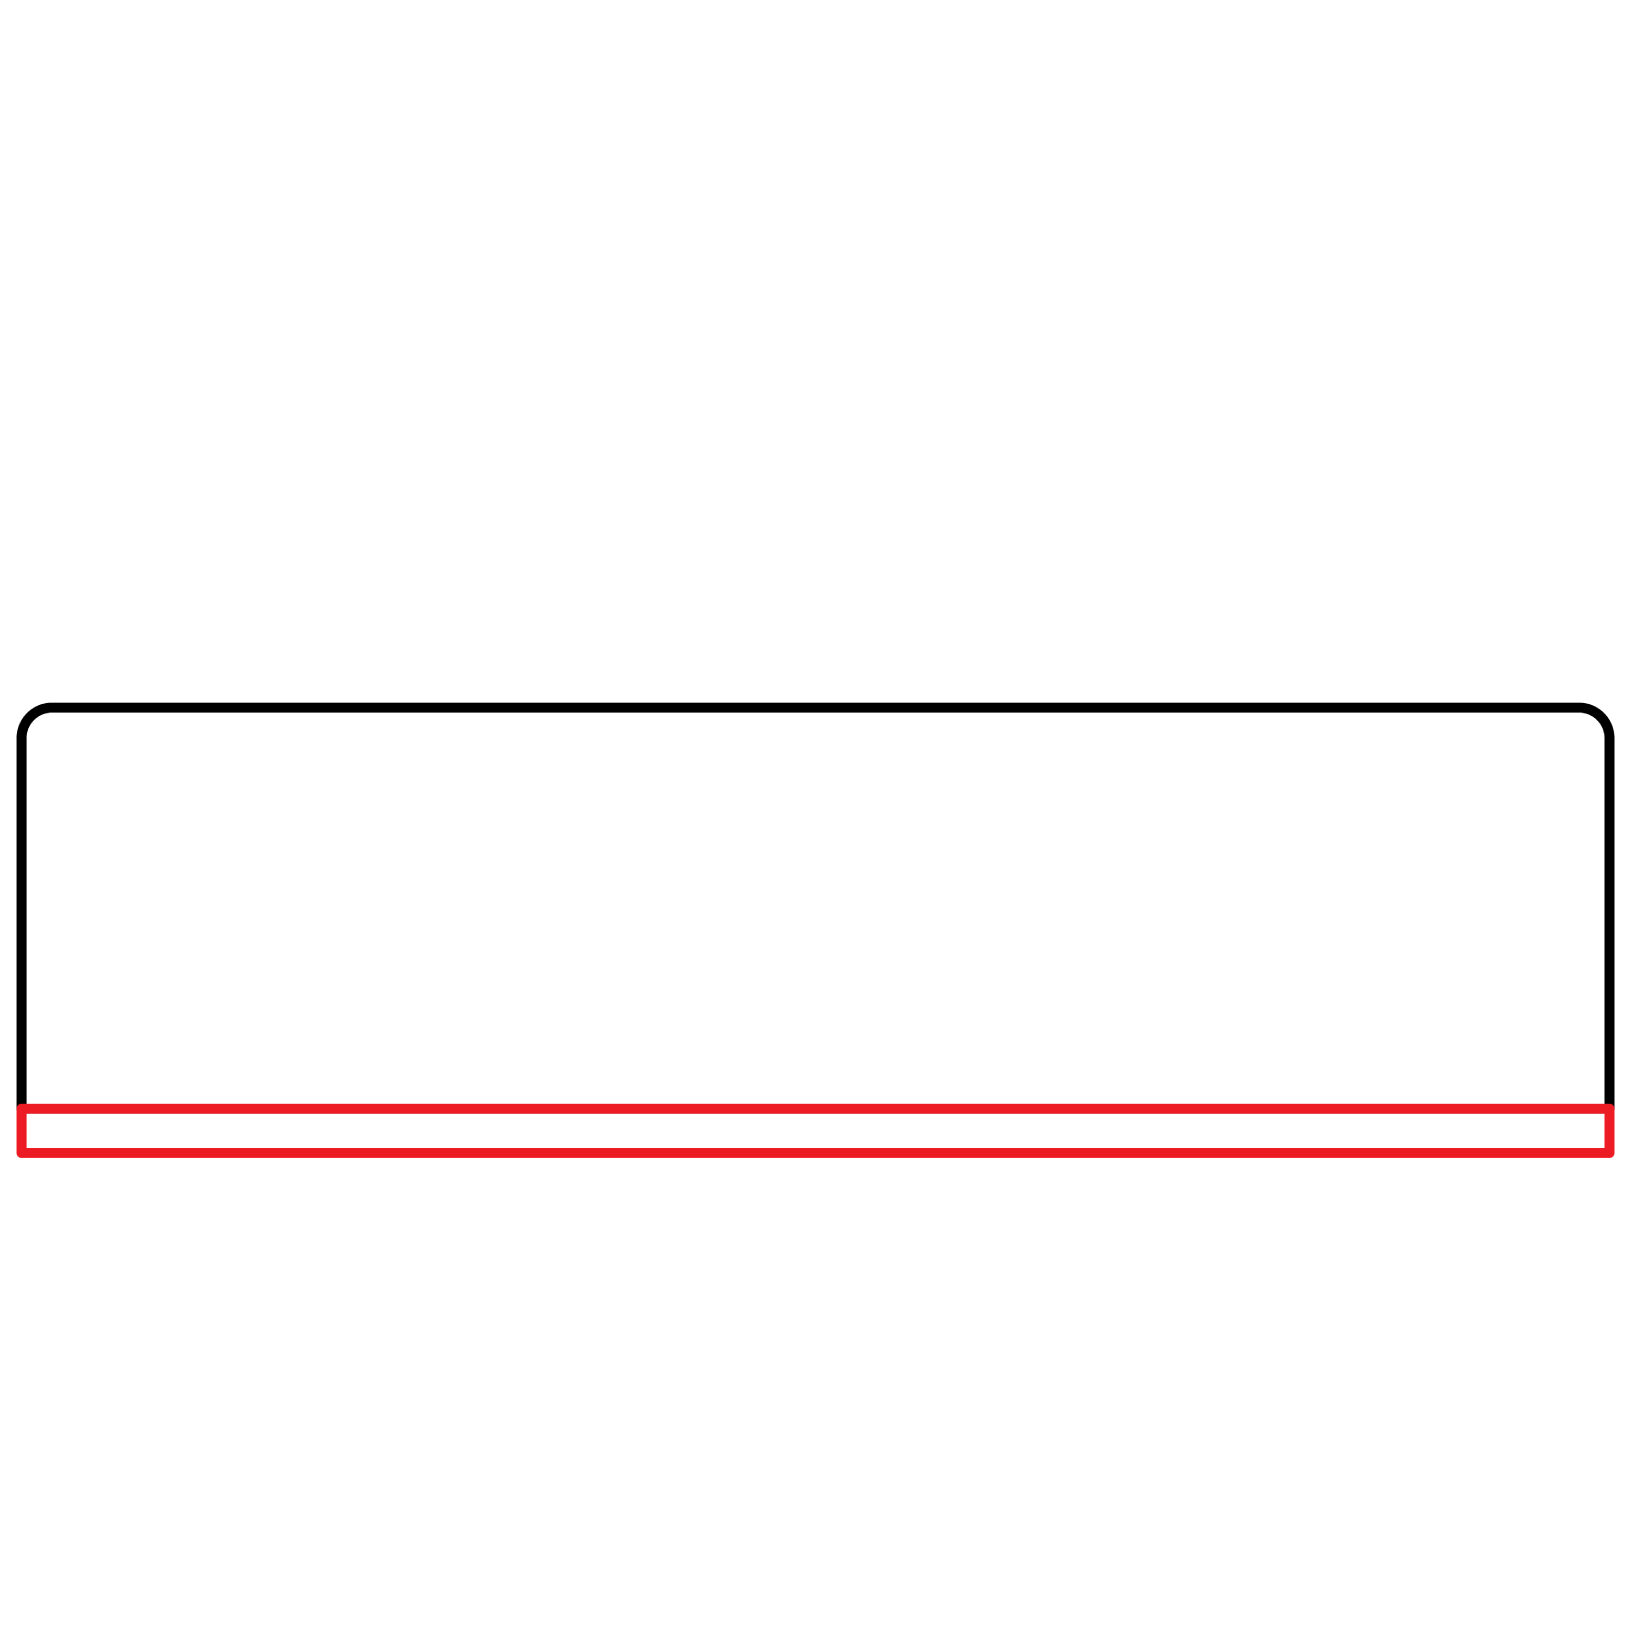
Step 2: Draw the Bottom of the Tram
To be able to move on a rail, the tram has metallic wheels known as tram wheel slugs. These wheels are attached to the bottom part of the tram. It is very easy to draw the bottom part. Simply use your ruler to add a stretched-out rectangle below the body of the tram.
The rectangle should be the length of the tram’s body but not too thick. Keep in mind that here is where we will be adding the wheels so don’t make it too thin either.
- Add a flattened rectangle for the bottom part of the tram
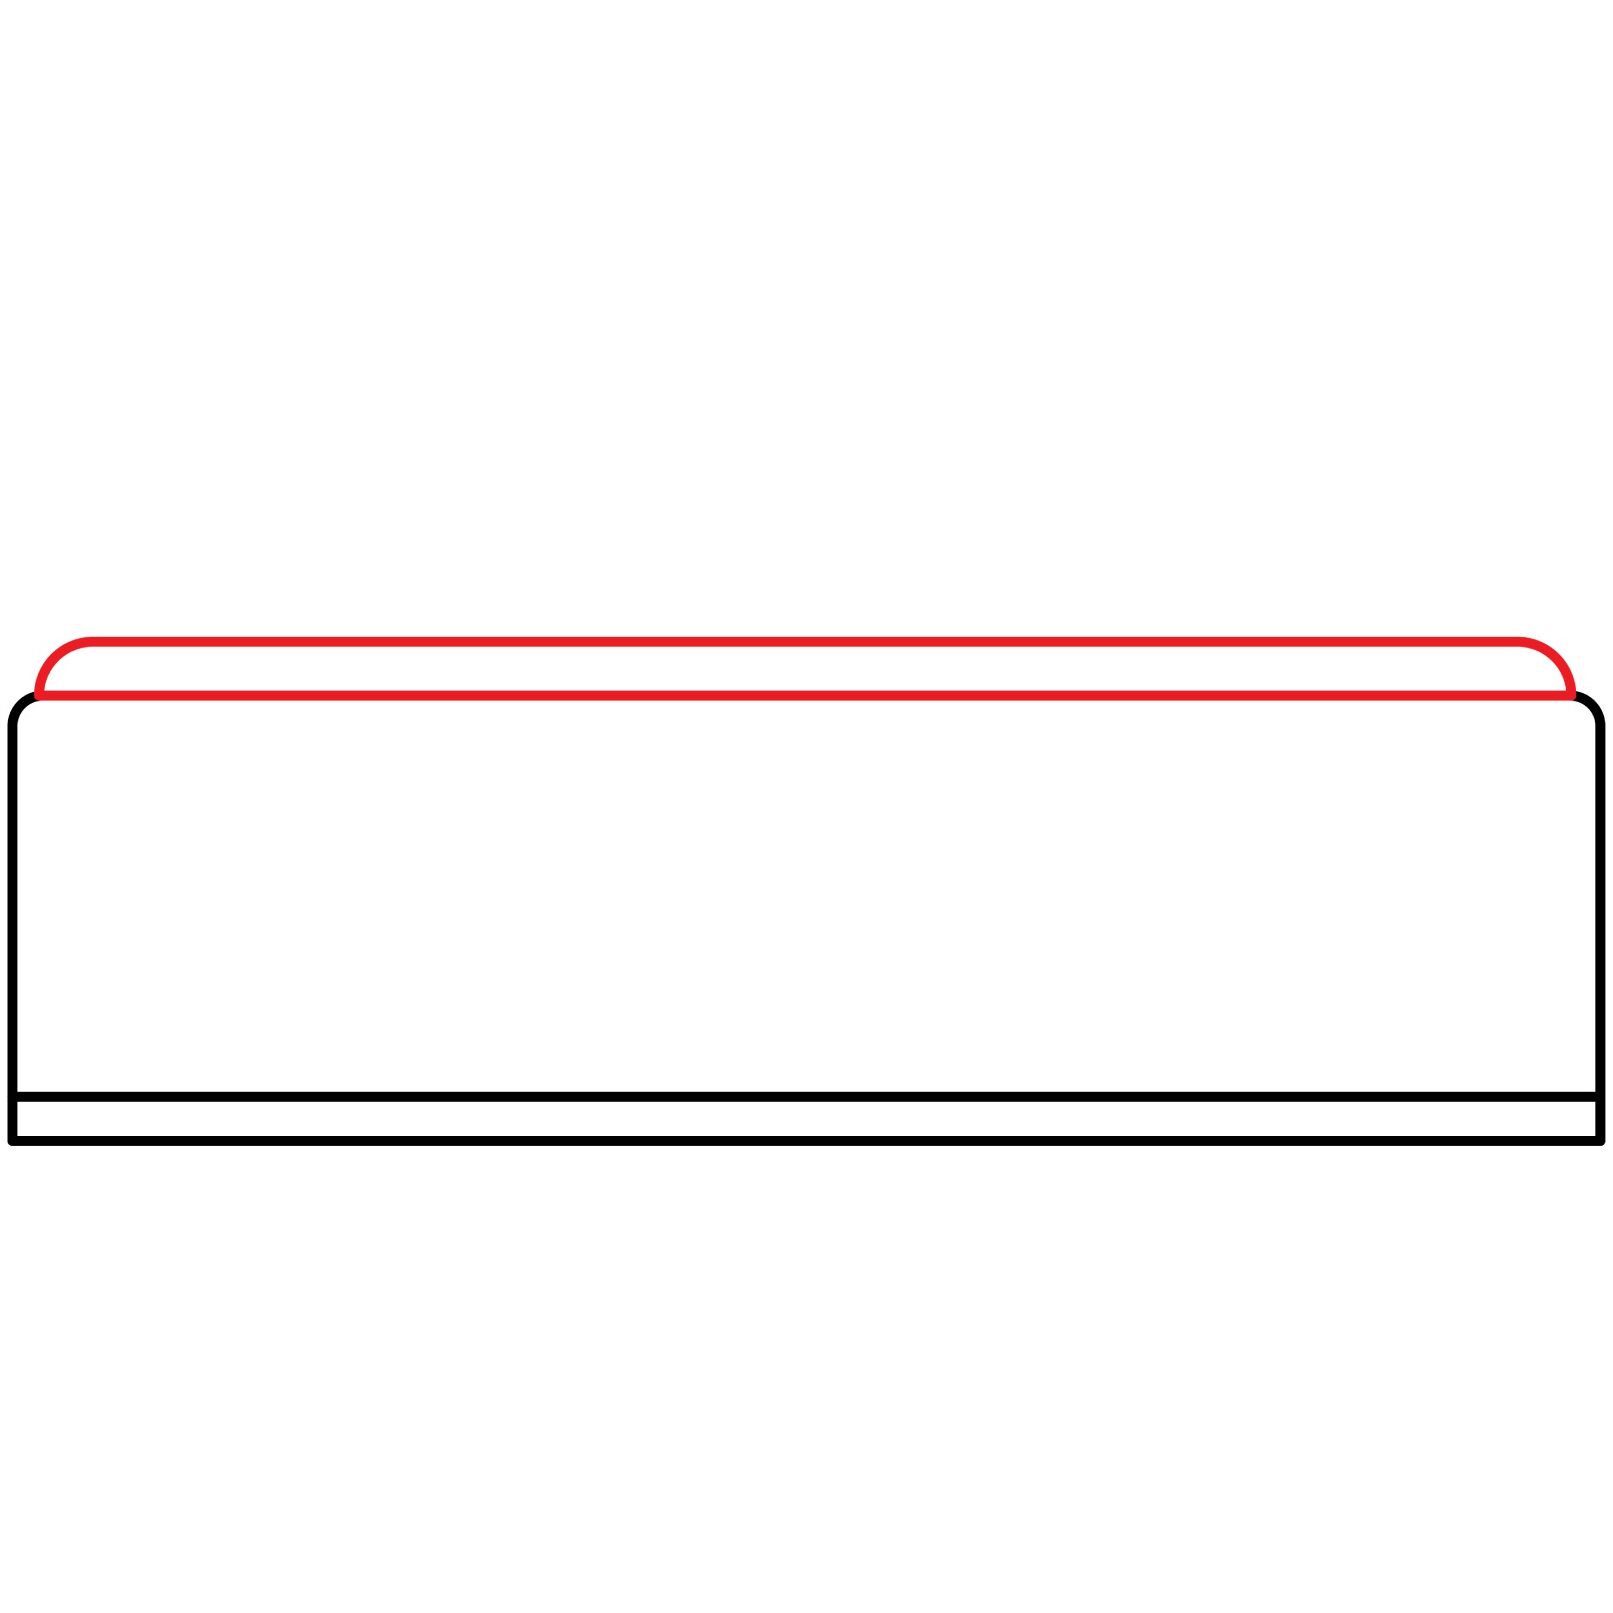
Step 3: Draw the Roof
We don’t want our passengers to get wet when it rains, do we? That is why our tram needs a roof. The roof of the tram is where the trolley pole is attached and where the box that shows the destination of the tram is mounted. The roof should, therefore not be too thin because so many components are mounted on it.
To draw the roof, take your ruler and draw a rectangle on top of the tram. The rectangle should be slightly shorter than the length of the tram’s body as shown in the below illustration. It should also be wider than the rectangle we used for the bottom part.
The roof of a tram is usually rounded. As a result, we will make the top corners of the rectangle we added for the roof a bit rounded. Use your eraser to remove the sharp corners and replace them with rounded corners.
- Draw a flattened rectangle to depict the roof
- Make the top corners rounded
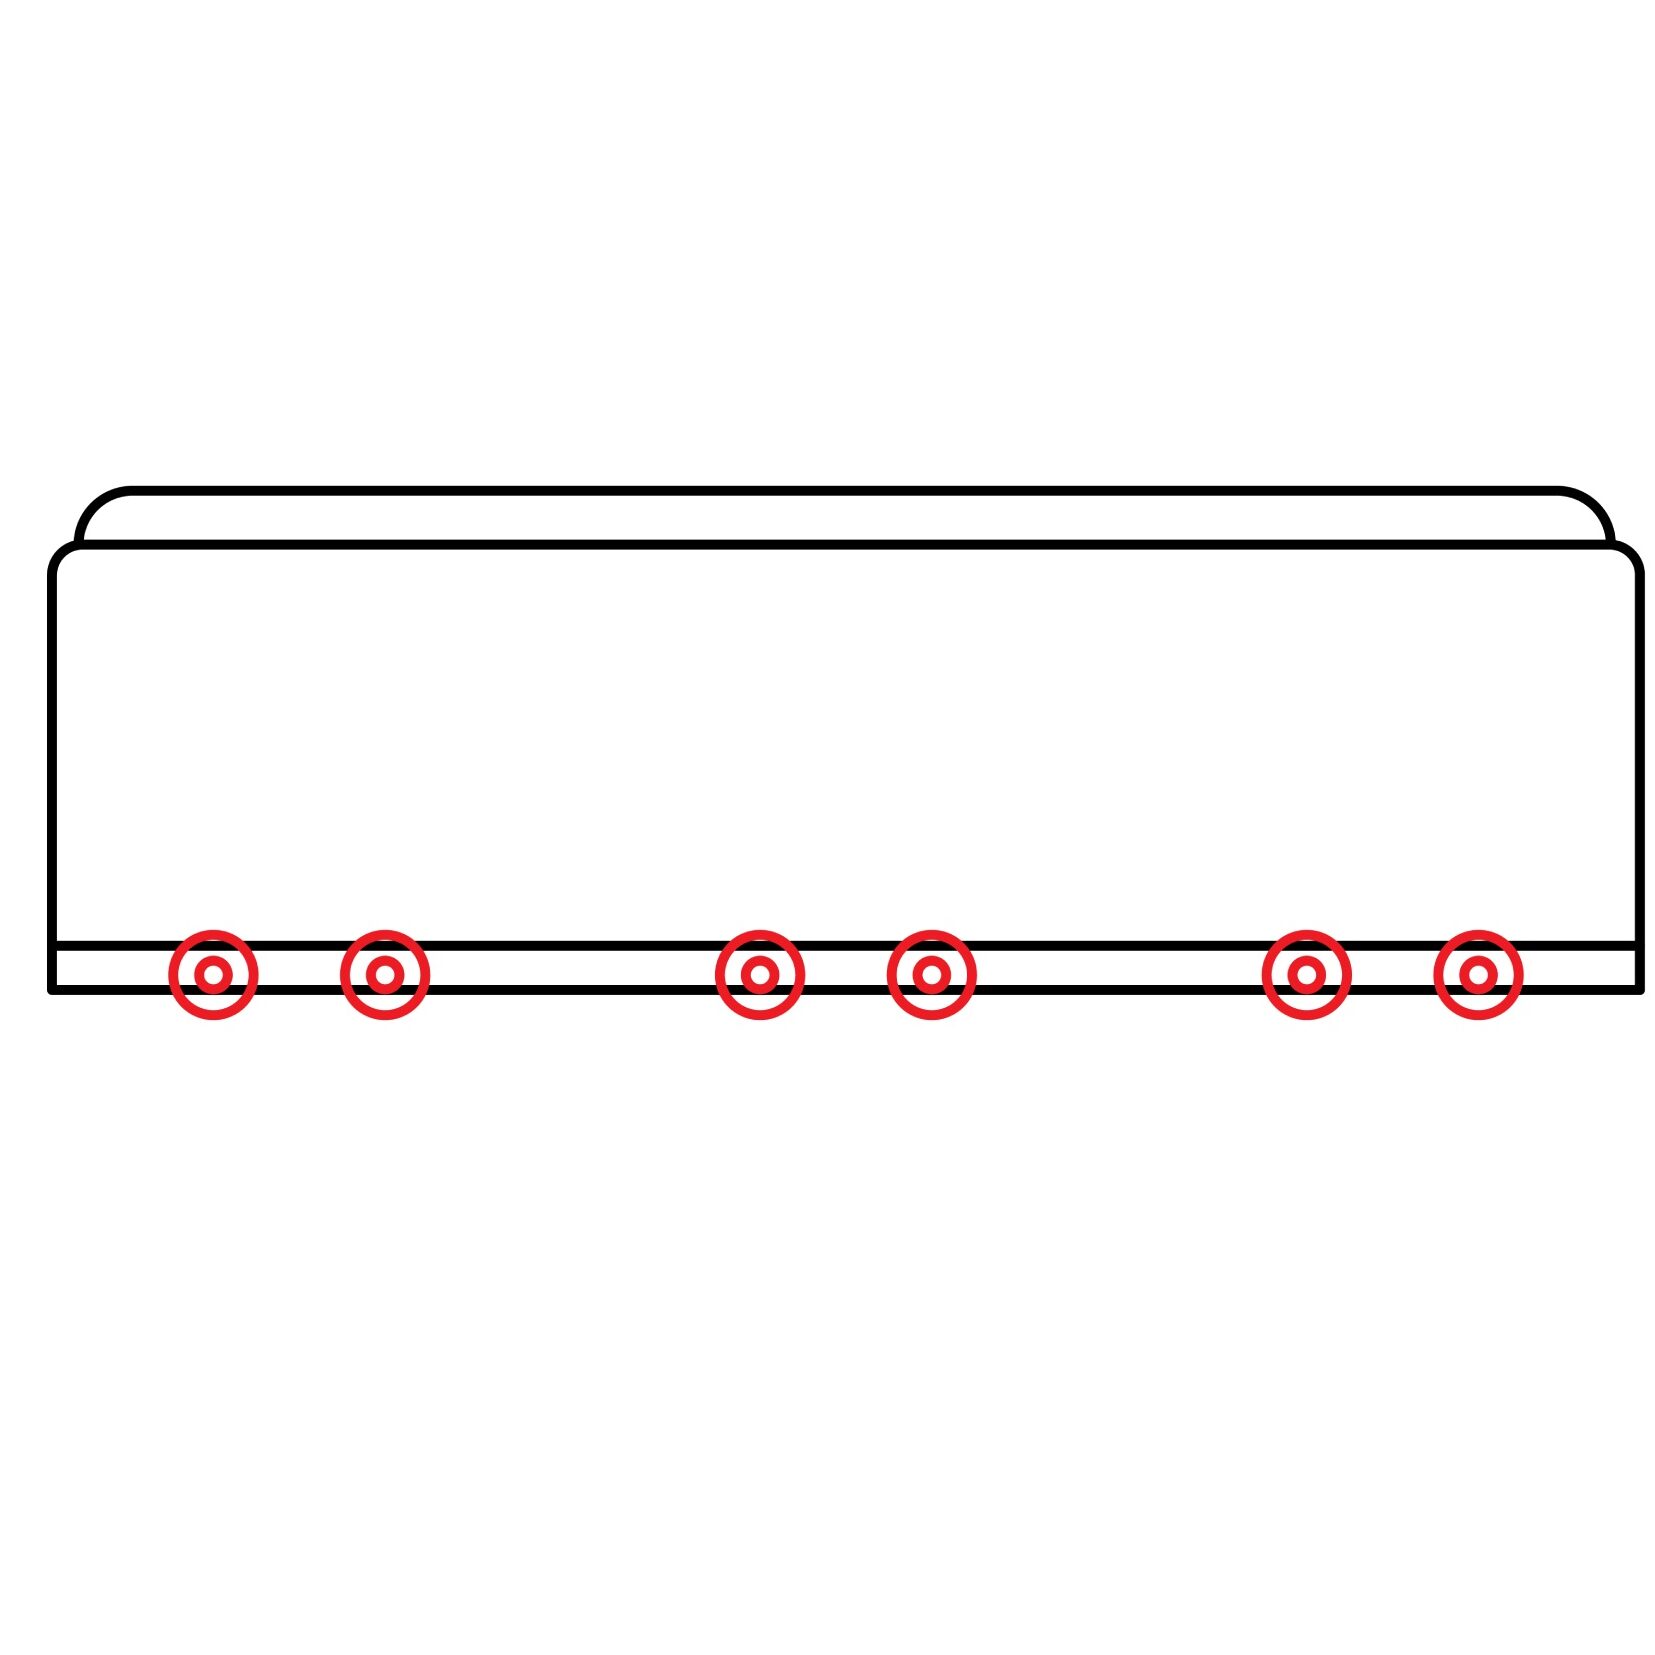
Step 4: Draw the Wheels
As we mentioned earlier, a tram needs wheels to help it move on the rail. The wheels are set on the rail tracks and allow the tram to move smoothly and safely. Unlike a bus that has about six wheels, a tram has multiple wheels set at different intervals on the bottom part. For our tram, we will add the six wheels that are visible. The other wheels will be on the other side of the vehicle.
Draw six small circles on the bottom part of the tram. The wheels of a tram always appear to be in pairs so draw three pairs with two circles close to each other as shown in the below illustration. For realism, add one smaller circle on each of the wheels.
You should make sure that the circles for the wheel don’t go into the body of the tram. The wheels should sit on the bottom of the tram and should be large enough to hang slightly below the bottom part of the tram.
- Draw three pairs of circles to serve as the wheels
- The circles should remain on the bottom part of the tram
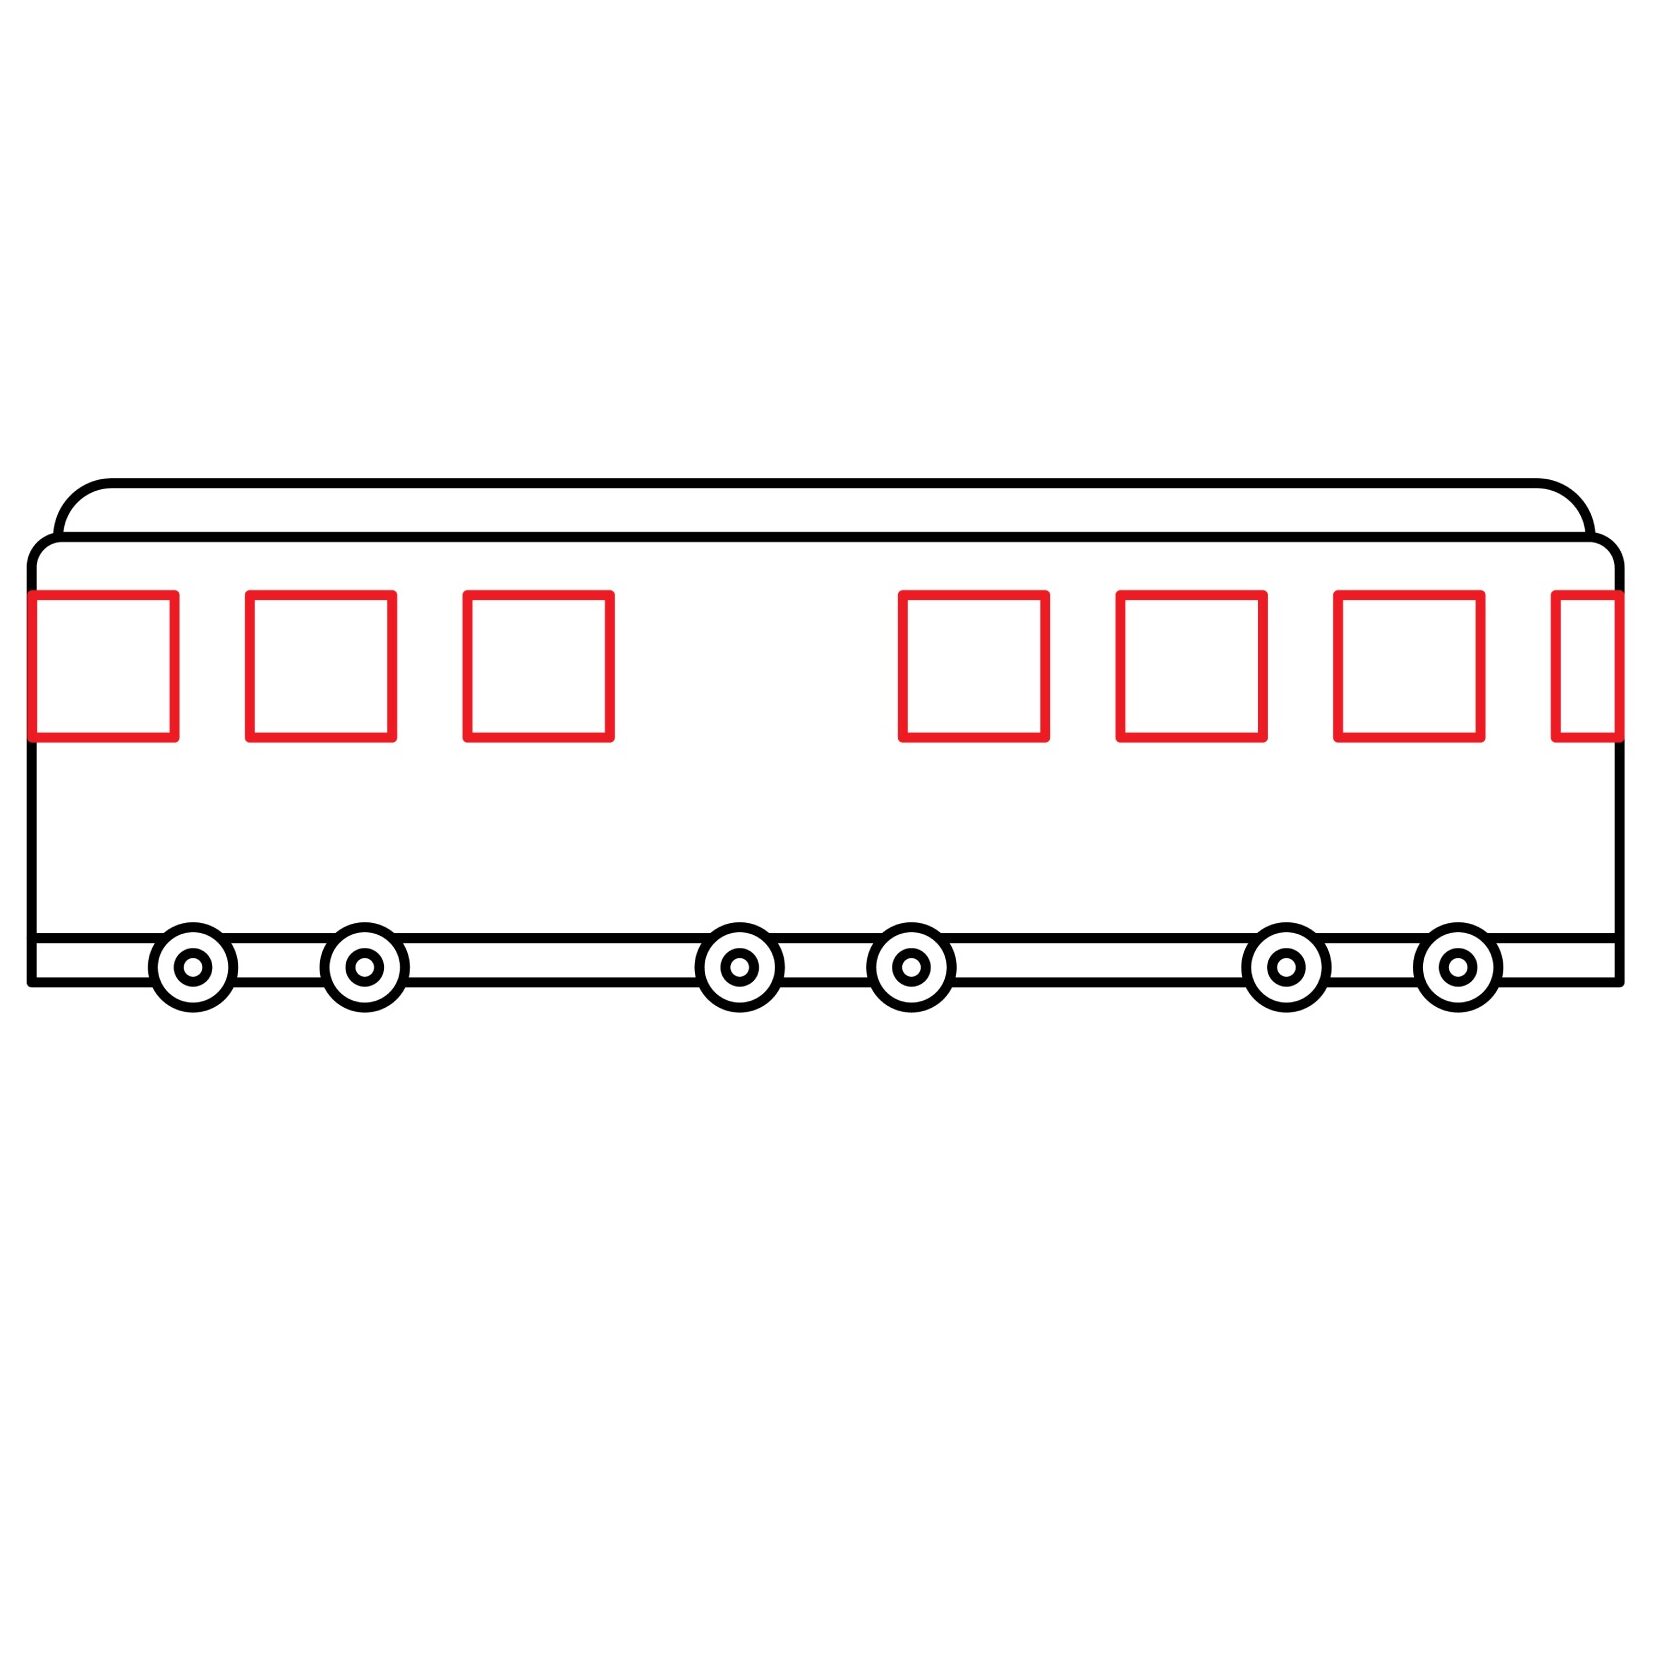
Step 5: Draw the Windows
We want the passengers to be able to know where they are so that they can ask the conductor to stop the tram when they get to their destination. We also want natural light to get into the tram. Just like a bus, a tram has a lot of windows. They are spread out throughout the length of the car.
To add the windows, you need to draw small squares on the length of the tram’s body as shown in our illustration. Be sure to leave an area with no windows in the middle of the car. We will add a door to that space. The windows need to be of the same length and height. They should also be in the same level.
- Use squares to draw windows
- Keep the squares the same size and at the same level
- Leave a space in the middle for the door
A pro tip you can use to draw the windows is to use a calibrated ruler to draw a straight line right below the roof of the tram. Leave a small space between the roof and the line. Next, draw another line below the first one to represent the bottom part of the windows.
Using the calibrations on your ruler, draw markers along the bottom line. The marks should be of equal length for the windows and for the spaces between the windows. It is okay for the last window to have a shorter length. Next, using the marks you made, draw vertical lines that connect the top line to the bottom one.
Use the eraser to remove the horizontal lines that appear between the windows and the area we are reserving for the door.
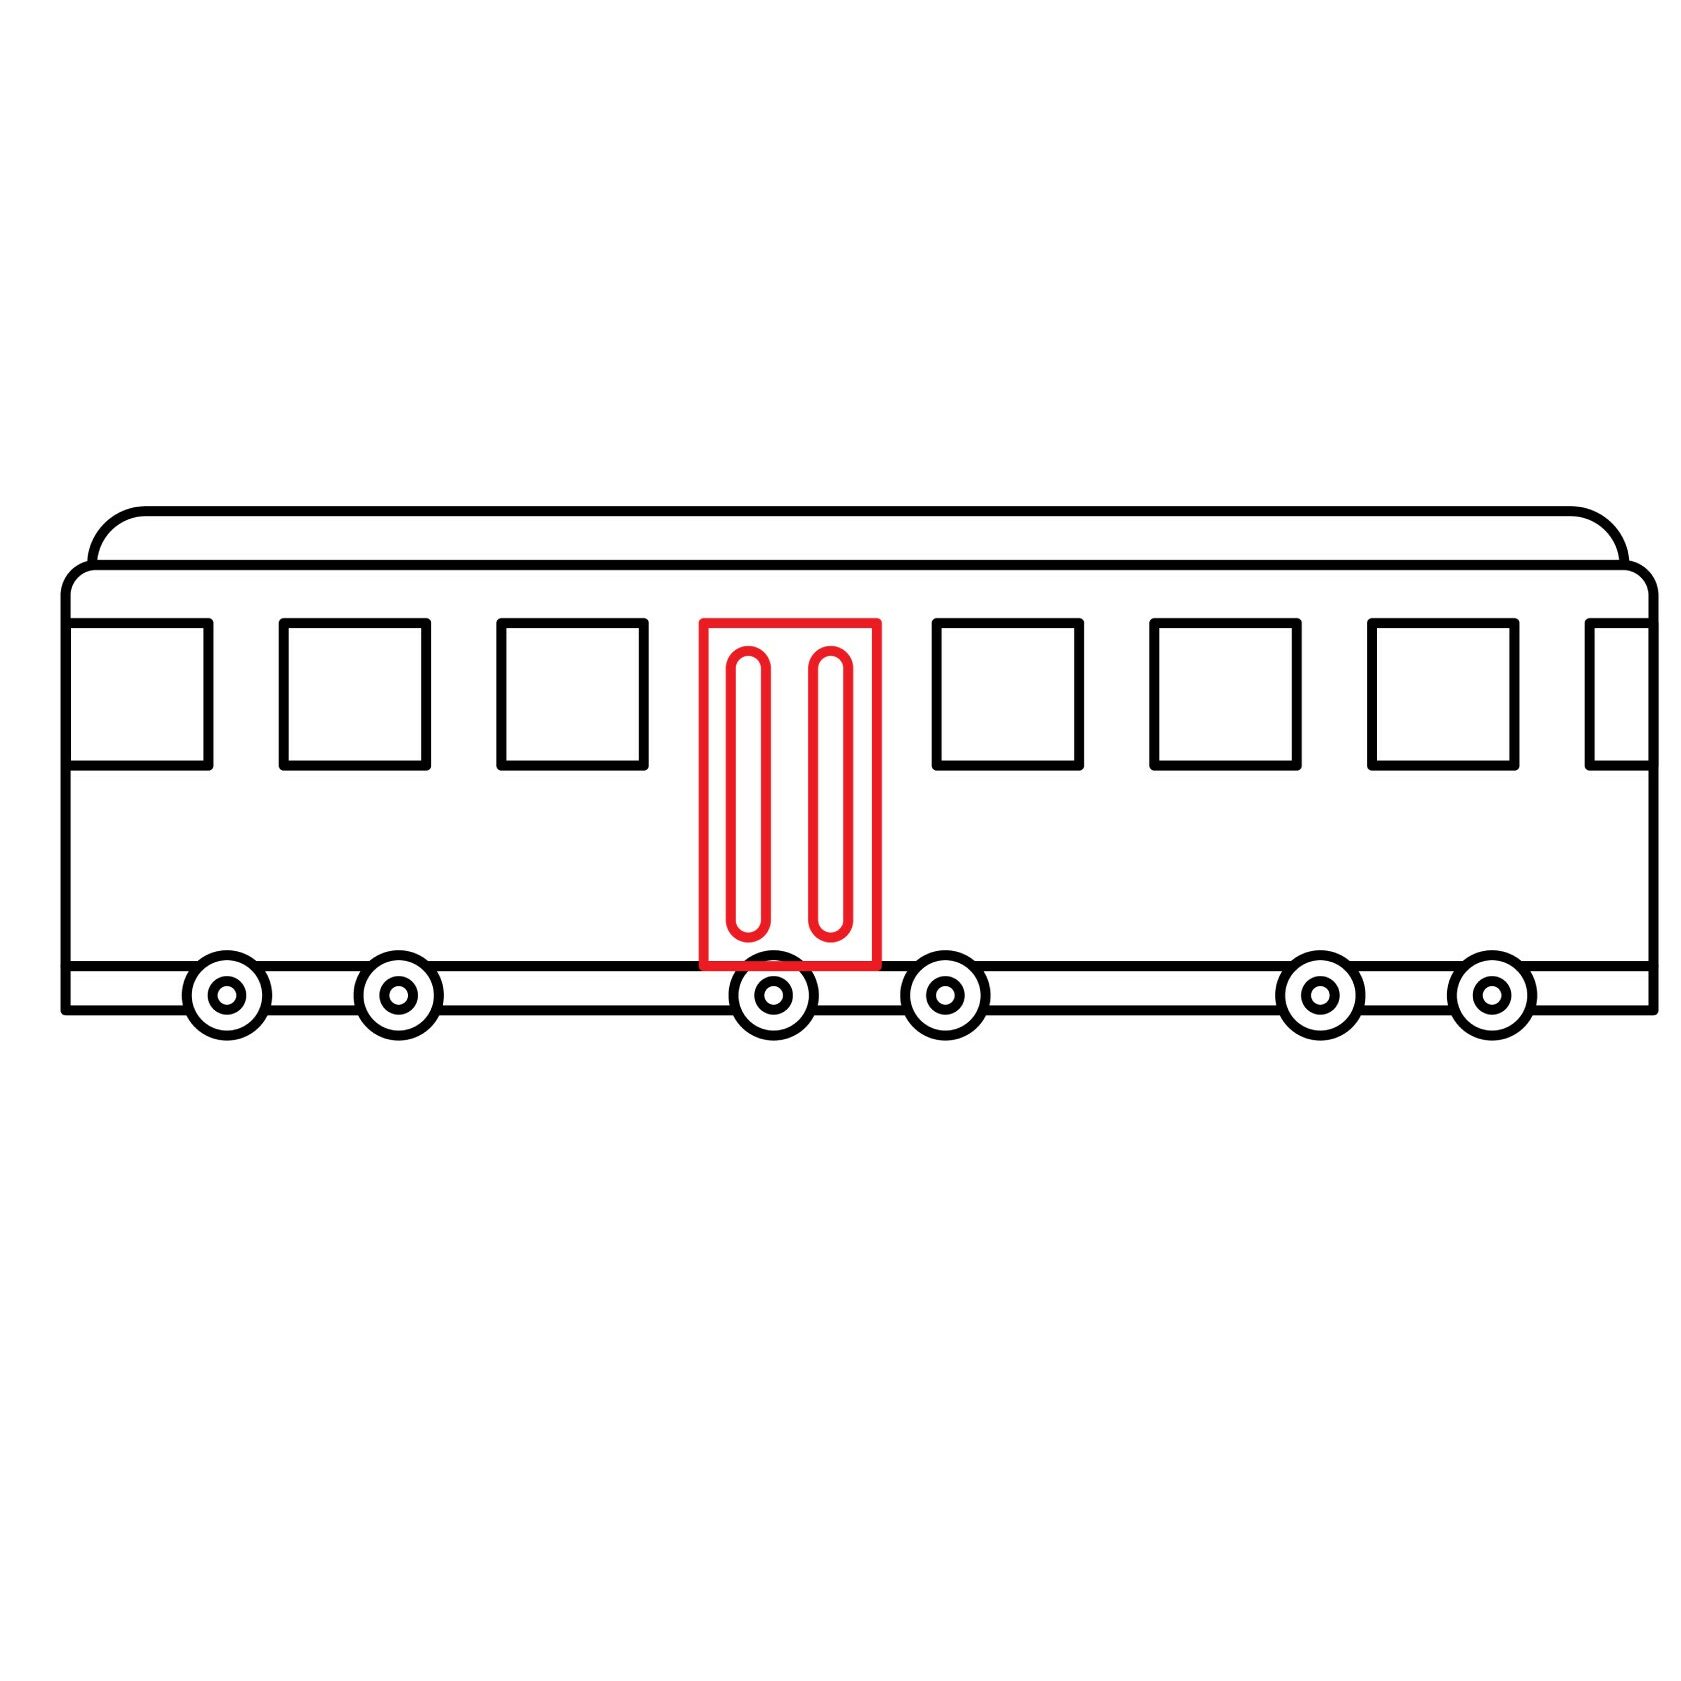
Step 6: Draw the Door
For the passengers to board the tram, we need a door. This will be added in the space we left with no windows. Draw a rectangle that starts from the bottom of the tram’s body and stops at the same height as the windows as shown in our illustration.
To make our door resemble that of a modern tram, we will add two rectangles with rounded corners inside the door as shown above.
- Draw a vertical rectangle in the empty space we left without windows
- Add two vertical rectangles inside the first one to depict windows
- Make the corners of the two vertical rectangles rounded
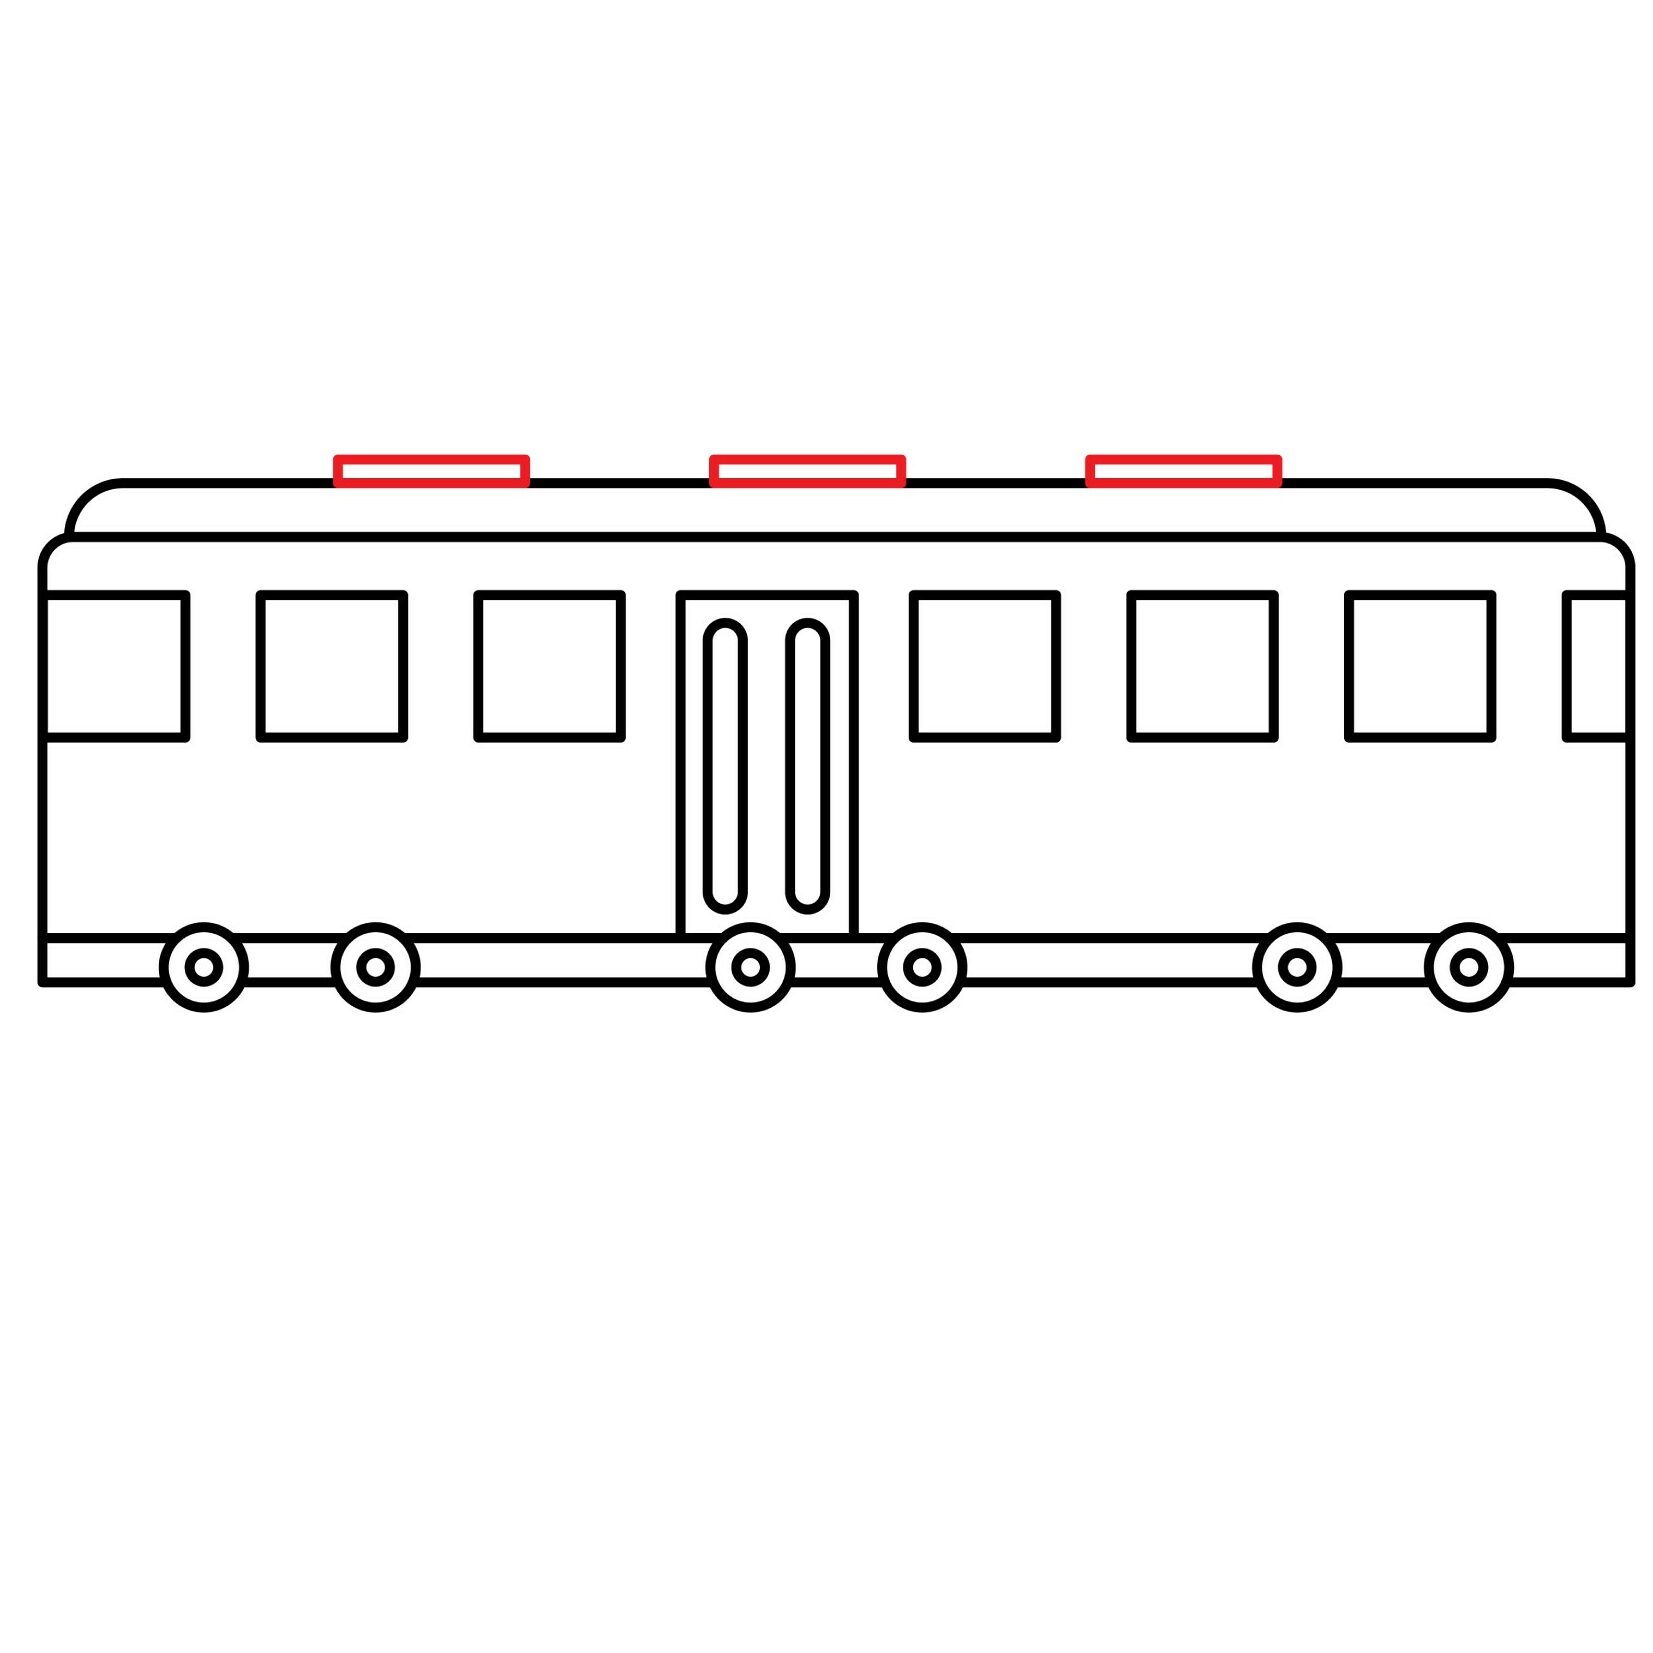
Step 7: Draw Ventilations on the Roof
Trams carry a lot of people. As a result, they need proper ventilation to avoid stuffiness. The ventilations are located on the roof. Draw three flattened rectangles on the roof to serve as the air windows. Make sure they are evenly spaced as shown in our illustration below.
- Add three, flattened rectangles on the roof to depict ventilation
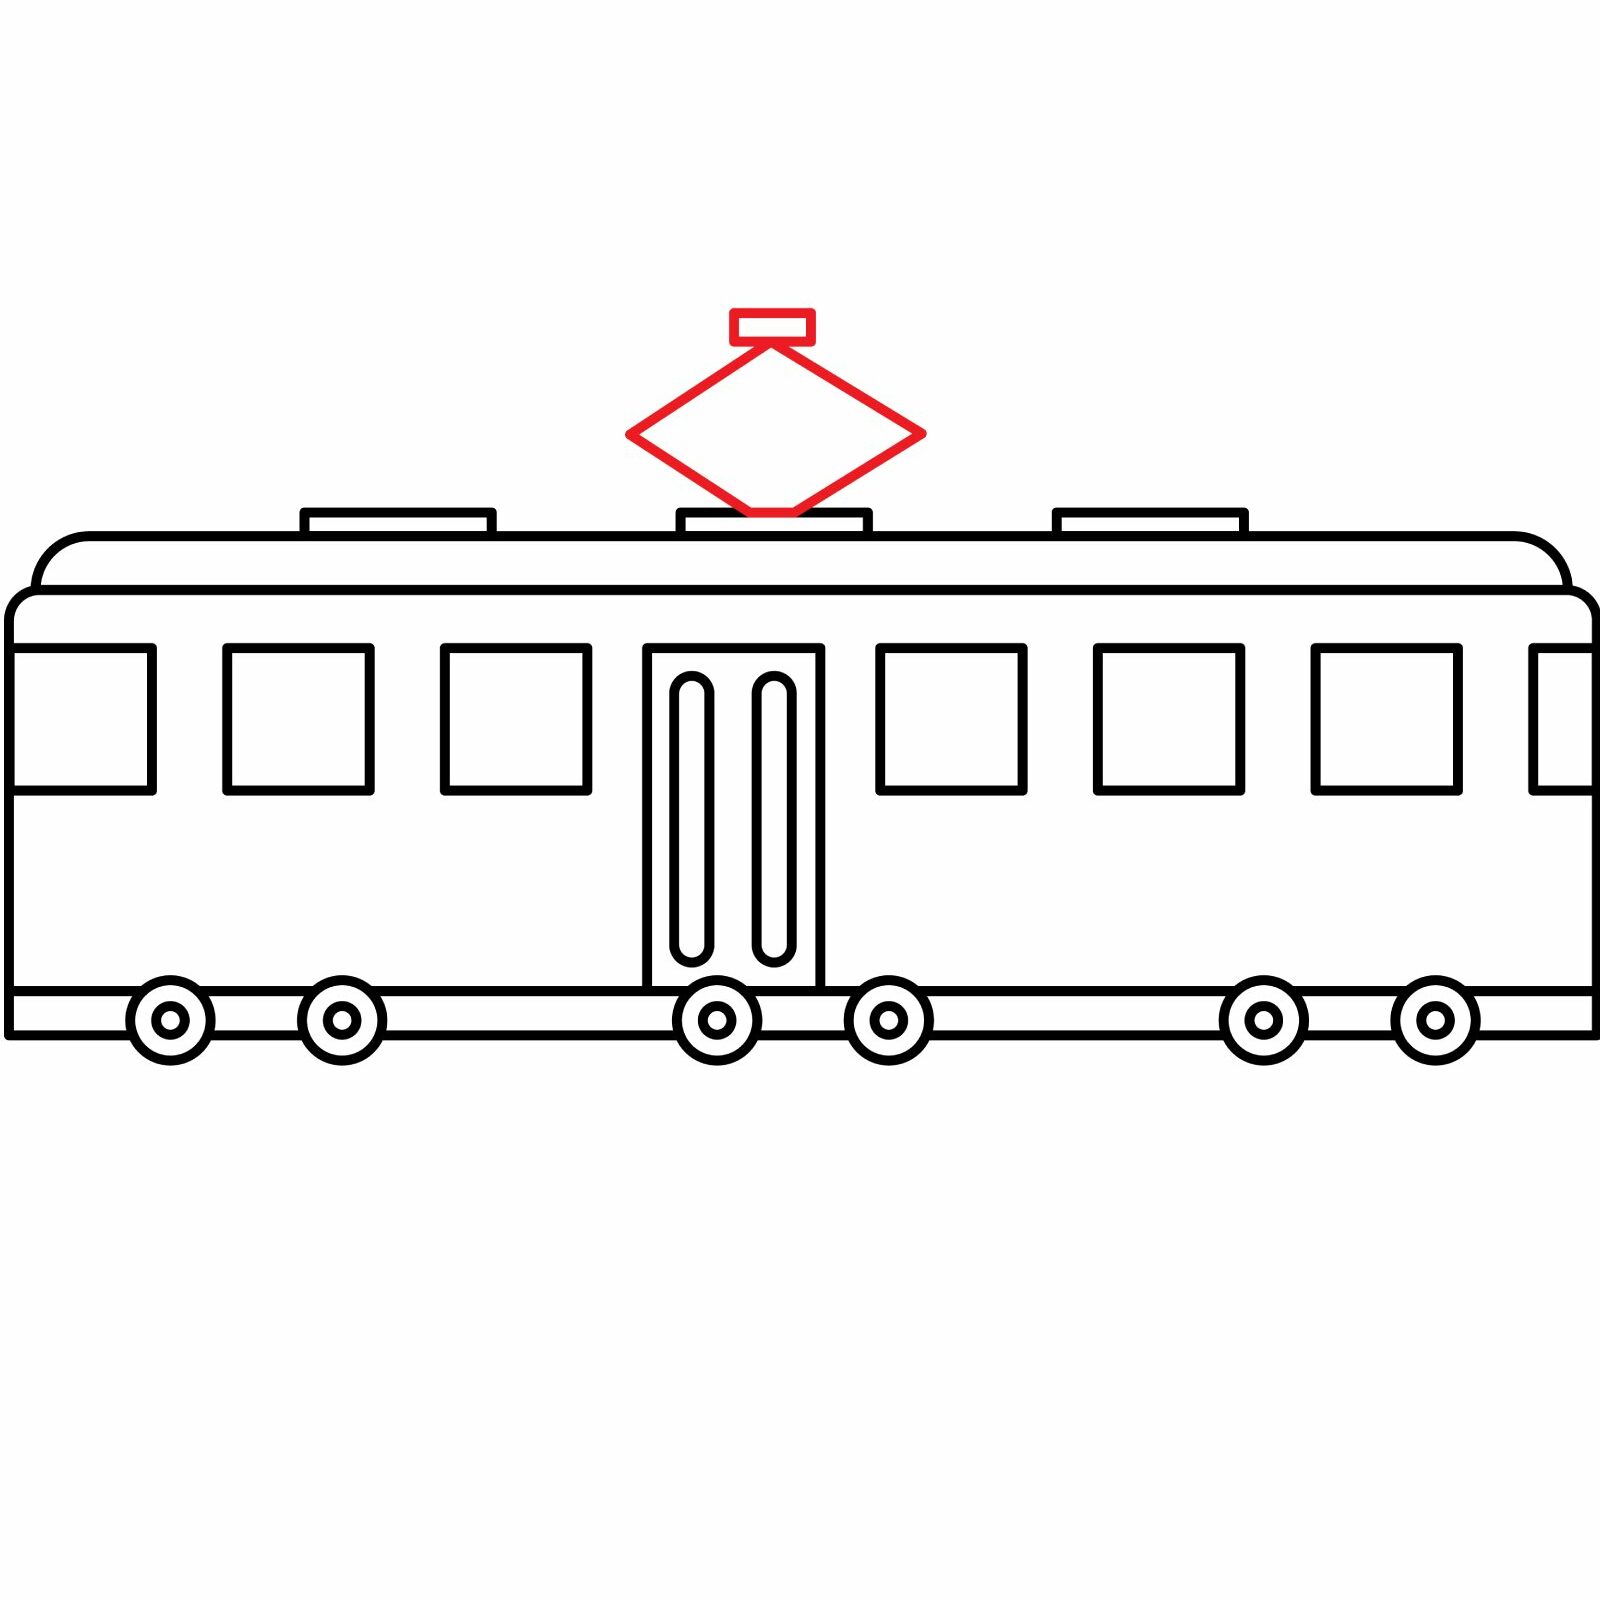
Step 8: Draw the Hooking System
Modern trams are electric. They are powered by a tram wire system that hangs overhead. The connection is made using a hooking system located on the roof of the tram.
To add the hooking system, draw a slanted square on top of the middle ventilation window. You should then add a tiny rectangle on top of the slanted square.
- Draw a diagonal square on the roof
- Add a small rectangle on top of the square
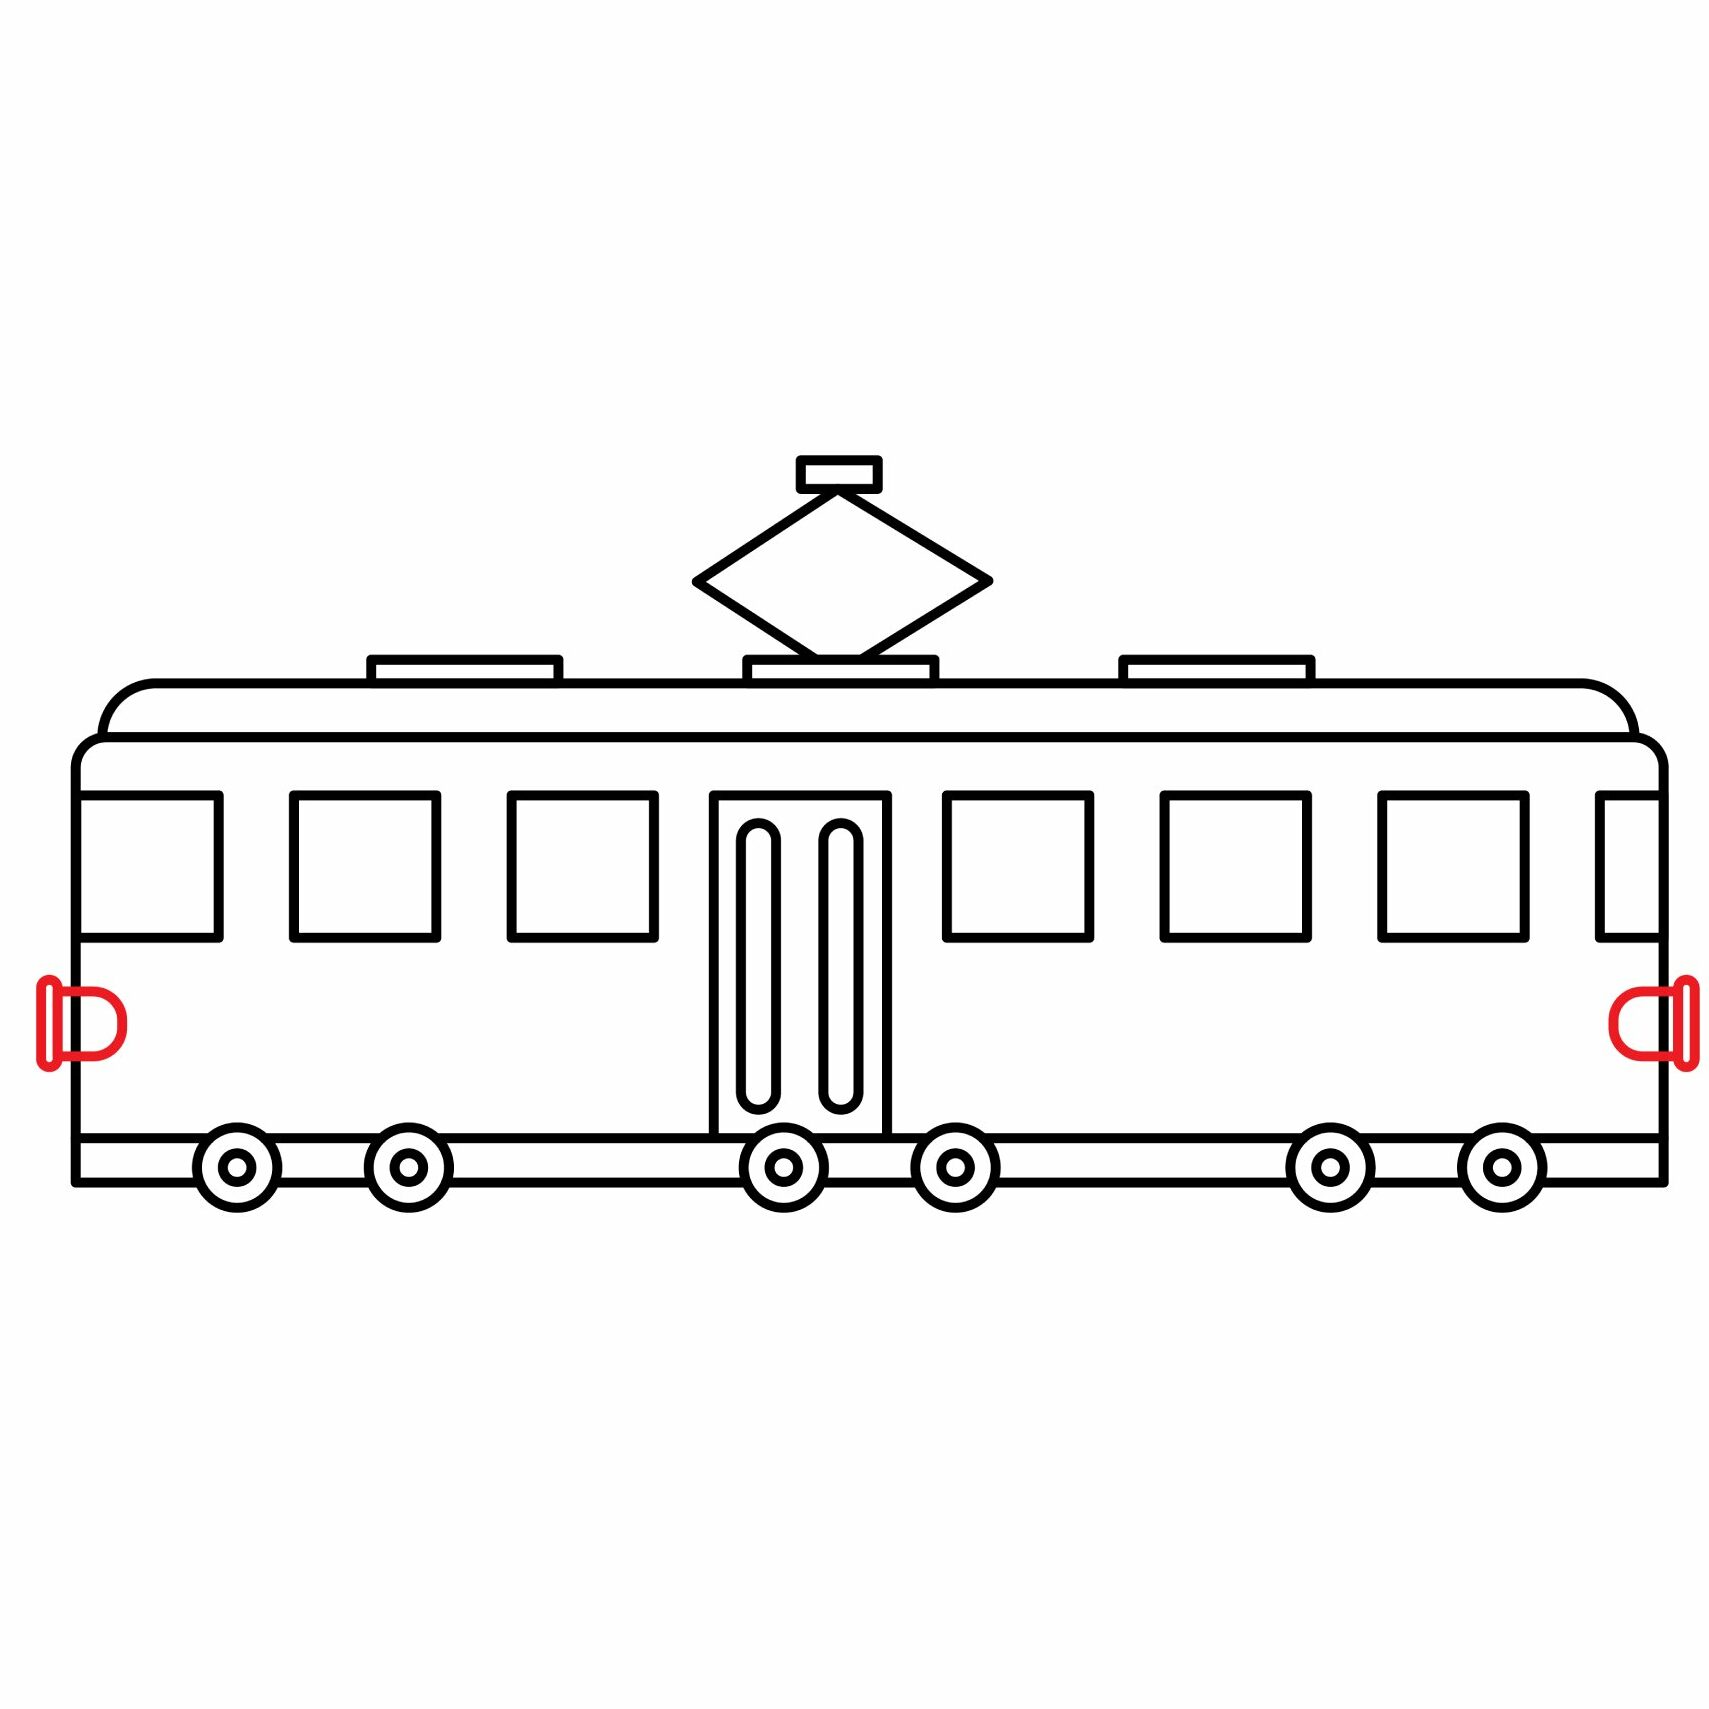
Step 9: Draw the Headlights
While a tram follows a fixed route, the conductor still needs to know if the rail is clear. That is why a tram needs headlights when it gets dark. Draw a small semi-circle on either end of the tram’s body, right below the windows, and then add a small elongated rectangle with rounded edges beside the semi-circle as shown in our illustration.
- Draw a semi-circle on either end of the tram’s body
- Add a vertical rectangle on the semi-cicles
Step 10: The Tram is Ready
Does your drawing look similar to the one below? If not, it is time to refine it. Use the eraser to refine the areas that are way off.
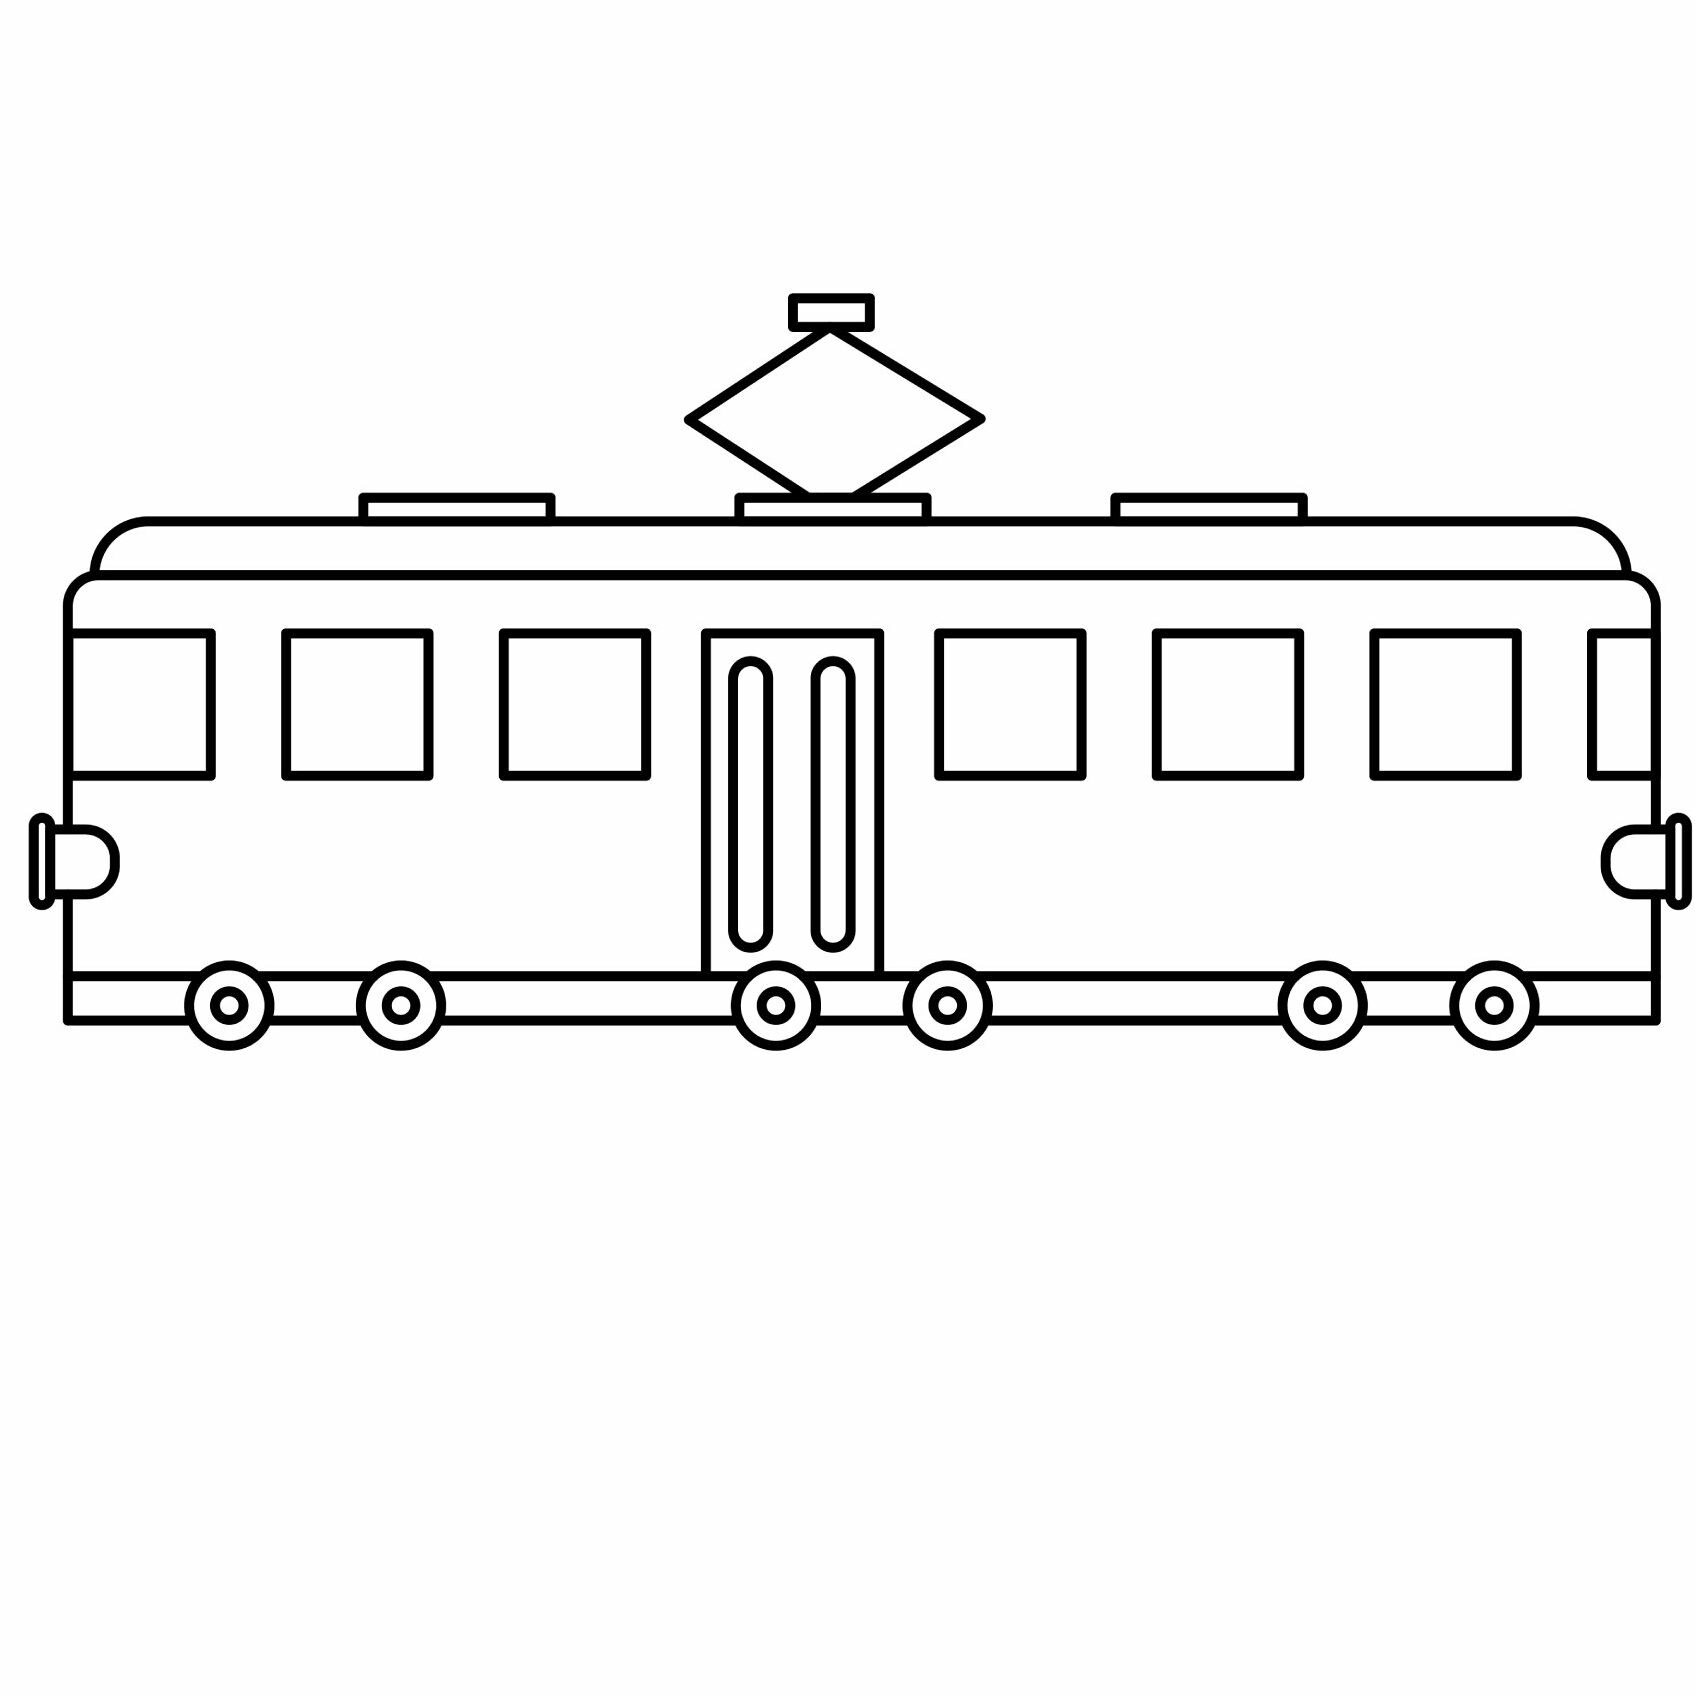
Keep in mind that your tram doesn’t need to be perfect. There is always room for improvement. Don’t be frustrated if your drawing is way off.
Take the Drawing to the Next Level
You can leave your tram as it is if you want. However, because we need an impressive drawing, we will add more details.
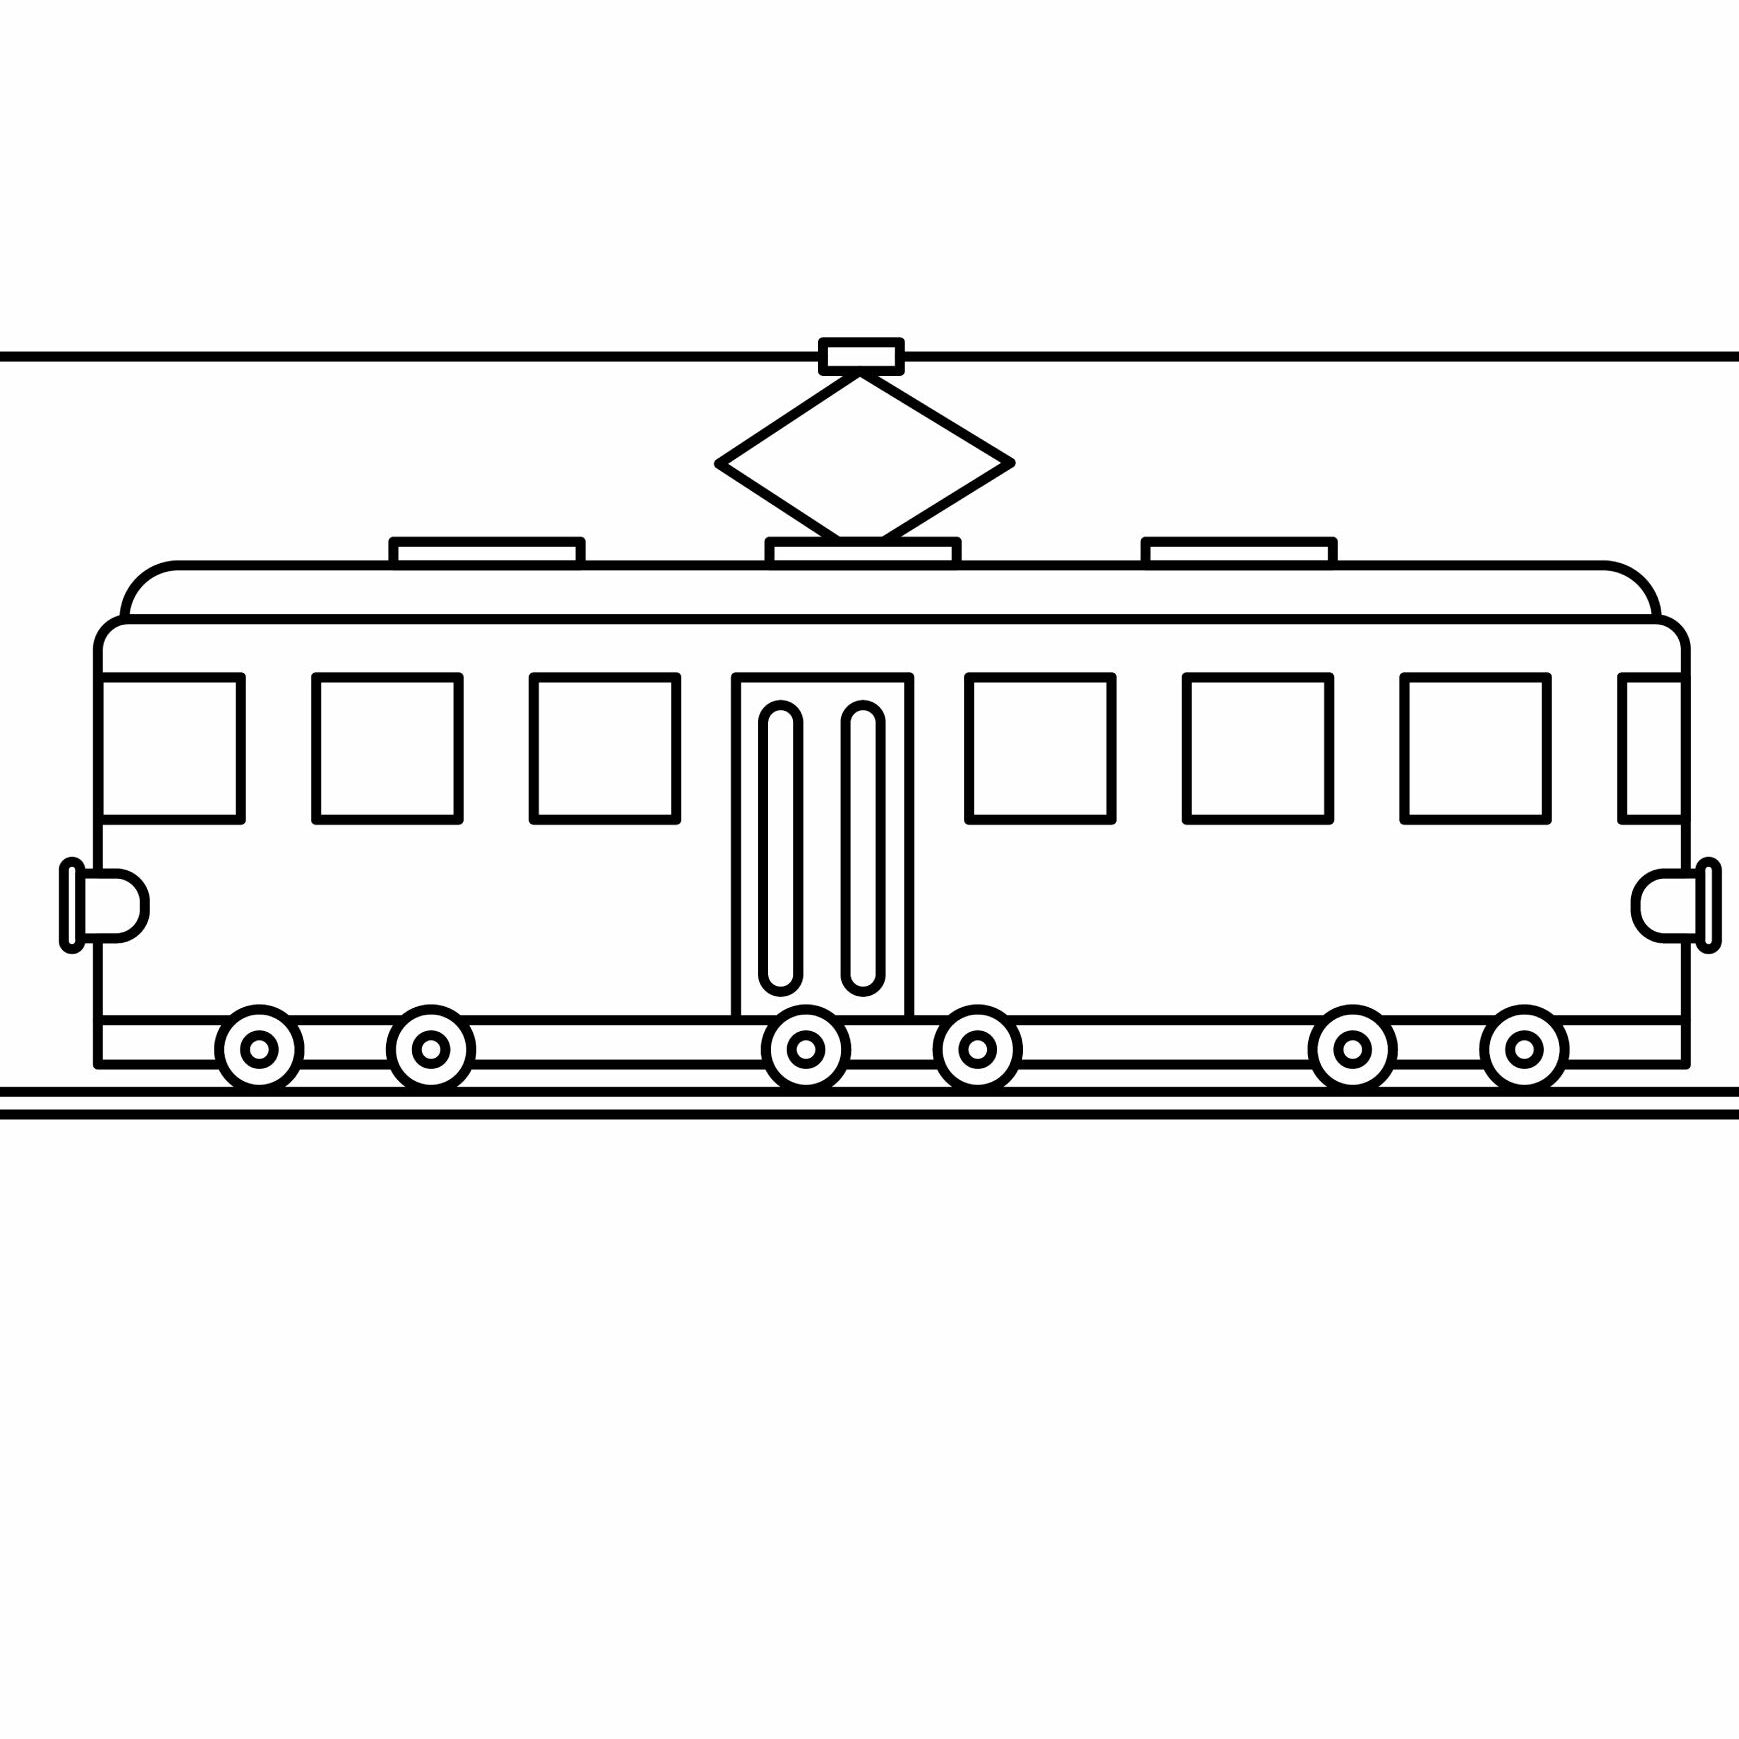
Step 11: Add the Rail and Overhead Cable
To make the drawing more impressive, use your ruler to add a straight line above the tram. The line should go into the small rectangle we added above the slanted square on the hooking system.
Next, we need to add the rail by drawing an elongated rectangle below the wheels as shown above.
- Draw a line that passes through the rectangle on the slanted square
- Draw two parallel lines below the wheels to depict the rail
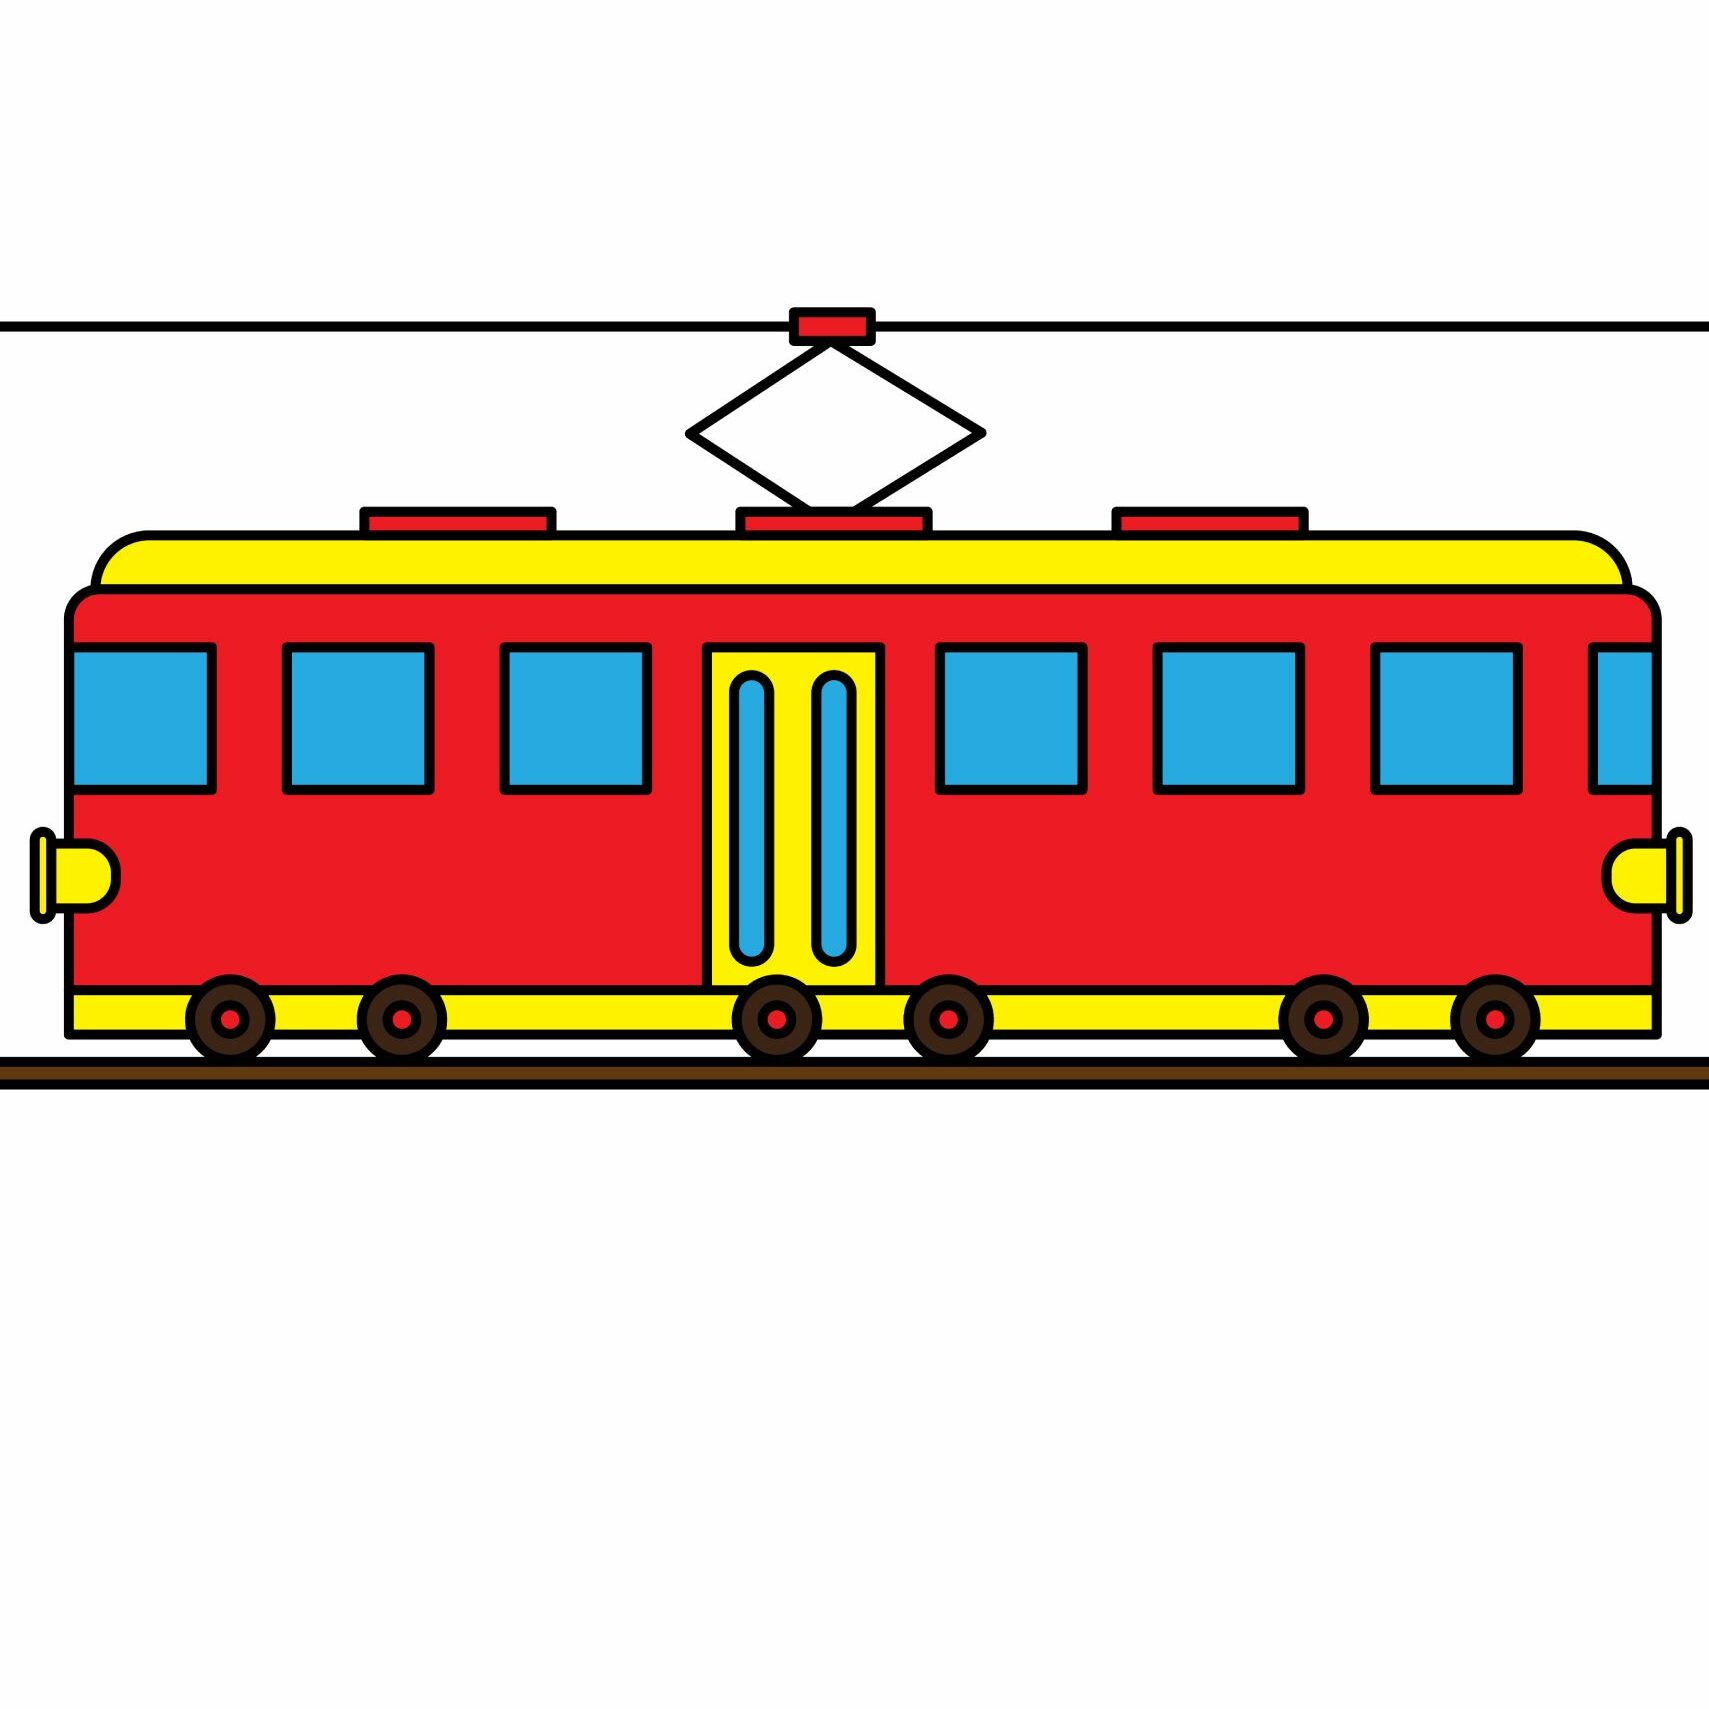
Step 12: Color Your Drawing
The final step is all about coloring your drawing. Use your coloring supplies to go wild with the colors. Make sure the colors don’t spill outside the areas you are coloring.
Conclusion
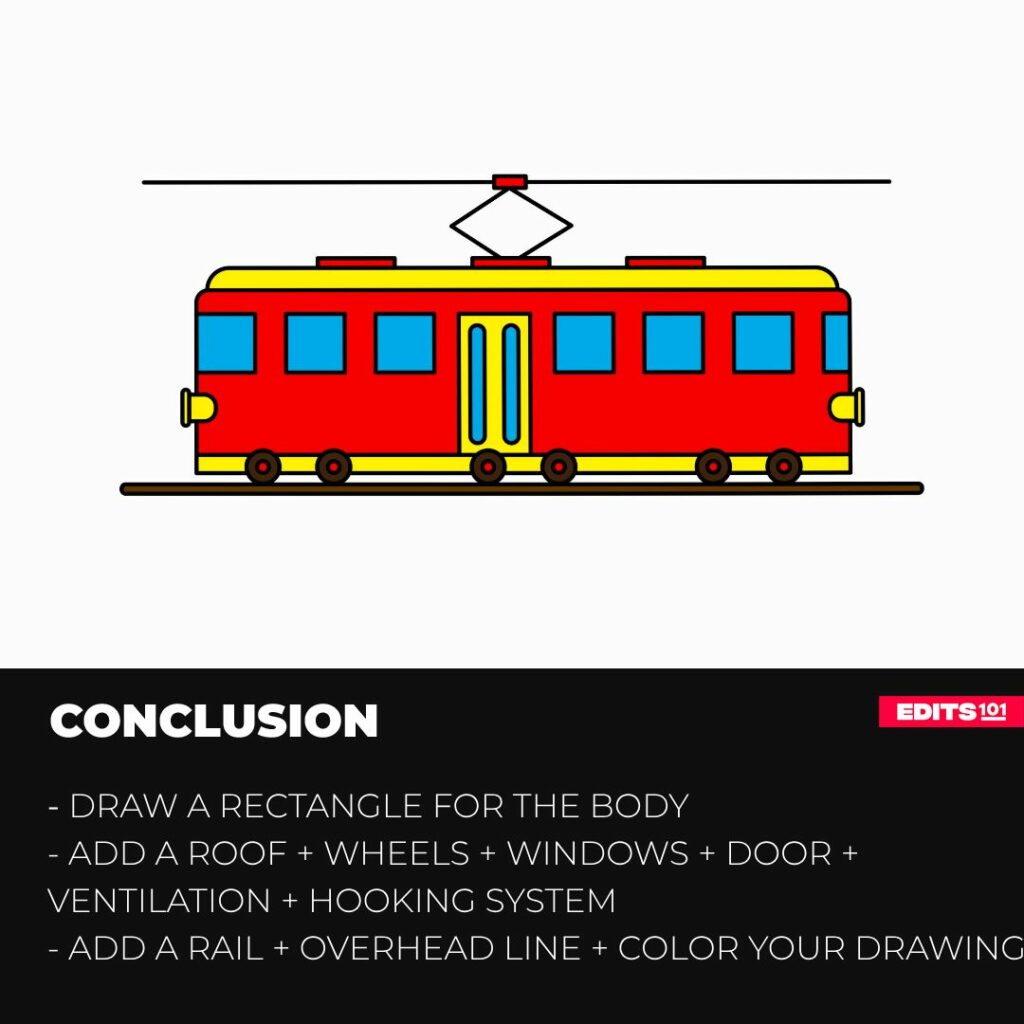
In this article, we looked at how to draw a beautiful tram and shared interesting facts about this electric vehicle. We started by drawing the body of the tram then added the bottom part, the roof, the wheels, the windows, the door, the ventilation, and then the electric hooking system.
To make our tram more interesting, we added the overhead cable and the rail. We then used our coloring supplies to add color to our tram.
Always remember that creating a great drawing takes practice and patience. Keep drawing and above all, have fun.
Thanks for reading & feel free to check out more of our articles!
Author Rating
Overall Rating
Summary
Take a look at the steps you should follow to draw a convincing tram. You will also learn a few interesting facts about this vehicle.