How To Draw A Volleyball Jersey | An Effortless Illustration
Volleyball is a fun and exciting sport that is popular worldwide. Firstly, the material used in their construction is often specialized to wick away moisture, allowing players to stay calm and comfortable even in the heat of a match. Additionally, many jerseys incorporate technology that helps reduce friction between the fabric and the skin, preventing chafing and irritation during intense play.
Another fun fact is that volleyball jerseys often feature unique designs and vibrant colors, allowing teams to showcase their identity and spirit on the court. Some jerseys have built-in UV protection, shielding players from the sun’s harmful rays during outdoor matches. Moreover, jersey numbers serve a practical purpose in the game, helping referees and teammates identify players quickly. These numbers are typically strategically placed on the jersey’s front and back for maximum visibility.
| Step | Design Complexity |
| 1. Draw the Outline | 2 |
| 2. Add the Neckline | 3 |
| 3. Draw the Design | 4 |
| 4. Draw the Logo | 4 |
| 5. Add Jersey Number | 3 |
| 6. Color the Drawing | 5 |
| 7. Add a Background | 4 |
What You Will Need
- Paper
- Pencil
- Eraser
- Colored pencils, markers, or crayons for coloring (optional)
How to draw a volleyball jersey
Drawing a volleyball jersey can be a great way to show your team spirit or appreciate the sport. In this guide, we’ll walk you through the steps to draw your volleyball jersey. Whether you’re an aspiring artist or just looking for a fun art activity, drawing a volleyball jersey is an enjoyable way to express creativity. So grab your drawing supplies, and we will get started.

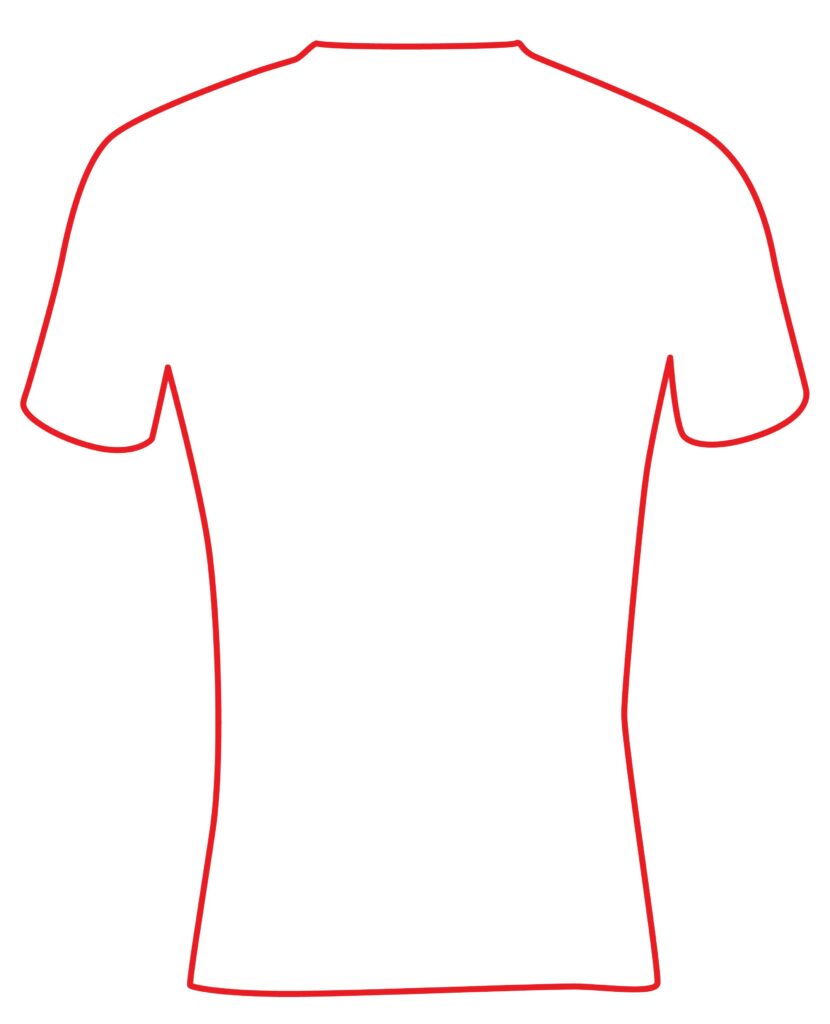
Step 1: Draw the Outline
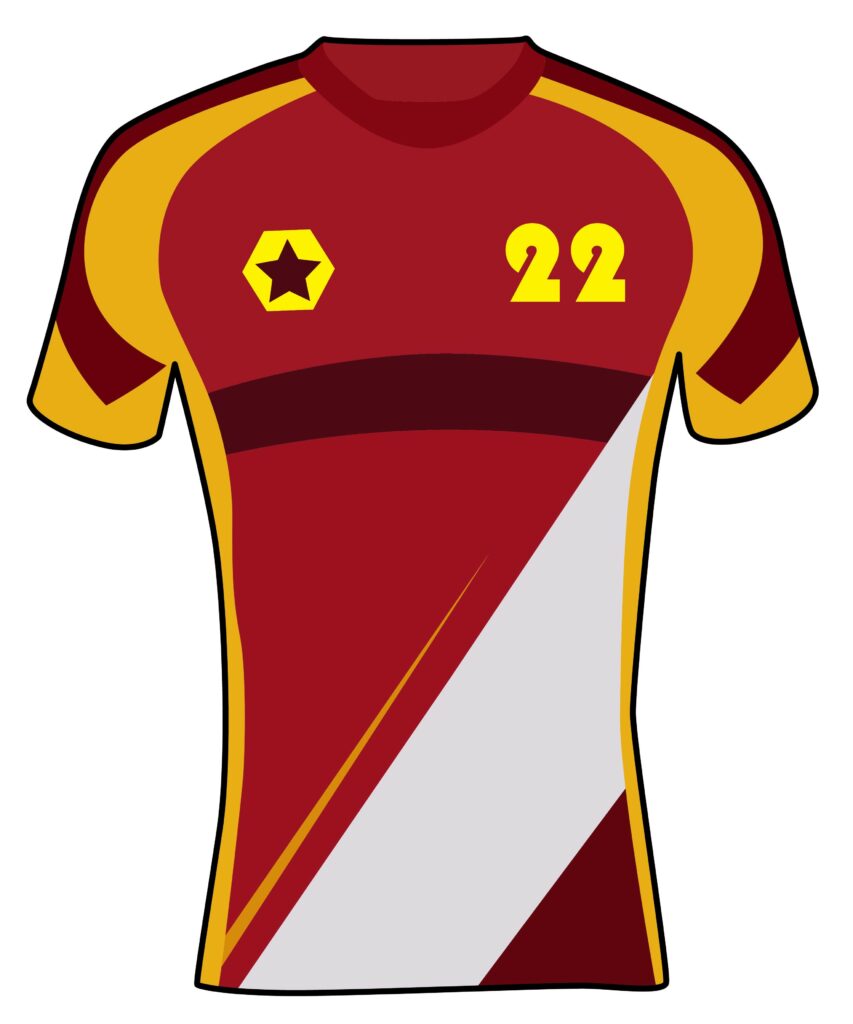
First, outline the volleyball jersey in the middle of your paper using a pencil. Use light, sketchy lines to map out the basic shape. The jersey should have short sleeves, a v-neck collar, and a slightly curved hem at the bottom, like the soccer jersey. Draw multiple lines to get the proportions right before darkening a final outline.
- Sketch the basic shape lightly in pencil
- Include short sleeves, a v-neck collar, and a curved shirt hem
- Use multiple lines to perfect the proportions
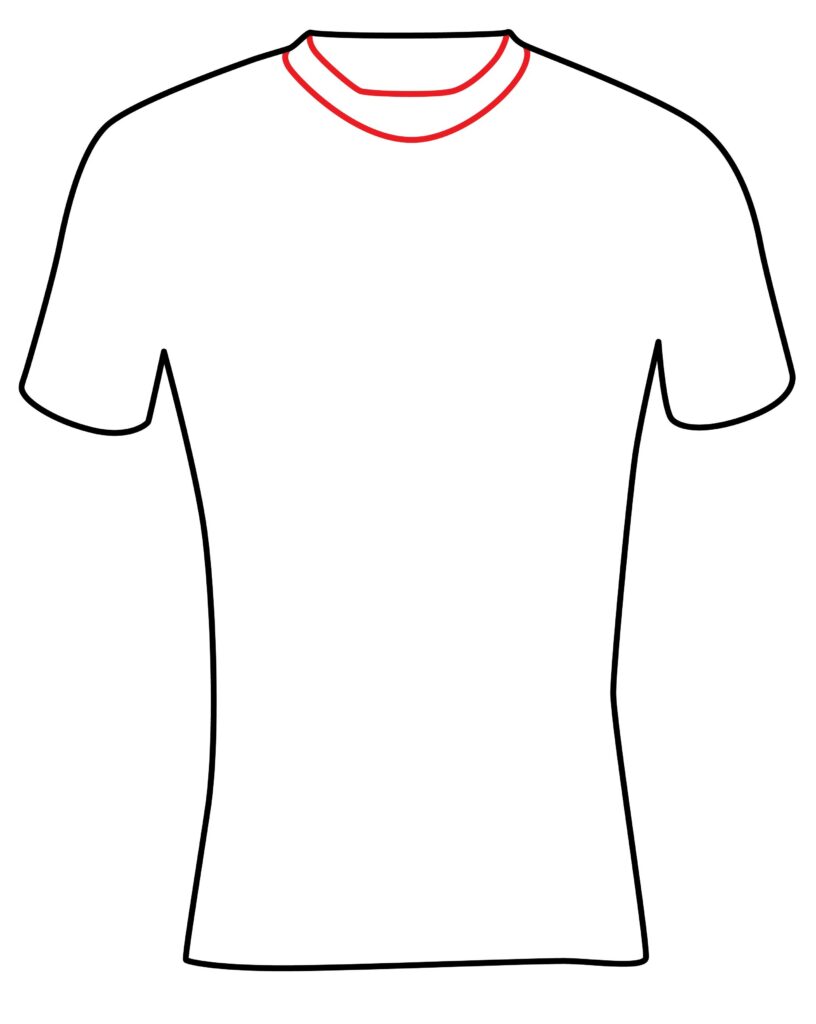
Step 2: Draw the Neckline
Now, focus on the neckline area. Use curved lines to draw the v-neck collar of the jersey. Sketch lightly and use multiple lines until you get the shape right. The neckline should curve down into a v-shape, widening out to the shoulders. Add a horizontal line at the base of the v-neck to define the collar. Darken the lines to complete the neckline.
- Sketch the v-neck collar using curved lines
- Make the collar curve wider toward the shoulders
- Add a horizontal line at the base of the v-neck
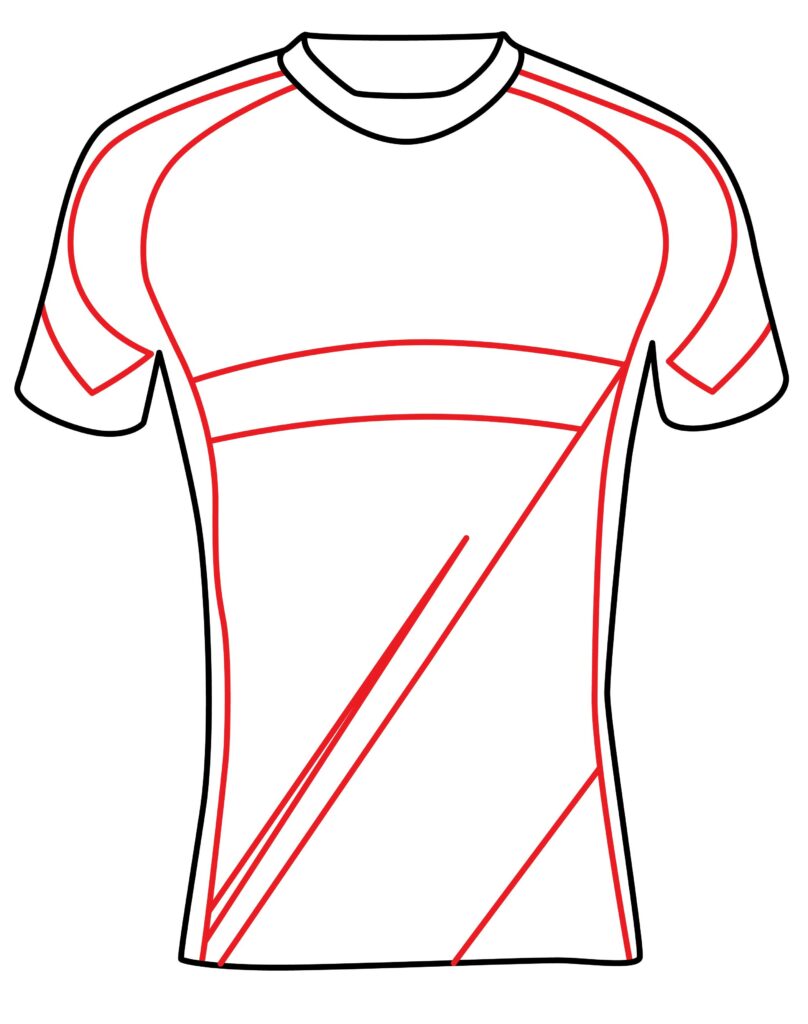
Step 3: Draw the Design
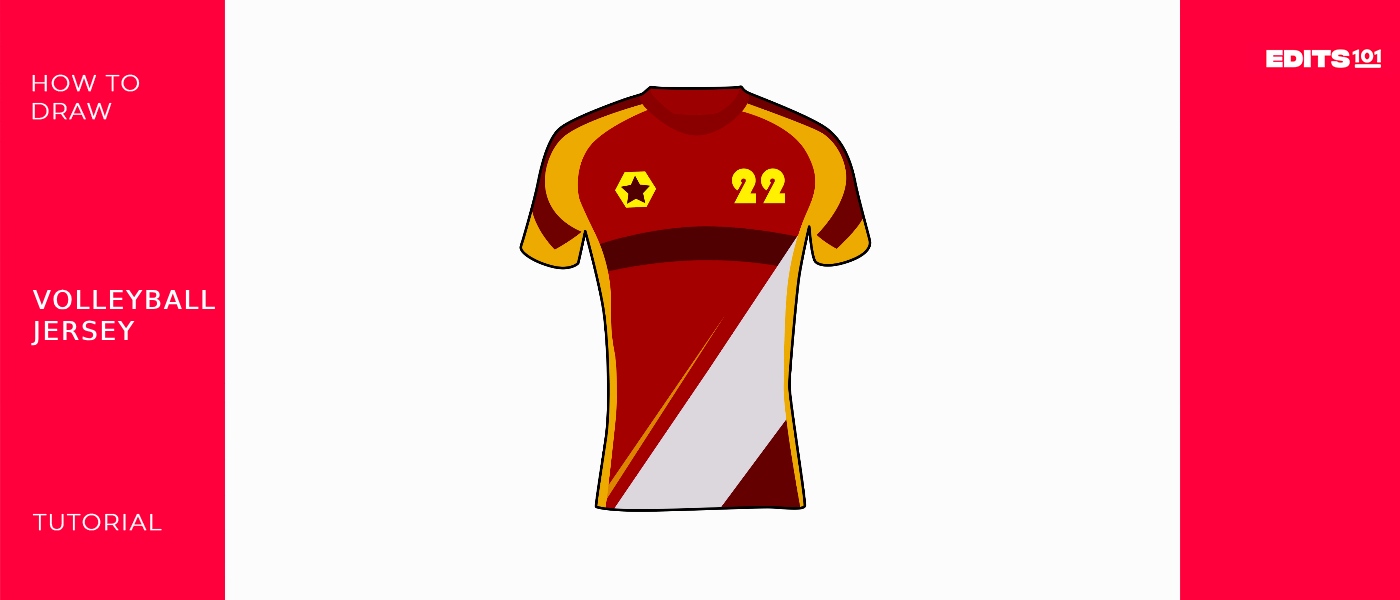
Now it’s time to add a fun design to the front of the jersey. Feel free to get creative here with numbers, mascots, names, or shapes that represent your team. A captivating design for a volleyball jersey could incorporate dynamic elements that reflect the energy and spirit of the sport. Consider a vibrant gradient background, transitioning from a deep, energetic hue at the top to a lighter shade towards the bottom, creating a sense of motion and intensity. Sketch the design lightly in pencil first. For this example, we’ll add curved and straight lines to make an abstract design. The curved lines will primarily be around the outline of the jersey, and the straight lines will drawn horizontally on the upper chest area of the jersey. Use overlapping shapes and lines to create visual interest. Take your time perfecting the design before darkening the critical lines.
- Sketch the design lightly before darkening any lines
- Get creative with shapes, lines, numbers, or team mascots
- Use overlapping shapes and lines for visual interest
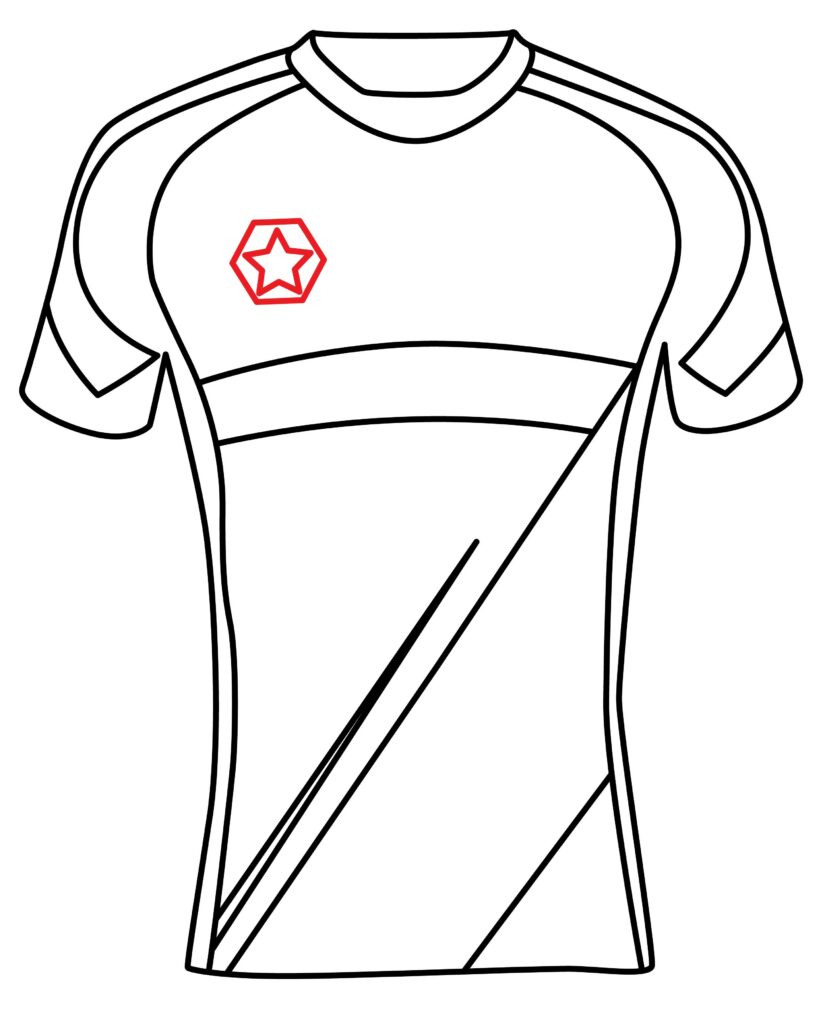
Step 4: Draw a Logo
Every good jersey needs a logo. Across the chest and back, a bold, stylized team logo could be emblazoned, representing the team’s identity with dynamic lines and sharp edges. Incorporating sleek, contrasting stripes along the sleeves and sides could add a modern touch. Additionally, a subtle texture or pattern on the fabric could provide depth and visual interest while not overpowering the overall design.
On the right side of your jersey drawing, sketch a simple logo design. For this example, we’ll make a logo featuring a star overlapping a hexagon shape. A hexagon is a shape that has six sides, and all the sides are equal in length and angle with each other. Lightly sketch the star first, then draw the hexagon so it interlocks with the star. You could also add text or make the logo more intricate. Take your time perfecting the logo before darkening the critical lines. Let the logo and front design overlap for an excellent effect.
- Sketch the logo elements lightly first.
- For this example, use a star and hexagon interlocking
- Darken key lines and let the logo overlap with the design
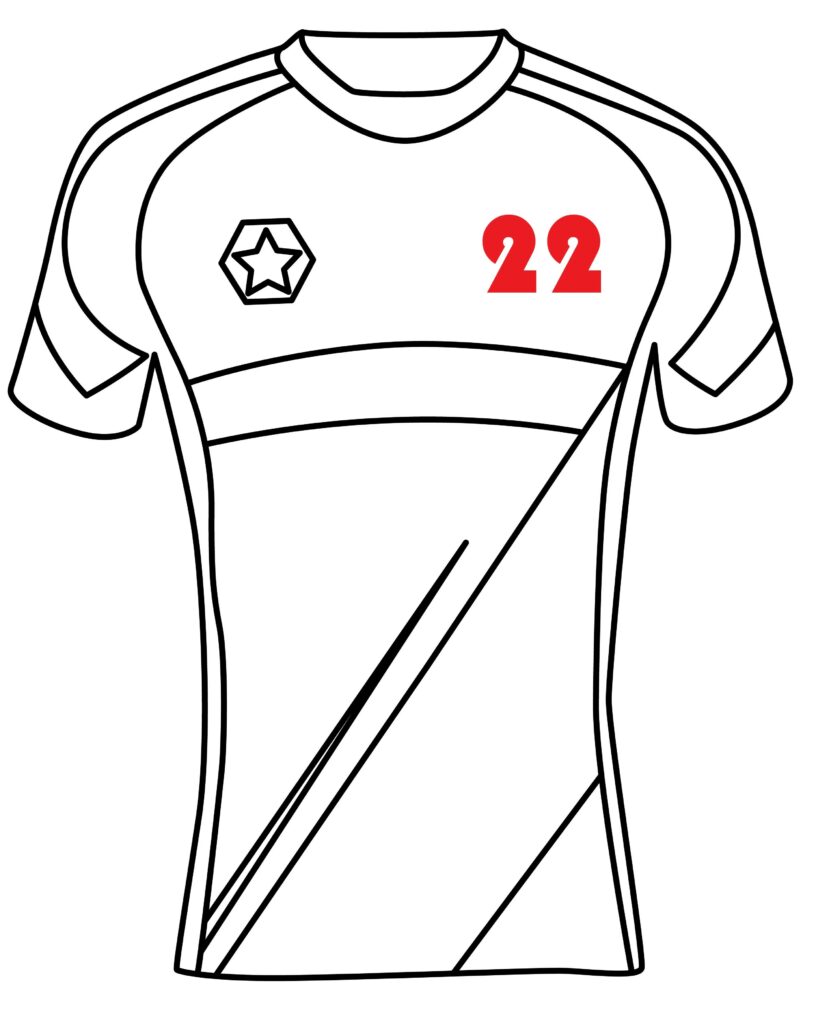
Step 5: Add Jersey Number
No volleyball jersey is complete without a player’s number, as each could be prominently displayed on both the front and back, ensuring easy identification on the court. Add the jersey number in large handwritten form on the left side of your drawing. You can choose any number you like. Use a pencil to lightly sketch the number, playing with the sizing and spacing between digits. When the proportions are correct, go over the number with a darker pencil or marker for emphasis. Consider using your jersey or favorite player’s number for a personalized touch.
- Lightly sketch the jersey number on the left side
- Choose any number and play with sizing and spacing
- Darken the number when the proportions are right
- Make it personalized by using your jersey number.
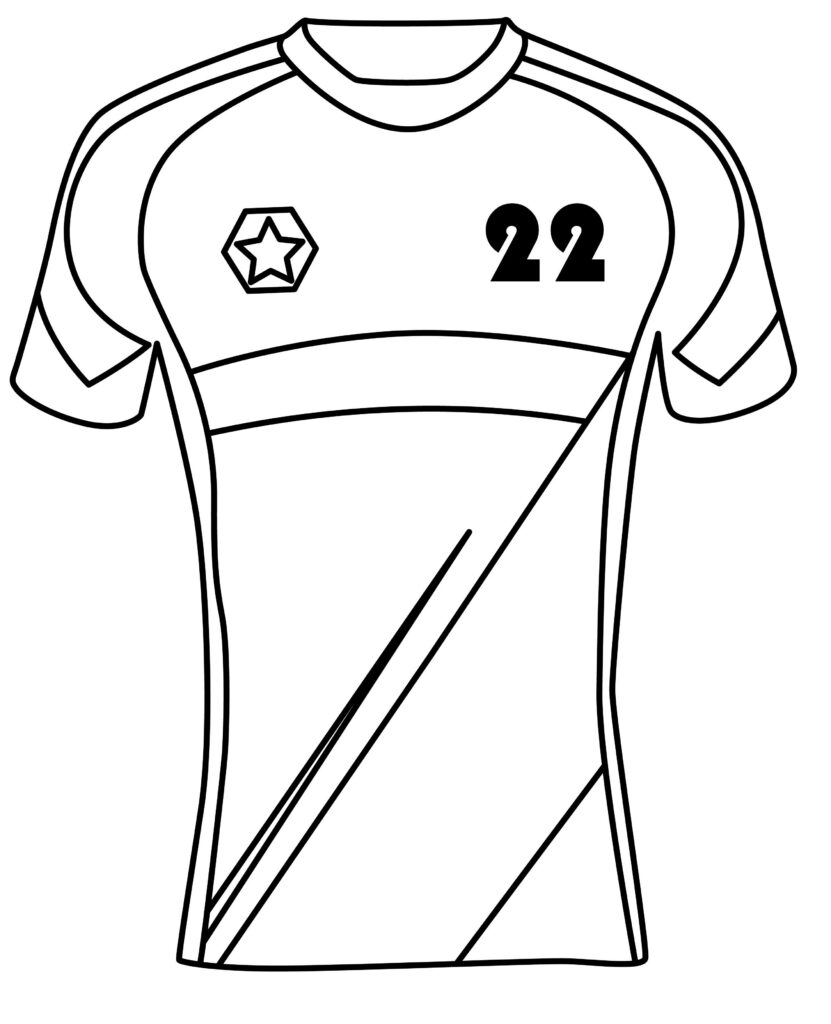
Step 6: Your volleyball jersey is ready
Fantastic job! Your pencil sketch of a volleyball jersey is now complete.
Take a minute to review the whole drawing and note how the various components work together to form the final image. You may create a flawless jersey with the aid of the reference shapes.
You may now go even further with your volleyball jersey artwork! These are a few recommendations.
Taking Your Volleyball Jersey Drawing to the Next Level
You now have the basics down for drawing a volleyball jersey. Consider adding color, shading, background details, or other artistic touches to take your drawing to the next level. Here are some ideas for building on your jersey drawing masterpiece.
Coloring the Volleyball Jersey
Adding color to your volleyball jersey drawing can make it pop! Start by selecting colored pencils, markers, or crayons that match your team’s colors. Lightly color in each area of the jersey, being careful to stay within the lines. Use short, smooth strokes for the best results. Consider using a darker shade for the design and number to make them stand out. Add touches of white to the logo and collar for dimension. Play around with color combinations to get creative!
Adding a Background
The background can help set the scene and give context to your volleyball jersey drawing. Consider using colored paper or coloring the background with crayons/colored pencils. You could draw a volleyball court with lines and nets. Or go for something more abstract, like geometric shapes or swirls. Sketch lightly in pencil first, then go over the main lines with a marker or crayon. Keep the background simpler than the jersey so it doesn’t distract. The right background can take your drawing to the next level!
Bonus Tips for Drawing a Volleyball Jersey
Add textures – Use different line styles and shading techniques to show the texture of the jersey fabric. Sketch wavy, zigzag, or intersecting lines. Include shadows – Lightly sketch shadows around the jersey to make it look more 3D and realistic. Consider the light source and where shadows would naturally fall. Draw figures – Consider adding a person wearing the jersey or a group of players to give more context. Sketch the figures lightly first before adding detail.
Get inspired – Look at photos of volleyball jerseys for inspiration on colors, designs, and realistic detailing. Add your creative twist. Practice shading – Use colored pencils or markers to practice shading the folds and creases of the clothing. Apply darker tones for depth. Add props – Draw volleyball equipment like balls, knee pads, shoes, or a net to complement your jersey drawing. Get creative!
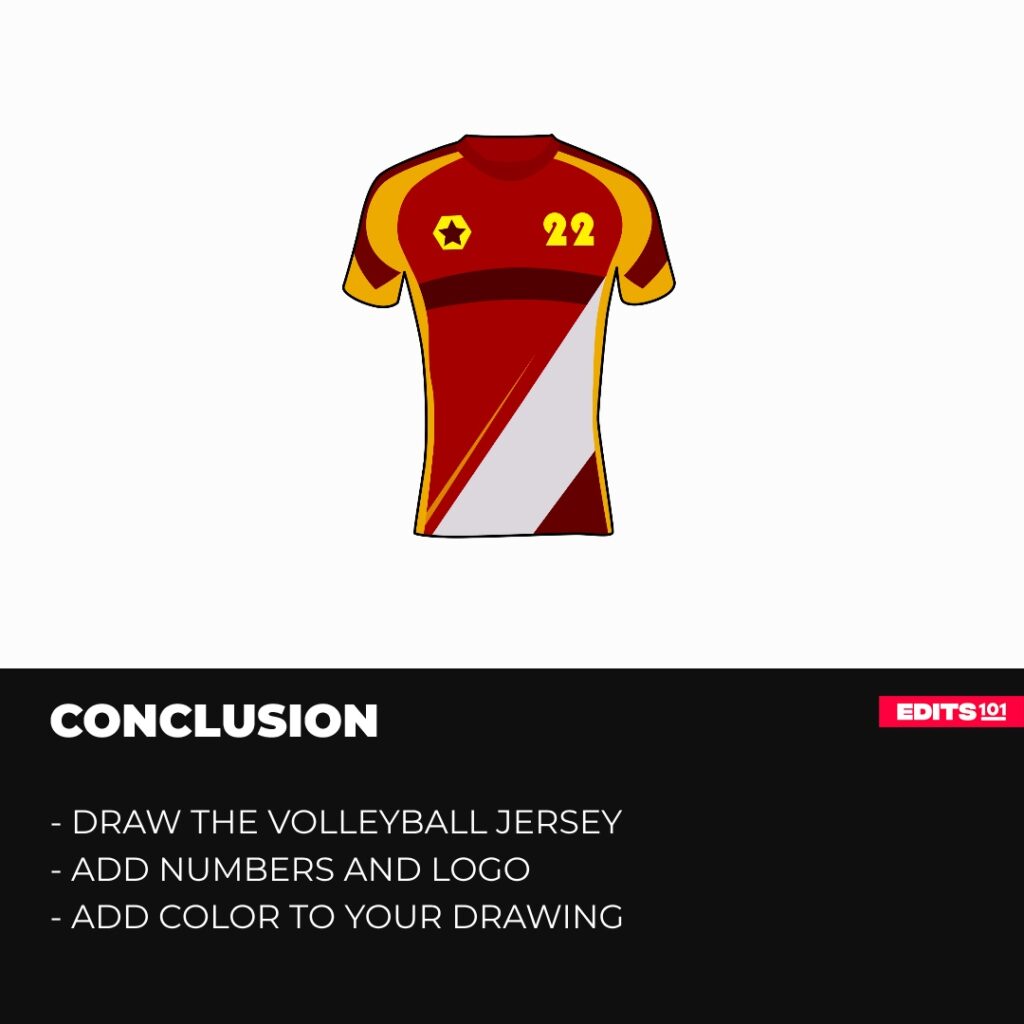
Conclusion
Drawing a volleyball jersey can be a fun and rewarding art activity. You can render an excellent jersey design with some basic sketching techniques, creativity, and practice. Perfect the outline, collar, design, logo, and number. Then, make it pop by adding color, shading, and background details. Drawing is a great way to show team spirit, appreciate the sport of volleyball, and express your artistic side. Whether you’re a beginner or an expert, try drawing a volleyball jersey.
Thanks for reading & feel free to check out more of our articles!
Author Rating
Overall Rating
Summary
Learn how to draw a beautiful volleyball jersey in easy to follow steps. You will also learn interesting facts about jerseys.