How to Draw Basketball Hoop | Easy Step-By-Step
If you love basketball, you will have a lot of fun completing today’s lesson. If you are a beginner, you will learn quite a lot by the end of this lesson. You can use what you learn here to start conversations with your friends or improve your skills especially when writing an essay about a basketball game.
Basketball is the only major sport that is considered to be of U.S. origin. It was invented in 1891 by James Naismith. Over the years, the rules have evolved. The game has also achieved international attention. Professionally, basketball is mostly played by tall athletes. This does not mean that you can’t play if you are short. You simply need a strong mind and the desire to get better. Now let’s get back to your lesson.
| Step | Complexity |
| Drawing the Backboard | 1 |
| Drawing the Mount and Hoop | 2 |
| Drawing the Net | 3 |
| Drawing the Shooter’s Square | 2 |
| Coloring | 2 |
What You Will Need
- A pencil
- An eraser
- A ruler
- A drawing piece of paper or sketching app
- Coloring supplies
- 15 minutes
How to Draw a Basketball Hoop
Everything is very straightforward when drawing a basketball hoop. However, to make the drawing more realistic and not just look like a drawing of a ring, we will have to add more details.
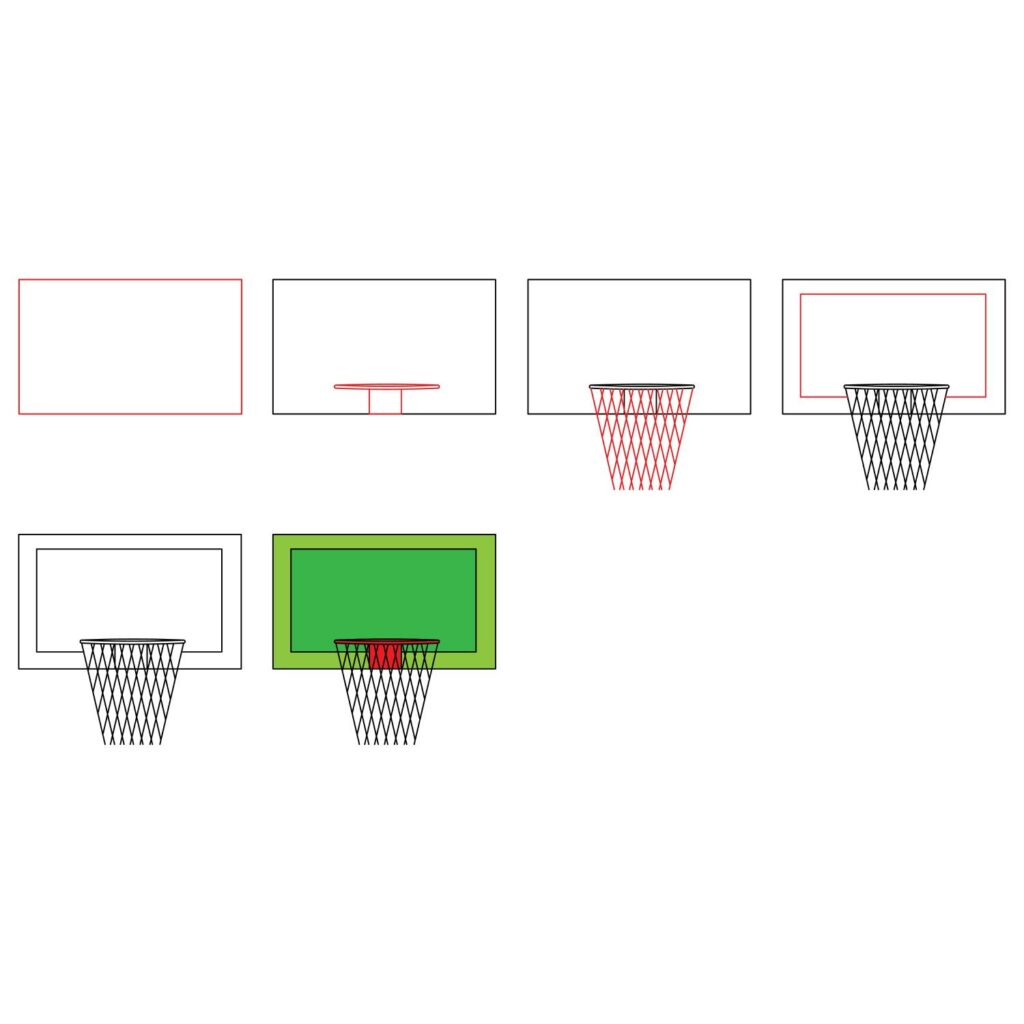
Take some time to study the below image. It contains the steps we will be taking in today’s lesson. Studying the steps will keep you from making mistakes that may force you to start over midway.
Step 1: Draw the Backboard
It is not easy shooting the basketball through the hoop without touching the rim. In most cases, basketball players bounce the ball off the board located behind the hoop in order to score. This board is known as the backboard.
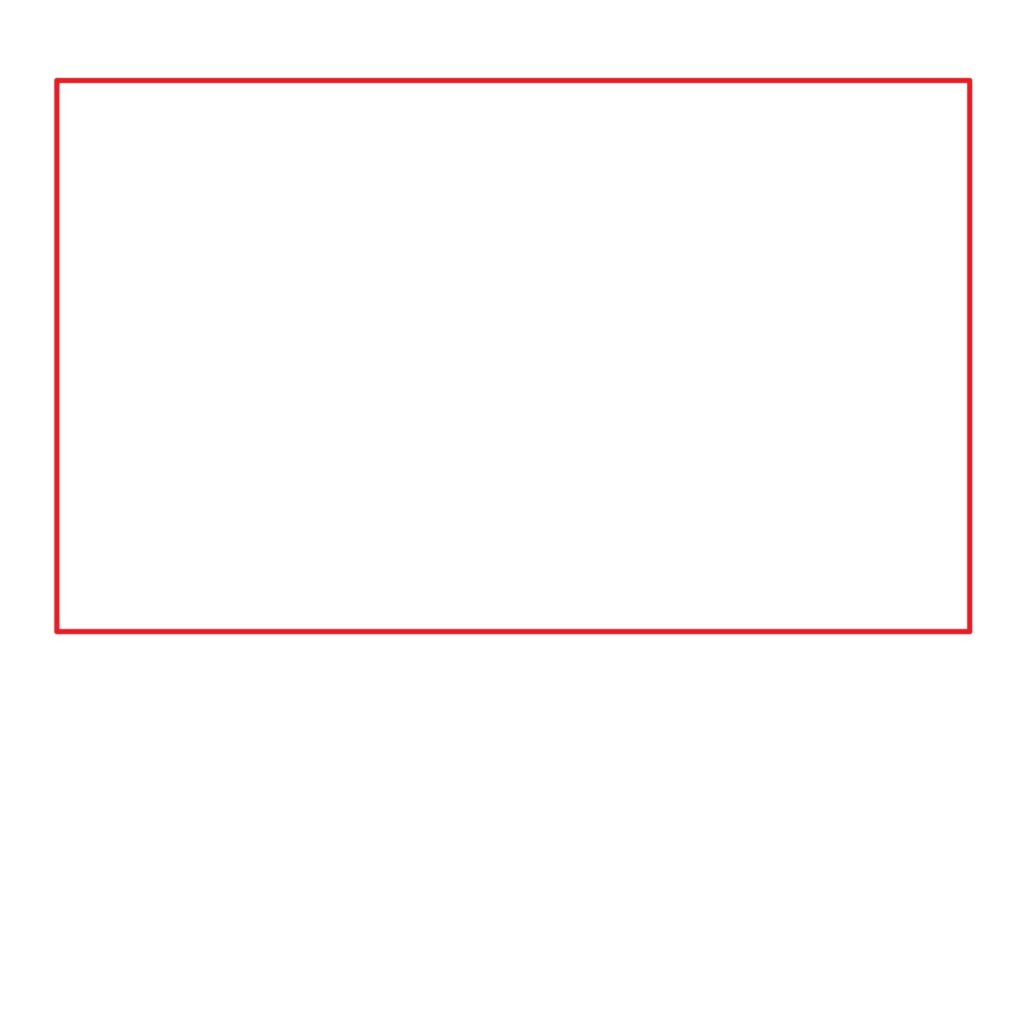
To draw the backboard, we will need to hold our drawing paper vertically and then draw a large horizontal rectangle that covers the top half part of the drawing space. You need to use a ruler so that you achieve straight lines. You should also make the rectangle as proportional as possible.
- Use a ruler to draw a large horizontal rectangle
Step 2: Draw the Mount and Hoop
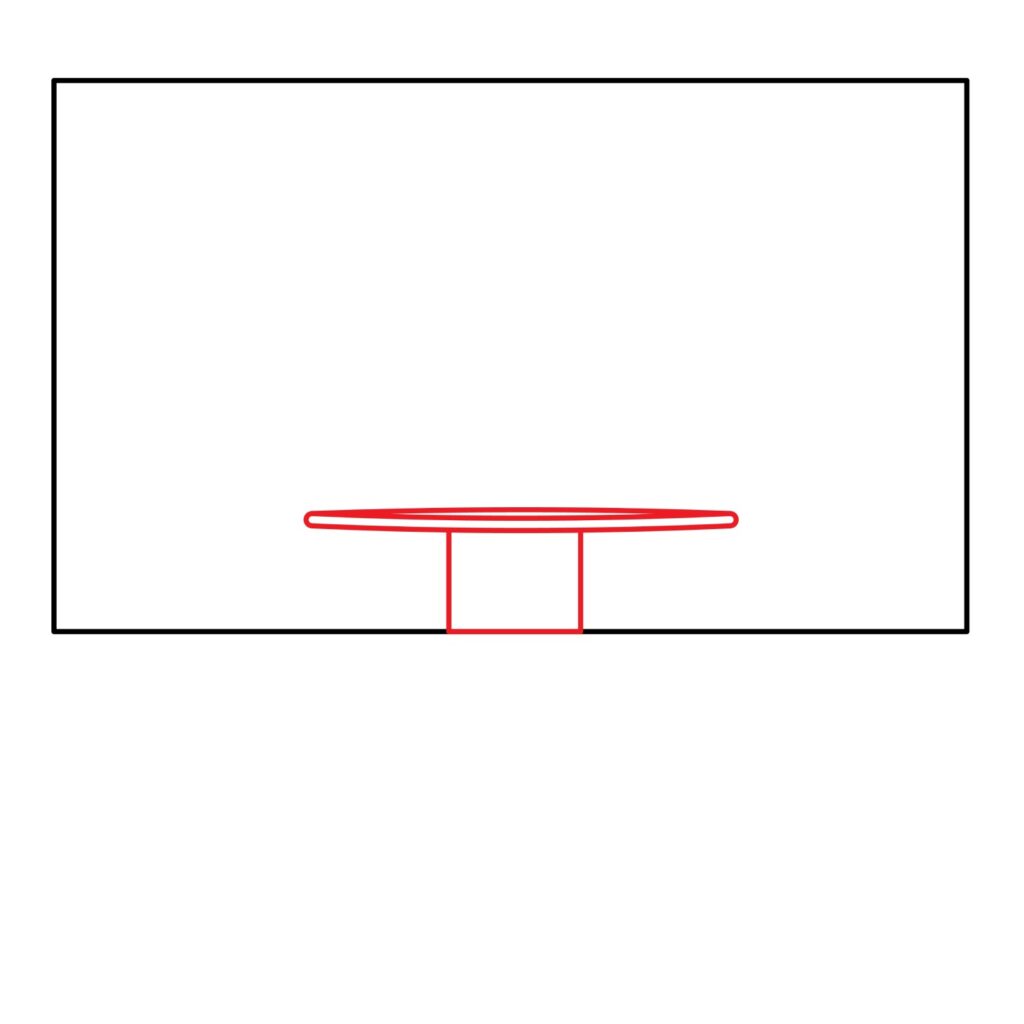
Before we can draw the hoop, we first need to draw the mounting. The hoop is usually mounted to the backboard using a very strong mount. The mount needs to be strong because most basketball players have a tendency to hang on the hoop after scoring. To support their weight and keep the hoop from bending, both the hoop and the mount are made of a sturdy material.
To add the mounting, you need to draw a square at the base of the backboard. The rectangle should not be too tall. It should cover about a quarter of the height of the backboard.
Next, we are going to add the hoop. The hoop is the ring-like structure through which the basketball has to be passed through in order to score. The hoop will be located on top of the mount. Use your ruler to draw a flattened, horizontal rectangle. The rectangle should be wider than the width of the square we added for the mount.
Once the rectangle is ready, draw a slightly curved line below the top part of the rectangle. This will help turn the flattened rectangle into a ring-like structure. You can leave the bottom line as it is or replace it with a line that curves downwards. Don’t erase the top part of the rectangle as it helps add depth to our hoop.
- Draw a small rectangle at the base of the backboard to serve as the mount
- Draw a flattened, horizontal rectangle on top of the mount
- Make the top part of the rectangle curved to turn it into a hoop
Step 3: Draw the Net
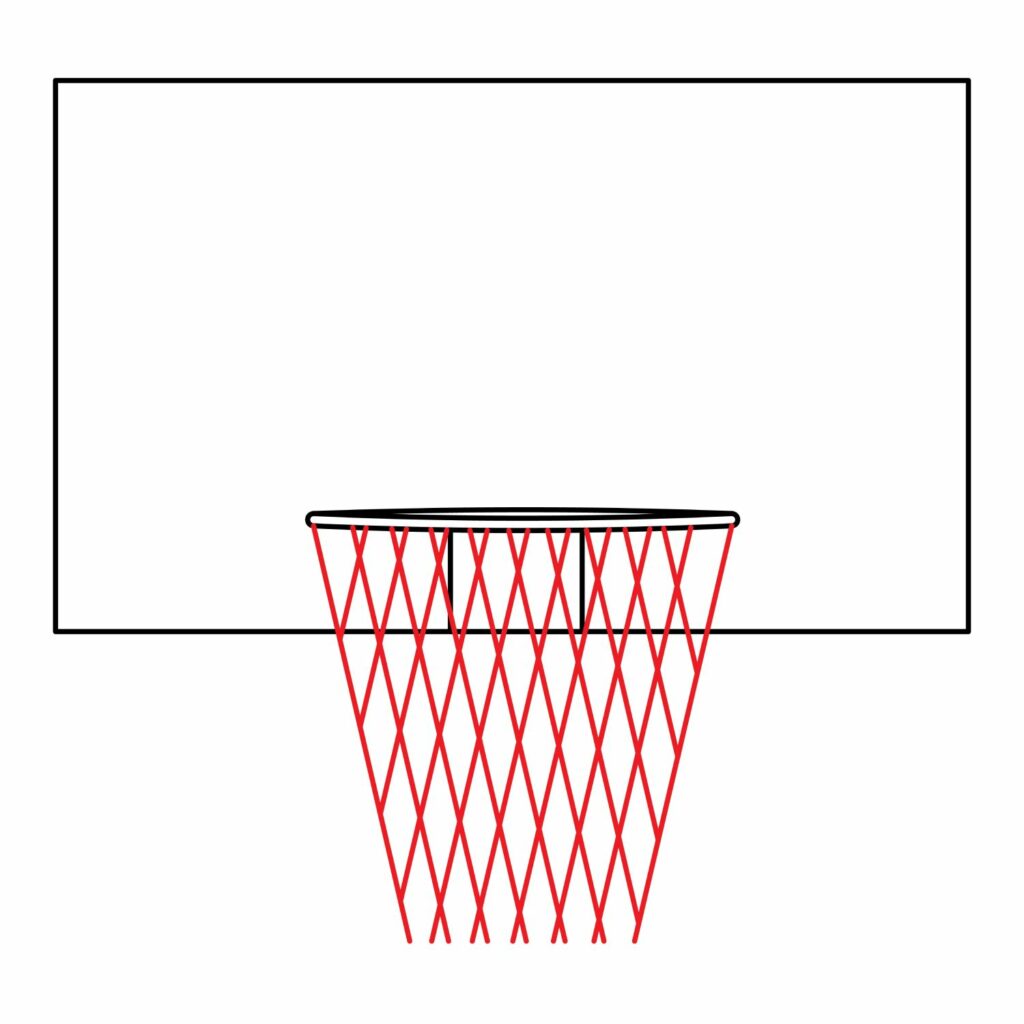
Unlike a football goal where the net is meant to catch the ball, in a basketball hoop, the net is meant to help the players, coaches, referees, and fans know that the ball has actually gone through the hoop. The net is usually narrow at the bottom to slow the ball as it passes through.
To add the net, we are going to use crisscrossing diagonal lines. First of all, we need to draw a faint line close to the bottom of the drawing paper. This will help us know where the diagonal lines should stop.
Once the faint lines are ready, use your ruler to draw a diagonal line that starts from the left part of the hoop, slants to the right, and stops at the faint line we just added. Add another diagonal line starting from the right of the hoop, slant it to the left, and stop at the faint line. These two lines will serve as the outer parts of our net.
The next thing we need to do is add diagonal lines that are parallel to the two diagonal lines we added. The lines should not go beyond the faint line. When close to the two lines we added for the borders, the diagonal lines should simply connect to the borders and not go outside.
- Draw a faint line a short distance below the backboard
- Draw diagonal lines on either side of the hoop and extend them until they get to the faint line
- Add diagonal lines that crisscross between the diagonal lines to form the net
Step 4: Draw the Shooter’s Square
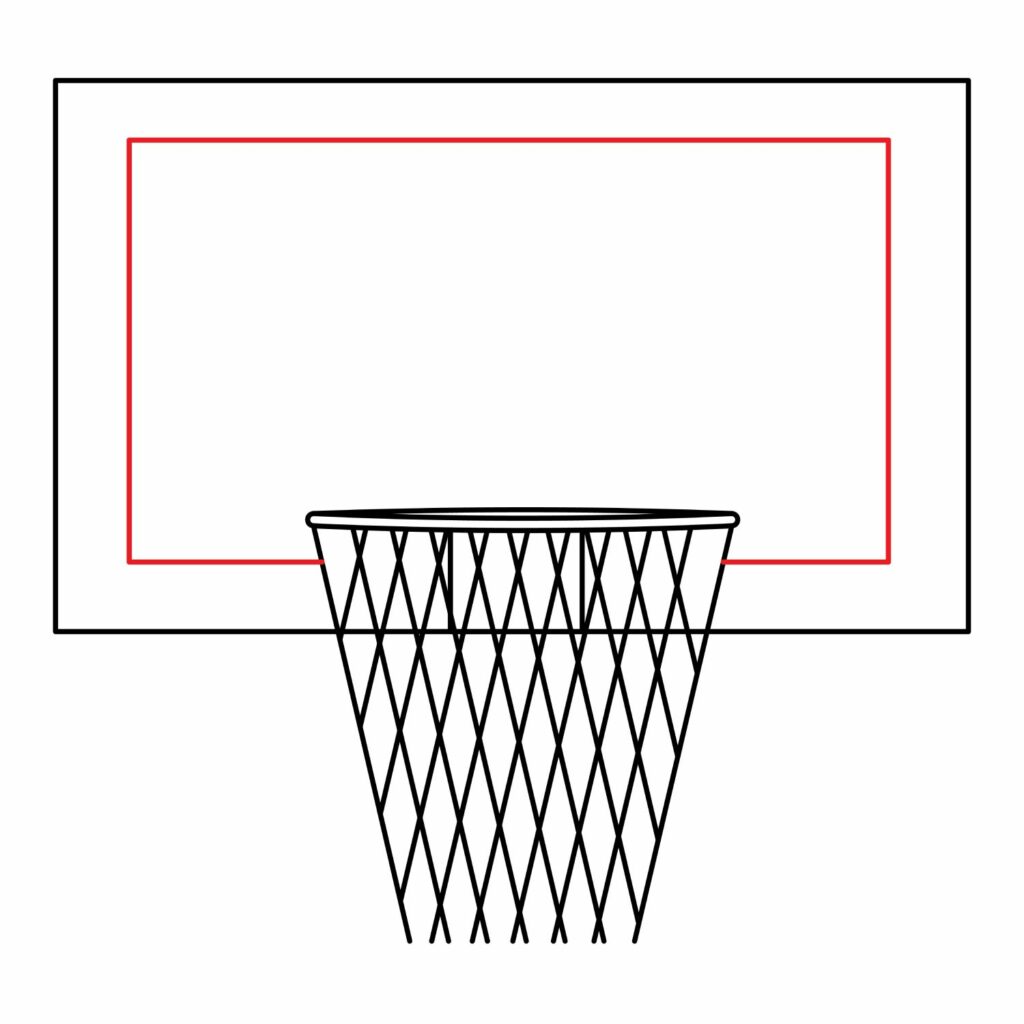
On the backboard, you will notice that there is a specific area that players aim for. This is known as the shooter’s square. The shooter’s square is basically a visual guide that helps players calculate the trajectory of the ball so that it bounces off the backboard and into the hoop.
To draw the shooter’s square, we first need to draw a horizontal rectangle that fits inside the backboard. The rectangle should leave equal distance all around. However, when drawing the bottom part of the rectangle, don’t draw any lines that cut through the net. This is because the bottom part of the shooter’s square will be hidden behind the net.
- Draw a horizontal rectangle inside the backboard
- Erase the line that cuts through the net and mounting
Step 5: Our Drawing is Ready
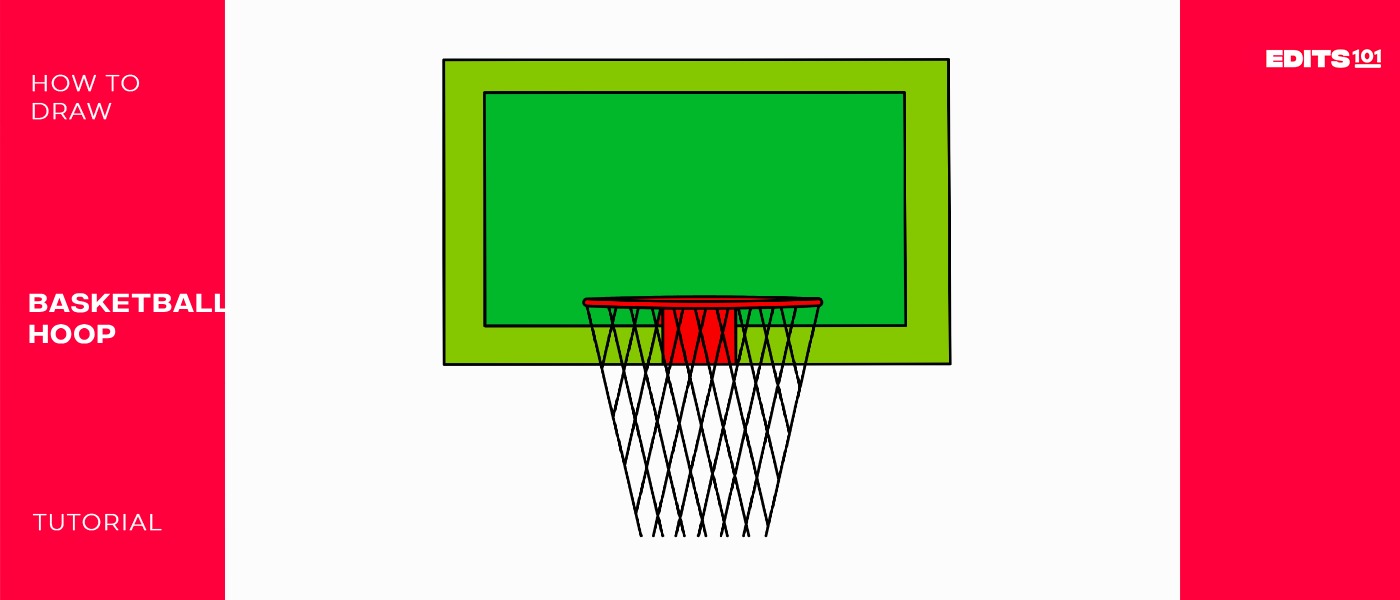
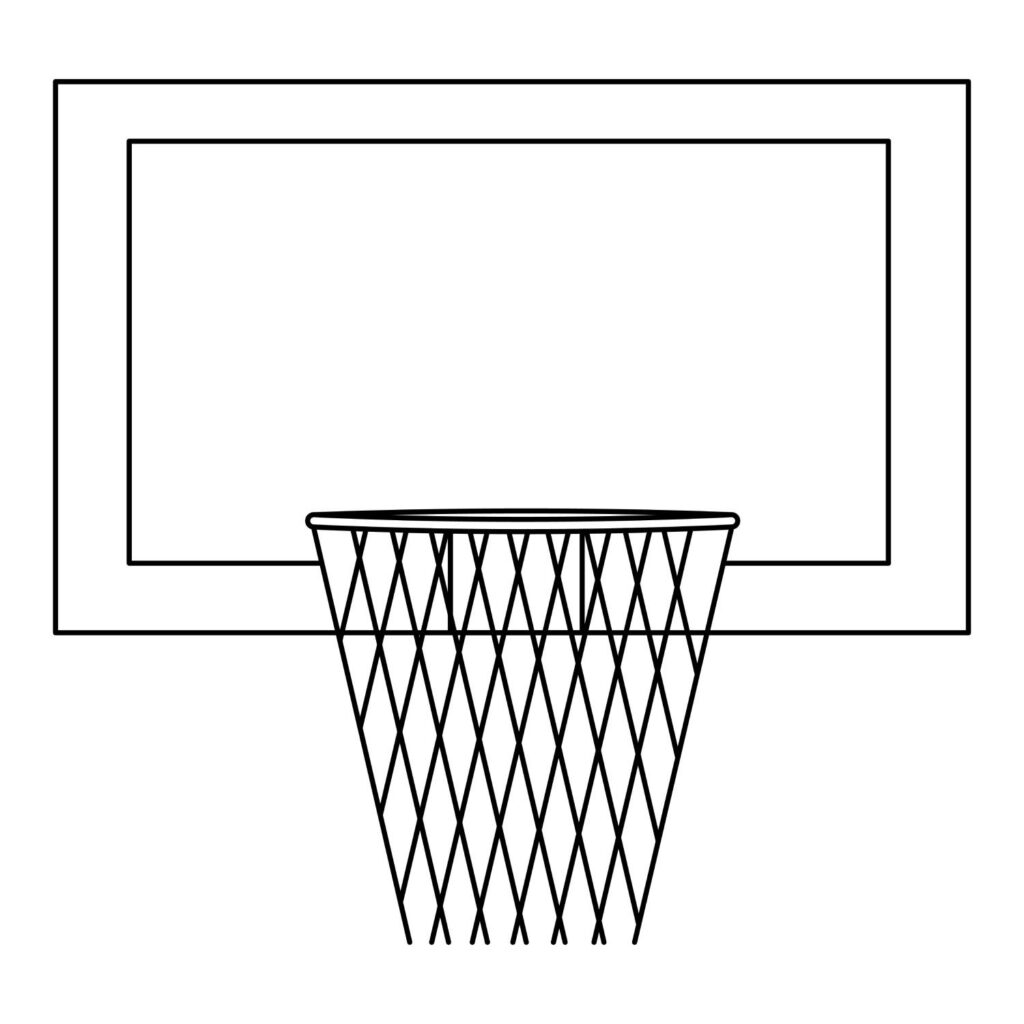
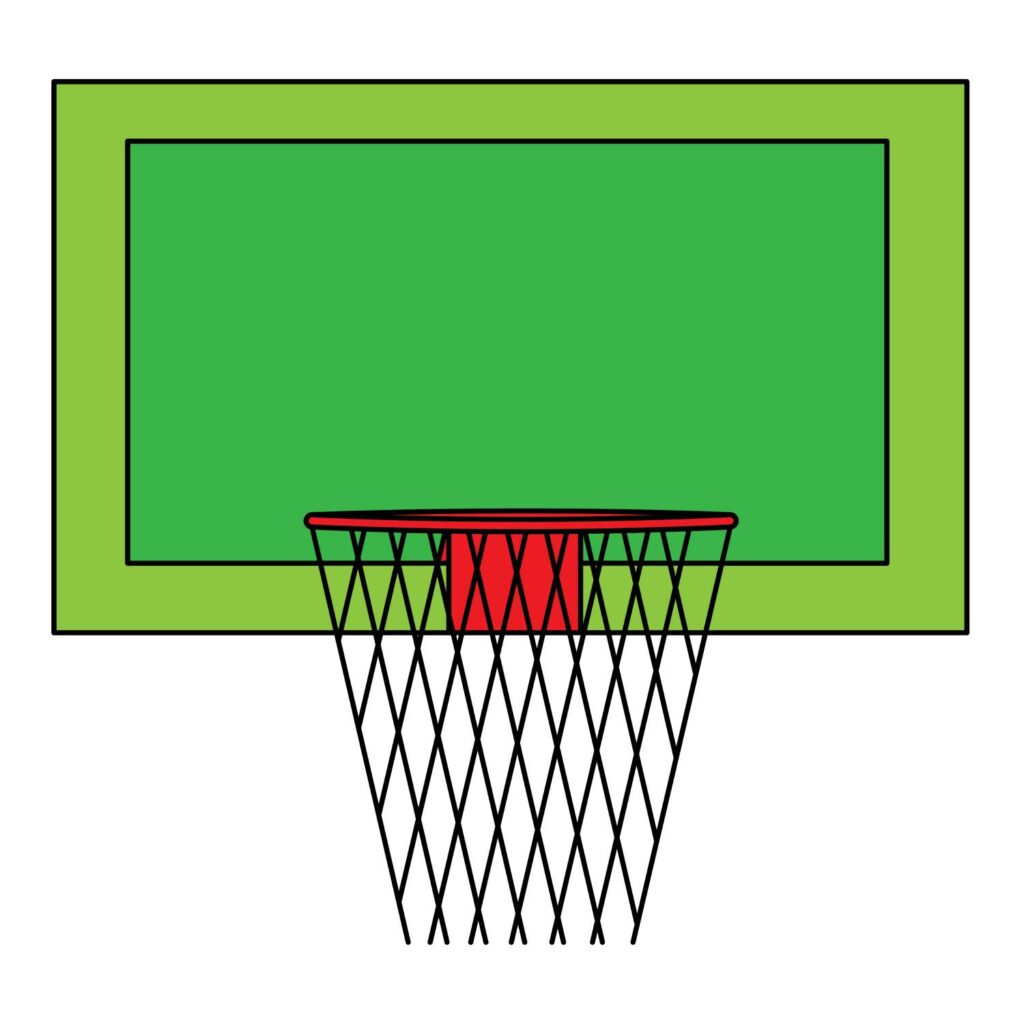
Congratulations! If you followed all our steps, your basketball hoop, panel, and net drawing should be ready. It should look like what we have below. Do not be frustrated if your drawing doesn’t look as good as ours. You will notice a significant improvement in your next attempt. The key is to never let frustrations get to you.
Take the Drawing to the Next Level
You might be tempted to leave your drawing as it is. While that is okay, it is not a good idea. This is because the drawing is pretty boring. To make it more interesting, we are going to color it.
Step 6: Color the Drawing
For beautiful results, we are going to use a different color for each part of the drawing. In our drawing, we have used a shade of red for the mount and the hoop. We then used different shades of green for the backboard and the shooter’s square.
Pro Tips
You don’t have to do exactly what we have done. It is your drawing. You can use any colors that you want. You can even advance the drawing further by adding a name or logo in the shooter’s square. Once you get better, you can even add a basketball that is halfway through the hoop. You are only limited by your imagination.
Conclusion
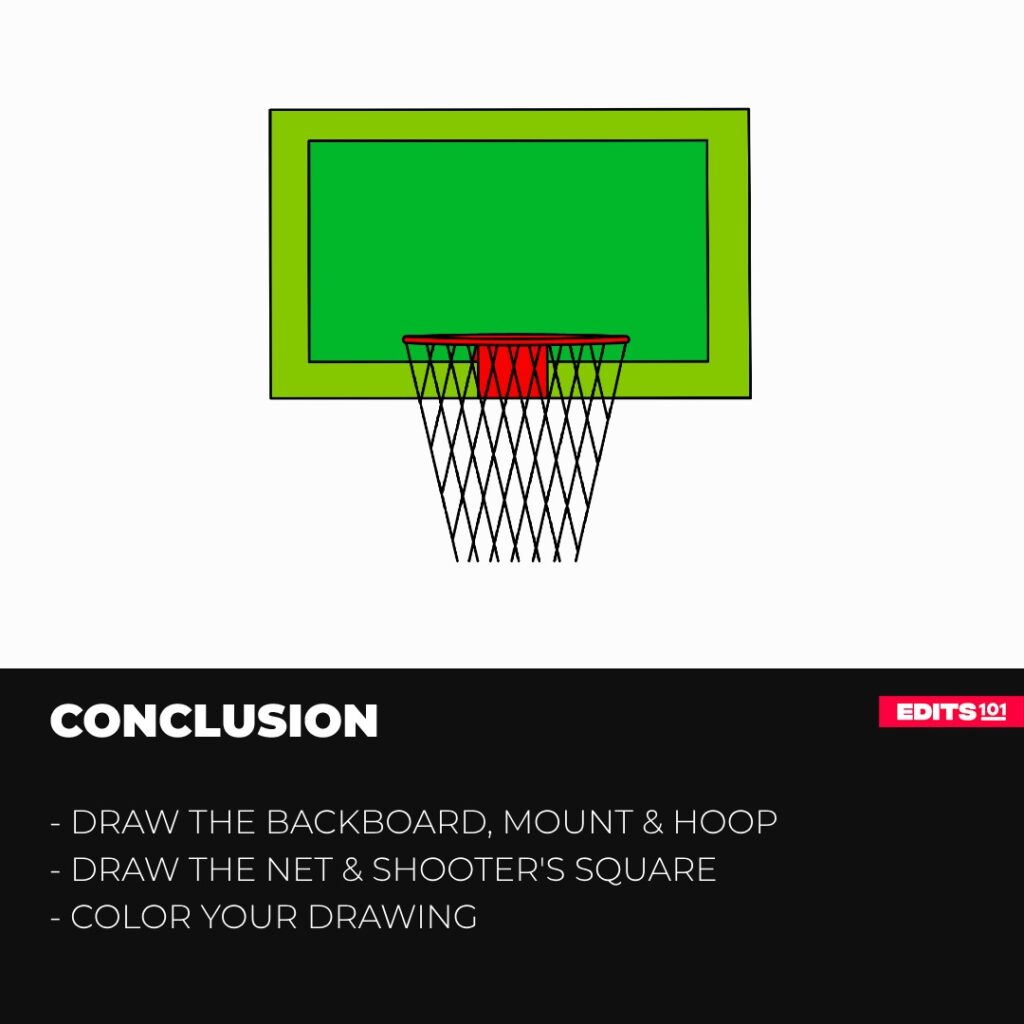
As you have seen, drawing a basketball hoop is easy. In our drawing, we started by using a rectangle to draw the backboard. We then used a square for the mount and a flattened rectangle with curved lines for the hoop. Crisscrossing diagonal lines were used to draw the net. To advance our drawing, we added a smaller rectangle inside the backboard to represent the shooter’s square. We later brought our drawing to life by coloring it.
You can use these steps to draw a basketball hoop on paper or on your favorite sketching app. As you get better, you can draw the basketball hoop from a different angle or even from a real photograph. The key, however, is to keep practicing.
Thanks for reading & feel free to check out more of our articles!
Author Rating
Overall Rating
Summary
Learn how to draw a basketball hoop in simple steps. You will also learn about the different parts that make up a basketball hoop.

