How To Draw A Spaceship | A Step By Step Process
Have you ever heard of a spaceship? In this drawing lesson, we will learn how to draw a spaceship. Do you know that Sputnik 1 was the first spaceship built on Oct 4, 1957? It weighed about 83.6 kg. After Sputnik, we embraced our journey to improve our craftsmanship of spaceship making. Since that time, we have made hundreds of spaceships. A spaceship is different from a rocket.
The spaceships used in Apollo missions were faster than a speeding bullet. NASA’s Juno spacecraft is the fastest spaceship recorded at 365,000 km/h (16,500 mp/h). When spaceships are in space, there is no gravity, so the astronauts float around in the spaceships.
What you will need
- A pencil
- An erases
- A sheet of paper
- Coloring kit
- Ruler
- 30 minutes
how to Draw a Spaceship
This guide will help you in your drawing. We will make each part gradually so that it isn’t overwhelming at any step.
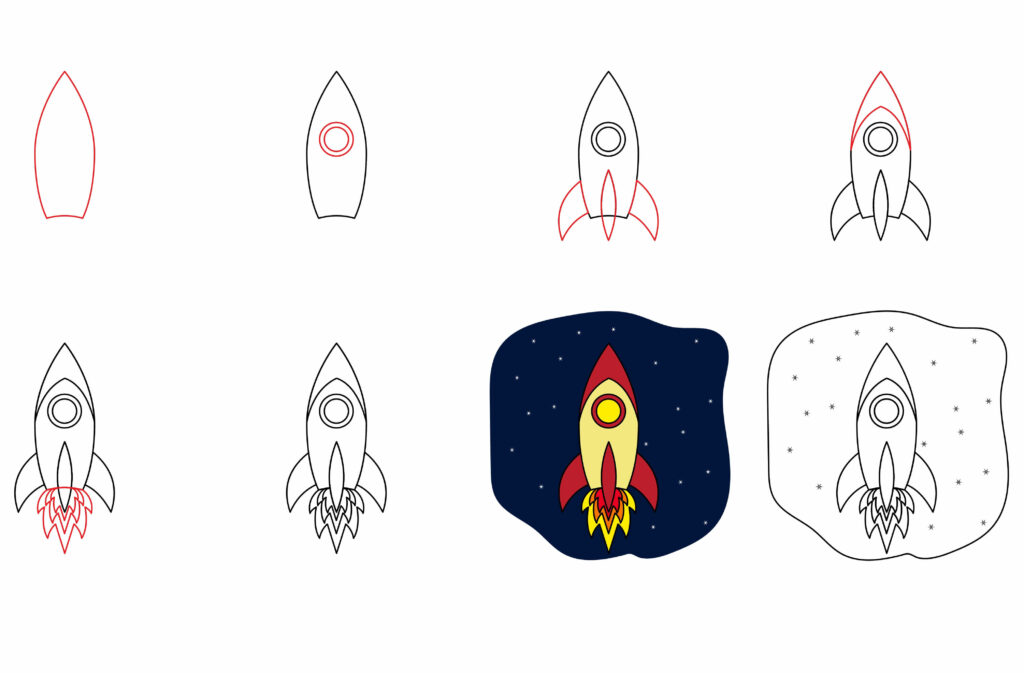
Step 1: Draw the body of the spaceship
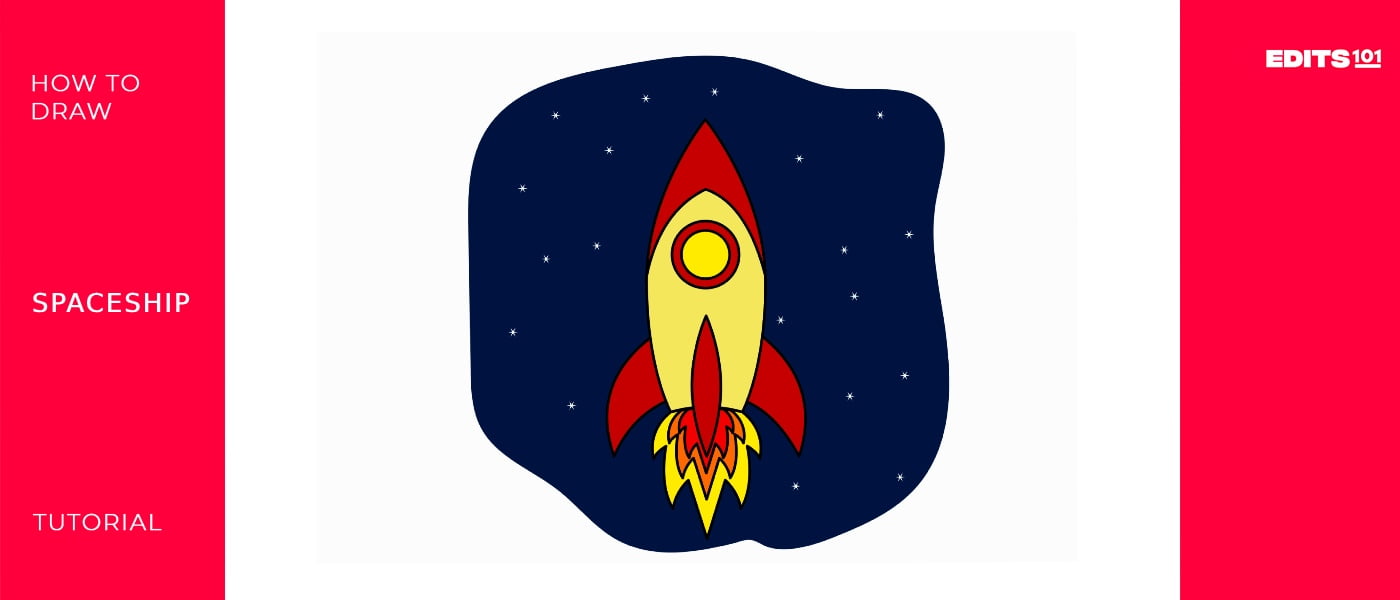
We will start the drawing of the spaceship by drawing its body. The body of a spaceship is a sphere, but as we are looking at it from a side angle, it appears a bit different. Draw two curved lines (curved towards their outer side) in such a way that they meet at the top but are distant from the bottom. Now, at the bottom, join them by another curved line (curved towards the inside). This will be the main part of your spceship. The gap at the bottom of the lines is neither very large nor very small but in proportion to the body of the rocket.
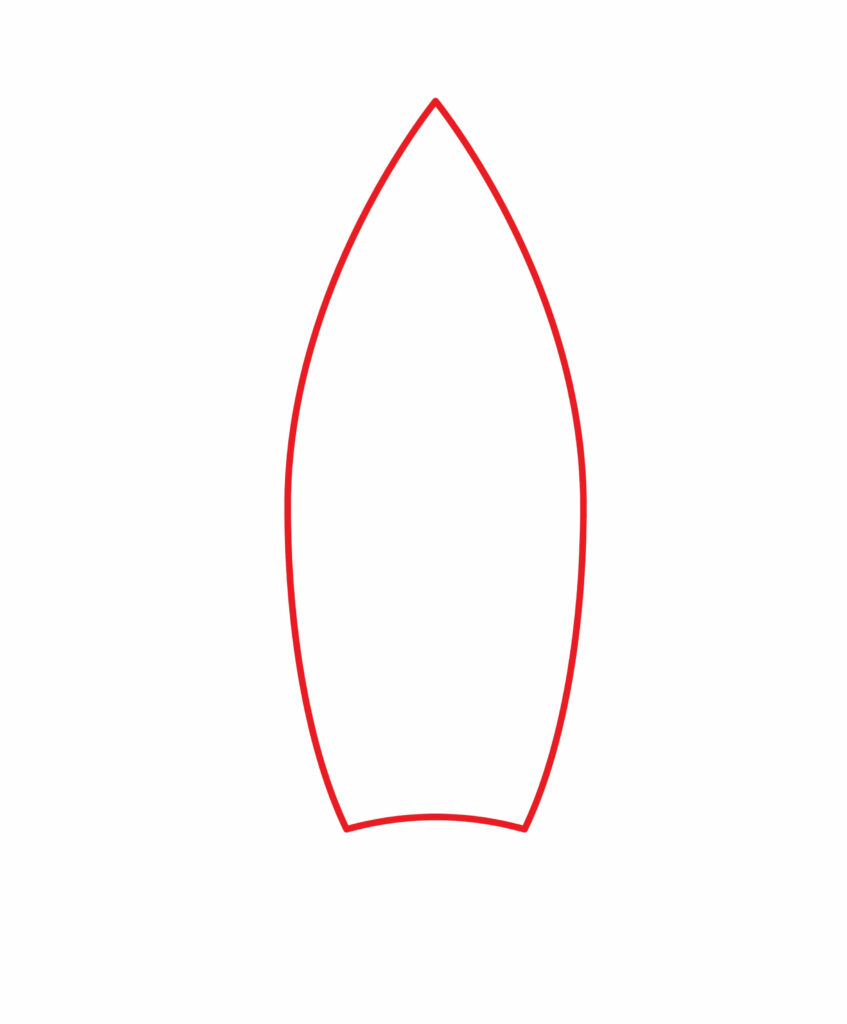
This is the outer body of the spaceship. Inside it is everything, including astronauts, to control the center and fuel. It has to be very strong as it has to withstand high pressures and temperatures.
Step 2: Add the cockpit
A cockpit is a small part of space in a spaceship from where it is steered, driven, or controlled. This is the part from where scientists control or operate the spaceship.
To draw the cockpit window, draw two smaller circles inside the body of the spaceship near its center. This is a window from which astronauts look out into space.
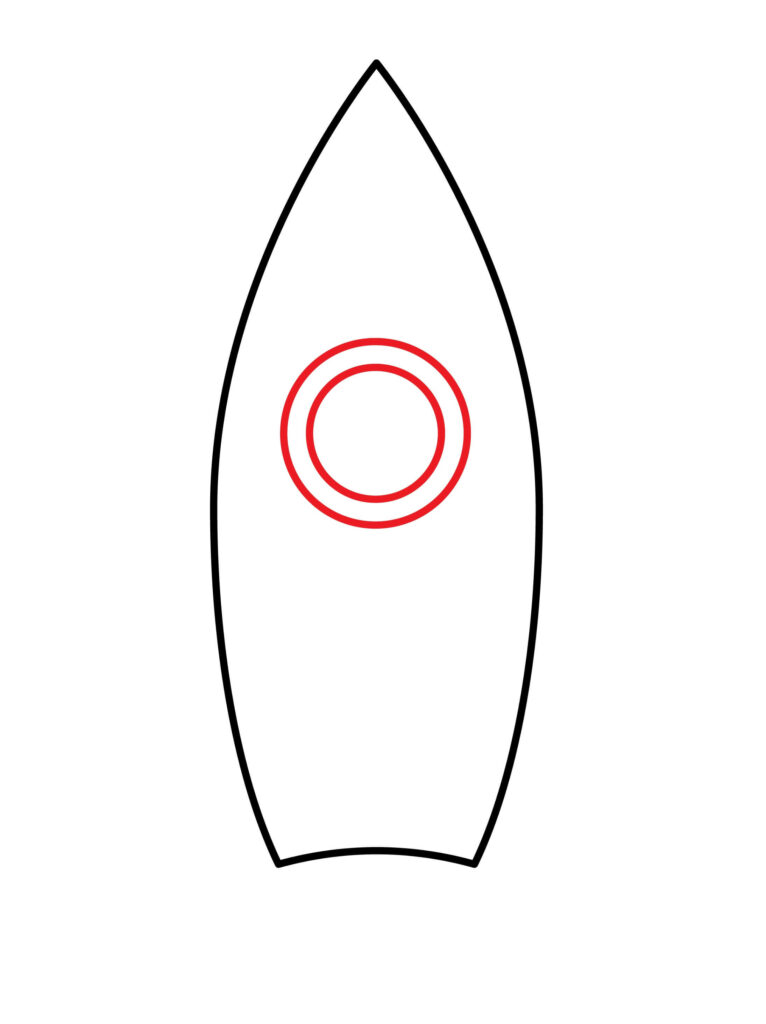
Arguably, the cockpit is the most important component of the spaceship. Without a cockpit, there would be no difference between a stone or any other object passing through space and a spaceship.
Step 3: Draw the Wings
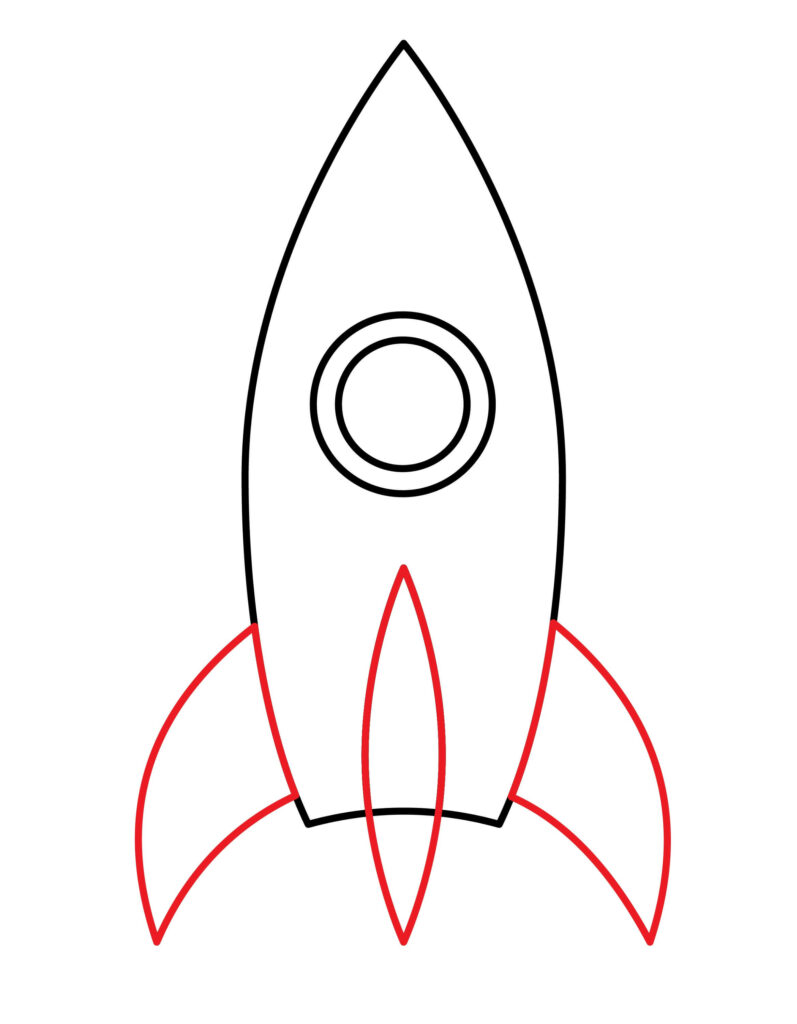
Wings are an important component of the spaceship as they help it in flying. To draw the wings of your spaceship towards the bottom of your spacecraft’s body, draw two small, curved triangles coming outward. Draw another oval in the middle. As we see it from a side, the oval looks slightly different. This oval can be drawn by drawing two curved lines from inside the spaceship’s body and outside.
Step 4: Draw the body’s upper shape
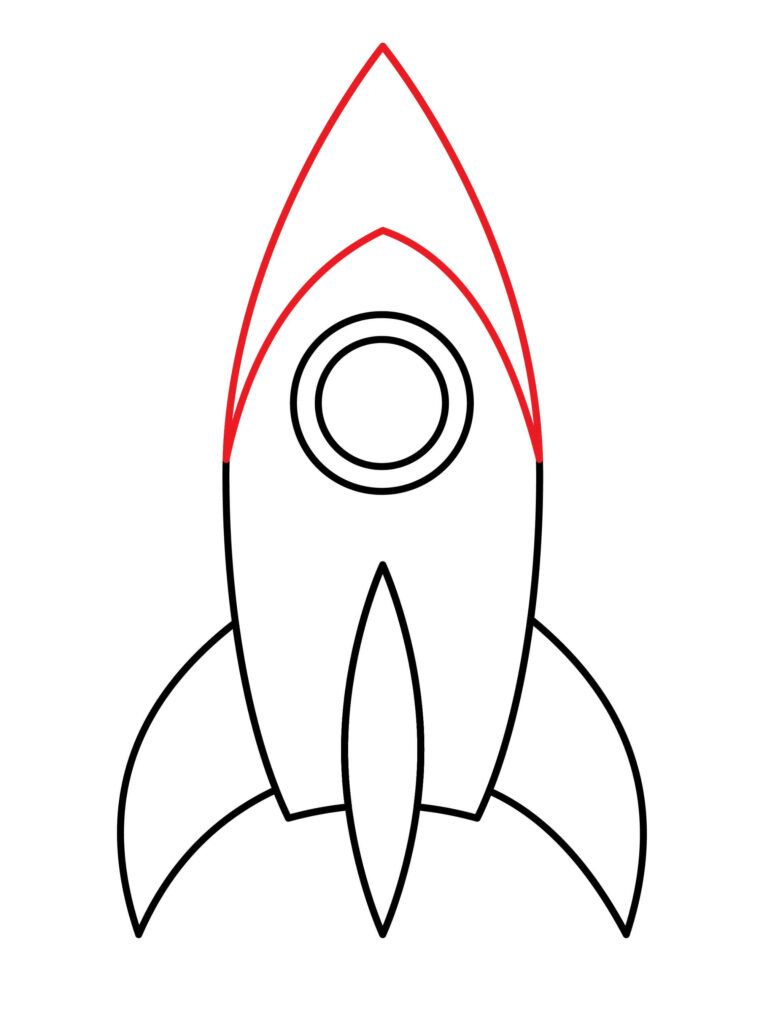
To draw the upper shape of the spaceship’s body, draw two angled lines starting from near the bottom of the cockpit window, meeting over the cockpit window. Make sure that you’re neither too close to the cockpit window nor the top of the spaceship body. Clear gaps between different parts will make the spaceship look more neat and beautiful.
Step 5: Draw fire
When spaceships travel, they burn fuel, which comes in the form of flame just like in a rocket.
Draw the fire or flame at the bottom of the spaceship. To draw fire, make curved lines which, after very small intervals, make corners and go inwards and continue as curved lines again. Make two to three layers of the fire. You can try again if you cannot make fire on the first try. You will get it right in the second or third try.
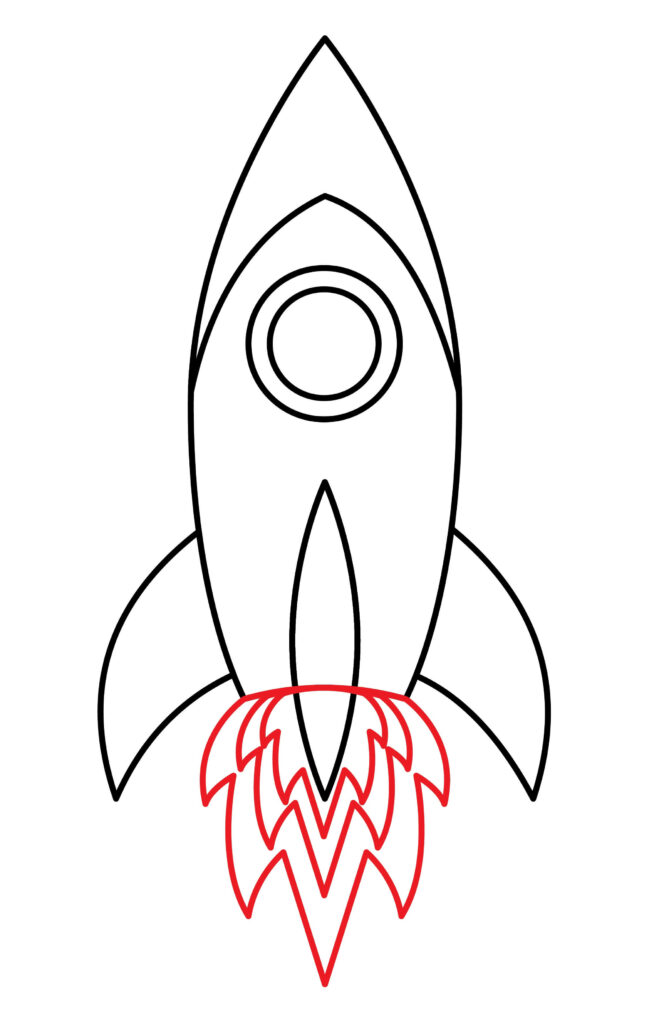
The fire comes out of the bottom of the spaceship because that is where the thrusters are. These thrusters burn fuel and push it out, which helps the rocket to move.
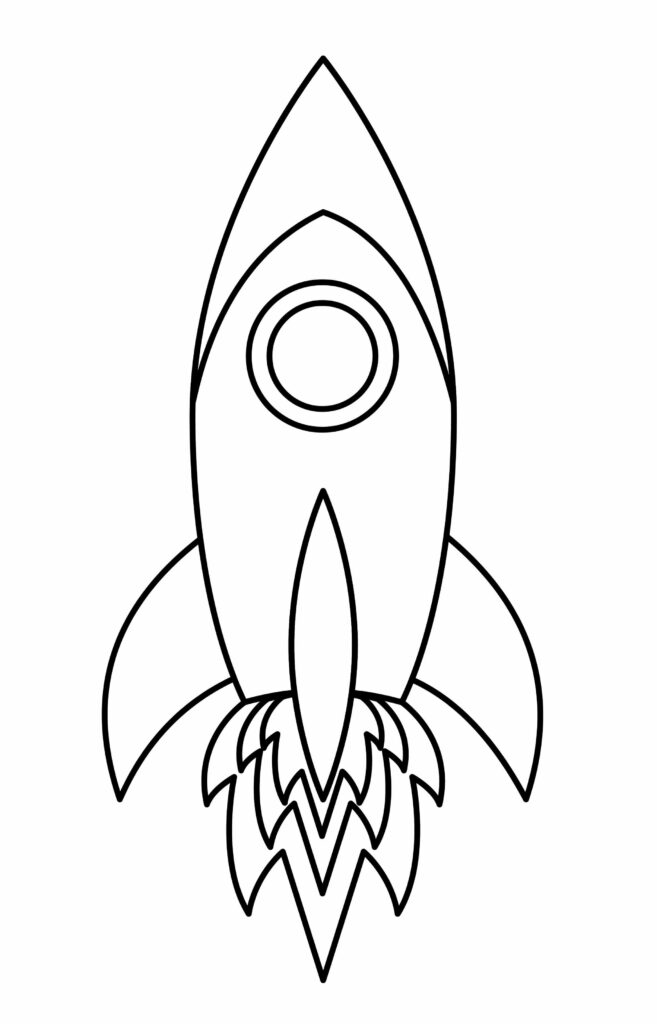
Step 6: The spaceship is ready
Hurray!! Our spaceship is ready to explore different planets, stars, and space. We hope you followed, enjoyed the process, and made an amazing spaceship. Did you have fun while drawing? Well, there’s a surprise for you! The real fun starts here. Yep, you heard right. Now, we will cast magical spells on your spaceship to make it look more real and amazing.
Taking your Spaceship Drawing to the next level
Now, this is where you should use your imagination to make your drawing different and better than others. We know art is fun. Anybody can make a simple basic drawing. So, what’s special in your drawing will make it stand out? Most people draw a basic drawing and stick to the basics, but you should go out of your way to look at other parameters that will make your drawing look even better.
Don’t know how to do it? Well, say no more because we are here to assist you. You can do the following things to make your drawings stand out.
Adding background to your drawing
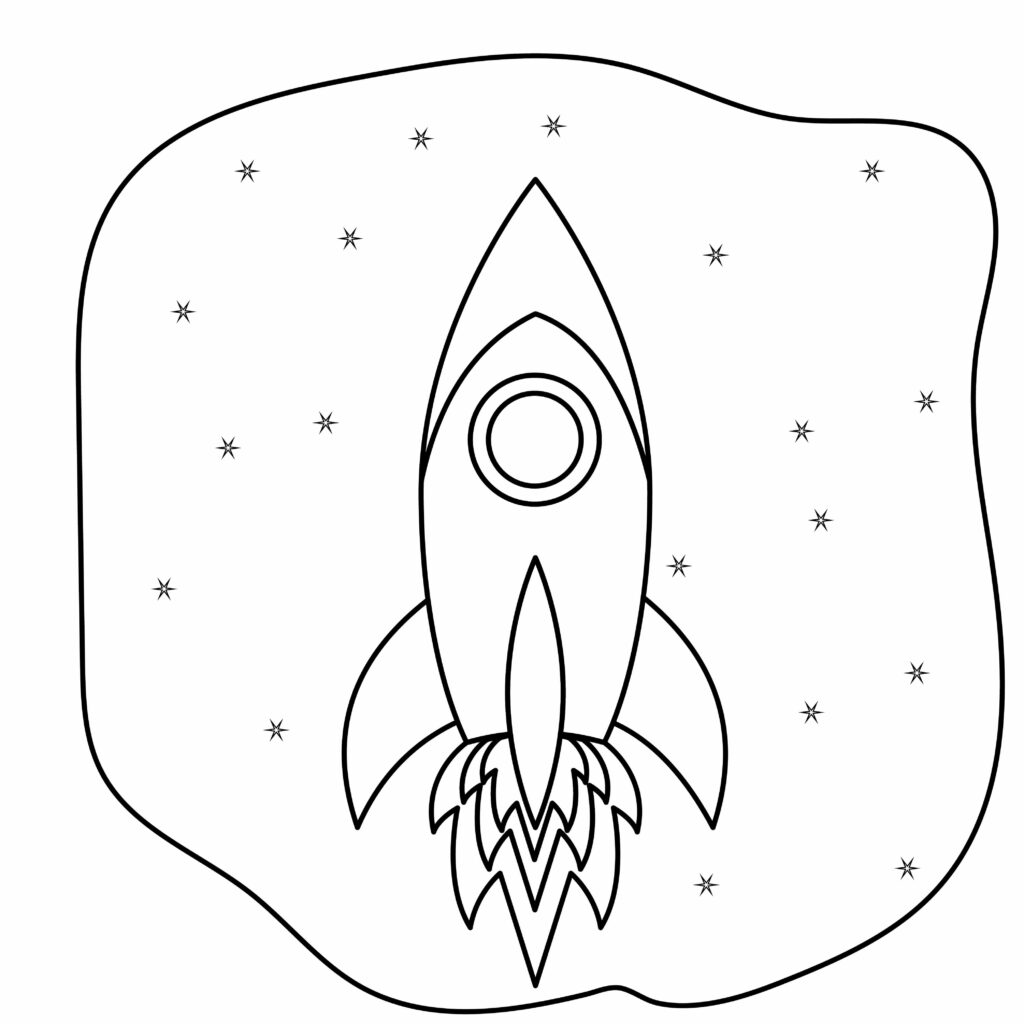
Adding background to your drawing gives it a more realistic, enhanced, and beautified look. Without a background, the story seems to be incomplete. So, you should add a background to this painting to make it look better. Where is your spaceship standing? Is it standing in the hangar or on the launch pad? Or is it in space in the middle of its journey to another galaxy?
Imagination has no limitations whatsoever. Usually, a spaceship is on its voyage in the vastness of space in the middle of stars and galaxies, traveling towards its destination. This is just one idea. You can use your imagination to make other ideas that you find better.
Adding colors to your drawing
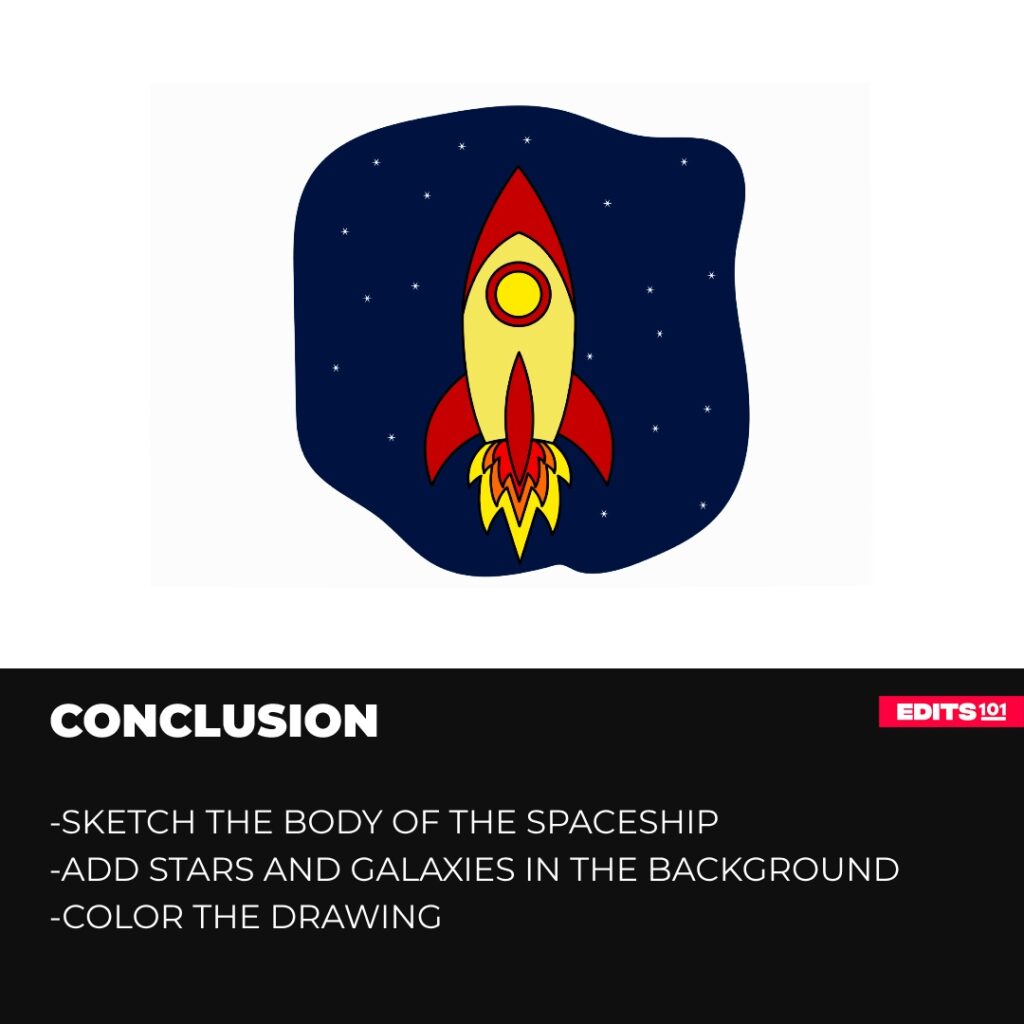
You’re a young wizard, and your color brushes are your magic wands with which you can cast beautiful spells on your drawings. These spells will make your drawings look more realistic and charismatic. You’re no less than Picasso or Leonardo Da Vinci. This portion is all about your creativity and by adding colors to both the background and your spaceship you can make it more beautiful and more live.

An amazing drawing is always colored neatly and tidily. Pick up any colors you like and start filling different parts of your spaceship with different colors you like. You can also try different combinations of colors. Contrasting colors enhance the drawing. While coloring, you can also color one part of a spaceship in such a way that it has different shades at the edges and in the middle. These shades are produced by the intensity and stroke of your brush or pencils.
P.S Bonus Tips
We will give you some ideas about how you can add to your drawing and make it look more awesome. Imagine you’re in space, and you see constellations outside in the vastness of space. You can add different kinds of stars, planets, and other space components to beautify your drawing. You can add other components to your background, like the big earth below it (giving an impression that your spaceship is just leaving Earth and entering into the atmosphere).
You can also beautify your spaceship with different components, e.g., add a flag with your name. How awesome would that be, right? You can also write your name on your spaceship and color it beautifully. These are just some suggestions to enhance the charisma of your drawing. You can use your imagination to consider different features like these to beautify your art further.
Conclusion
You have made an outstanding drawing, and now you have come far away from when you started drawing. We hope you enjoyed the process and you understand it is just baby steps. If you look at complex art like a spaceship that you just drew, you might think it is very difficult. But if you follow one step at a time with devotion and use your imagination, there is no way you won’t be able to draw something.
We just followed the same procedure of making one part of our spaceship at a time, starting with its body, cockpit window, wings, upper body shape, and thrusters or flame. While learning how to draw a spaceship, we also learned a lot about spaceships in general, their parts, and the general functions of those parts.
Thanks for reading & feel free to check out more of our articles!
Author Rating
Overall Rating
Summary
This guide explains how to draw a spaceship.

