How To Draw A Zeppelin | Easy Fun Tutorial
Today, we will go in the air to experience scenic beauty from the sky while drawing a zeppelin.
An example of a rigid airship is a Zeppelin, created by the German inventor Ferdinand von Zeppelin (pronounced [tspli]) around the beginning of the 20th century. Zeppelin’s ideas were initially conceived in 1874 and then thoroughly refined in 1893. 1910 marked the launch of the first commercial Zeppelin flight. Many rigid airships used “goldbeater’s skin”—a term for sheets manufactured from cow intestines—as the gasbags. A typical Zeppelin from World War I required roughly 200,000 sheets.
What you will need
- A pencil
- An eraser
- A sheet of paper
- Coloring kit
- Ruler
- 30 minutes
how to Draw a Zeppelin
Are you guys ready for a fantastic drawing experience while learning some facts about zeppelins that were used back in the day? All you have to do is to follow each step carefully. By doing that, you will have a perfect drawing.
The following steps will show you how to do it. Make sure to follow each step.
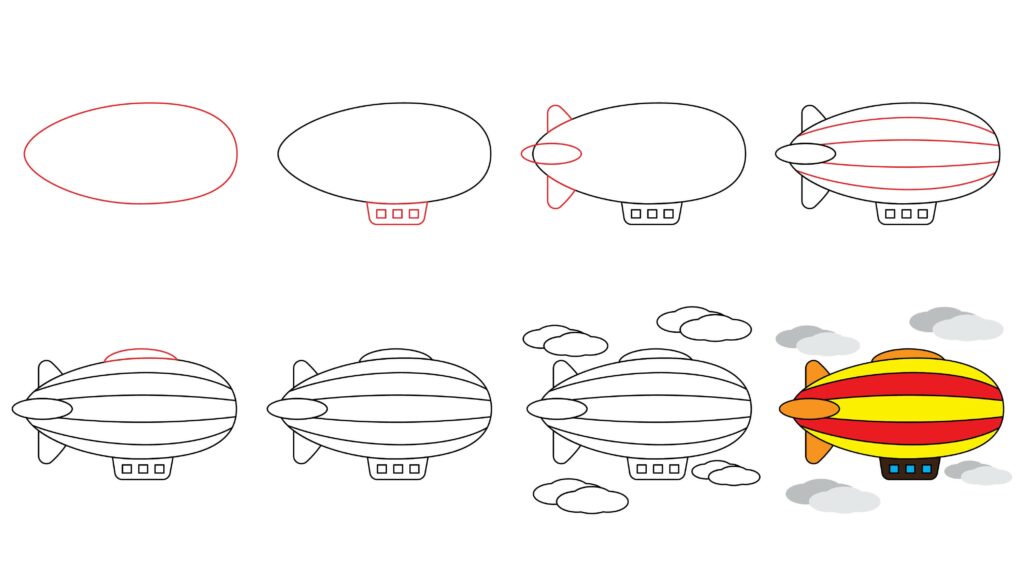
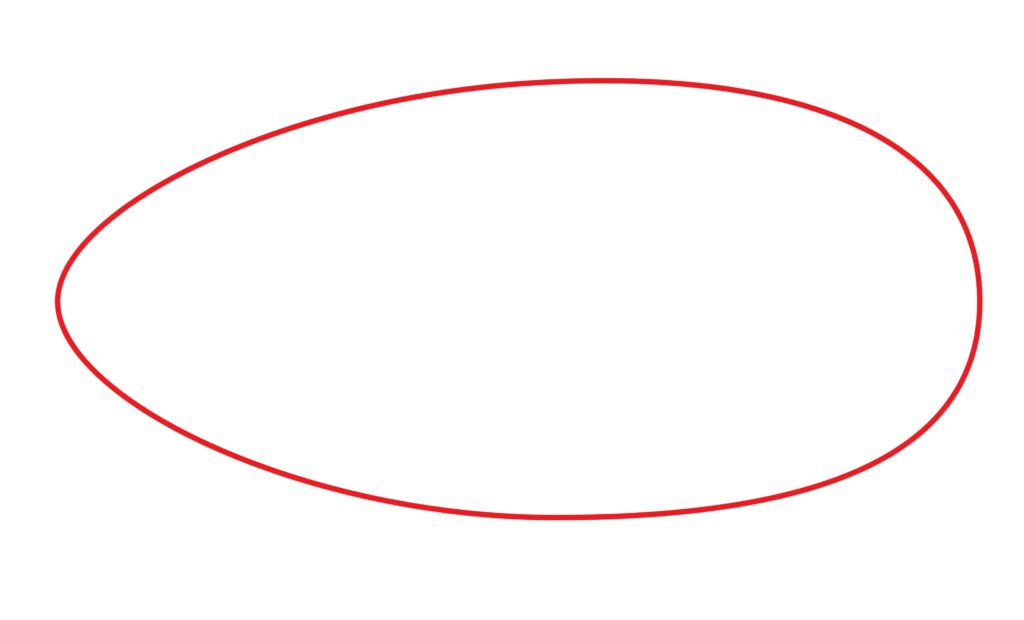
Step 1: Draw the body
Draw the zeppelin body with an oval shape. This oval shape will be like an egg lying horizontally on the page. To make an oval, you can use a compass to get the baseline of a circle and then make the necessary adjustments, like stretching one end of the circle towards the boundary of the paper. In this case, it is stretched towards the left side. You can also draw the oval freehand if you don’t have a compass. Place a dot in the center where you want to draw the oval. Then, put four dots around it (top, left, right, and bottom). Note that the left and right dots will be far apart from the center dot to get that oval. You can practice this oval shape on a rough page before drawing so you will be able to produce a perfect oval shape for the body of our zeppelin.
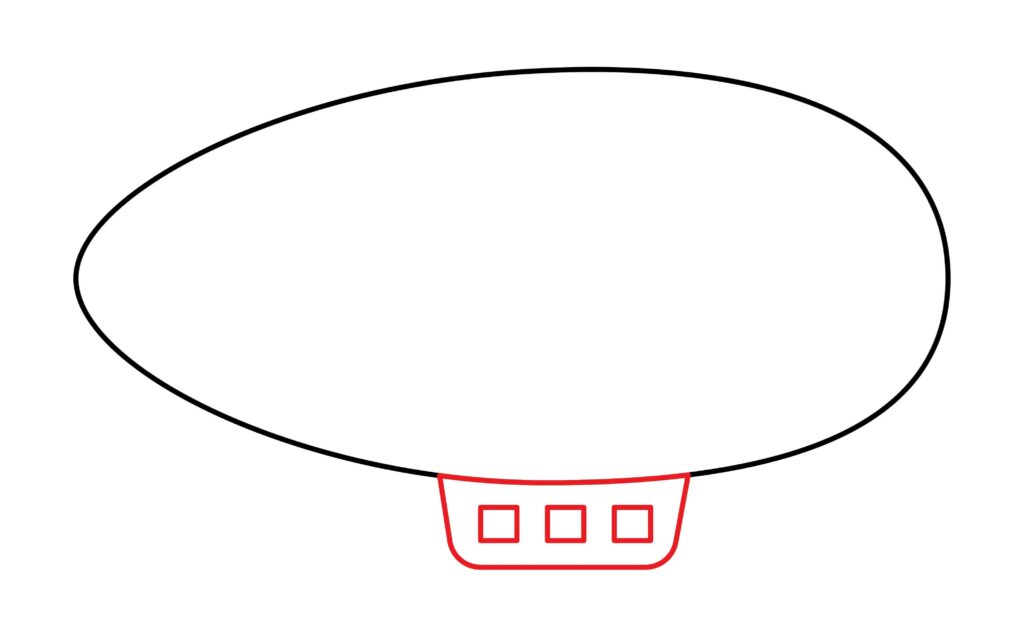
Step 2: Draw the cabin
In our second step, we will draw the cabin of our zeppelin, as Zeppelins were mainly used for scenic passenger flights. Although the cabin accommodations were small on the same level as early railway sleeper rooms. The walls and doors of the cottages, which were roughly 78′′ x 66′′, were built of a thin layer of lightweight foam covered in fabric.
To make the cabin, we will draw a rectangle below the envelope of the zeppelin. This rectangle will share a boundary with the body. To make this type of rectangle, just draw a horizontal line below the oval shape and connect it with two vertical lines, as shown in the image. Make the corners curved to give an artistic touch. We will also draw small squares (a quadrilateral with equal sides) for windows as zeppelin was used for sight-seeing.
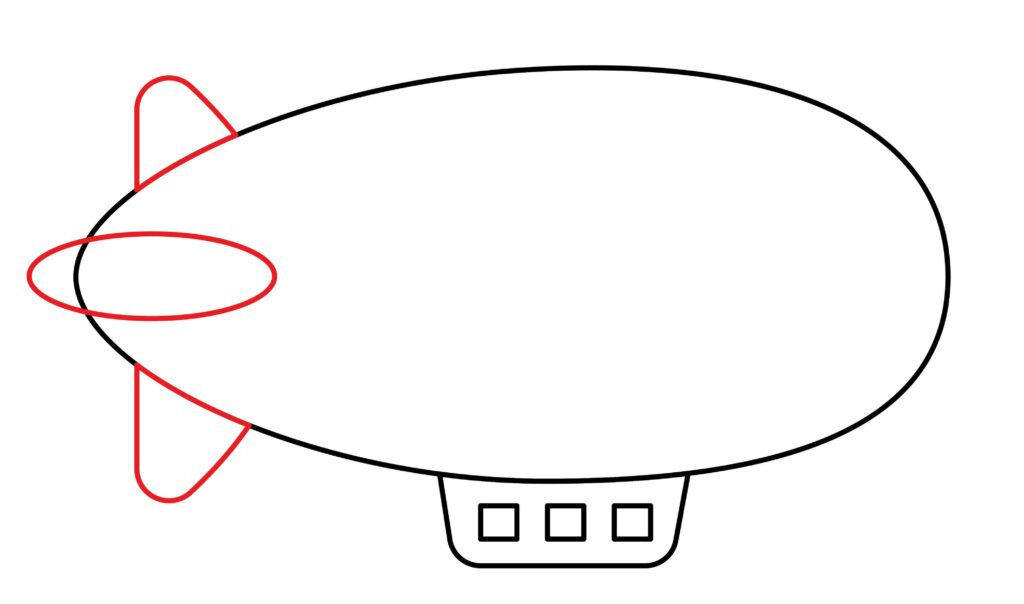
Step 3: Draw the wings
There are two types of wings in a zeppelin. One is rotatory, other is fixed. In this drawing, we will draw the fixed wings for simplicity. To make the wings, draw an oval at the center of the left corner of the body of the zeppelin drawn in the first step. Now, draw a triangle on the top left corner of the body and make the corner of the triangle curved. Repeat the same procedure to draw the triangle on the bottom left of the body.
You are doing a fantastic job; two more steps and our drawing will be complete.
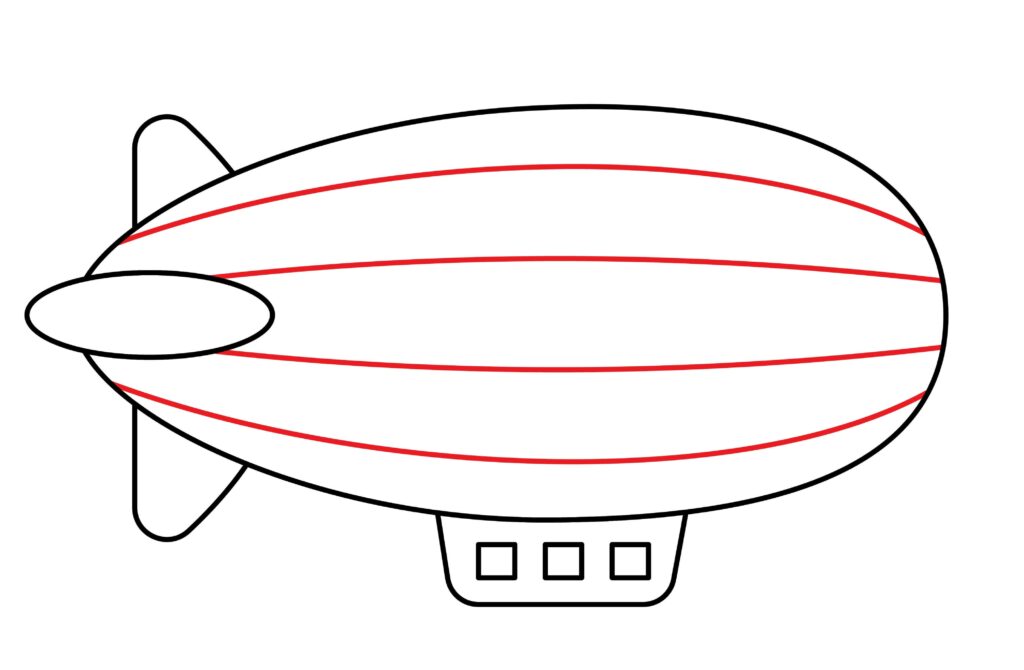
Step 4: Draw details on the body
The body of our zeppelin is looking very plain. So, in this step, we will add some details to the body. For that, draw some vertical lines along the body’s curvature or the zeppelin’s envelope. Make sure no line crosses the boundary of the main body.
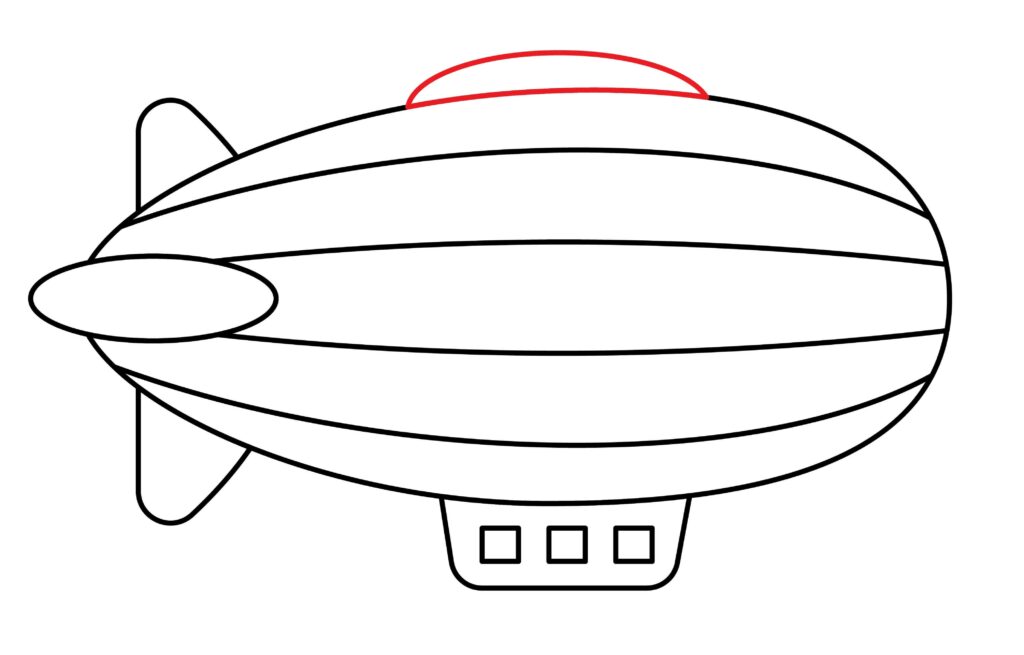
Step 5: Draw the roof
In our last step, for more detailing, we will add a roof on the top of the main body of the zeppelin. To make the roof, draw a curved line on the top of the main body. This line will be more curved than the curve of our main body.
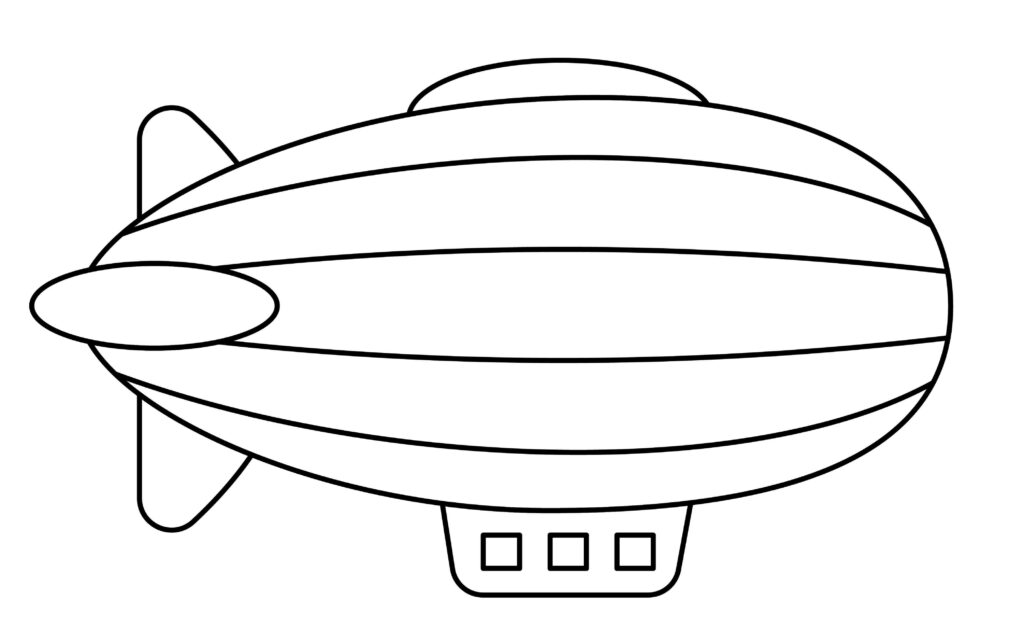
Step 6: Your zeppelin is ready
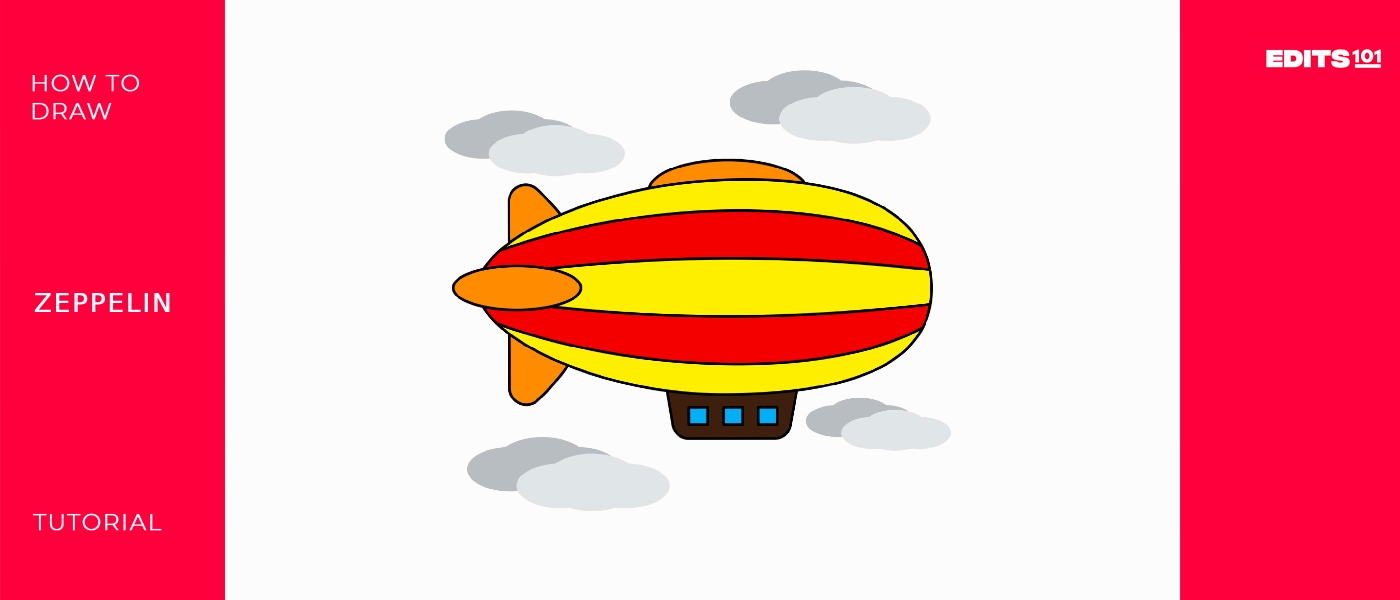
Congratulations! Your drawing is complete. Your zeppelin is ready to take some passengers up in the air. As mentioned in the steps, we are so excited and hopeful that you created a spectacular image. You can make mistakes when drawing, so give it another look after completion. If it doesn’t look right, erase it and make it better; then, use an outliner to make it look better.
Wait to put your things away. The real magic is about to begin. We will make your drawing from looking like a drawing to a masterpiece picture.
Taking your zeppelin drawing to the next level
Since our brain is as diverse as the place we are about to explore, there are billions of people, each with their preferences and other products. Our brain is capable of anything. You may always add your thoughts to the image to make it more unique. Your willingness to create more original work will also improve due to your increased self-confidence and idea-filled head. So, in our further steps, we will add colors and backgrounds to our drawing.
Adding background to your drawing
The composition of the drawing can be balanced with a well-designed background. It can serve as a point of reference for the spectator and foster harmony between the subject and its surroundings. Background information is essential to a good narrative. They can include further details about the story, including the day of the week, the time of year, or a specific location. This may enable the audience to receive a more thorough report. A complete and precise backdrop is necessary for realistic or representational art to convey the illusion of reality successfully. It aids in placing the subject in a plausible setting.
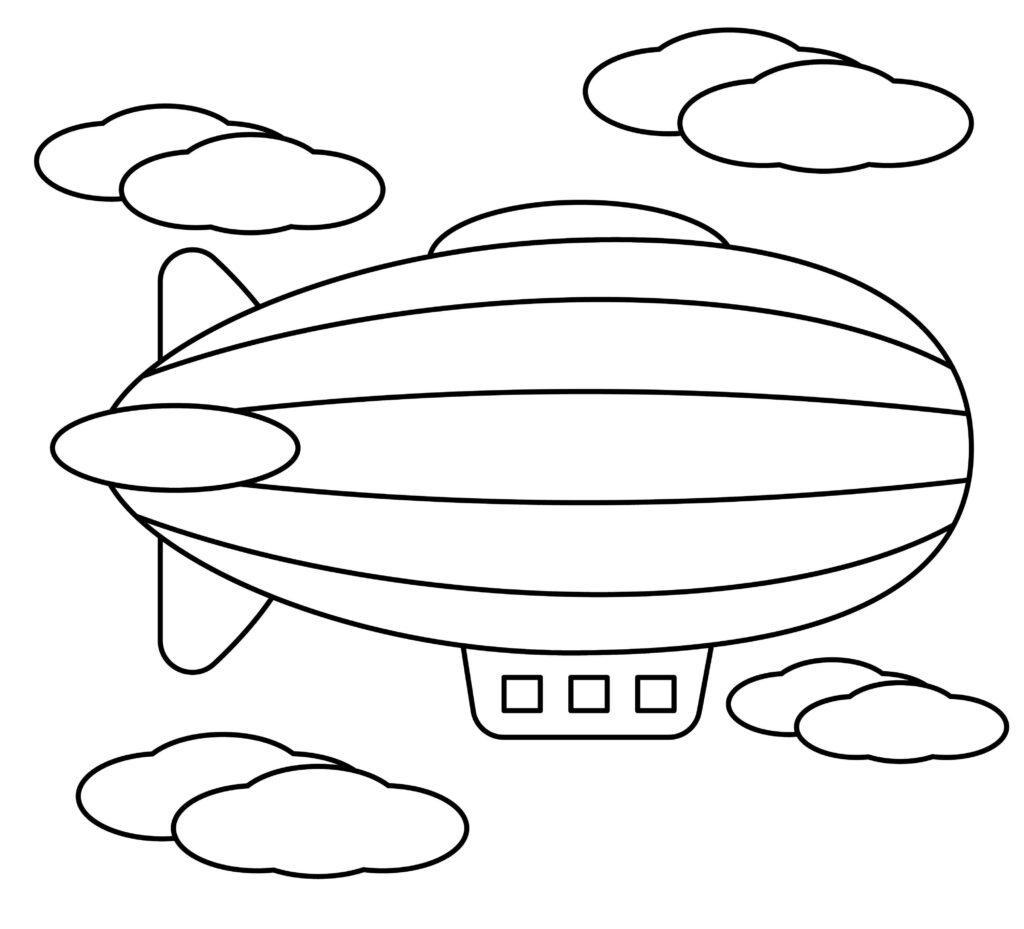
Now, where our zeppelin might be, it will probably be in the sky, between the clouds. You can draw clouds and blue sky to show it in the air. You can also draw some birds flying around our zeppelin.
Adding colors to your drawing
Now is the time for you to express your creative side. Utilize your artistic talents to the fullest when coloring your drawing. Including color in your picture will make it more vibrant and alive. With color, the image seems full of life and exciting. We need to color it so it looks lively and new.
Do you guys also realize that coloring is a healthy method to unwind? It encourages physical relaxation while reducing mental stress. Heart rate, breathing, and depressive and anxious thoughts can all aid with sleep and fatigue and reduce physical pain. Crayons, poster paint, markers, or pencils can be used to color it. Everything is up to individual taste. Clean, exact coloring is the key to a good drawing.
You should use bright colors for your drawing of zeppelin. You can color it in multiple colors for the envelope or the main body. You can use blue for the windows and light blue for the sky. For the clouds, you can use either grey or white color. By merging and mixing, you can use different shades of colors to give an artistic effect to your drawing.

P.S. Bonus Tips
We’ve finished our drawing, and we hope you liked it as much as we did. There are no restrictions on one’s imagination, as was previously said. Any improvement can be made to the drawing. Although we provided background and some colors, there is still more you can do.
You can make some designs or patterns on the main body of the zeppelin, like some fire or your favorite cartoon character. You can also make your country’s flag or write your famous quotation, and many more things that show your personality. You can also draw a rainbow in the sky. These are very few ideas, but as we know, we can do anything, so don’t limit yourself to ideas.
Conclusion
Our drawing is all ready now. It was a fun and easy process. We’re sure you followed each step without skipping and made a fantastic drawing. This guide explained each step most easily. We started by making the main body and drew the zeppelin’s cabin, wings, and roof.
Remember that sketching is a creative and thoughtful way to express yourself and that the more you draw, the better you’ll get, and the more ideas will start to come to you. Remembering them will be quite helpful in ensuring that the drawing is distinctively yours. Because you should never give up, you can always try again if you aren’t satisfied with the results.

Thanks for reading & feel free to check out more of our articles!
Author Rating
Overall Rating
Summary
This guide explains how to draw a zeppelin. You will also learn a few interesting facts about this vehicle.