How To Draw An Electric Scooter | A Step-By-Step Tutorial
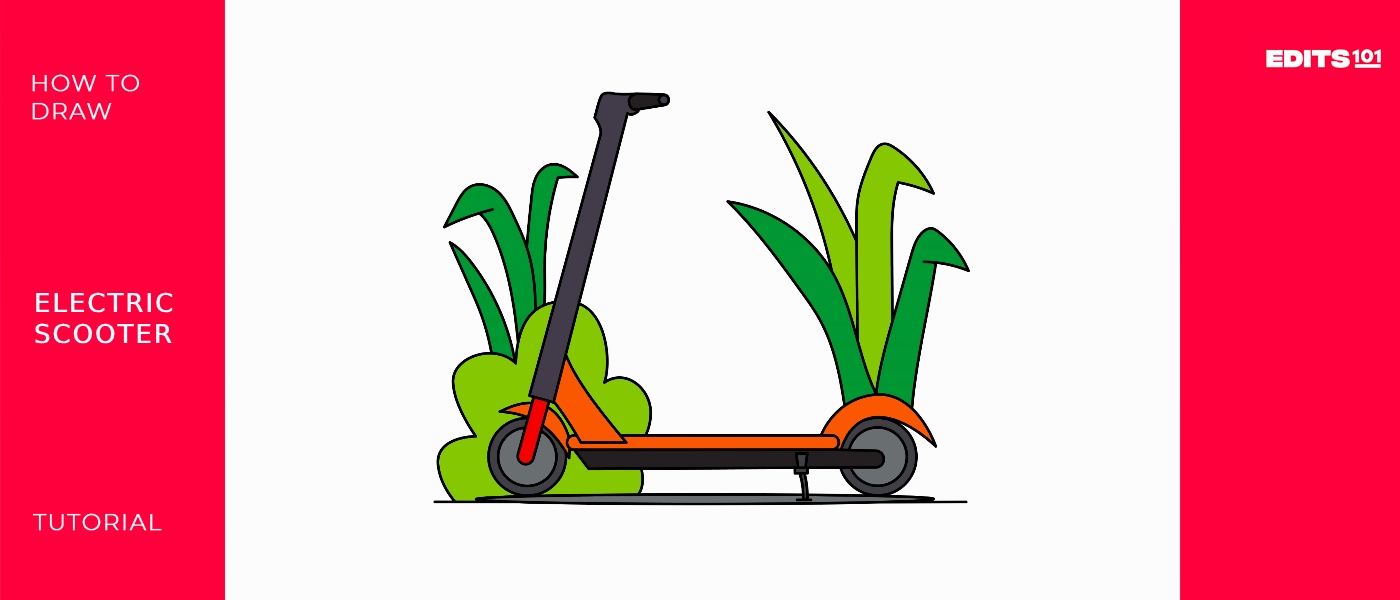
Get ready to draw another amazing drawing. Today, we will draw an electric scooter.
Electric scooters are fun to ride. Anyone old enough to operate an electric scooter can easily navigate any city’s sidewalks and streets. Most can travel up to 15 mph, both fast enough to be enjoyable and slow enough to stay under any posted speed limits. They are simple to ride and maintain. There are many charging stations available. Low operating expenses. Their use generates relatively little noise pollution. These scooters are environmentally friendly.
What you will need
- A pencil
- An eraser
- A sheet of paper
- Coloring kit
- Ruler
- 30 minutes
How To Draw an electric scooter
Buckle up to make an environmentally friendly ride, i.e. electric scooter. To make a perfect drawing, follow each step in this guide carefully.
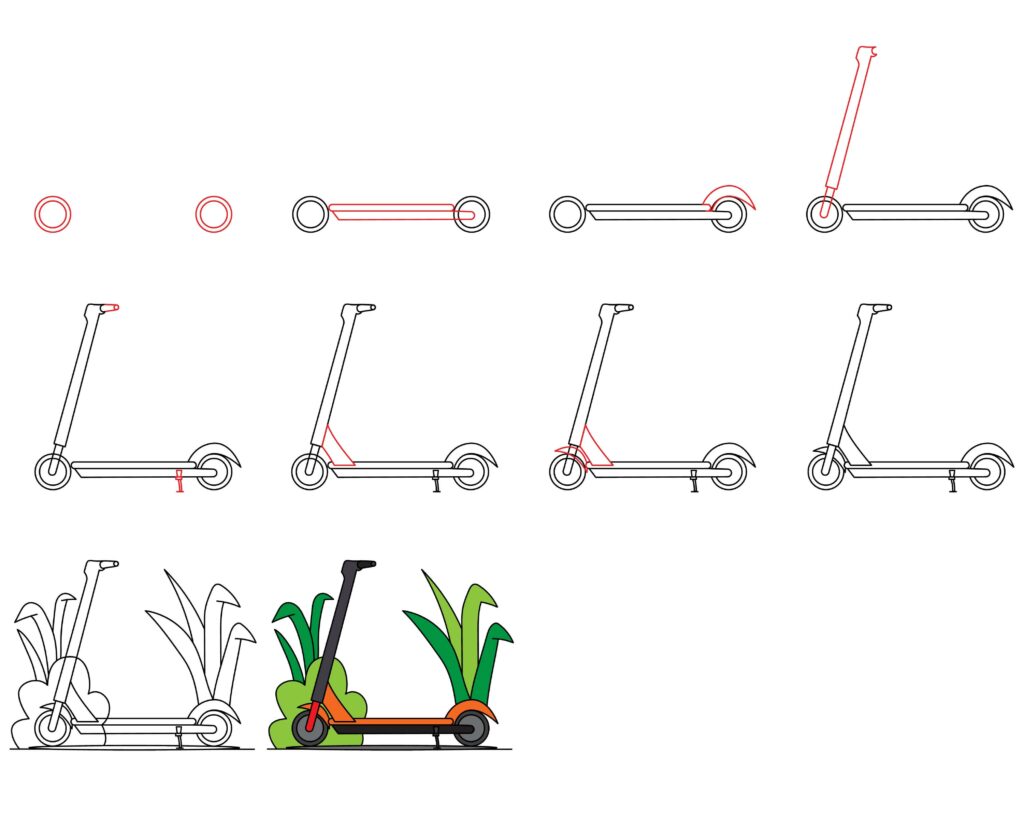
There are 7 to 8 steps, and you can make a perfect scooter after 30 minutes.
Step 1: Draw the wheels
In our first step, we will draw the wheels that act as a base for our electric scooter drawing. Make two medium-sized concentric circles on the lateral sides of the bottom of our page to draw the wheels.
Use a round object like a glass or lid to create beautiful circles. If these items are unavailable, you can draw these shapes with your free hand by placing a dot in the center and four other dots around it. Then, draw curved lines to join these dots together. Always keep in mind that practice makes perfect.

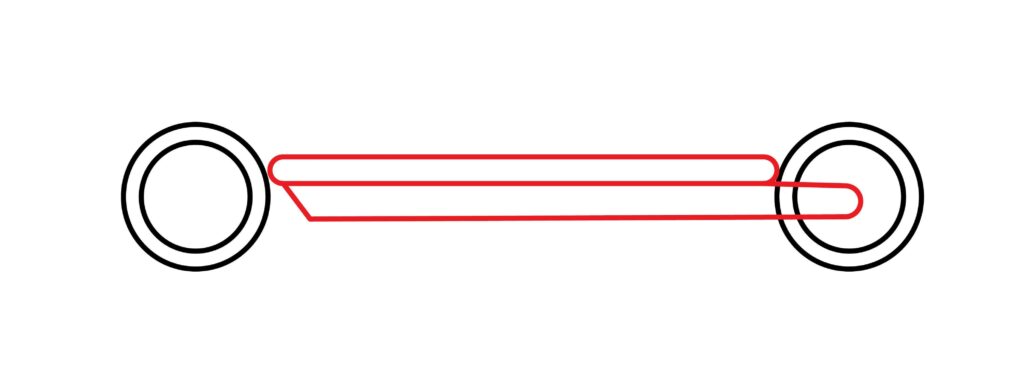
Step 2: Draw the scooter base
We will draw the scooter base. It is the part where the rider places their foot. Draw a very narrow horizontal oval between the wheel to make the scooter base. To make an oval, draw two horizontal parallel lines and join them with curved lines. Then, draw a rectangle beneath the oval. This rectangle will have one curved side on the right and a slanted side on the left.
You are doing an amazing job. With a few more steps, we will be done with our drawing.
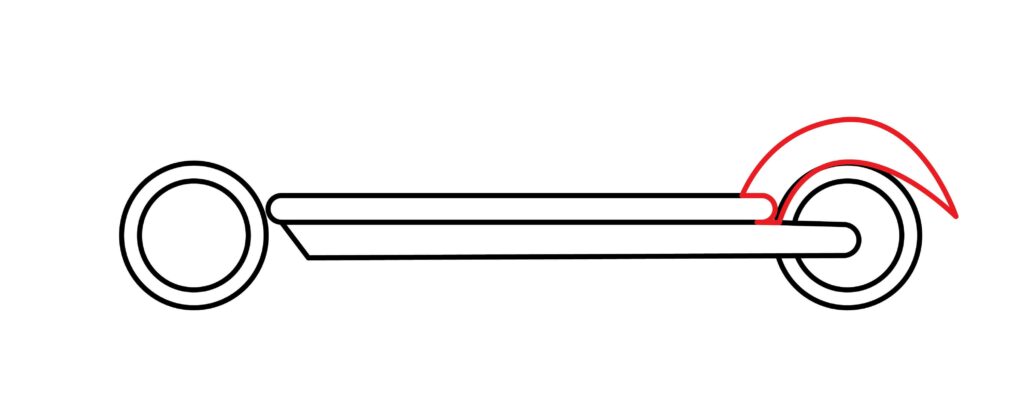
Step 3: Draw the rear fender
The part of our bicycle acts as a mudguard and protects us from the splatter of muddy water during rainy days. Draw curved lines on the rear wheel extending over the electric scooter wheel to make the rear fender.
Step 4: Draw the handlebar
We will draw the handlebar of the electric scooter. To make the handlebar, extend two vertical lines from the front wheel. Note that these vertical lines will be slanted towards the right. Also, extend these lines to the half length of the paper. Make the upper part of these lines a little broad where the handle will be attached.

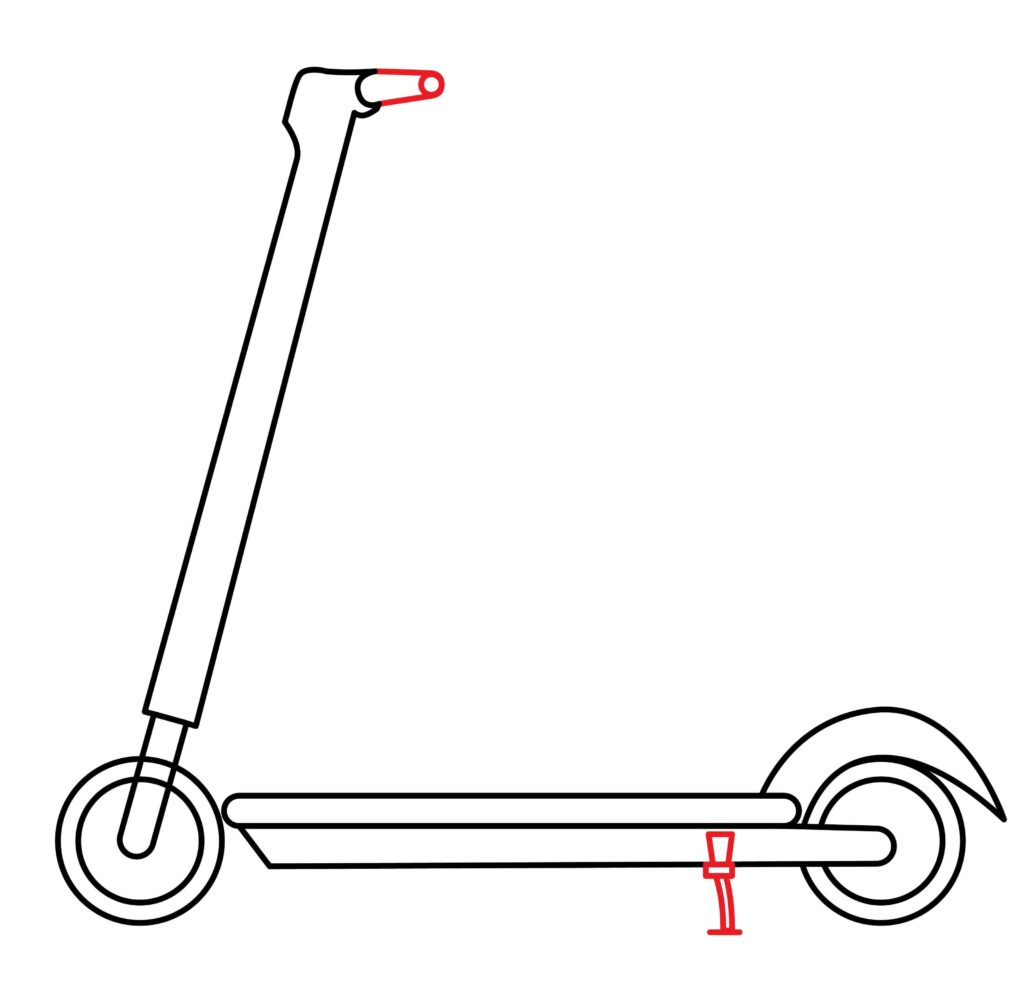
Step 5: Draw the handle and the stand
Now, we will draw the handle and the electric scooter stand. For the handle, draw two small horizontal lines perpendicular to the handlebar and make a circle at the end of these lines to join them. For the stand, draw some small vertical lines and a horizontal rectangle attached to the lower part of the base of the electric scooter.
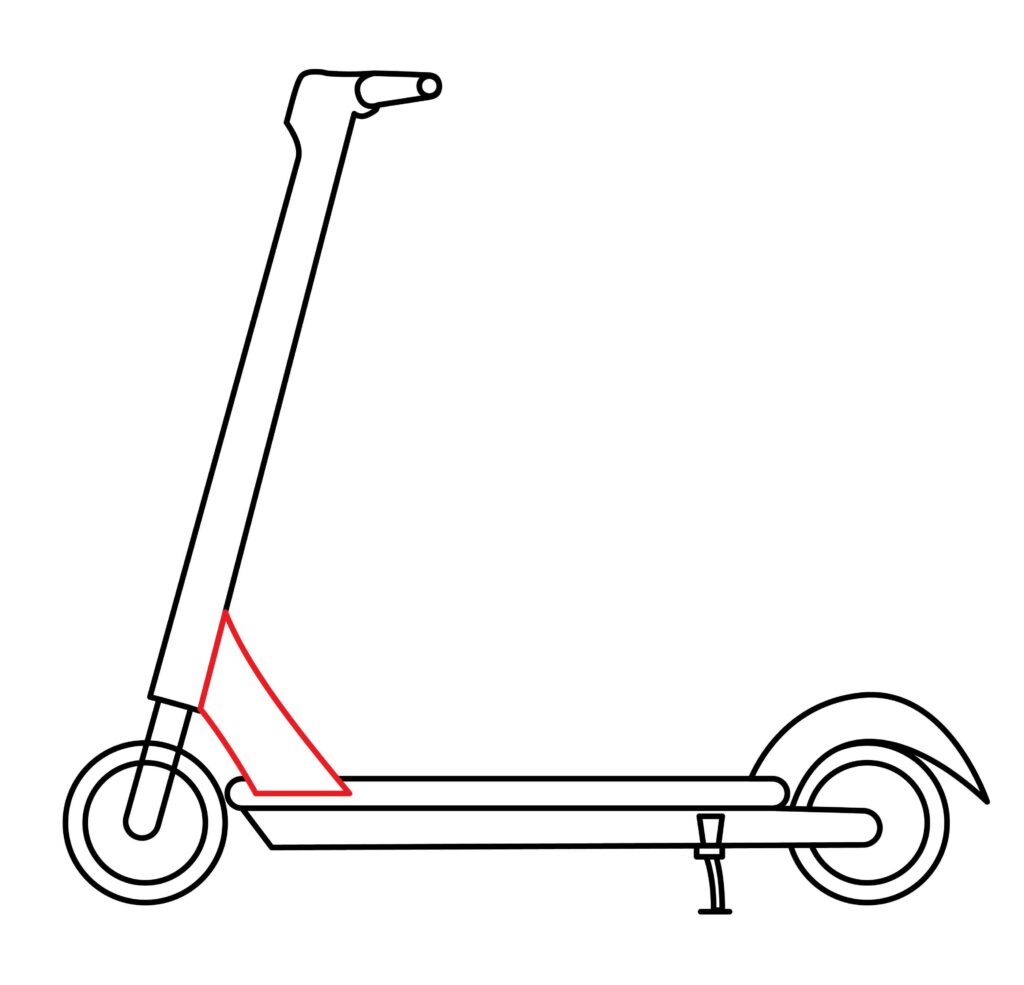
Step 6: Connect the handlebar and the body
In this step, we will connect the handlebar and the body of the electric scooter. To connect these parts, we will draw an oblique trapezium beside the front wheel. To draw a trapezium, make parallel lines that are unequal in size and join them with slanted lines towards each other.
You are almost done with your drawing. As simple as the previous stages are, there is one more.
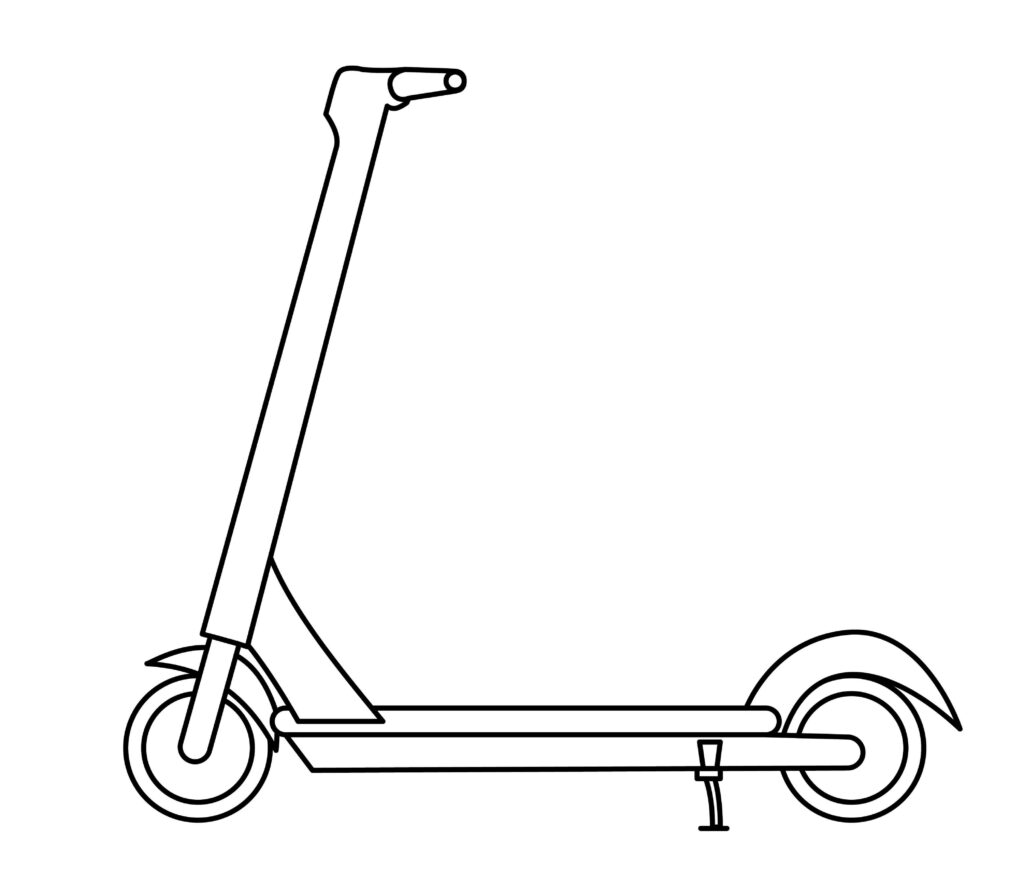
Step 7: Draw the front fender
Above the front wheel, draw a curved line that extends slightly over the wheel for the front fender, like the image. This fender also has the same role as the rear fender.

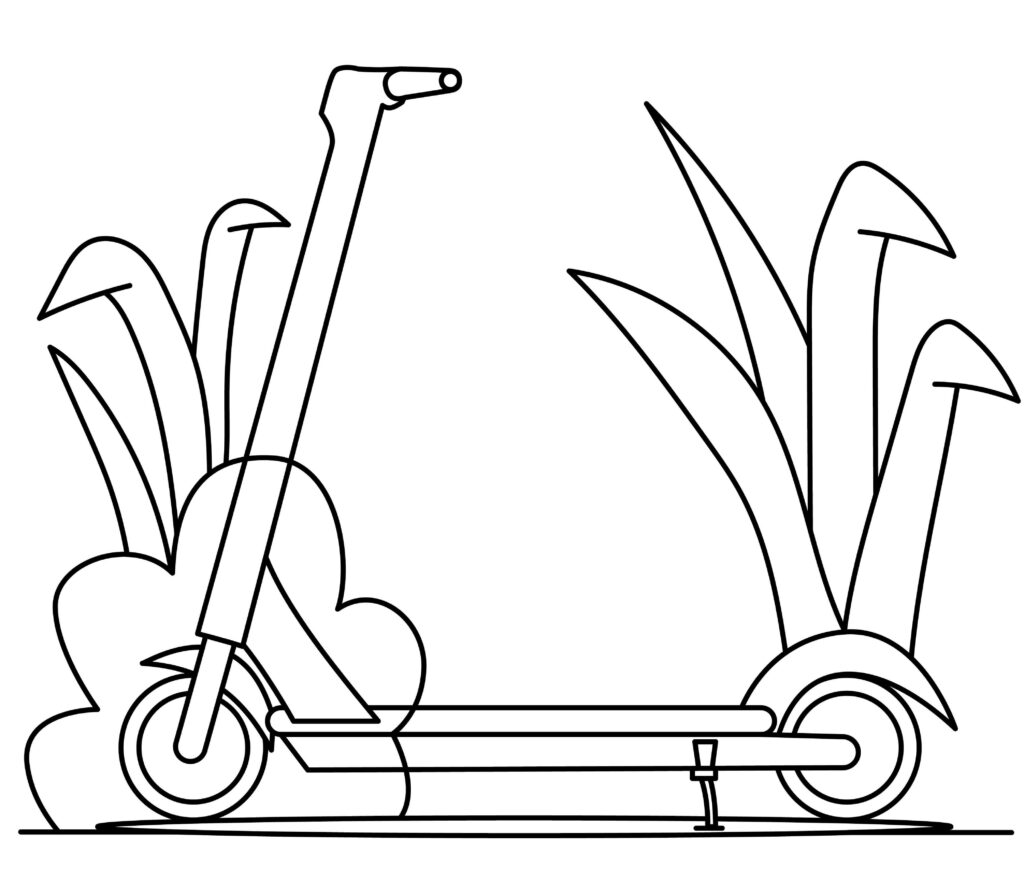
Step 8: The electric scooter is ready
You are done with your drawing. Your scooter is ready to make a move. You did an excellent job. We’re certain you followed each step and made your electric scooter. We’ll use a marker to outline the drawing to make it stand out more. We’ll remove the pencil traces for a clearer view after outlining.
Stay put! The good part is just getting started. We’re about to make our drawing better and more lifelike.
Are you willing to let your imagination and creativity soar to produce a flawless drawing?
Taking your Electric Scooter drawing to the next level
Creation starts with imagination. You will do what you imagine and produce what you will after imagining what you wish. The scope of your creativity is limitless. Everything is possible when you know how to use it properly. Similar to how using creativity, you may enhance your artwork. Give your imagination a free run to create a genuinely stunning drawing.
Doing this will boost your confidence and enhance your willingness to sketch more. Innovation and experimentation are the main points of this section. We’ll add numerous things to adorn our drawing.
Take out your stationery, and start working your magic.
Adding background to your drawing
The background establishes the setting, which also gives the components an atmosphere. Every small detail, including the cast shadow on a wall and the pattern repetition, is essential to the impact. A good backdrop does two things: it is attractive and visually connects to the subjects in the foreground.
A drawing’s background is essential for creating context, depth, atmosphere, and narrative. Enhancing the composition and providing more evidence for the theme raises the artwork’s importance and overall impact. Everyone has a story to tell. It can be communicated verbally or even visually. You can describe your story by mentioning the background of your drawing. With a background, a drawing appears entirely different. It provides context and gives the specifics more depth.
You can add a roadside or parking lot for our electric scooter. A clear blue sky can never go wrong for any drawing. You can also add a shining sun in the sky. You can draw some bushes behind the scooter showing the roadside. These are a few ideas for the background; you use your creativity and add the background to your liking.
Adding colors to your drawing
Color is significant in drawings because it may evoke feelings, convey meaning, and create an atmosphere. They give the work new life by converting flat lines into lively, dynamic compositions. The color scheme you choose could affect how you feel. Cool colors conjure serenity or melancholy, whereas warm colors may radiate coziness. Additionally, colors help define form and depth, allowing things to advance or retreat visibly.
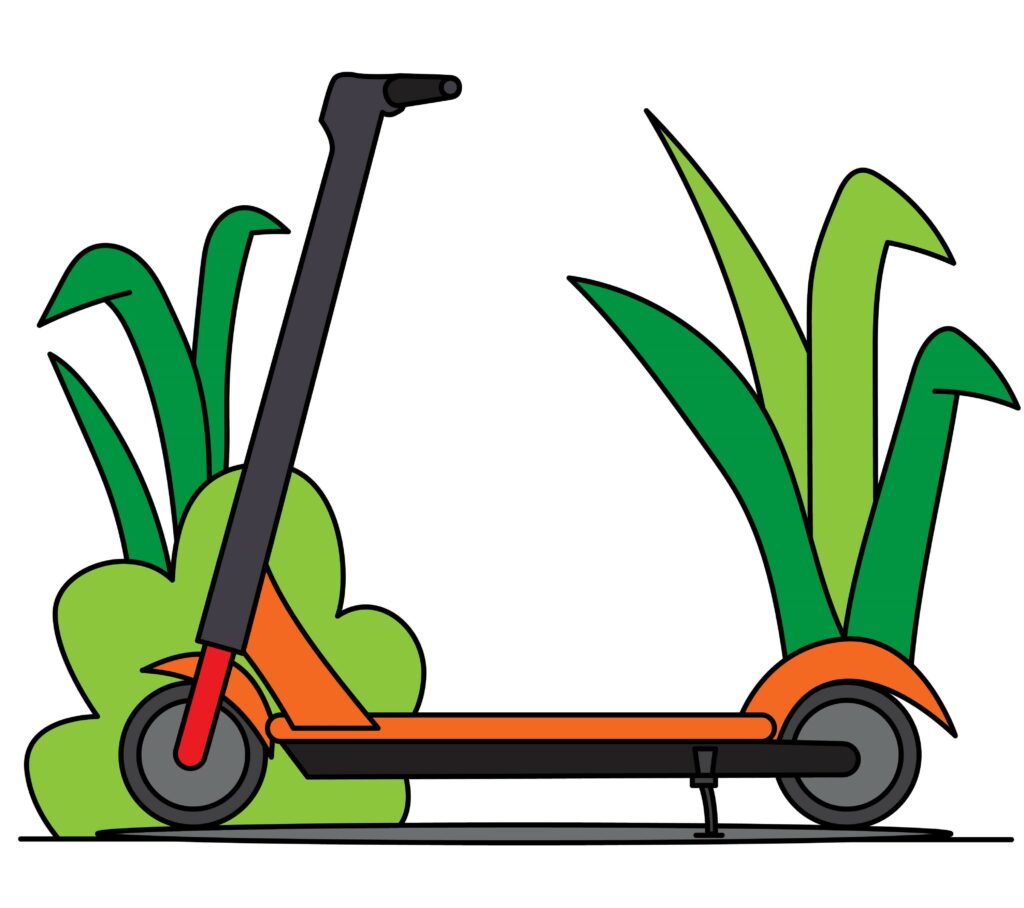
By experimenting with color, let’s give our electric scooter and the background some life. There is no absolute rule regarding coloring; you can do whatever makes you feel and who you are. But only a few things will be depicted in color as they are. The color of the sky should be blue. Choose vivid colors for the electric scooter, such as red, to improve your artwork. You can color the bushes with different shades of green and the road black or brown. You can also try shading with different shades of color to make it even more mesmerizing.
It is a wonderful method to discover your creative side. Every color gives your drawing a fresh depth of charm. There’s a whole new world here. So get your crayons, marker colors, poster paints, or anything else you want, and start working your colorful magic.
P.S. Bonus Tips
We’ve finished our drawing, and we hope you liked it as much as we did. There are no restrictions on one’s imagination, as was previously said. Any improvement can be made to the drawing. You can do more than what we did with the backdrop and color.
You can draw a person riding an electric scooter. You can add birds in the sky and make stickers or patterns on the scooter. You can even write your name on the scooter. You can also add a flag on the scooter. These are a few tips, but you can add whatever you want, as there is no limit to a person’s creativity.
Conclusion
That’s it! Our drawing is complete now. It was a fun and easy process. We’re sure you followed each step without skipping and made an amazing drawing. This guide explained each step most easily. We started by making the scooter wheels; then, we drew the scooter base, rear fender, handlebar, handle, and stand, connected the handlebar and the body, and drew the front fender.
Keep in mind that drawing is a fun way to explore our options. Sketching numerous objects should always be fun. If your initial attempt provides different results, don’t worry; try again. Giving up is never a good idea. You have to be patient. You should keep practicing until you are a pro.

Thanks for reading & feel free to check out more of our articles!
Author Rating
Overall Rating
Summary
This guide explains how to draw an electrci scooter in 8 effective and easy steps. You will also learn a few interesting facts about this vehicle.