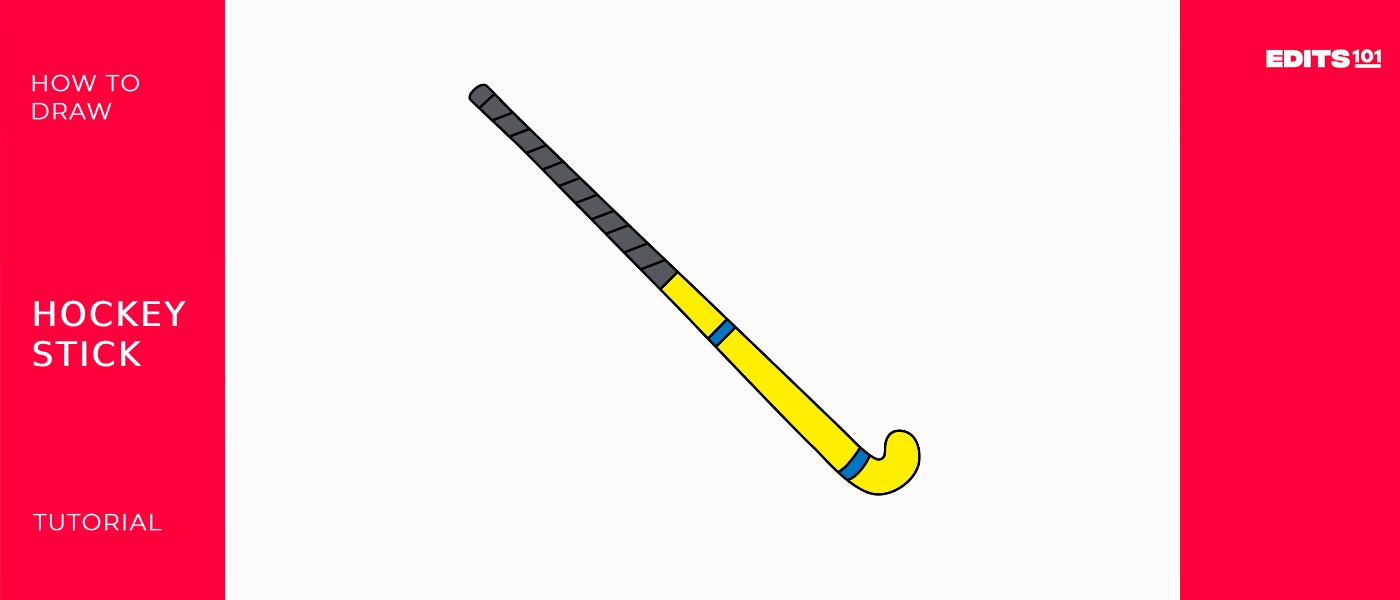
How To Draw A Hockey Stick | A Fun-filled Tutorial
There are several variations of the game of hockey; hockey is a popular sport in many nations, and ice hockey is more common in colder climates. The hockey stick is an essential gear for players since it can be used for scoring goals and deft ball or puck handling. Typically, hockey sticks have a curved blade on one end to facilitate effective passing and ball handling.
Players may choose from varying levels of flexibility and power depending on whether the shaft is composed of carbon fiber, fiberglass, or wood. The stick’s shape and length may change depending on the player’s position and desire. The hockey stick, synonymous with the sport itself, represents hockey’s dynamic and strategic nature, and its evolution reflects advancements in materials and technology to enhance players’ performance on the field or ice.
| Steps | Complexity level |
| Draw the outline | 2 |
| Draw the grip | 1 |
| Add details | 3 |
What you will need
● A pencil
● An eraser
● A sheet of paper
● Coloring kit
● Ruler
● 15 minutes
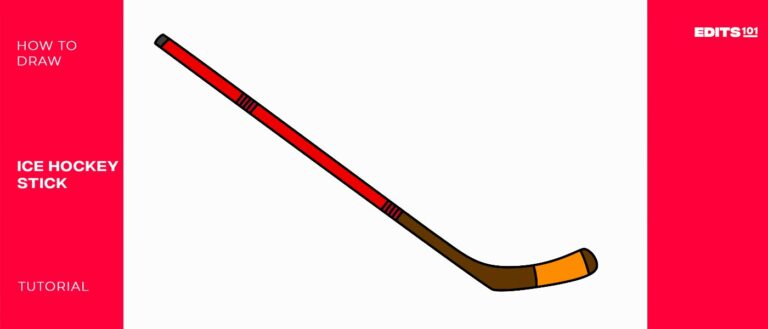
How To Draw a Hockey Stick
We will draw the hockey stick. It is an effortless drawing, and we are here to guide you.
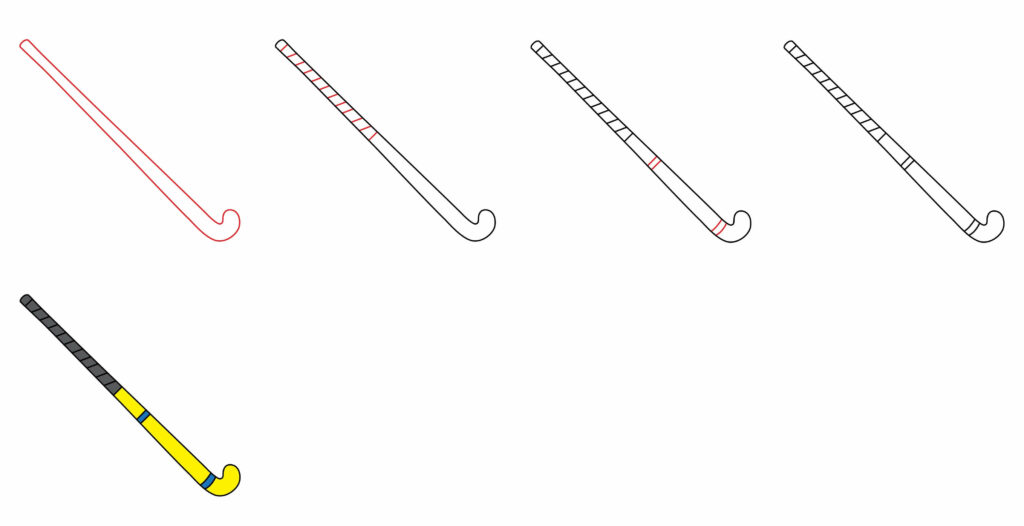
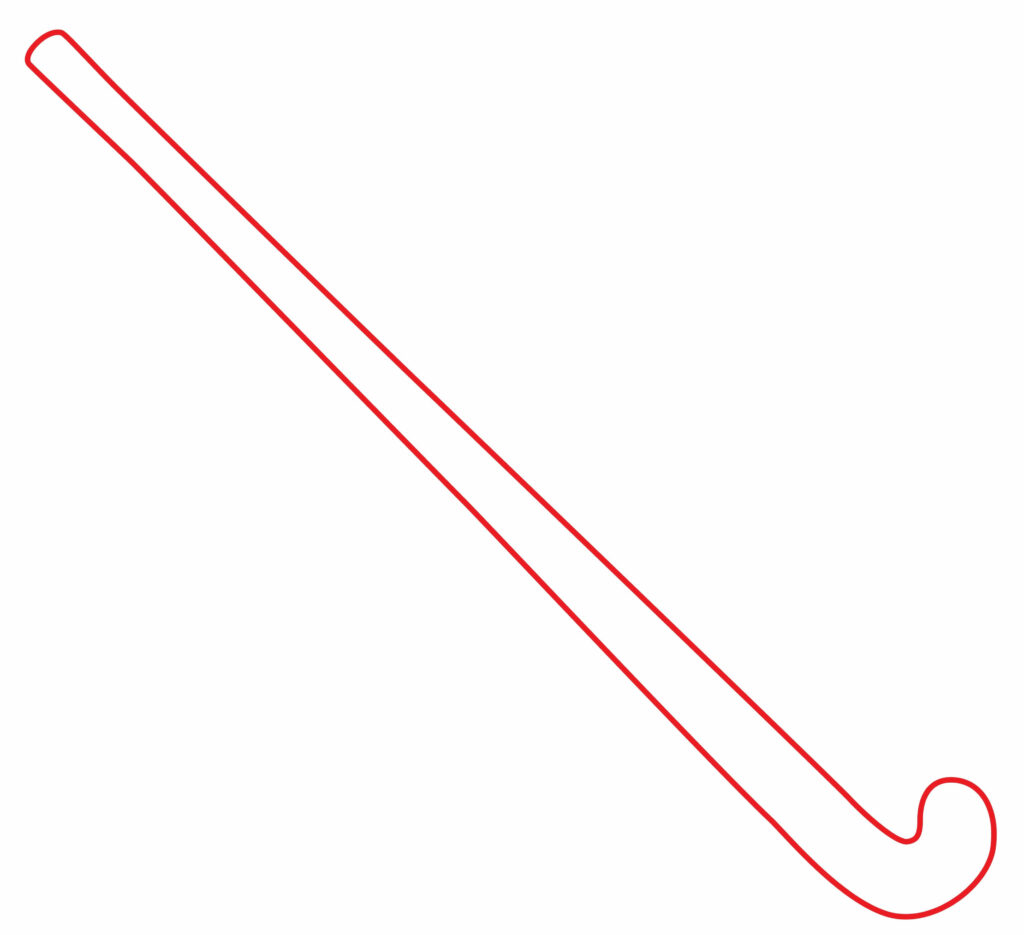
Step 1: Draw the outline
Using a pencil, softly draw a thin, isosceles trapezoid outline at the center of your paper to begin creating the basic shape of a hockey stick. Draw it vertically, with the broader end at the bottom and the narrow end at the top. Next, draw an angled rectangle for the blade shape’s commencement that extends from the bottom left corner.
Draw a rough outline of the curved contour that continues to the right before tapering back up vertically. Keep these first outside lines simple, faint, and unfinished to make it easy to erase and change as more information becomes available. They represent simplified versions of the fundamental hockey stick shapes.
- Lightly sketch a narrow vertical trapezoid for the main shape
- Attach an angled rectangle on the bottom left
- Loosely indicates a partial primary blade curve
- Keep outer lines light, basic, and incomplete
- Allows easy erasing and editing after
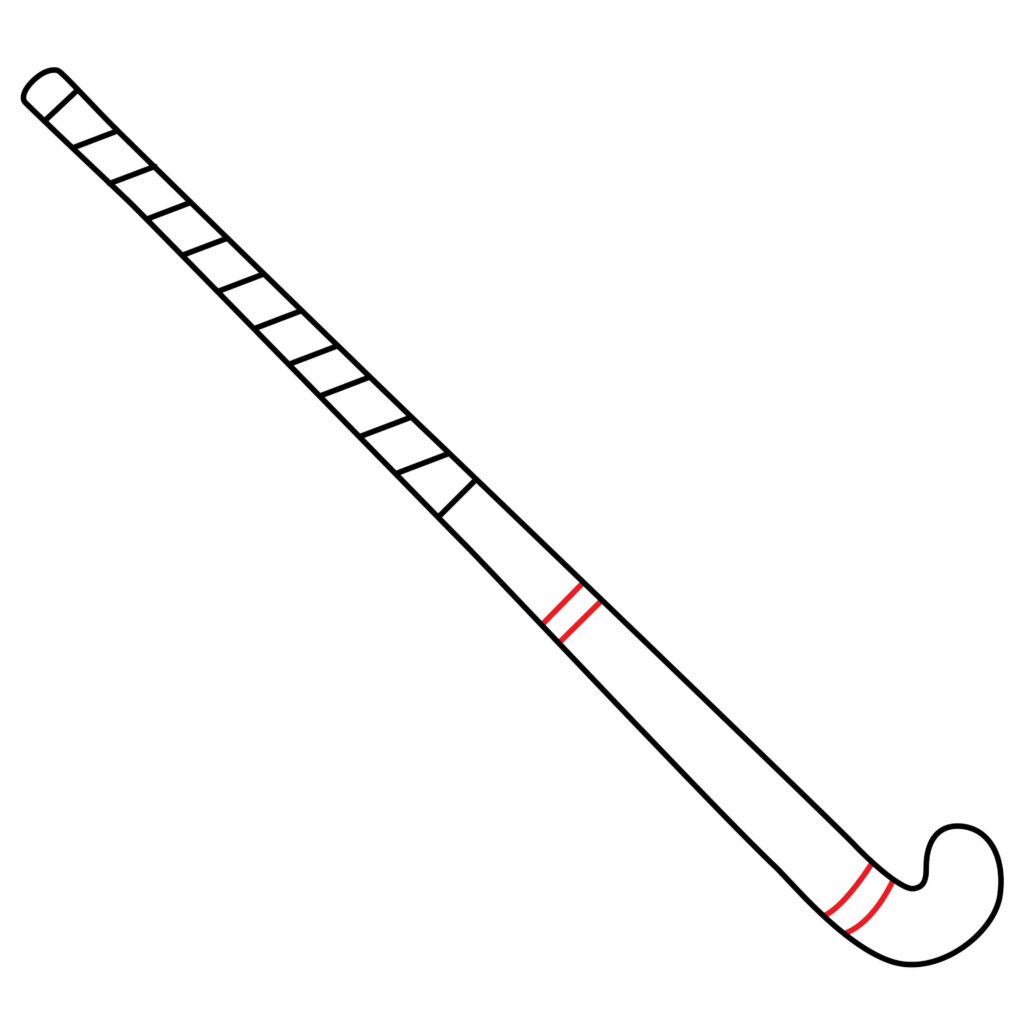
Step 2: Draw the grip
An important factor significantly affecting a player’s handling, control, and overall effectiveness on the ice or in the field is their hockey stick grip. The grip, which connects the player’s hands to the shaft, is usually found near the top of the stick. It offers the best possible comfort, improves stick control, and guarantees a firm grip when playing dynamically.
Hockey stick grips are available in various materials with varying degrees of tackiness and cushioning, such as rubber, foam, or synthetic compounds. Depending on their preferred playing style and personal preferences, players frequently alter the thickness and texture of their grips.
Once the general layout has been drawn out, start sculpting the upper grip area’s features. Draw a thin, vertical oval that indicates the location of the hand’s grip on the stick, spanning the breadth of the top trapezium. For the edge segments, divide it horizontally with small lines. Next, sketch a second, longer oval beneath that is angled downward diagonally from left to right. Add parallel lines and connect perpendiculars within to create the gridded texture grip tape surface pattern. Accuracy is improved by picturing the proper anatomy and hockey stick design.
- Lightly draw a vertical grasp oval across the top
- Divide horizontally into short-lined segments
- Sketch longer diagonal grip tape oval under
- Include a parallel grid tape pattern inside
- Visualize anatomy and hockey stick parts
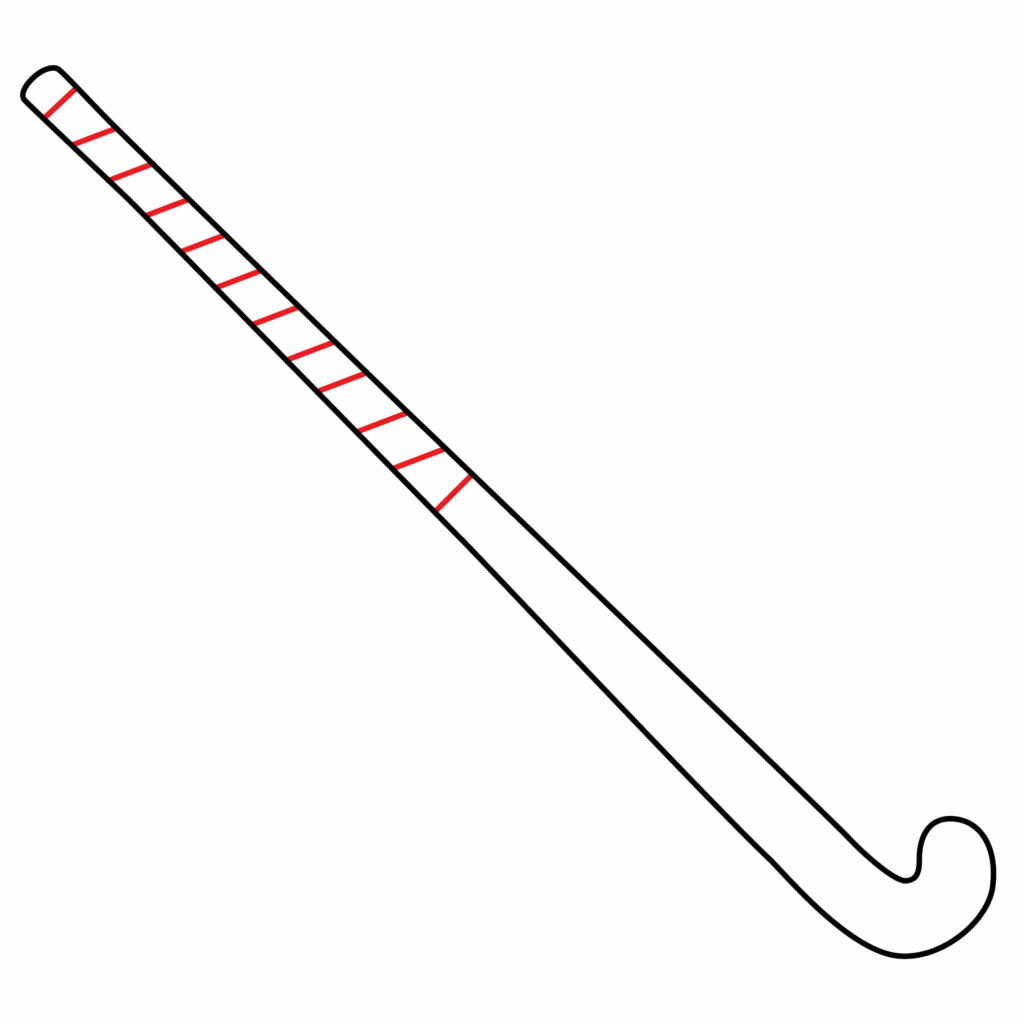
Step 3: Add details
Players often choose their hockey stick based on personal preferences, position, and playing style, with factors like flex, curve, and grip being highly individualized. Advances in technology continue to influence the design and materials used in modern hockey sticks, contributing to improved performance on the ice or field.
Continue the blade curve to add dimension once the general outlines and grip zone have been formed. Like the left side, finish the right side with smooth concave lines that taper the terminal point vertically. Next, depict the flat heel of the blade lying on the ground using short, straight angles.
Screw holes, company logos, grip or edge wear markings, and the curved shaft line are examples of further enhancing elements. For inspiration, look at pictures of real hockey sticks. Your drawing comes to life with the addition of believable details!
- Complete the fuller curved blade shape on the right side
- Add angled lines for a flat resting blade heel
- Optional details: screws, logos, wear marks
- Curve shaft shape appropriately
- Observe real hockey sticks for accuracy
Step 4: The Hockey Stick is ready
Great job! The hockey stick is ready to have a match. You did an excellent job. You created your hockey stick to be used by a player, and we’re sure you followed every instruction. You can use a marker to outline the drawing to make it stand out. To improve the appearance, we will remove the pencil marks after tracing.

The actual fun is about to start. We are going to improve and add authenticity to our drawing. Can you produce a more refined picture with your creativity and imagination?
Taking your Hockey Stick to the next level
Like any other skill, sketching requires practice. Set aside time each day to sketch, even if it’s only for a little while. Be mindful of your surroundings. This enhances comprehension of details, dimensions, and forms. You can start with the basics and work up to more complex topics.
Experiment with different drawing tools like charcoal, colored pencils, watercolors, markers, and pencils. Every medium has unique characteristics that could help you identify your preferences.
You can also play with basic hatching, blending, shading, and cross-hatching techniques. Understanding these techniques will greatly enhance the complexity and realism of your drawings. When you’re drawing, use your imagination and try out new concepts.
Adding a Background
Think about putting your drawn hockey stick in a location that enhances and provides further context. For instance, use lines to represent the goal crease and board edges on a basic drawing of a hockey rink. To give the impression that the stick rests horizontally on the ice surface, erase the traces behind it.
To add movement to your design, you may also include the player’s hands clutching the stick and the bottom portion of their torso. Leave the background entirely neutral with neatly erased white space for more focused attention on the stick alone as the subject.
A floating, isolated impression is produced by carefully deleting guidelines and highlighting the focal sports equipment. Whether opting for an embedded environmental narrative or isolated equipment study, smart background choices can significantly enhance a hockey stick composition!
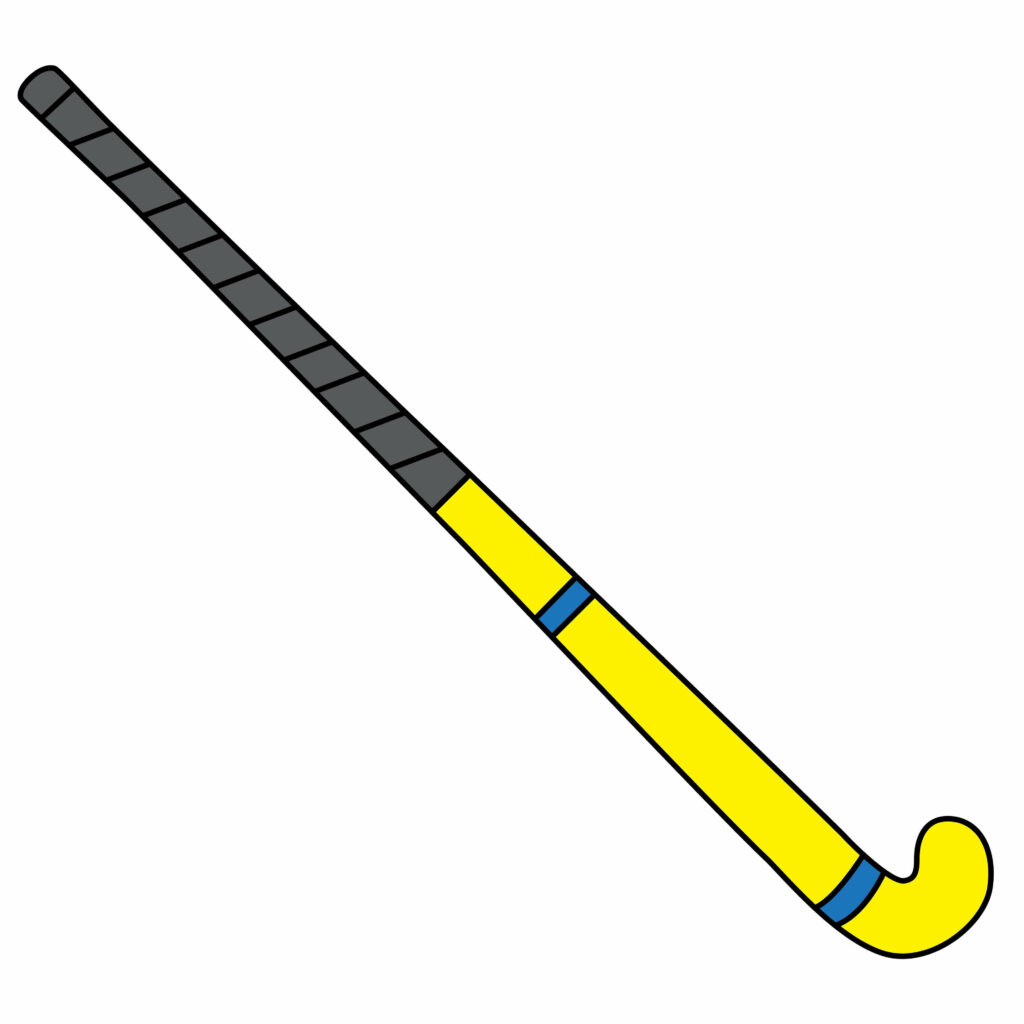
Adding Color
The thoughtful color application increases drama, energy, and realism within hockey artwork. Consider typical hockey stick material hues when coloring. For wooden stick varieties, use warm shades of brown on the shaft with red or black marks indicating scuffs and wear over time.
Or go modern using matte gray composite material for the shaft and blade portions. Add an intricate grip tape pattern in alternating bright colors like neon green, pink, and yellow atop the gray base layer. Use silvery metallic on metal elements like the narrow blade edges or screw heads.
For isolated floating sticks, backgrounds may remain white to spotlight the central equipment colors. When placing your stick illustration into a scene context like the ice, shift to cool blue, white, and gray environmental hues contrasting dynamically with the central focus stick’s coloring.
Bonus Tips
Think about highlighting the following elements while sketching hockey sticks: Prioritise general proportions over minute details; Examine the anatomy and edge outlines in the reference photos; Think about dynamically truncated viewpoints; Practice illustrating hands holding sticks realistically.
For authenticity, employ angled textures and delicate gradient shading; Add some tiny ice scratches to the blade’s surface texture; Use concept images to your creative advantage by changing the form of a candy cane or tree branch; Print images to collage onto your stick to create an appealing mixed-media look. There are several creative ways to interpret a hockey stick!
Conclusion
We should learn the fundamentals of illustrating essential hockey stick shapes to offer aspiring artists an enjoyable way to merge sports interests with expanding creative drawing abilities.
We begin by gently mapping out the overall outline flow. Gradually carve detail into critical areas like the grip and curved blade with graphic patterns. Integrate spare environmental background settings or vibrant colors to take the artwork to the next level based on your vision. The resulting illustrated hockey stick will showcase your burgeoning talents at capturing appealing sports still-life subjects.
Drawing hockey equipment allows admiration for these specialized tools designed for high-performance play. It also provides satisfying drawing practice mixed with sports appreciation when done for pure enjoyment using the tips outlined in this guide. Soon, you’ll handle illustrated hockey sticks as smoothly as professional players handle the actual sporting equipment on the ice!

Author Rating
Overall Rating
Summary
Learn how to draw an hockey stick is four simple steps. You will also learn how to advance your drawing so that it looks amazing.