How to Draw a Soccer Field | Step-by-Step Tutorial
In today’s tutorial, we’re teaching you all you need to know in order draw your very own soccer field in only 7 easy steps. Are you ready to get started?
A soccer field is the playing area designated for the sport known as soccer. It bears a rectangular shape with dimensions ranging from 100 to 130 yards in length and 50 to 100 yards in width.
The field is divided into two halves by the halfway line, with goals positioned at each end. Markings on the field include penalty areas, goal areas, corner arcs, center circle, penalty spots, and touchlines.
The surface of the soccer field can vary but is usually covered with natural grass or artificial turf. Additionally, there are designated areas for players’ benches and spectator seating around the perimeter of the field.
| Steps | Complexity Level |
| The Perimeter | 2 |
| The Goal and Goal Area | 2 |
| The Penalty Box | 3 |
| The Center Circle | 3 |
| The Corner Arcs | 2 |
What You Will Need
- A drawing piece of paper
- Pencils (2b, 3b or 5b)
- A ruler
- An eraser
- Coloring supplies
- 25-30 minutes
How to Draw a Soccer Field
In this tutorial, we will be drawing from a bird’s eye view, as this is the easiest way to draw a soccer field. Once you understand what is needed, you can advance your drawing by tackling it from different angles.
Before we start, we encourage you to understand the diagram below. It includes all the steps we will be taking when drawing the soccer pitch. Studying the steps will help you anticipate them and avoid restarting the drawing all over.
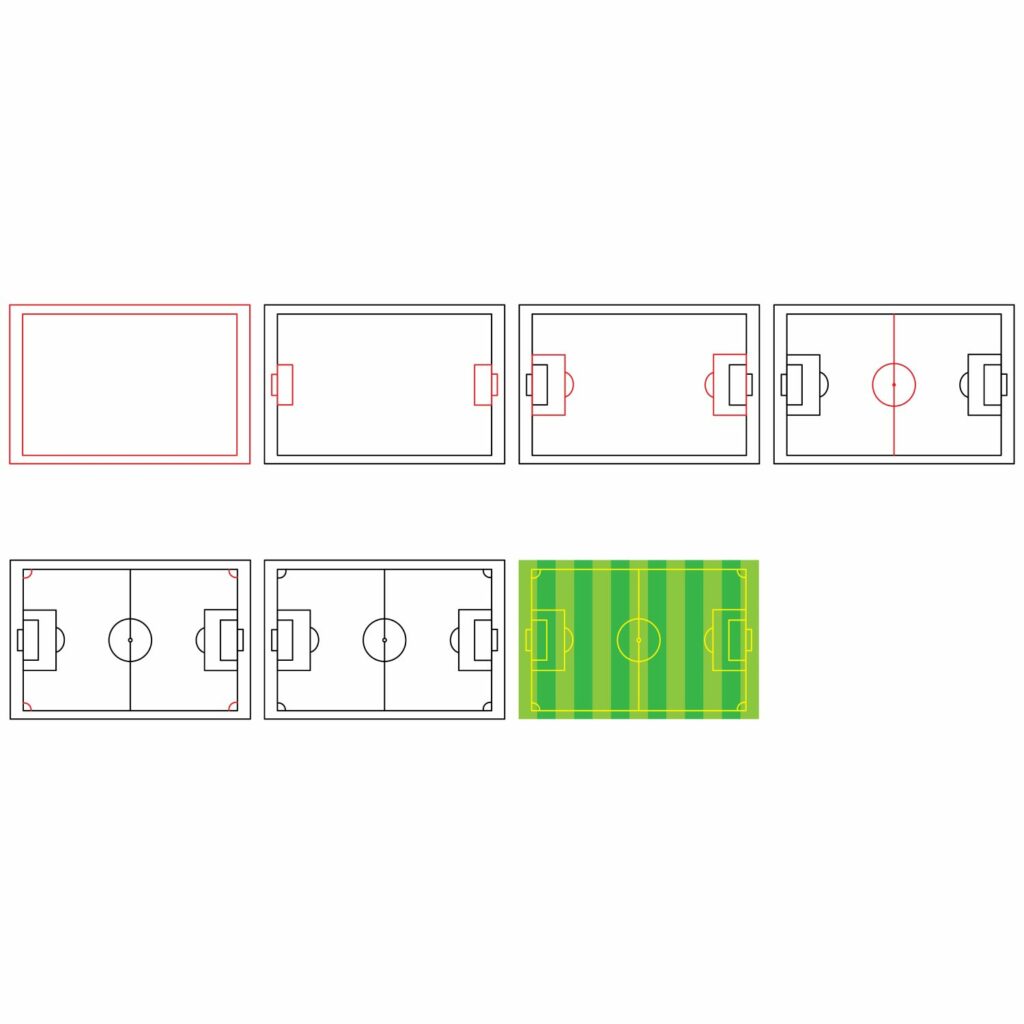
Step 1: Draw the Perimeter
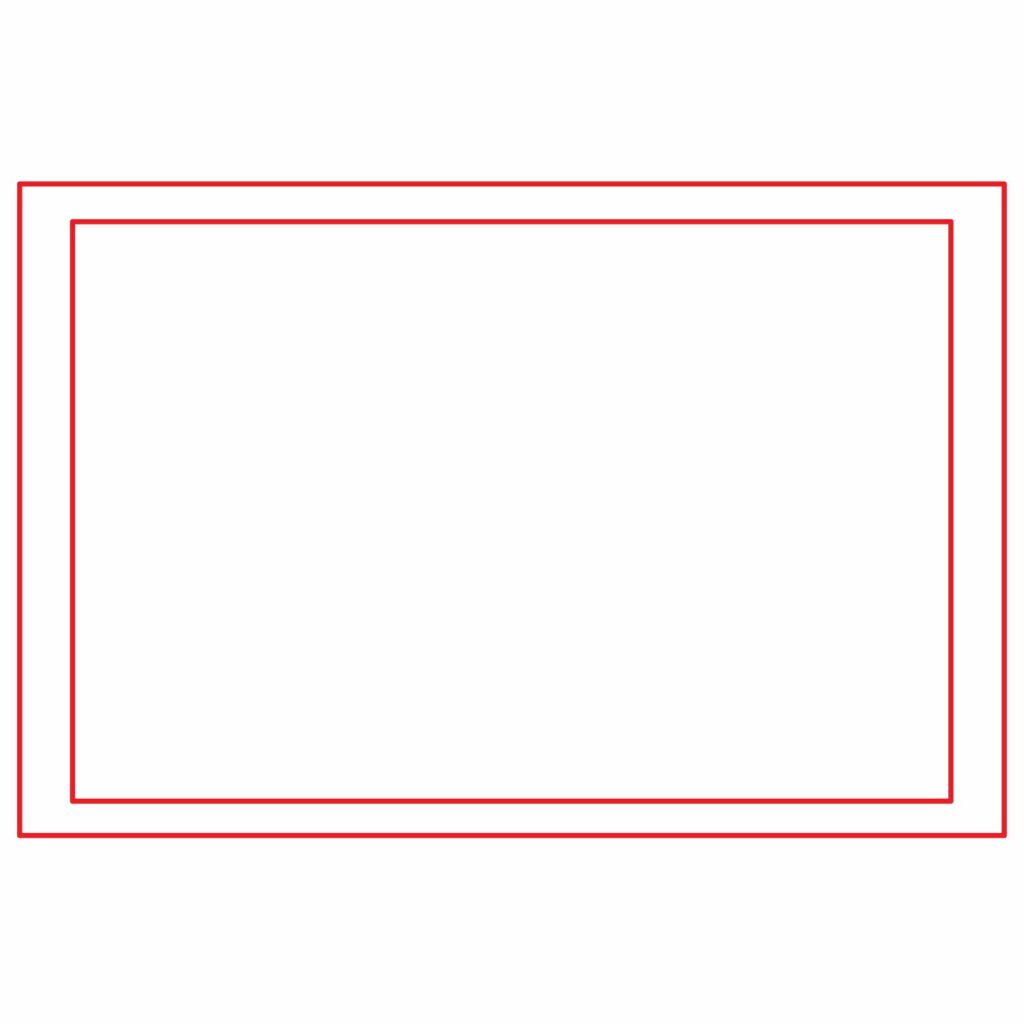
The first thing we are going to draw is the perimeter of the soccer field, which include the sidelines and the end lines.
The sidelines are the longest sides of the field. When analysing the field from a bird’s eye view, these lines are the horizontal ones found on the field. The end lines, on the other hand, are the lines on the short ends of the field, i.e., the vertical lines.
To complete this step, first flip your paper into a landscape orientation to get the most out of your drawing experience. Next, grab your ruler and pencils and start by drawing a big rectangle in the center of your drawing paper.
Lastly, add another rectangle inside the first one. The inner rectangle will now form the perimeter of your soccer field, therefore it is essential that you add it onto your sketch.
- Flip your paper into a landscape orientation for more drawing space
- Draw a large rectangle covering the center of your paper
- Add a rectangle inside the first one to resemble the perimeter of the field
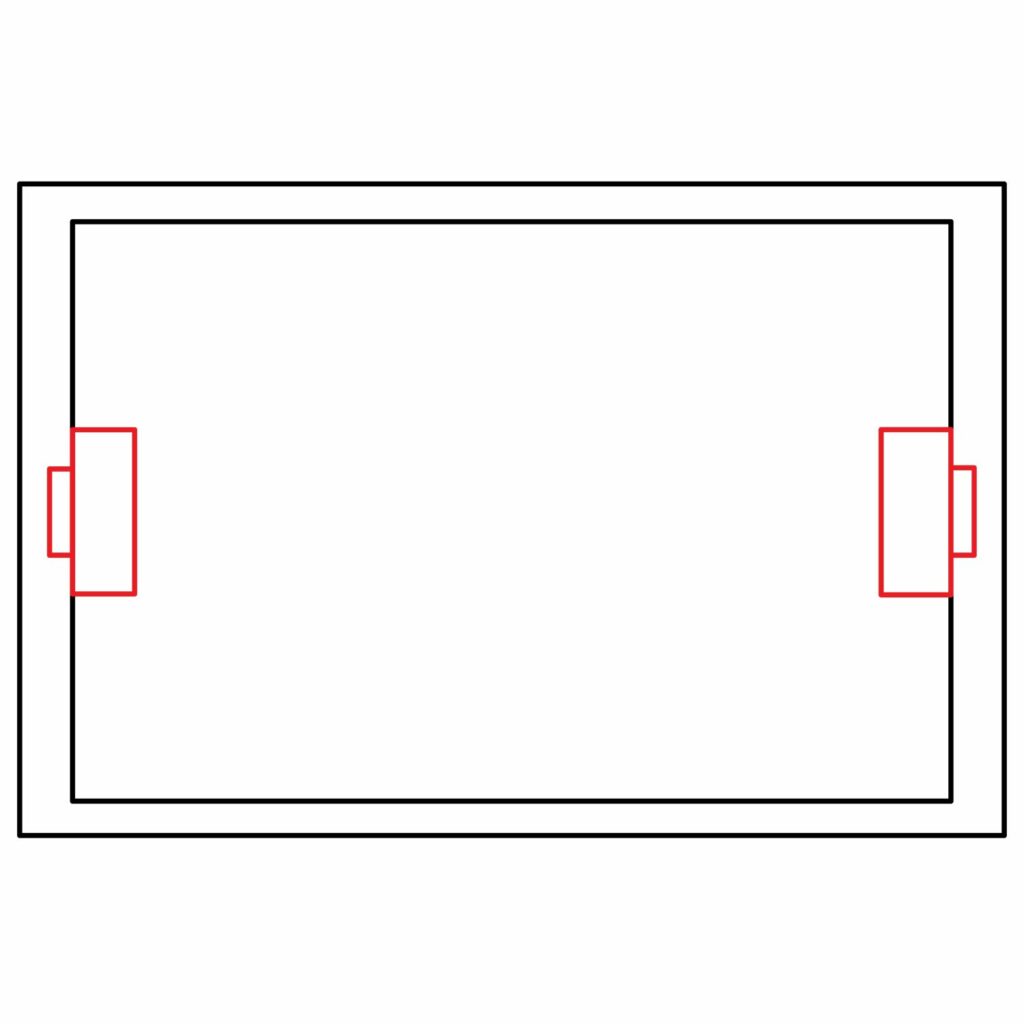
Step 2: Draw the Goal and the Goal Area
You will find a goalpost on both end lines of a soccer field. The main aim of the game is to drive a soccer ball into the opposing team’s goalpost to score a goal. The front side of the goalposts sits on the endline while the net is found in the back.
To complete this step, add a small vertical rectangle on the inner center side of the end line. Once complete, use your ruler again and draw a smaller vertical rectangle on the outer center side of the end line.
Repeat the same process on the other side of your soccer field to ensure you have two goalposts. Additionally, it’s important for both goalposts to line up perfectly, indicating symmetry and realism.
- Draw a small vertical rectangle on the inner center side of the end line
- Draw a smaller vertical rectangle on the outer side of the end line
- Repeat the same process on the remaining end line
Step 3: Draw the Penalty Box
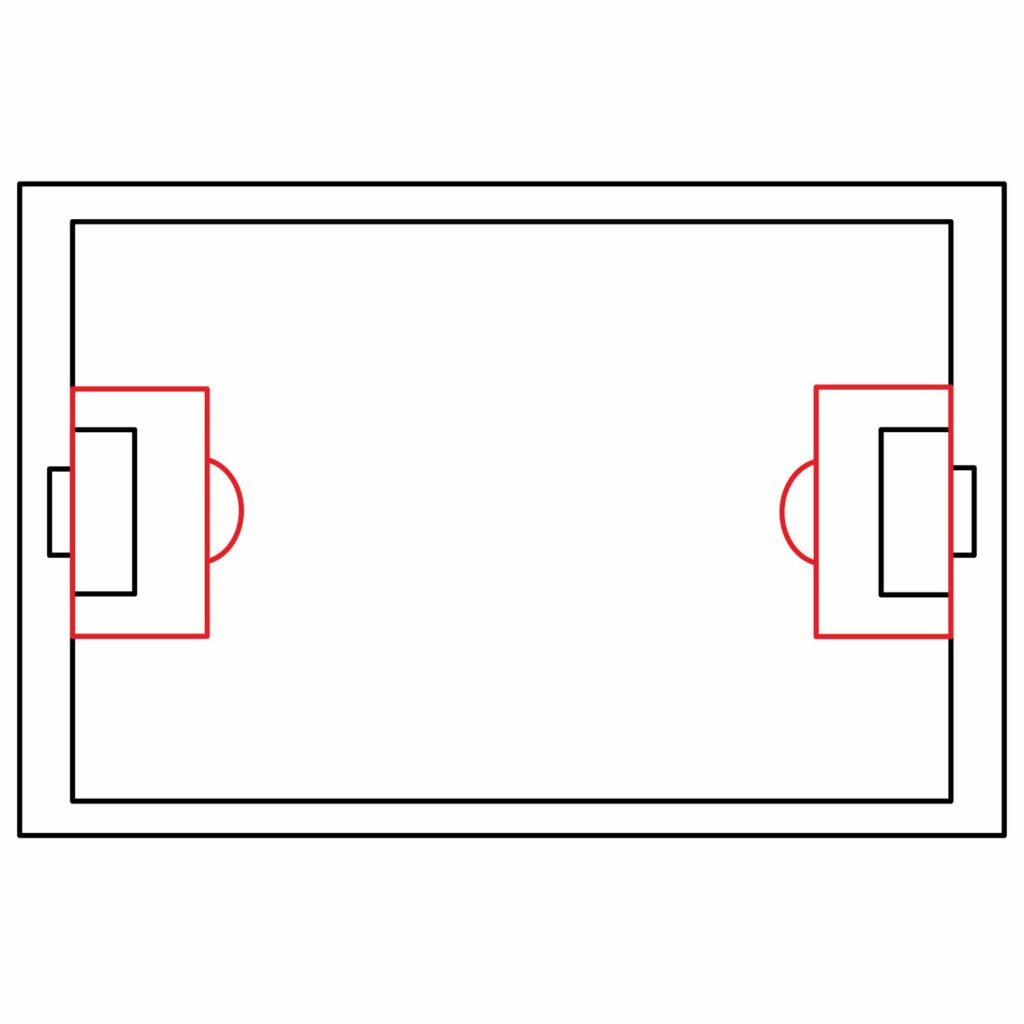
The next thing we are going to add is the penalty box. This is a larger rectangle that surrounds the goal area. Moreover, any offense to the opposing team while in the penalty box will lead to a penalty kick.
To add the penalty box, draw a vertical rectangle that sits in the immediate area around the goal box. The rectangle should start from the end line and extend slightly into the field. Do the same for the other side of the field.
Next, we are going to add the arc on the outside of the penalty box. Use a semicircle for this. Your drawing should now look like the image below.
- Start by drawing a vertical rectangle surrounding the goal area
- Draw a semicircle on the inner center of the rectangle
- Draw the same thing on the other side of the field
Step 4: Draw the Center Circle
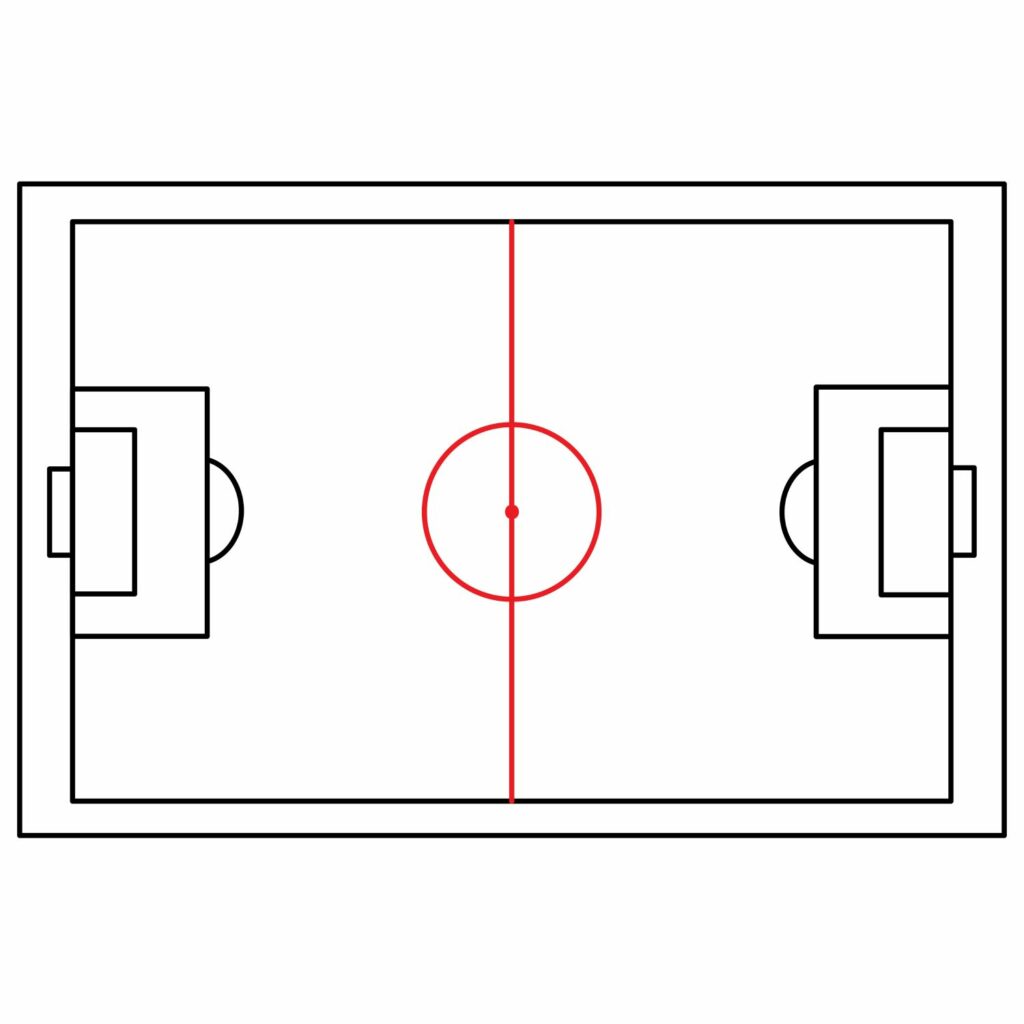
The center circle is the marking at the exact center of the soccer field. When a soccer match starts, and at the start of each half, the ball will be placed in the center circle, signalling a kickoff.
To complete this step, start by drawing a vertical line that cuts the pitch in half. Be sure to use your ruler for a straight line and that your vertical line does not overlap the perimeter.
Next, from the center of the vertical line, add a small circle. Once complete, draw a spot at the center of vertical line within the circle to indicate where the ball will be placed during a kickoff.
- Start by drawing a vertical line in the center of your soccer field
- Then draw a circle on the middle of the vertical line
- Add a little spot in the center of the circle
Step 5: Draw the Corner Arc
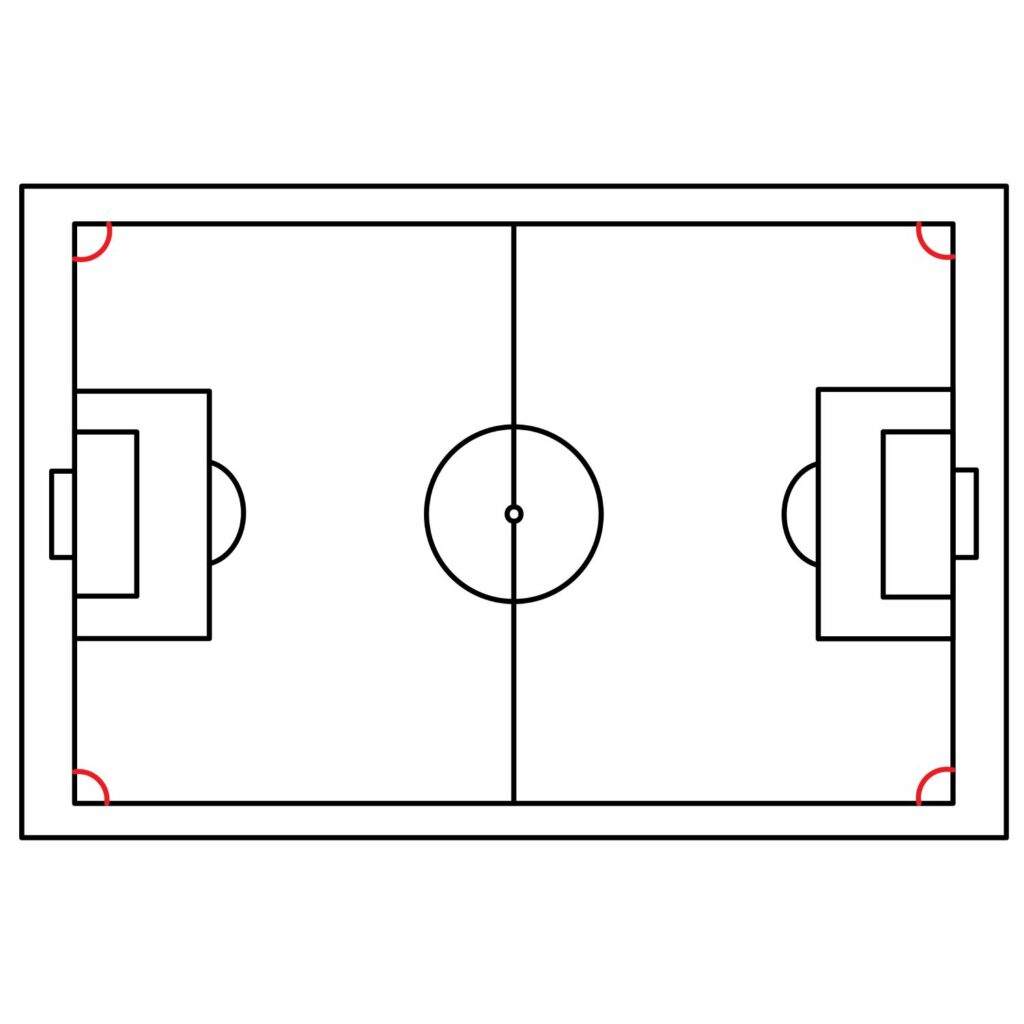
All the corners of a soccer field have arcs. These arcs are usually about a yard in diameter. The corners are used for corner kicks, which happens when a player kicks the ball over the end lines when defending.
When the corner kick is awarded, the opposing team places the ball within the arc and kicks to the other players or directly to the goal.
To add the corner arcs, we are simply going to add semi-circles on the inside of all four corners of the pitch. Here is what your drawing should now look like.
- Draw a semicircle on the inside of all four corners of the soccer field
- Ensure each semicircle is the same size and symmetrical
congratulations! Your Soccer Field Drawing is Complete
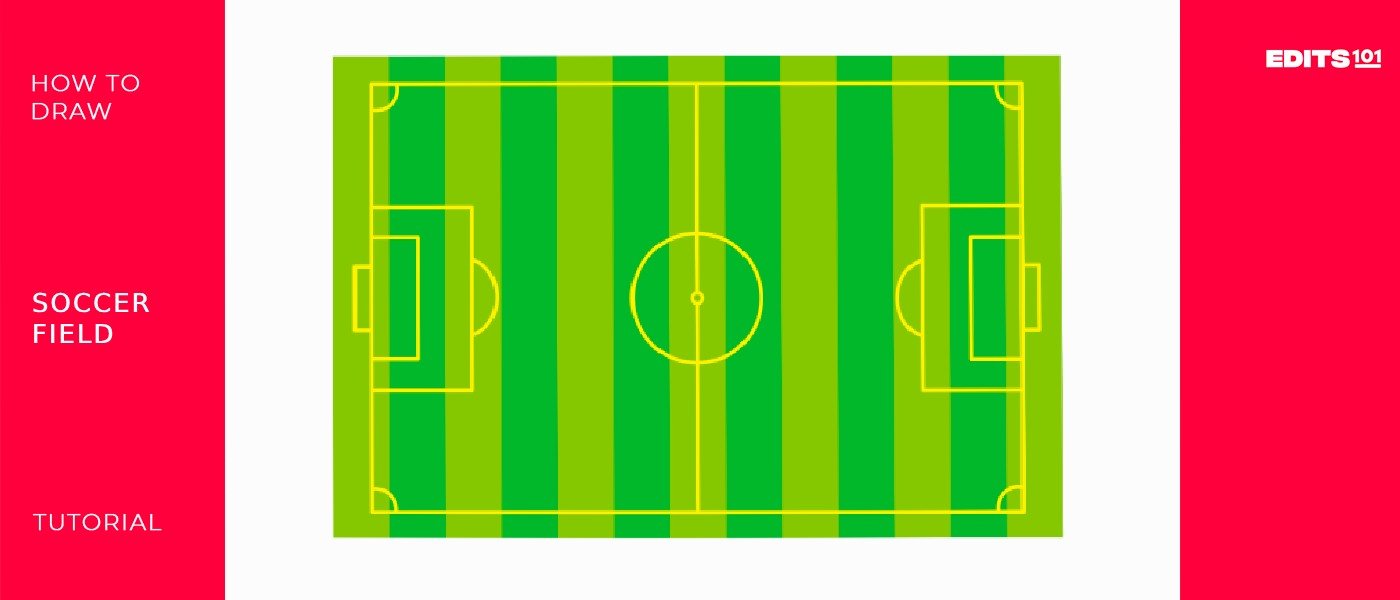
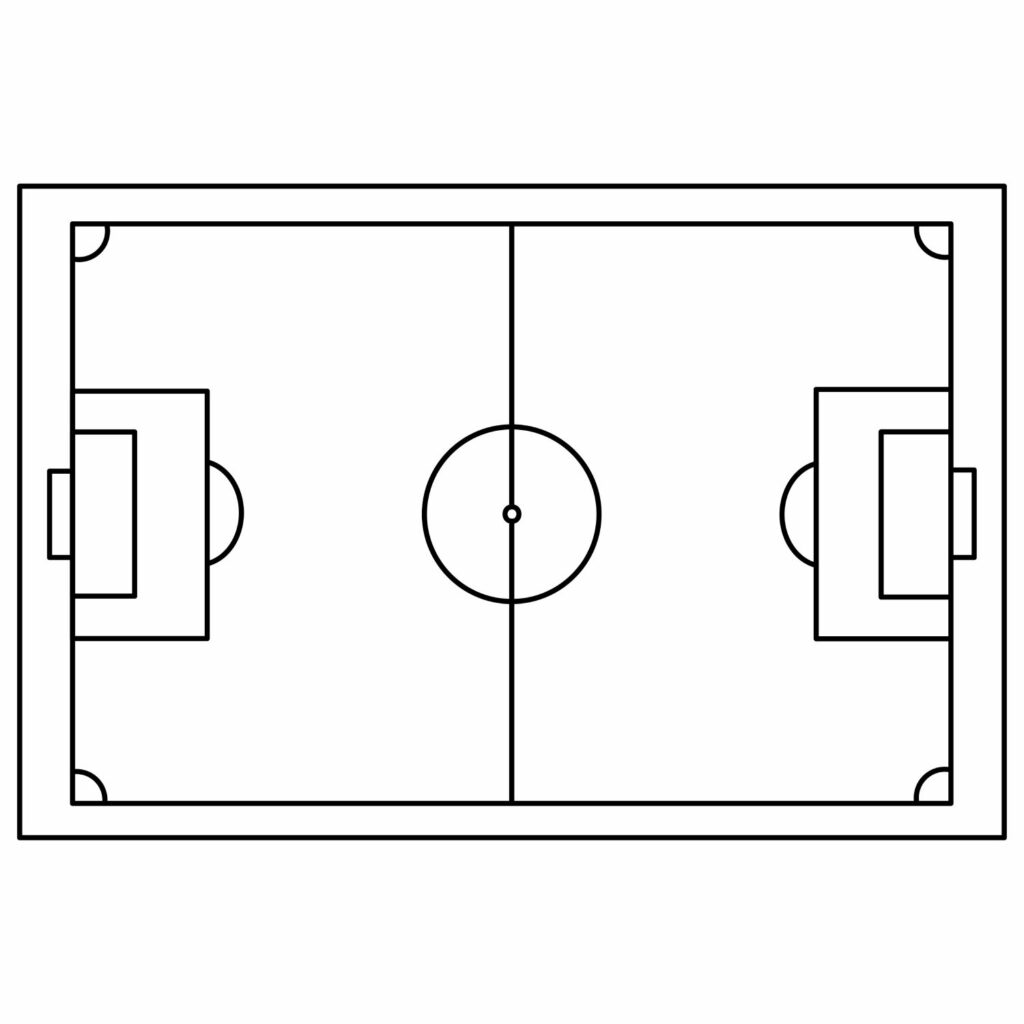
If you followed all the steps we illustrated, your soccer field drawing should now be ready. Below is what our pitch looks like. If your drawing looks like ours, congratulations on work well done.
Don’t be too hard on yourself if your drawing doesn’t immediately resemble ours. There is always room for improvement. Besides, most people don’t get things right the first time. You will notice better results on your second and third attempts. Keep practicing, and never forget to have fun.
Taking Your Drawing to the Next Level
It is perfectly okay if you choose to leave your drawing as it appears above. However, since we want to be great artists, we are going to advance our drawing by adding two crucial details: a background and color.
Step 6: adding a Background
Seeing as your soccer field primarily acts as a background itself, adding elements inside your field could really boost the visual appeal of the pitch.
There are numerous things you could add to your sketch, such as corner flags, a soccer ball travelling over the pitch, a few players, a referee or the outline of the goal nets.
When adding these details, it’s important to bear in mind the angle of your drawing. Since the field is drawn from a bird’s eye view, the added elements will have to be drawn in the same way.
This may be difficult, but it is definitely possible with practice and dedication.
Step 7: adding Color
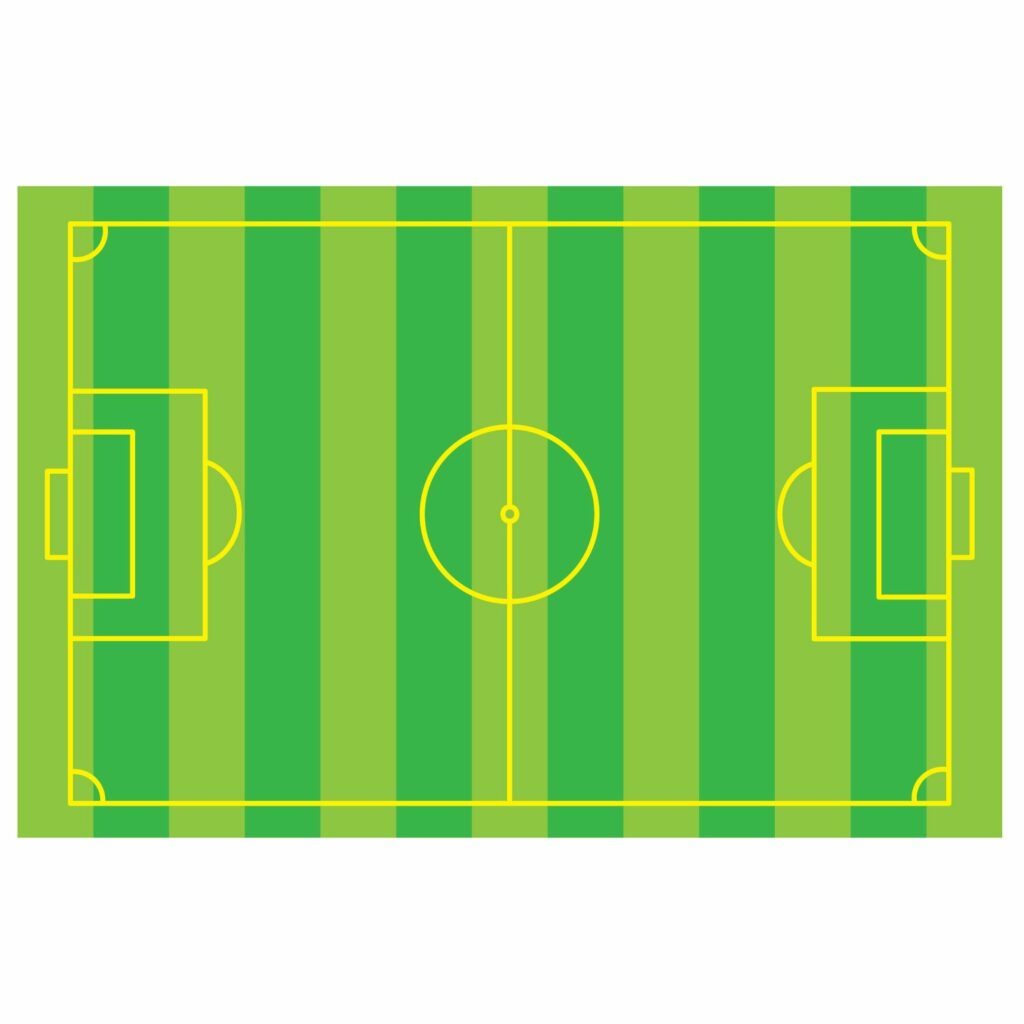
Seeing as soccer fields often feature grass, the color of the pitch is green. Even where synthetic grass is used, using the color green in different shades will bring the soccer field to life.
In our drawing, we started by using a light shade of green to trace along all the lines we drew. You can use the color yellow if you want.
Next, we added streaks across the length of the soccer field using two shades of green. This gave our drawing the signature look of a professional soccer field.
Bonus Tips
Find a high-quality photo of a soccer field to use as a reference when drawing. This will help ensure accurate proportions and details.
Watch YouTube videos for additional insight on how to draw a soccer field, or as means to connect with other budding artists intent on drawing a soccer field.
Try using different drawing tools like pencils, markers, or colored pencils to add variety and interest to your soccer field artwork.
The more you practice drawing soccer fields or any other subject matter, the better you’ll become at capturing its essence accurately in your artwork.
Conclusion
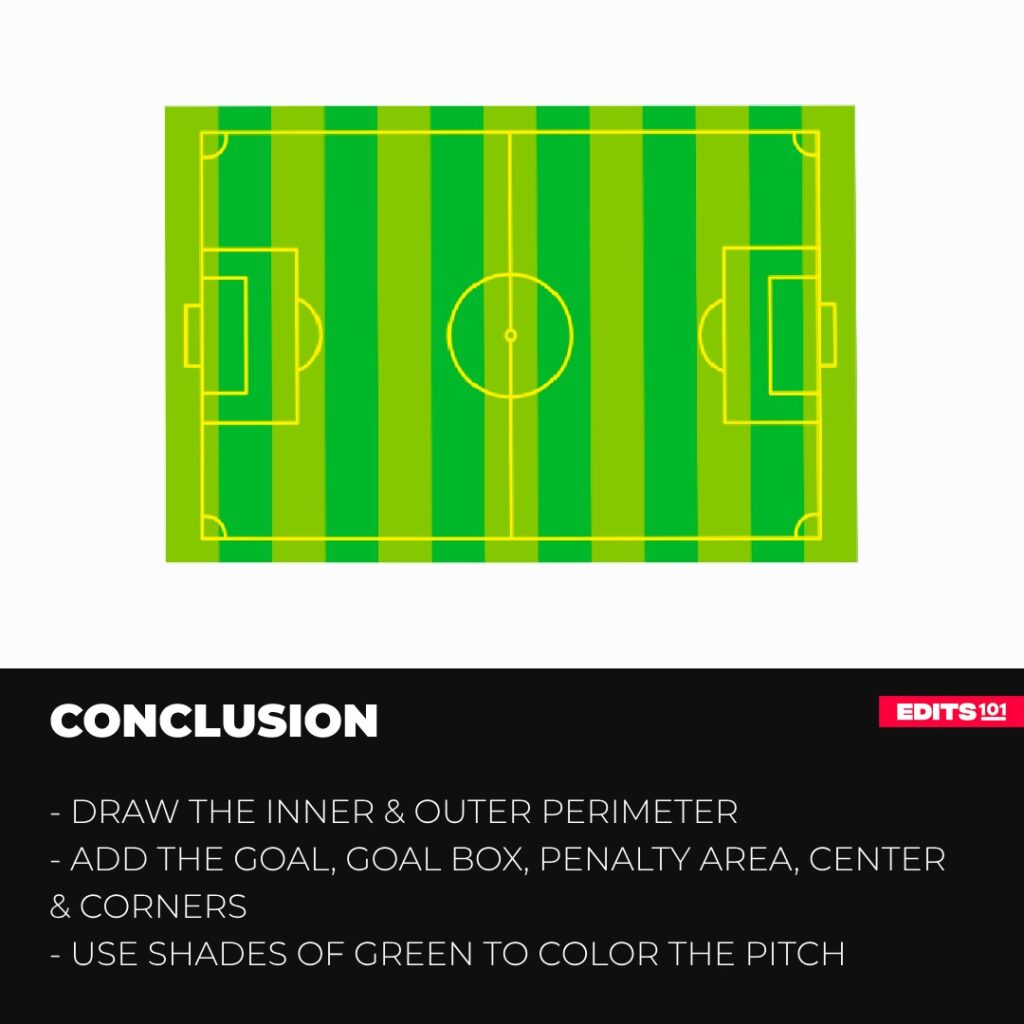
In our drawing, we started by drawing a rectangle to serve as the perimeter of our pitch, then added another rectangle inside the first one to form the sidelines and end lines. We then used rectangles to draw the goal, goal box, and penalty area. A vertical line was used to split the field into two then we added a circle to form the center of the pitch. We then advanced our drawing by coloring it.
You can use these steps to draw a soccer pitch on paper or use your favorite sketching app. Once you are confident enough, you can draw the pitch from a different perspective, preferably from a real photograph of a football pitch.
We hope you learned much and enjoyed drawing a soccer pitch as we did. Keep practicing!
Thanks for reading & feel free to check out more of our articles!
Author Rating
Overall Rating
Summary
In this post, you will learn how to draw a soccer field while learning about the various sections that make up a professional pitch.

