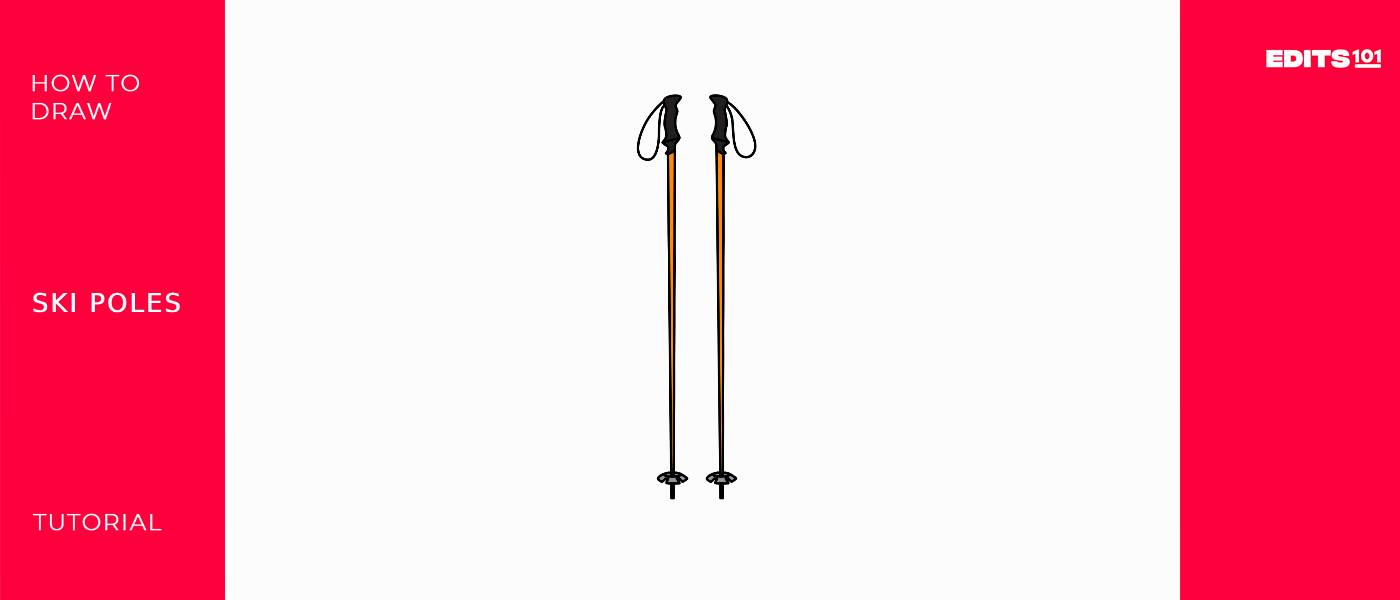
How To Draw Ski Poles | In 6 Easy Steps
Ski poles are essential equipment used in skiing to help maintain balance, stability, and coordination.
They’re usually made of lightweight materials such as aluminum or carbon fiber and consist of a grip handle at one end and a pointed tip at the other.
Recreational skiers often use ski poles for additional support while maneuvering down slopes, whereas professional athletes rely on them to enhance their speed, control turns, and improve overall performance.
Ski poles also play a crucial role in propelling skiers forward during cross-country skiing or providing leverage when navigating through challenging terrain.
| Steps | Complexity level |
| The Grips | 3 |
| The Straps | 2 |
| The Shafts | 2 |
| The Snow Baskets | 3 |
What You Will Need
- Drawing paper or sketchbook
- Pencils (2b, 3b or 5b)
- An eraser
- A ruler
- Colored pencils or markers
- 20-25 minutes
How to Draw Ski Poles
In this tutorial, you will learn how to draw your very own pair of ski poles in six easy steps!
While it may seem complicated at first glance, this step-by-step guide will provide you with sketching instructions in four steps, and comprehensive bonus tips in two steps, aimed at teaching you how to improve the overall quality of your drawing.
Check out the image below for an outline of all the steps you will need to complete.
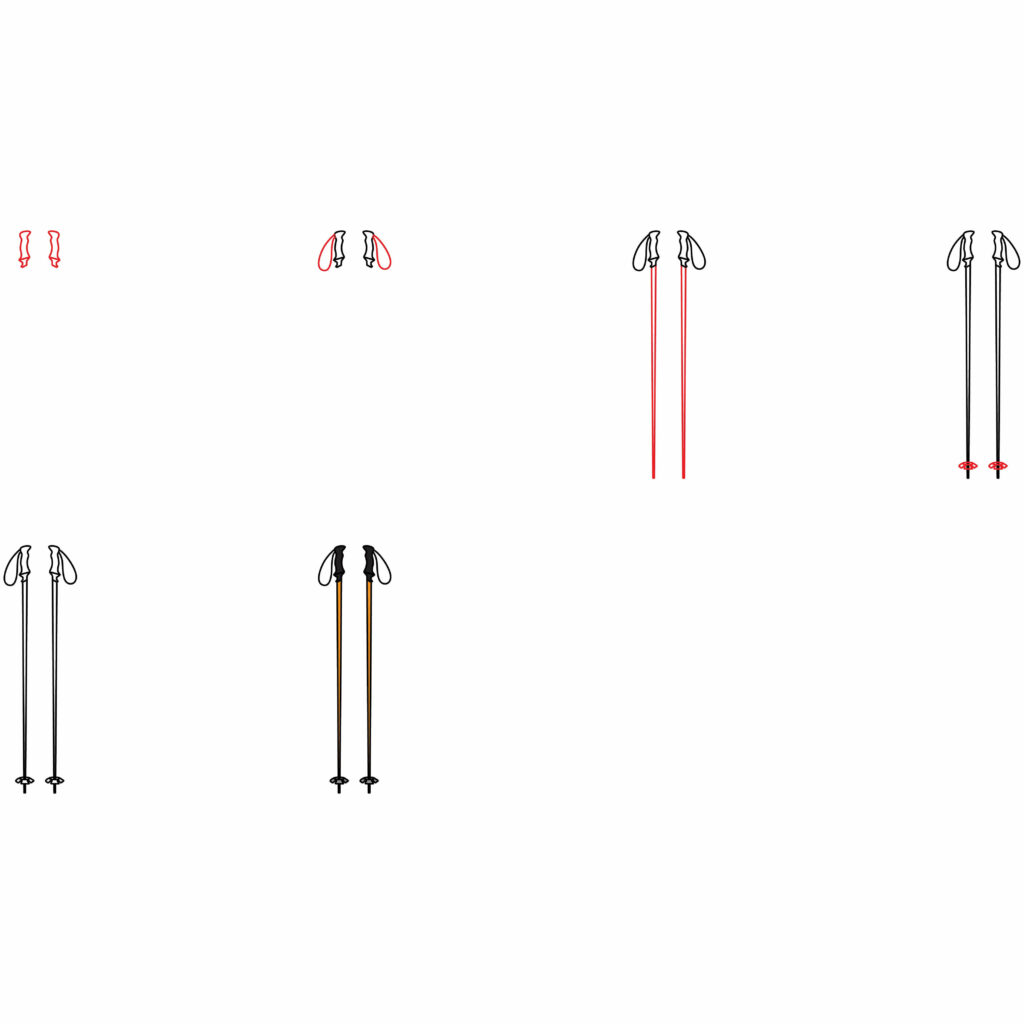
Step 1: Draw the Grips
Ski pole grips are ergonomic handles located at the top of ski poles that allow skiers to comfortably grip and maneuver their poles while skiing.
Before you begin, first decide which way you would like to angle your drawing paper. A portrait orientation will ensure you end up with a bigger sketch, while a landscape orientation will provide you with more room to sketch other things.
First, start by drawing two thin horizontal rectangles on the surface of your page. Erase the sides and bottoms of the rectangles, and replace the sides with wavy lines to indicate a textured grip.
Add a sharp tip at the bottom of each rectangle, and draw a diagonal line within each for added detail. Ensure that both grips are symmetrical for a nice clean finish!
- Draw two thin horizontal rectangles on the surface of your paper
- Erase the sides and the bottoms of each rectangle
- Add wavy lines on the sides and a pointed tip at the bottom to resemble grips

Step 2: Drawing the Straps
Ski pole straps are loops of material that attach the skier’s hands to the ski poles, allowing for a better grip and more control while skiing.
Begin by drawing a loop from the upper-side of the grip, and ensure the loop is slightly longer than the grip. A great tip for making this process easier is to imagine you’re drawing a big teardrop, and then aim to add that exact same shape.
Repeat the same process on the other ski grip, maintaining a symmetrical finish. Additionally, ensure both straps are drawn on the outer side of each grip!
- Draw a big loop starting from the upper side of the grip
- Make sure both loops are a little bit longer than the grips
- Draw both loops on the outer side of each grip

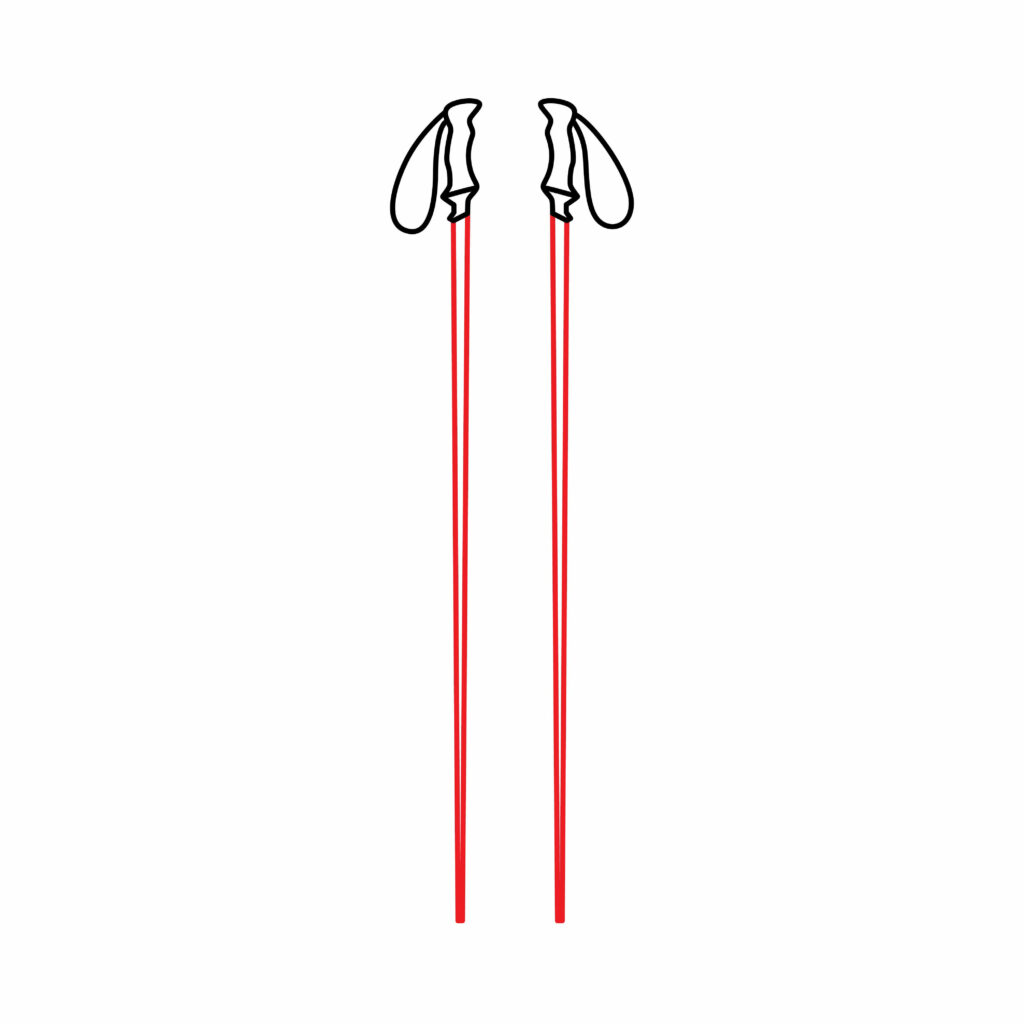
Step 3: Drawing the Shafts
Ski pole shafts are long, cylindrical poles made of materials such as aluminum or carbon fiber, used to help skiers maintain balance and propel themselves while skiing.
First, draw two straight lines starting from the bottom of a grip. You are free to decide which one to start with.
Use your ruler to create neat lines, and ensure each line starts out straight but ends slightly diagonal as they should connect to each other at the bottom.
Draw the exact same thing at the bottom of your other ski pole grip.
Additionally, check out the image below before you start drawing to get a good sense of how long your poles need to be.
- Draw two straight vertical lines below each grip
- Ensure the lines connect to each other along the bottom
- Use a ruler to ensure accuracy and neatness
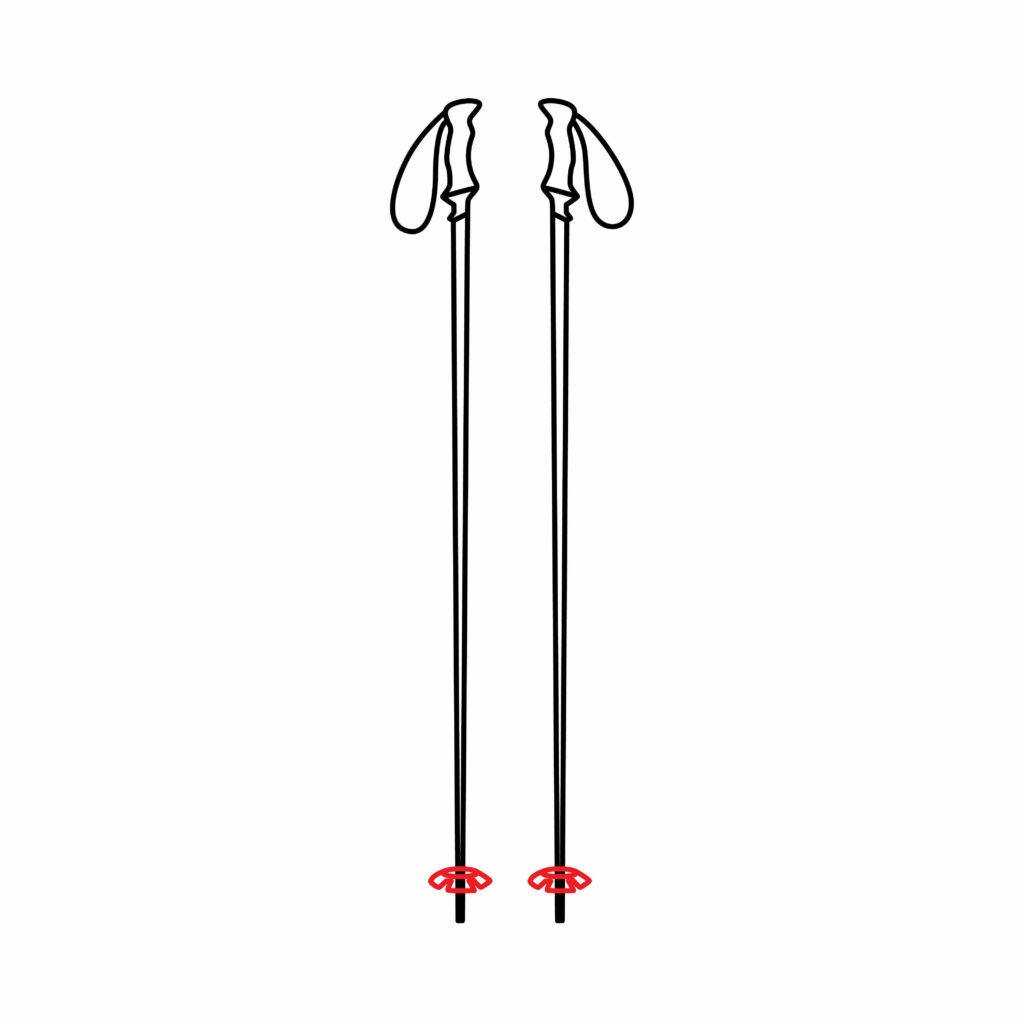
Step 4: Drawing the Snow Baskets
The final step in our sketching process is adding the snow baskets. Ski pole snow baskets are circular attachments at the bottom of ski poles that prevent them from sinking into deep snow!
To complete this step, draw a small oval across the bottom of each shaft. Erase the bottom-line of your oval, and then add some grooves for realism. Additionally, add a small horizontal line within the upper-width of each oval.
When you’re finished, you should have a shape that resembles a flower along both ski shafts! Follow the image to ensure you’re on the right track!
- Draw a small oval across the bottom of each shaft
- Erase the bottom lines of the oval and replace them with petal-like shapes
- Add a horizontal line within the width of each oval shape to ensure realism
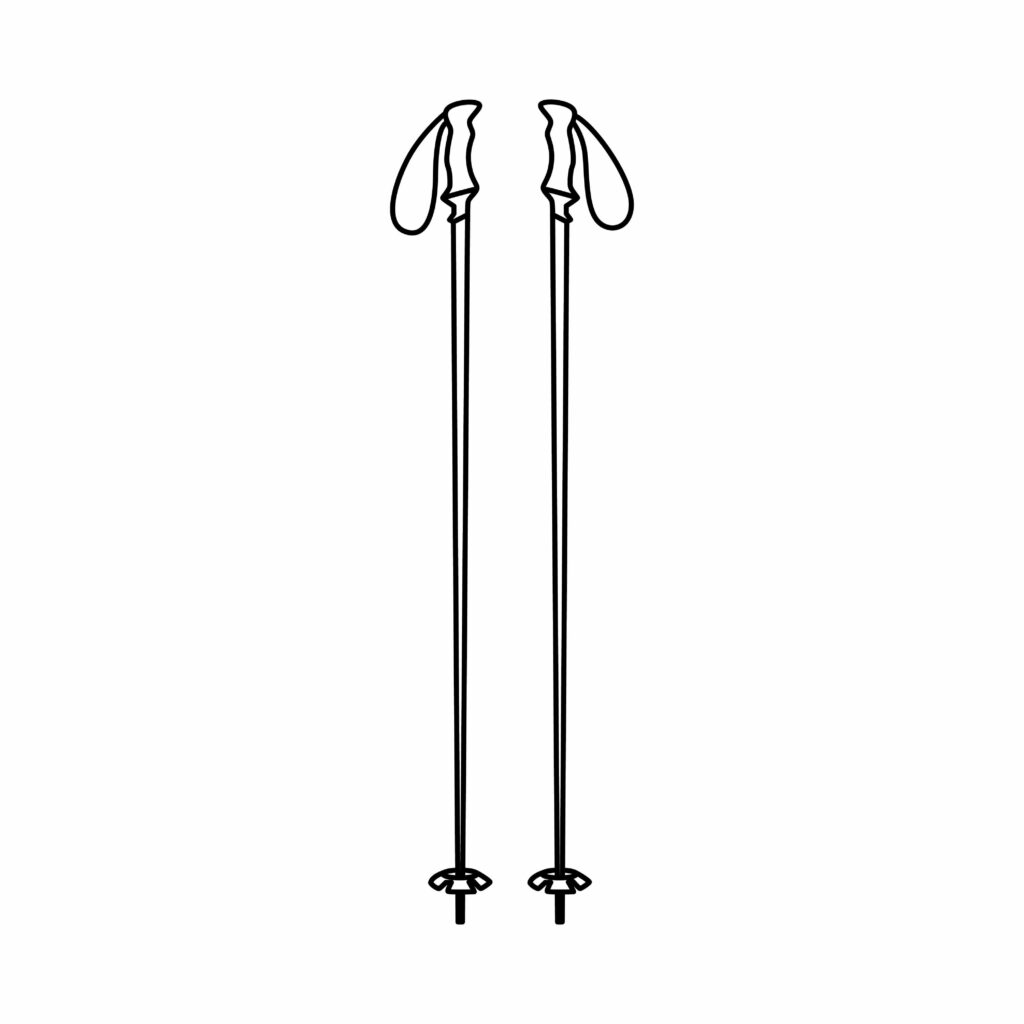
Congratulations! Your Ski Poles Drawing is complete
Take a moment to feel proud of what you’ve created and acknowledge the effort you put into completing your new drawing. Adding to a collection of drawings, or simply taking the first step in your journey with art, is definitely something to celebrate!
Once you’re ready, inspect your sketch to make sure you’re happy with the final product. If there are any parts you want to correct, now would be the time to do so. Use your eraser and perfect the little inconsistencies, if any.
Taking your Drawing to the Next Level
While you’ve accomplished an amazing feat – there’s no doubt about that! – we would be amiss if we didn’t make you aware of ways you can catapult your black-and-white sketch to dizzying heights.
Step 5: Adding a Background
Adding a background is crucial when you’re trying to create a well-rounded, realistic sketch. Not only is a background going to generate a theme, it’s also going to provide your drawing with a story.
Think about it. Where would you like your ski poles to be? Are they out on the slopes? In a room? Are they being held by a skier? Are they lying next to other ski equipment, like a helmet, a pair of boots, or some goggles?
You could go in whatever direction you prefer with this step. In fact, you could even add multiple sport-related equipment in your background, like a snowboard, an ice hockey stick or even a player.
These are all Winter Olympic Sports, which may correspond nicely on one page when drawn with an Olympic Rings Logo at the center of everything.
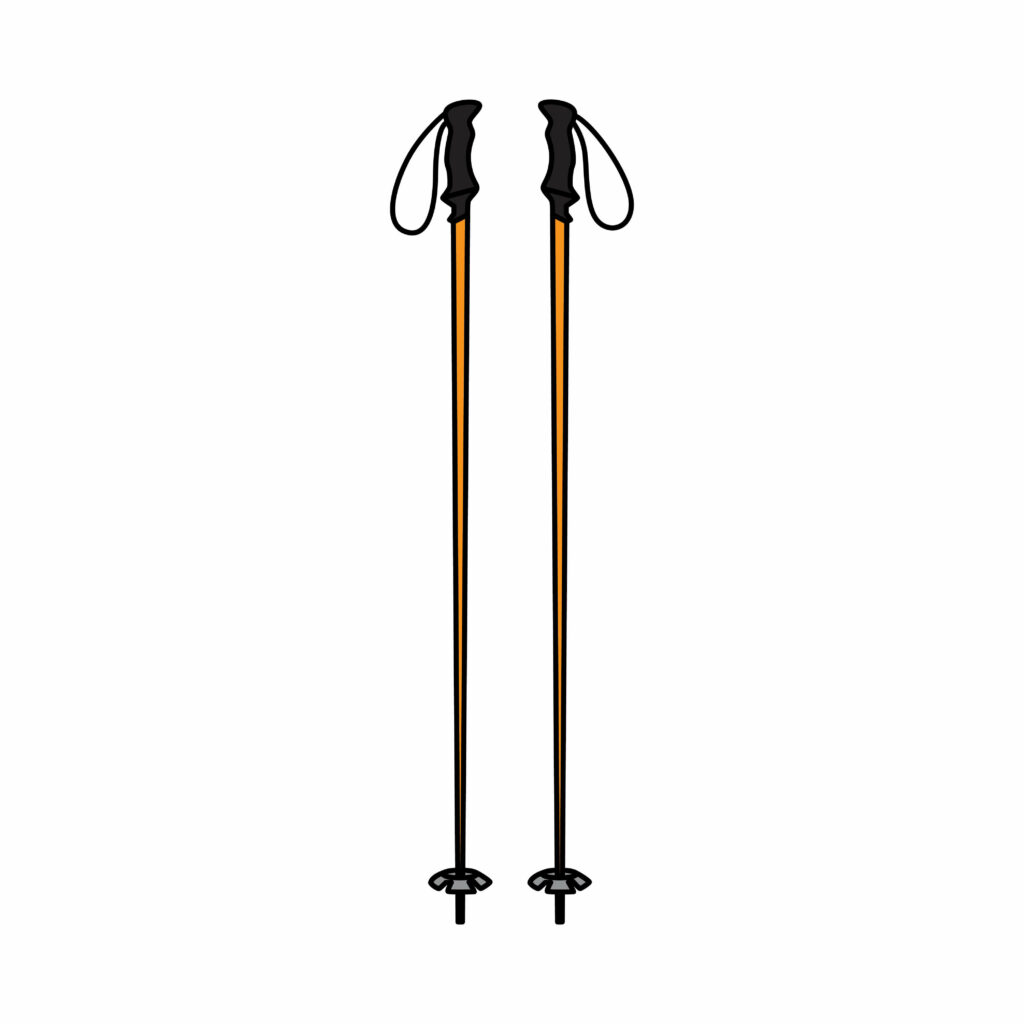
Step 6: Adding Color
Adding color is another fundamental contribution to making a drawing more realistic and instantly eye-catching! When it comes to your ski poles, you can choose whatever colors you prefer.
Simply bear in mind that real-life ski poles generally include some bright colors, some black, and reflective elements to make them easier to spot out on icy terrain if you’re going for a realistic approach.
If you like the way we have colored in our drawing, you’re welcome to use similar colors! Just be sure to use different colors on different parts, as this will highlight and compliment each step drawn.
Bonus Tips
Start by practicing basic shapes and proportions of ski poles, such as the grip, shaft, and basket.
Add some distinctive features of ski poles, like some buckles on the straps or some extra lines and grooves on the shafts to resemble real skis.
Add shading along the sides of each pole to incorporate dimension in your drawing.
Consider using different drawing materials such as pencils, pens, or markers for varied effects.
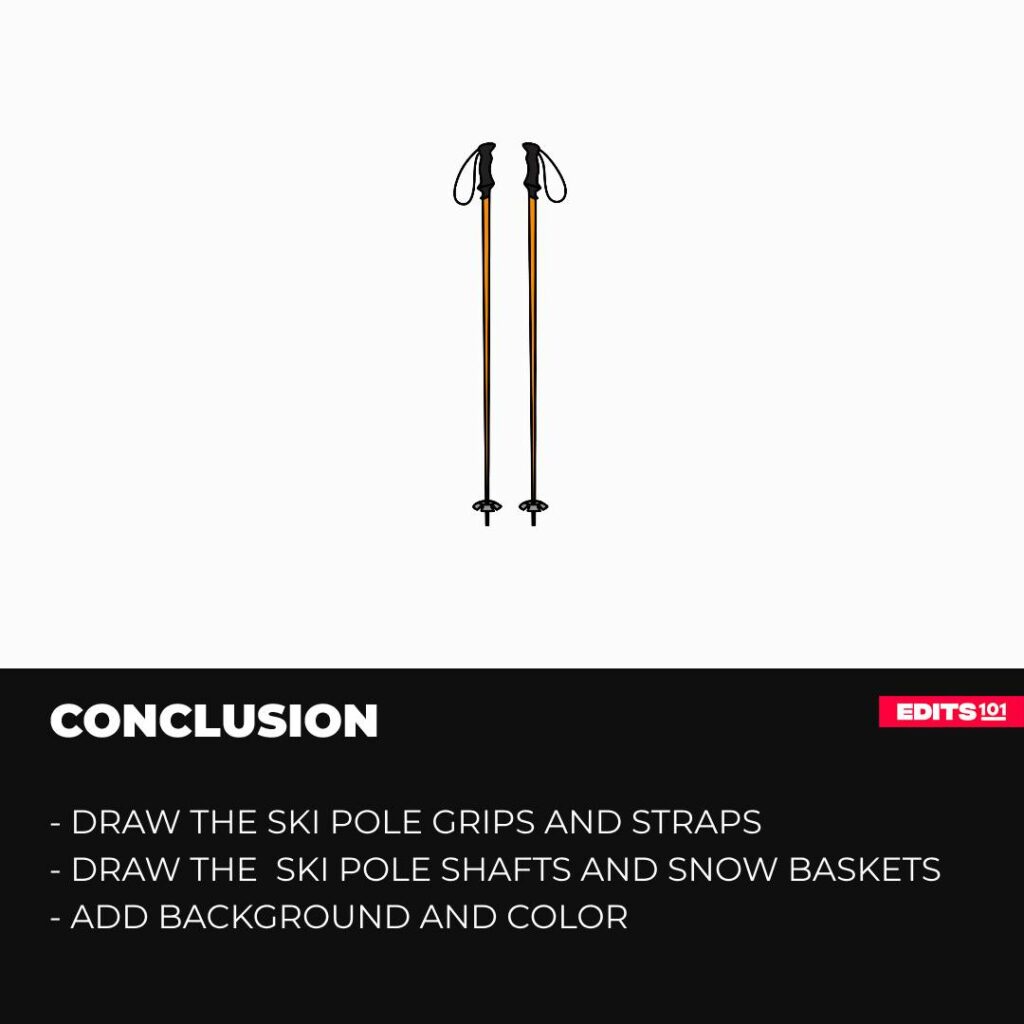
Conclusion
Well done for reading though all the steps and making it this far! If your drawing doesn’t initially look the same as ours, don’t worry about it. It doesn’t necessarily need to look exactly the same, as long as you gave it your all and manage to complete it. Remember, the first attempt is always the hardest. Practice regularly and keep pushing yourself out of your comfort zone as you tackle drawing new things!
Thanks for reading & feel free to check out more of our articles!
Author Rating
Overall Rating
Summary
This guide outlines the process of illustrating ski poles, offering insights into their design elements and distinctive features.