How to Draw a Cricket Player | An Easy Step-by-Step Tutorial
If you love cricket, there is no better way to celebrate your passion for the game than by drawing a realistic cricket player. In this easy guide, we will be looking at how to draw a cricket player from scratch and how to advance your drawing so that it looks more realistic. All you need to do is follow our steps and you will see your drawing come to life.
| Steps | Complexity Level |
| Drawing the Head | 3 |
| Draw the Jersey | 2 |
| Draw the Gloves | 3 |
| Draw the Bat | 1 |
| Draw the Pants | 2 |
| Draw the Leg Pads | 3 |
| Draw the Boots | 1 |
| Color the Drawing | 1 |
What You Will Need
- A drawing piece of paper or a sketchbook
- A pencil
- An eraser
- Coloring supplies
- 20 Minutes
How to Draw a Cricket Player
As is the case of drawing any human being, drawing a cricket player might seem intimidating. This is more so when you consider the many components that you have to include. The good news is when you tackle the drawing step by step, it is not as difficult. If you have completed any of our drawings on how to draw a soccer player, coach, or any other sportsperson, then you know that drawing a player is not that hard.
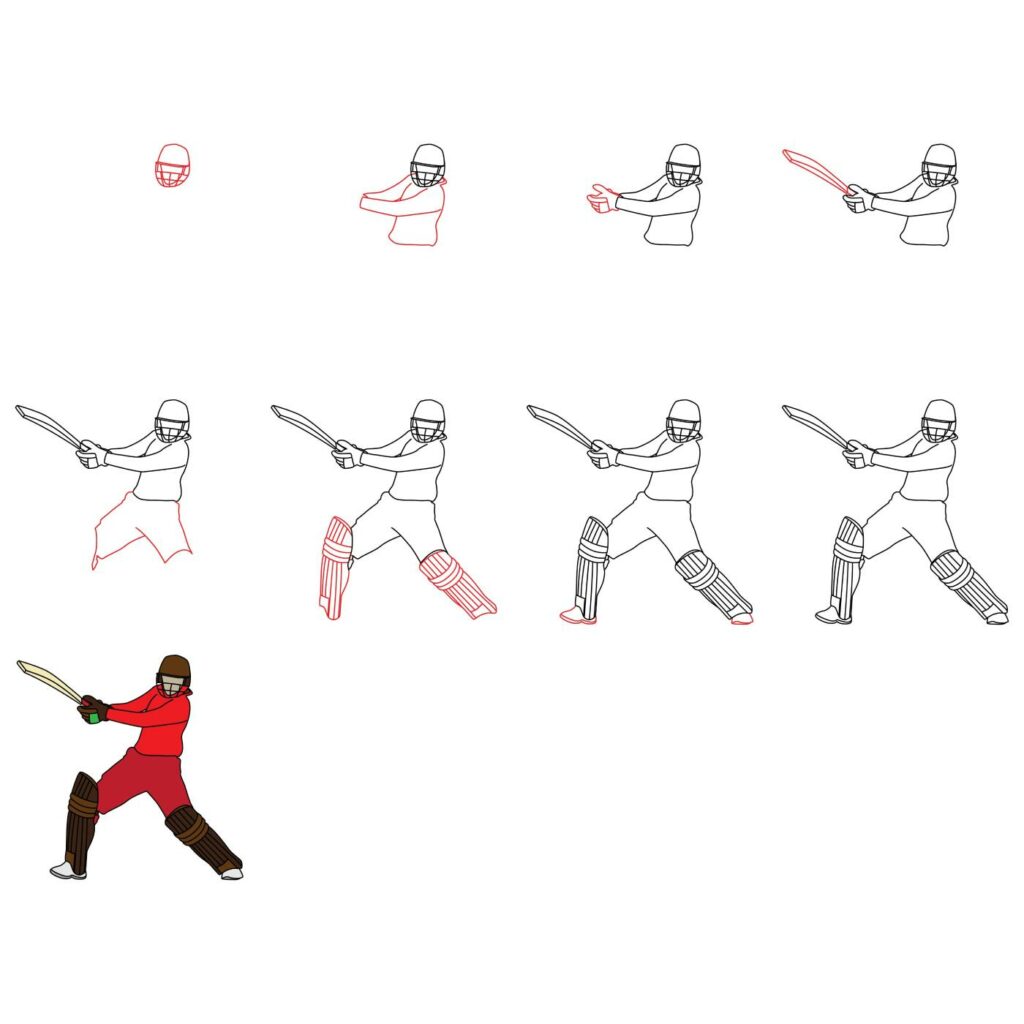
To give you a better understanding of what we will be doing, we have included the below image. It has all the steps we will be taking. Study it carefully so that you can anticipate each step.
Step 1: Draw the Head and Helmet
When drawing a player, the best place to start is with the head. This is the topmost part of the drawing and thus should come first. Unlike a soccer player, a cricket player wears a helmet to protect themselves. As a result, we will be drawing the helmet first on the top part of our drawing paper.
Use a combination of angled and curved lines to create the cricket helmet. The best way to start is by drawing a slightly slanted oval shape close to the top right part of your drawing paper. Cut the oval shape in half and add the grill on the bottom part. You should also add curved lines inside the helmet to form the player’s face.
- Draw a small, slightly slanted oval shape on the top part of your paper
- Cut the oval shape in half and add a grill to the bottom part
- Use curved lines to add a face behind the grill

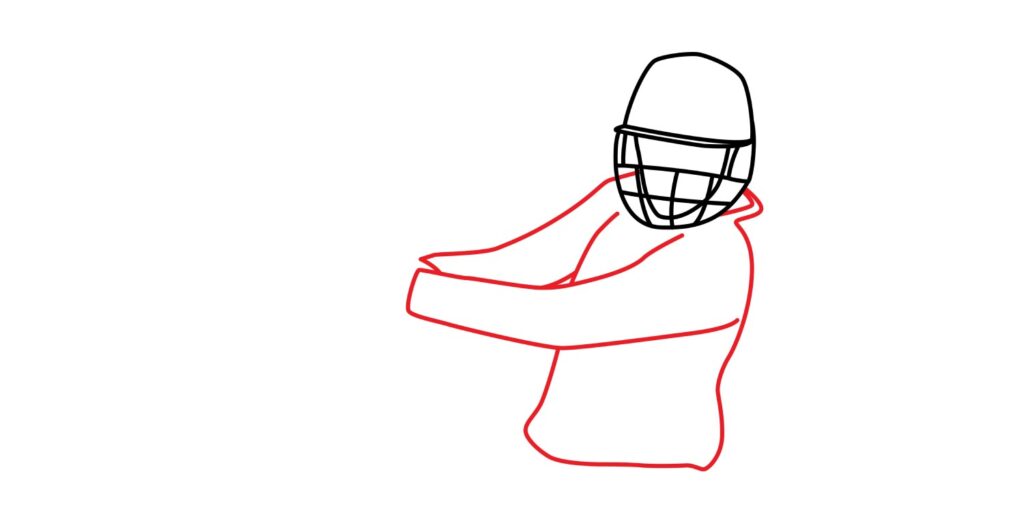
Step 2: Draw the Jersey
The next thing we are going to do is draw the cricket player’s jersey. This will form the hands and torso of the player.
Using a combination of curved lines, connect the helmet with the jersey. You can start by adding the back of the player using a curved line that extends vertically and then add the arms and the bottom part of the jersey. You can use the below illustration as a reference. Pay attention to the proportions, and make sure it fits well with the head and helmet.
- Use curved lines to add the cricket player’s jersey and hands
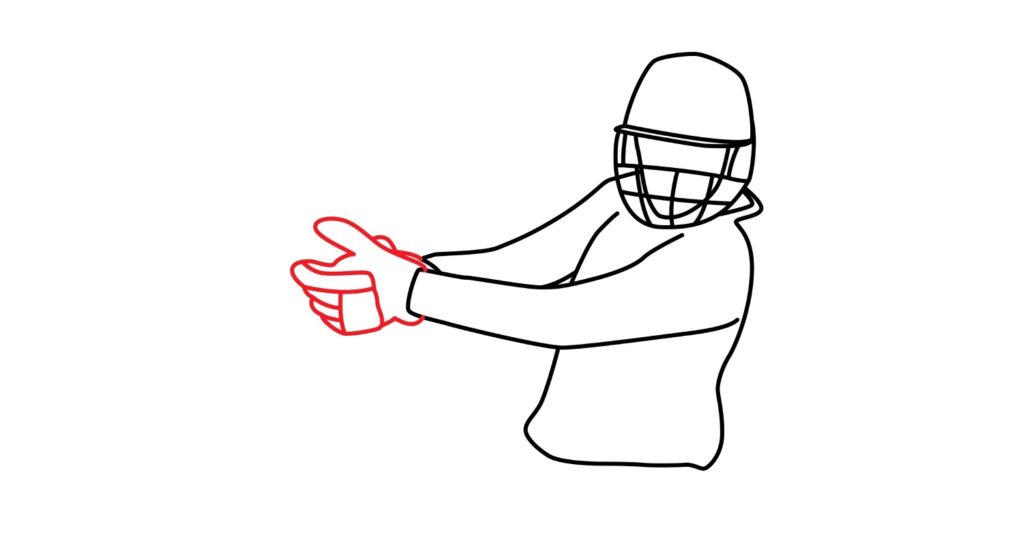
Step 3: Draw the Gloves
The batsman is the player who hits the cricket ball with a bat. This is the player we are drawing. To protect their hands, the batsman wears gloves. We are now going to add the gloves to the hands of the player.
Using a series of curved lines, add a glove to the arm of the player. Since one of the player’s hands is hidden, we are only going to add one cricket glove. Try and make the gloves as realistic as possible. This is how our drawing looks so far.
- Use a series of curved lines to add the cricket hand glove
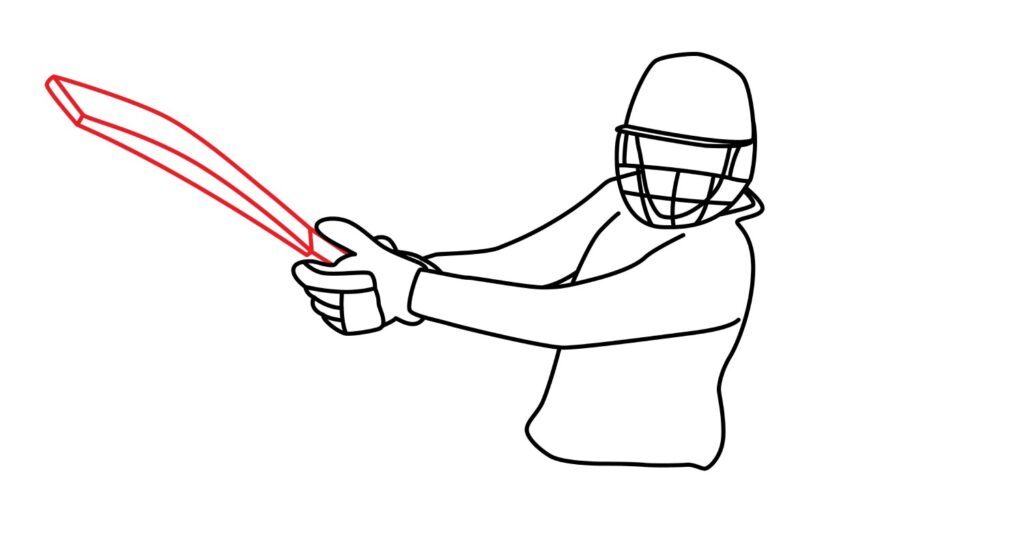
Step 4: Draw the Bat on the Hand
To complete the top part of our drawing, we are going to add the cricket bat in the hands of the cricket player. For this, we are going to use slightly curved lines that start from the hands of the player and rise diagonally to form a cricket bat that is being swung. Drawing the cricket bat in action adds an essential element to the illustration.
- Use slightly curved lines to add a cricket bat in the hands of the player
Step 5: Draw the Pants
With the top part of the cricket player ready, we are now going to add the bottom part starting with the player’s pants. For the pants, we are going to use a combination of curved lines. Since the player is in action, we will draw him with his legs apart. As a result, you need to ensure that the pants indicate that the player has a wide stride.
Underneath the jersey, use a combination of straight and curved lines to draw the player’s pants. Ensure that the pants look natural and in proportion with the rest of the body. The bottom part of our pants has a curved end because we will be adding the batting leg guards next.
- Use a combination of straight and curved lines to draw the pants of the player

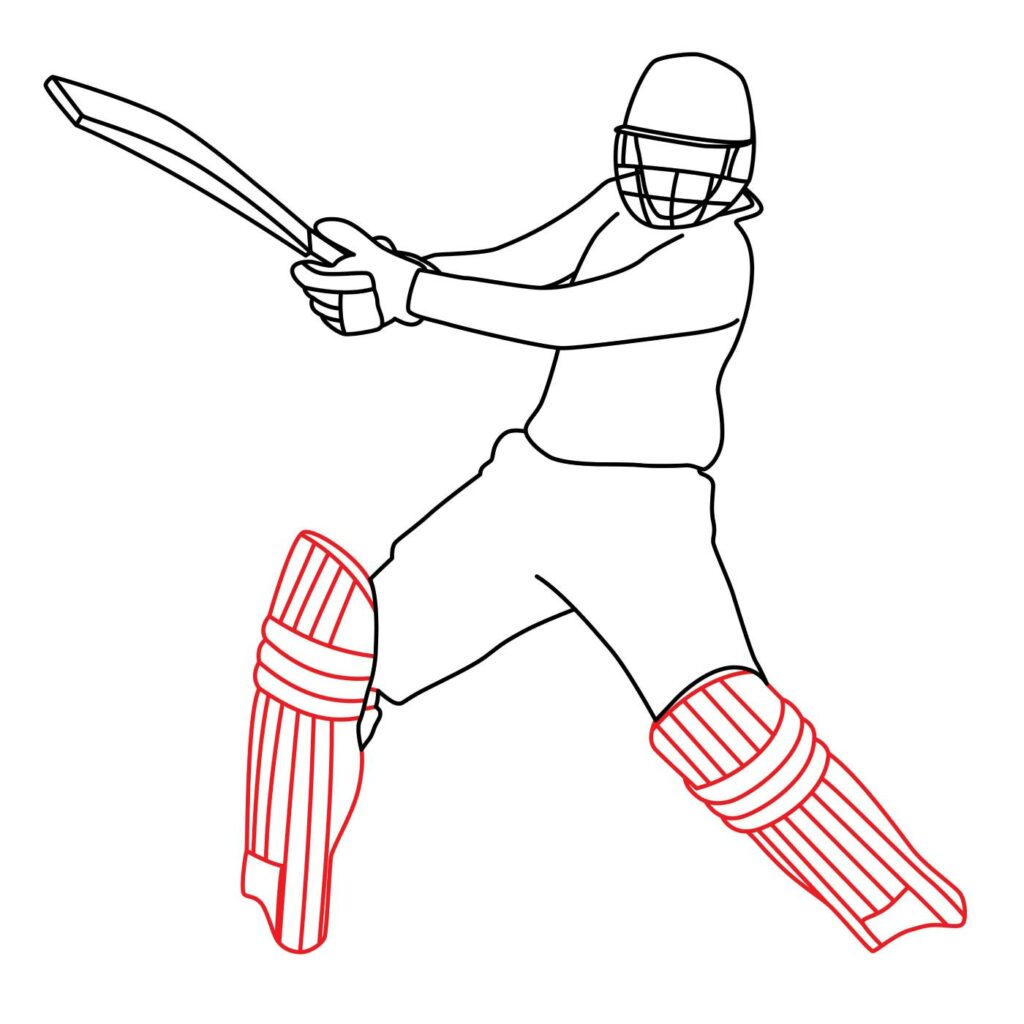
Step 6: Draw the Leg Pads
To protect their legs from being injured by the fast-flying cricket ball, the batsman wears cricket pads. These are also referred to as the batting leg guards. When adding the protective pads, we have to keep the player’s pose in mind.
Start by using curved lines to outline the cricket pads. For the leg on the left of the drawing paper, we are going to draw the pad in a vertical orientation while for the leg on the right, we will make it slanted. Don’t forget to add the knee roll using horizontal lines and vertical lines for the details on the face of the pad. Your drawing should look something like what we have in the below illustration.
- Use curved lines to outline the leg guards
Step 7: Draw the Boots
Last but not least, our cricket player needs boots to protect his feet while on the field. We are going to add them using a combination of curved lines. Keep in mind that the feet of the player cannot be facing the same direction thus the reason the shoes of our player look the way they do.
- Use curved lines to add the boots
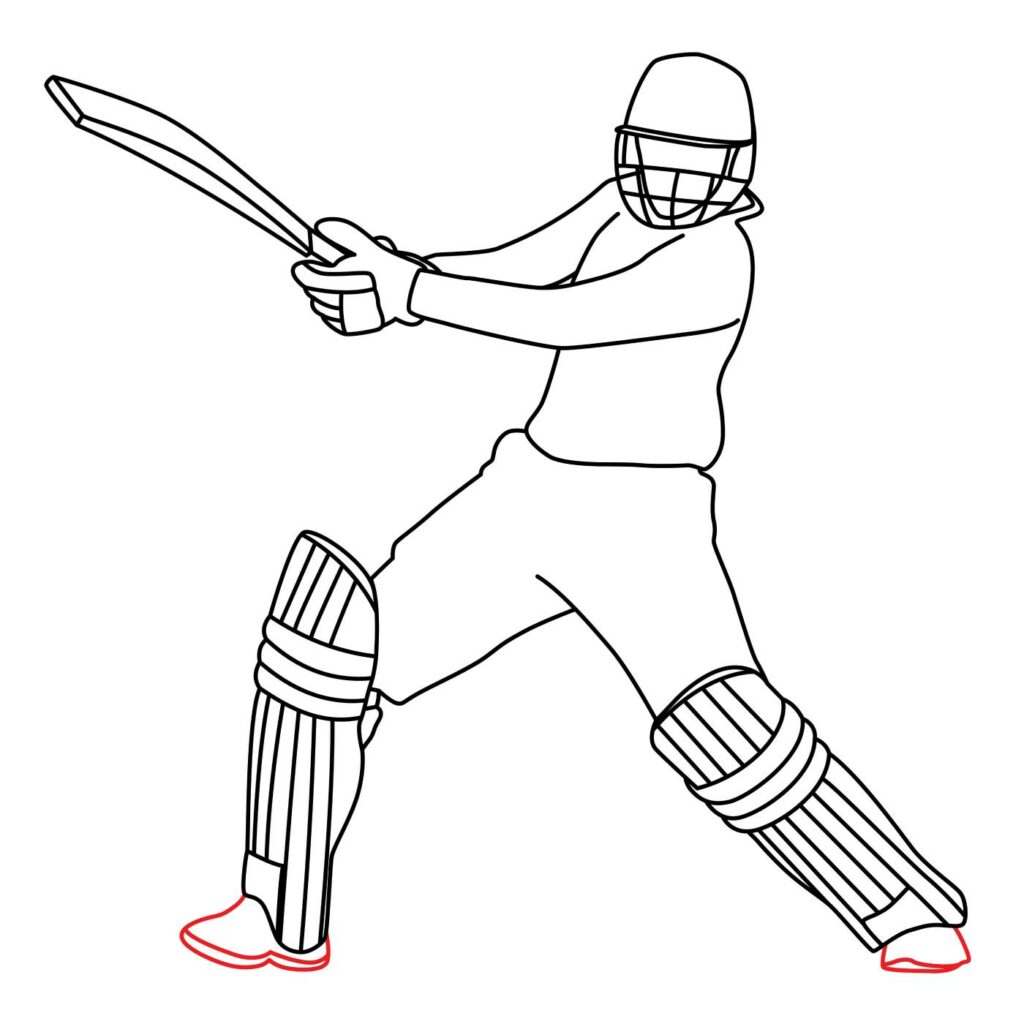
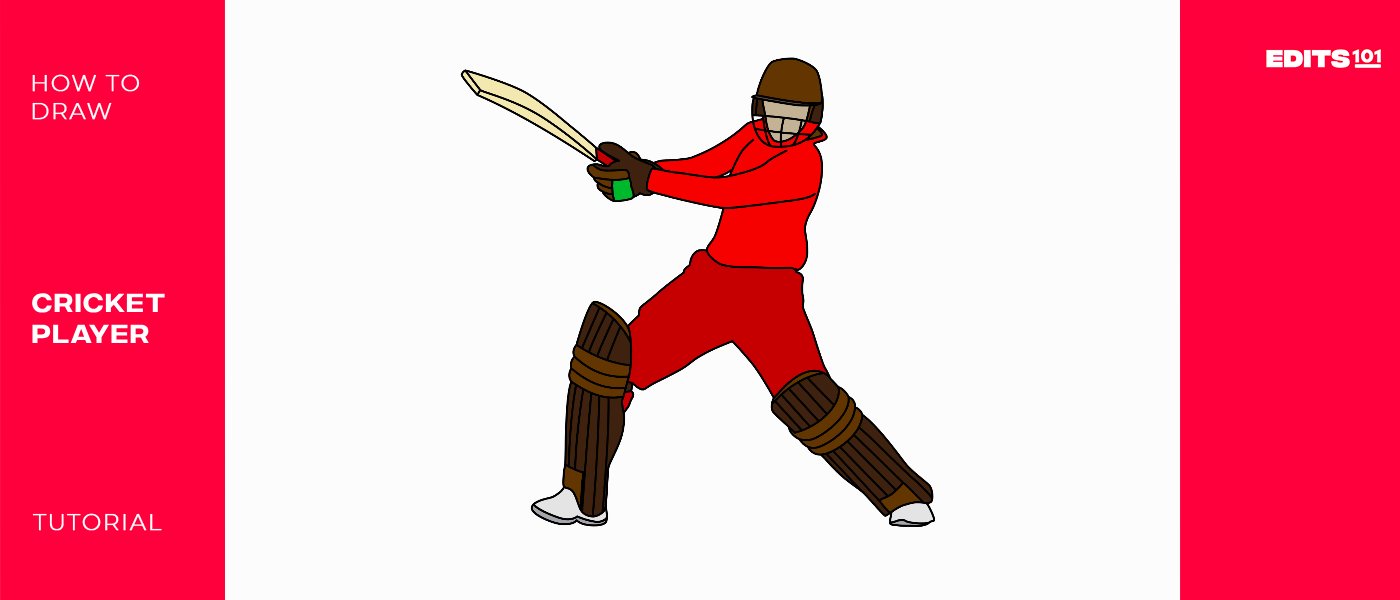
Congratulations! Your Cricket Player’s Drawing is Done
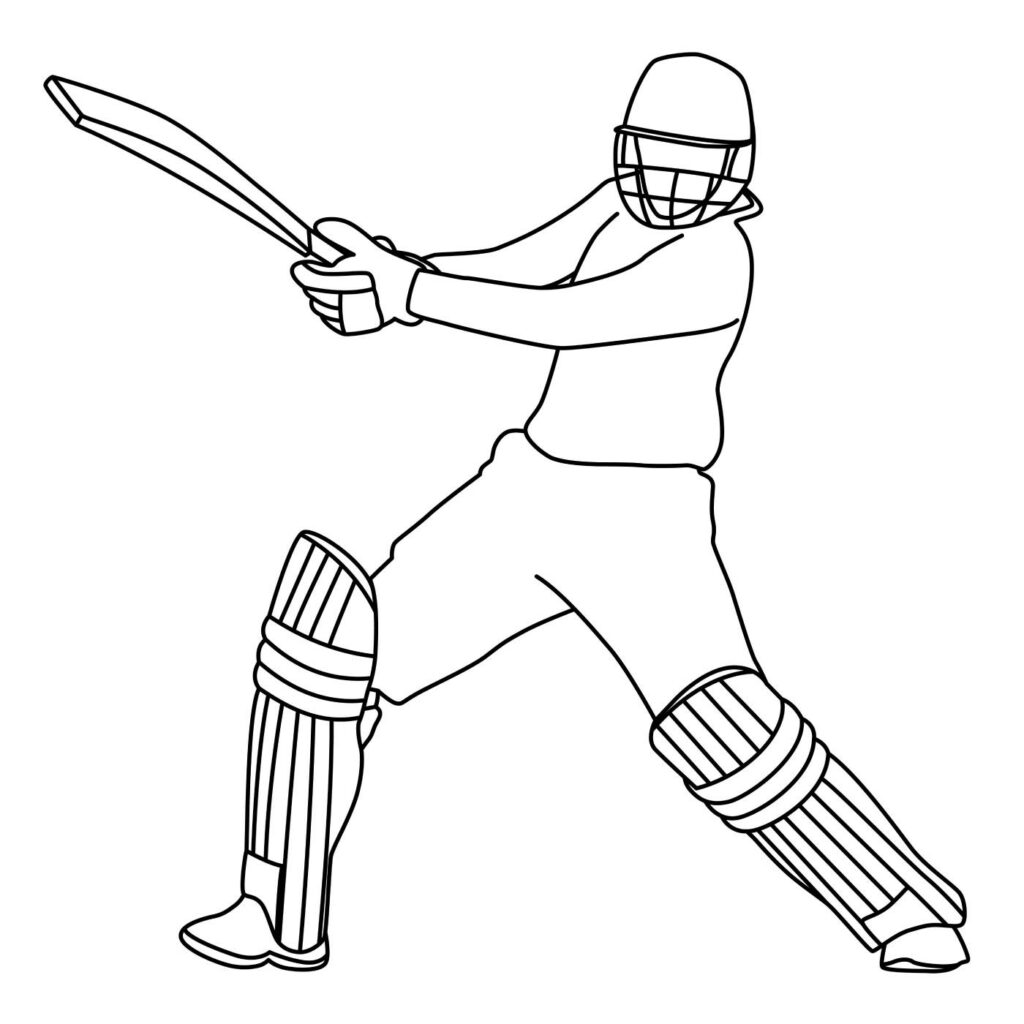
With just seven easy steps, the drawing of our cricket player is ready. Your drawing should now look something similar to what we have in the below illustration. Take a moment to admire it. If there are any areas that seem way off, make the necessary adjustments to improve them.
Take the Drawing to the Next Level
As an artist, it is not advisable to leave your drawing as it appears above. You need to be willing to advance it. There are a couple of things you can do to advance your drawing.
Add Some Background Details
One of the best things you can do to advance your drawing of a cricket player is to add some background. The background detail can include a cricket ball that is airborne or a cricket pitch in the background. Adding some background provides context to your artwork and makes it more dynamic.
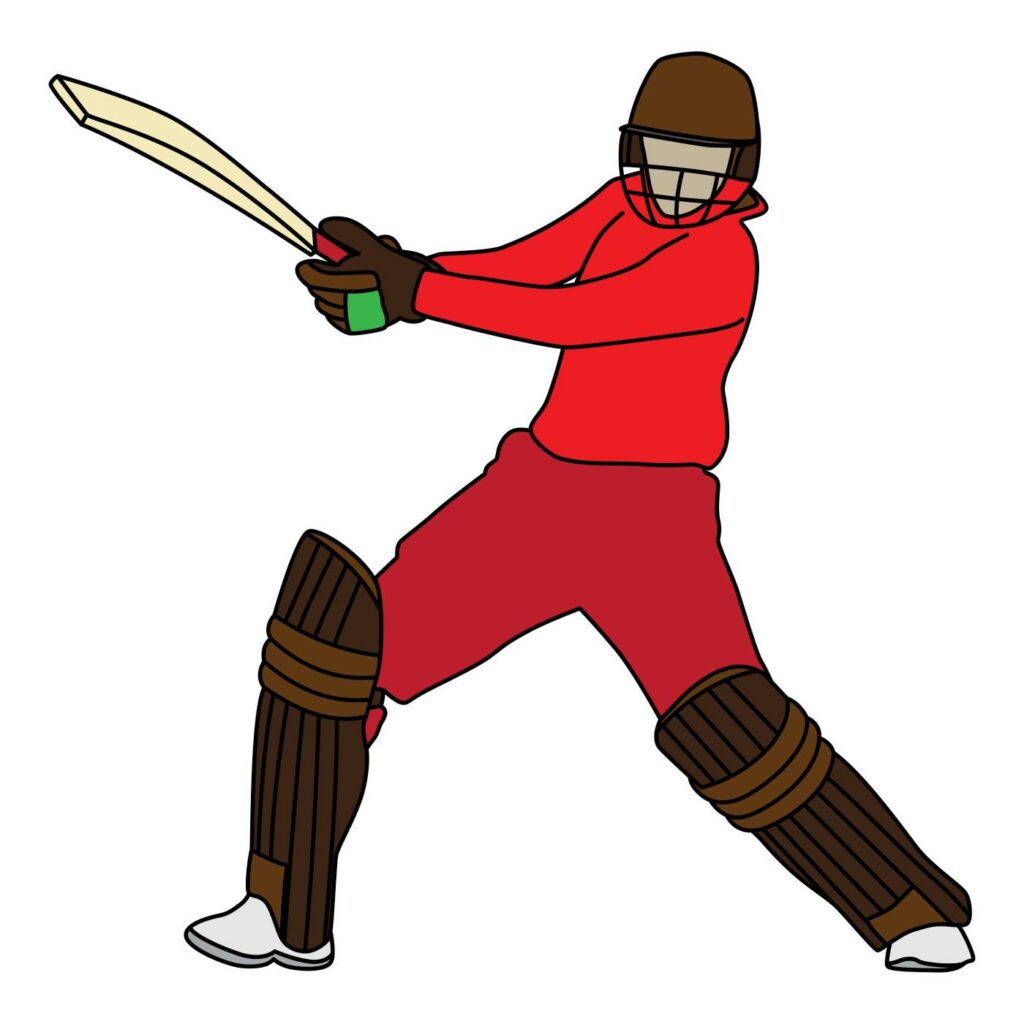
Color Your Drawing
The one thing you cannot afford to ignore is color. Once you are satisfied with the outline of your cricket player, you should bring out your coloring supplies and add color to the drawing. Color is what makes a drawing pop and look lifelike. This is your drawing so you can use just any colors that you like. For better results, use a different color for the helmet, jersey, pants, cricket pads, shoes, and cricket bat.
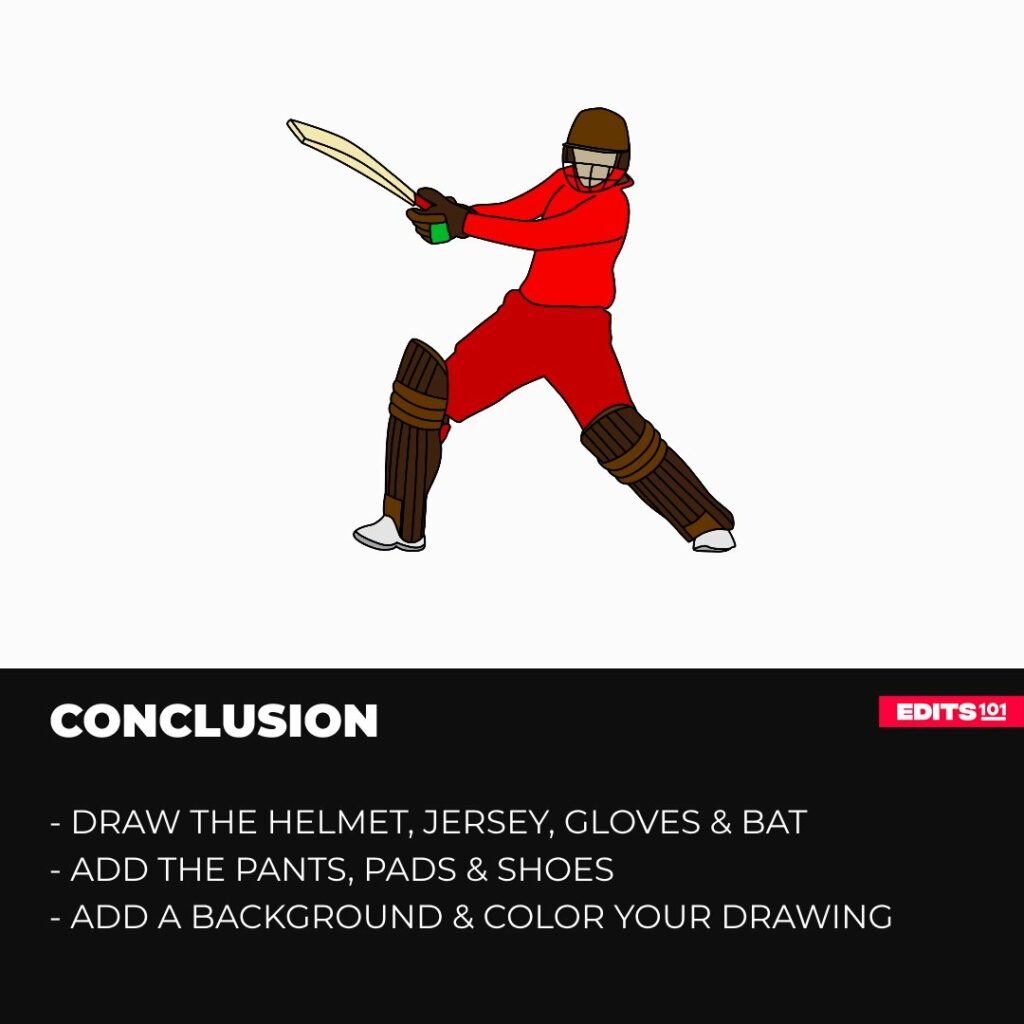
Conclusion
As you can see, drawing a cricket player is a lot of fun and it is quite rewarding. By following our steps, you were able to draw your cricket player illustration on a blank canvas. In the tutorial, we started by drawing the helmet, added the jersey, cricket gloves, and the cricket bat. For the bottom part, we added the pants, pads, and shoes. We advanced our drawing by coloring it.
You can use these steps to draw any cricket player in any pose. While achieving the results you want might be hard the first time, you will notice better results the more you practice. Our steps can also be used to draw a cricket player on any of your preferred sketching apps.
Thanks for reading & feel free to check out more of our articles!
Author Rating
Overall Rating
Summary
Learn how to draw a cricket player in simple steps.