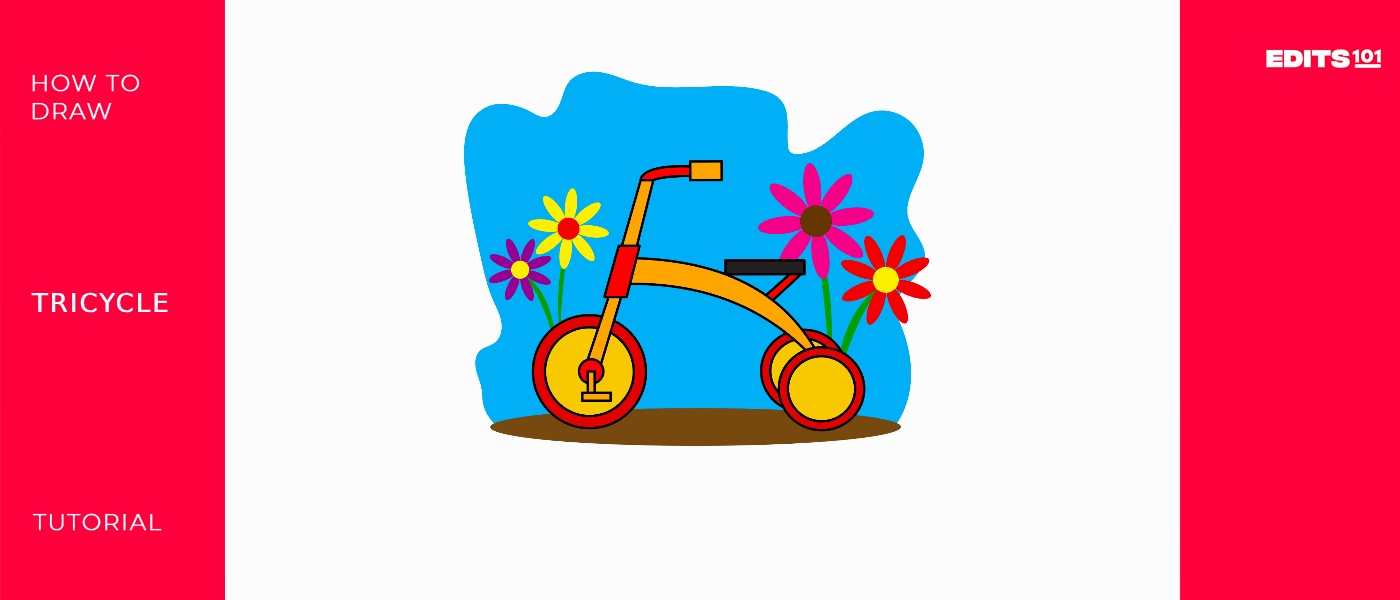
How to Draw a Tricycle | A Step-by-Step Guide
This informative tutorial is a wonderful way to brush up on your drawing skills while adding a super cool tricycle drawing to your collection of art. In 10 easy steps, you will have a drawing of a standard tricycle that’s a strong adversary against others.
Tricycles are three-wheeled vehicles powered by pedals or even sometimes electric motor. Once a way to get children used to riding bikes, tricycles are now used as a fun alternative mode of transportation for adults, as well.
This is one of my favorite drawings because not only it is reminiscent, it’s straight-forward and doesn’t require a lot of fine-tuning. So if you’re looking to explore your skills in art and design, this is most definitely a great place to start!
What you will need
- A4 sheet of paper
- Pencils (HB, 2h and 3b)
- An eraser
- A ruler (optional)
- Mathematical drawing compass (optional)
- Coloring kit
- 25-30 minutes
How to Draw a Tricycle
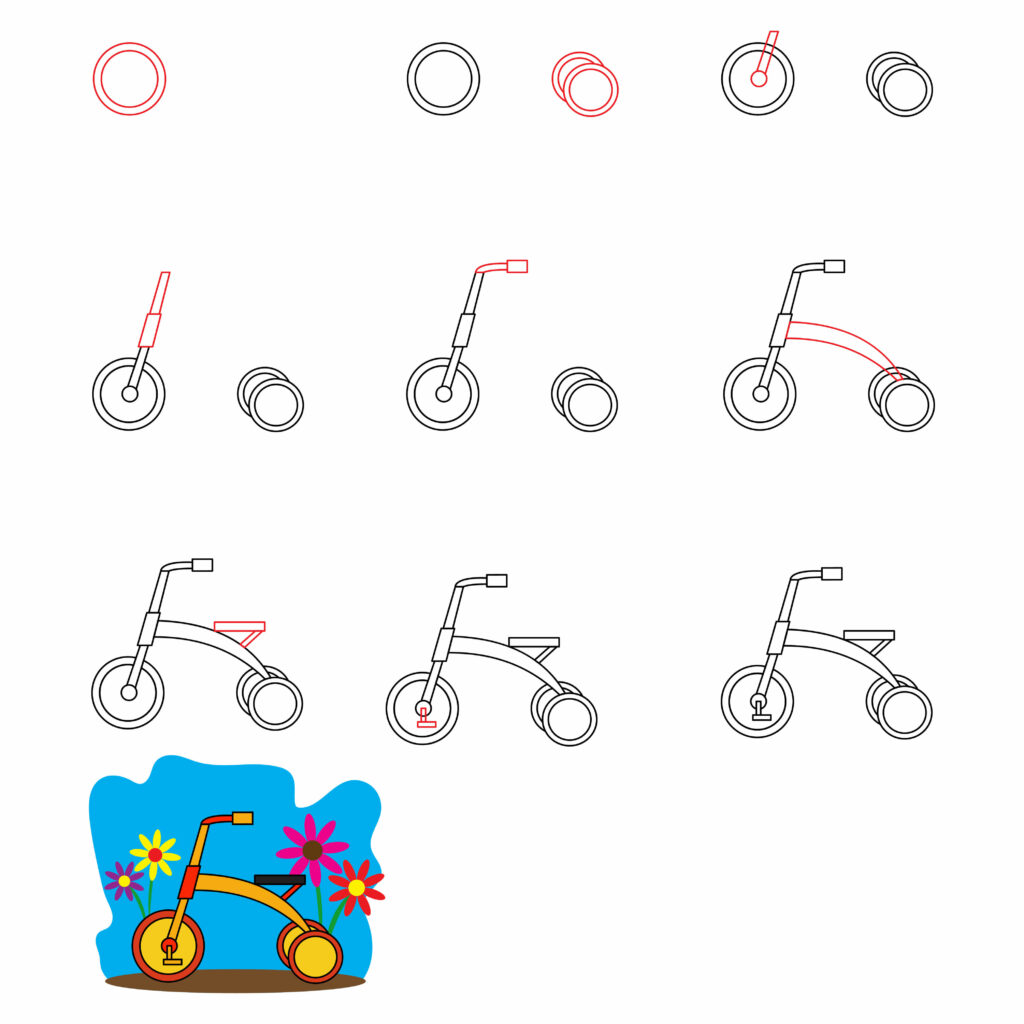
To make the drawing process all the more easier for you, ensure that you scan the outline below for an idea of what each step will involve. Pay careful attention to the shapes marked in red to gain a sense of every component needed to draw a tricycle. Once you’re ready, jump right in!
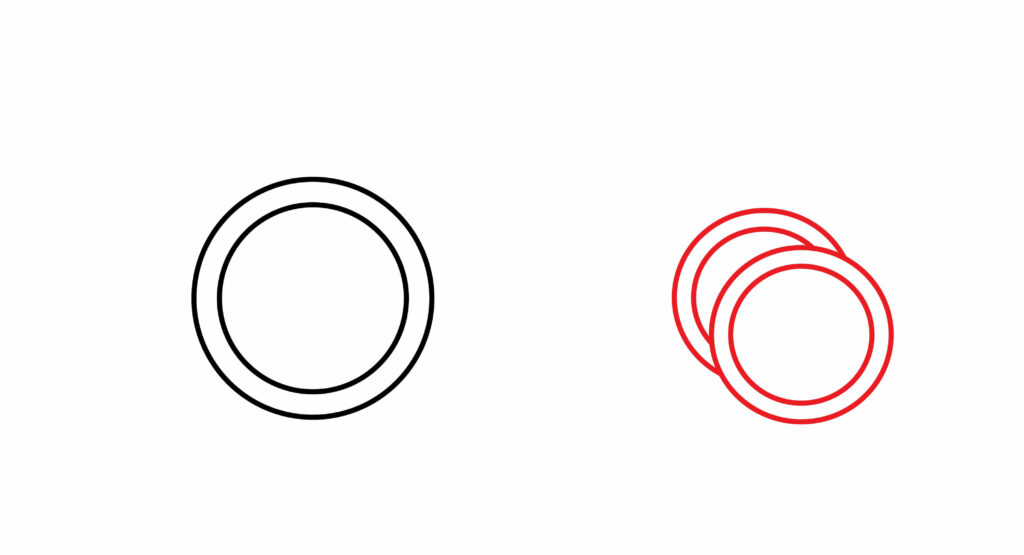
Step 1: Draw the front wheel
Kick off your drawing by flipping your paper in a landscape orientation for more room, and then start with drawing the front wheel. Wheels are the base of almost every vehicle, so it kind of makes sense for us to start with this part, right?
Your tricycle will be drawn from a left-side point of view, causing the front wheel to be on the left. So, grab your drawing compass or use the freehand method to draw a semi-large circle on the left of your page. Add a smaller circle within the width of the first one, and you should have a shape resembling a wheel.
- Flip your drawing paper in a landscape orientation for more space
- Draw a semi-large circle on the left side of your drawing paper
- Add a smaller circle within the width of the first circle to resemble a wheel

Step 2: Draw the back wheels
This step is slightly more difficult than the first as you will need to use perspective to properly space your front and back wheels apart. A great way to ensure you’re on the right track is to place the tip of your ruler against the right side of the front wheel and make a little dot on your paper around the 2-inch mark.
Then, place the edge of your ruler underneath the front wheel, and make a dot on the 4-inch mark. That is where you’re going to add in the first back wheel. Use those dot as measurments for the placing and size of your circle, the latter of which should be smaller than the front wheel.
Once you have completed the circular rings indicating a back wheel, draw a semicircle extending from the left side of the back wheel. Add a smaller semicircle within, and you should have two back wheels, ready to go.
- Use your ruler to determine the placement and size of the back wheel
- Draw a small circle with a smaller circle inside to represent the back wheel
- Attach two semicircles on the left side of the back wheel for the second wheel
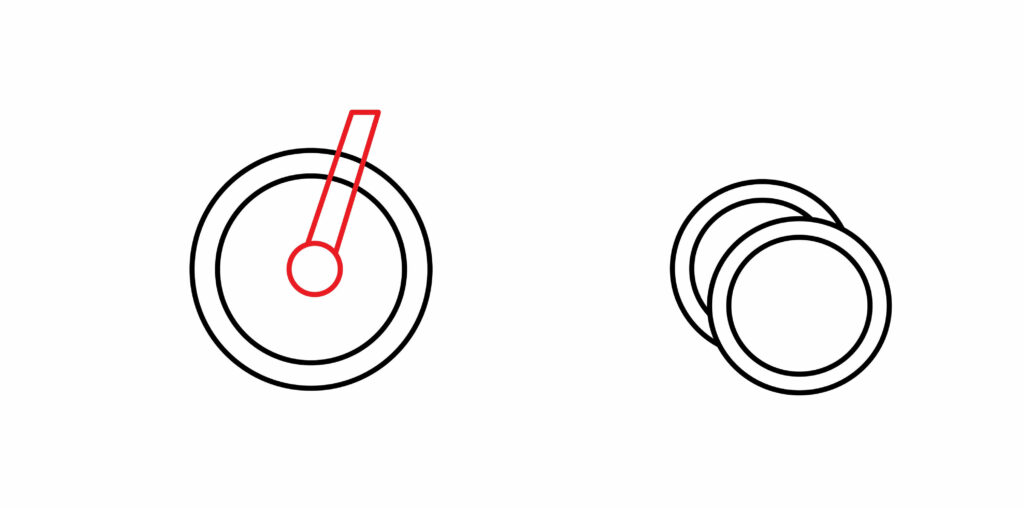
Step 3: Draw the connector for the front wheel
Next up is drawing the connector, which will connect the front wheel to the body of the tricycle. To achieve this step, draw a small circle in the center of the front wheel. This will represent the hub of the tricycle, giving it a realistic edge.
Next, draw a small diagonal rectangle extending from the top part of the hub and ending above the border of the wheel. Ensure the rectangle is slightly wider at the base and narrows along the top, and you’re good to go.
- Draw a small circle on the center of the front wheel for the hub
- Draw a small diagonal rectangle extending from the top of the hub
- Ensure the width of the rectangle is wider along the base and narrow at the top
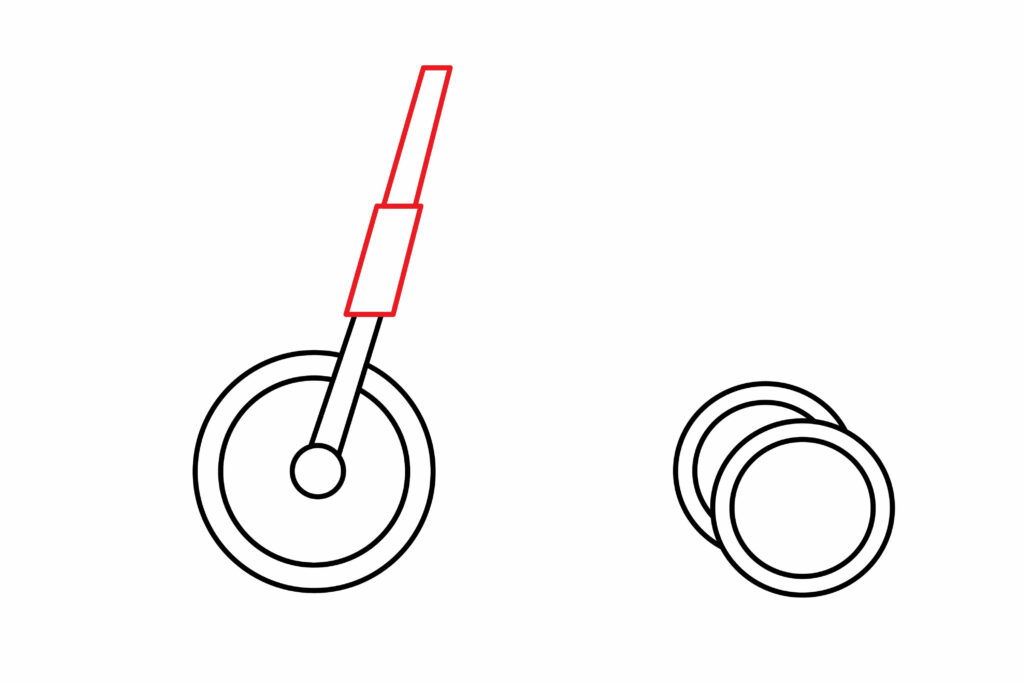
Step 4: Draw the handlebar
Draw a small diagonal rectangle shape attached to the top of the connector created in step three for the handlebar. Ensure that this rectangle is wider than the connector to give the illusion that it’s capped onto the connector.
Next, draw a small diagonal rectangle on the handle that is the same width of the connector drawn in step three. Additionally, ensure it’s slightly longer than the handle, and you’re all set.
- Draw a small diagonal rectangle on the top of the connector drawn in step 3
- Draw a rectangle shape on the handle that’s the same width as the connector
- Follow the image below for a guide on the dimensions to aim for
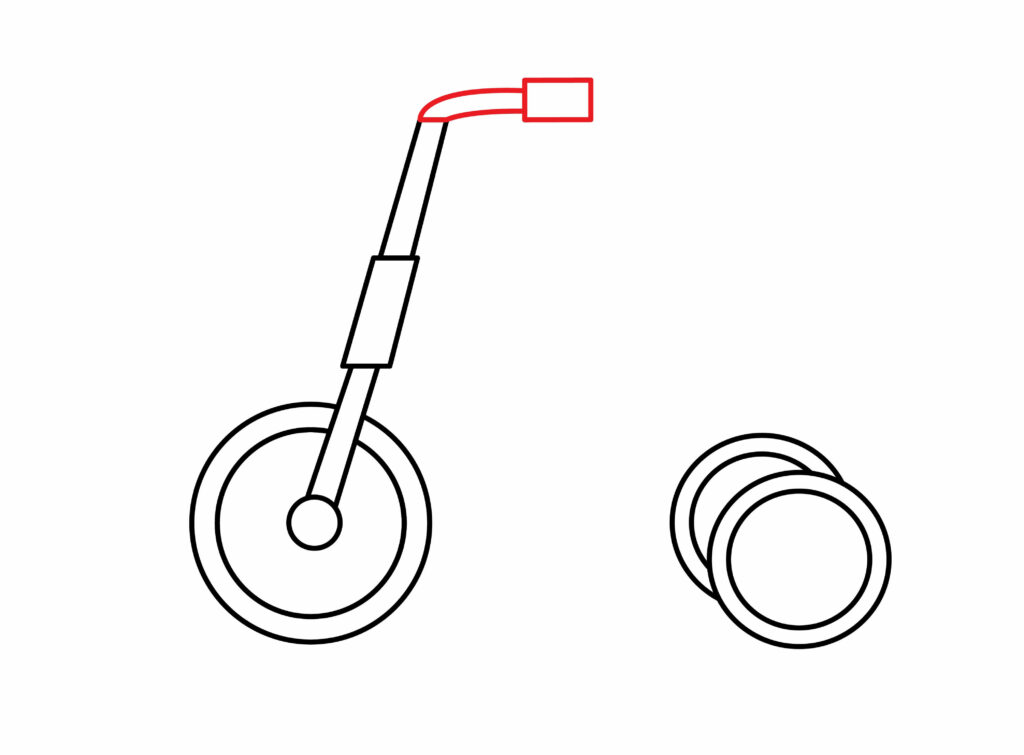
Step 5: Draw the handle
Now that you have the handlebar down, it’s time to add the handle: a critical addition to any cycling vehicle so be sure to include this element in your drawing!
This step is relatively easy. All you need to do is draw a horizontal rectangle curving out the top of the handle. Avoid making the rectangle too long as you don’t want it to overwhelm the drawing, but more so, compliment it.
Finally, add a small horizontal rectangle on the edge of the handle’s base. Make sure that this rectangle is wider than the base to give off the appearance that it is in fact the handle of the tricycle.
- Draw a horizontal rectangle curving out the top of the handlebar for the base
- Add a wide horizontal rectangle at the end of the base for the handle
- Ensure the handle is aligned with the center of the tricycle
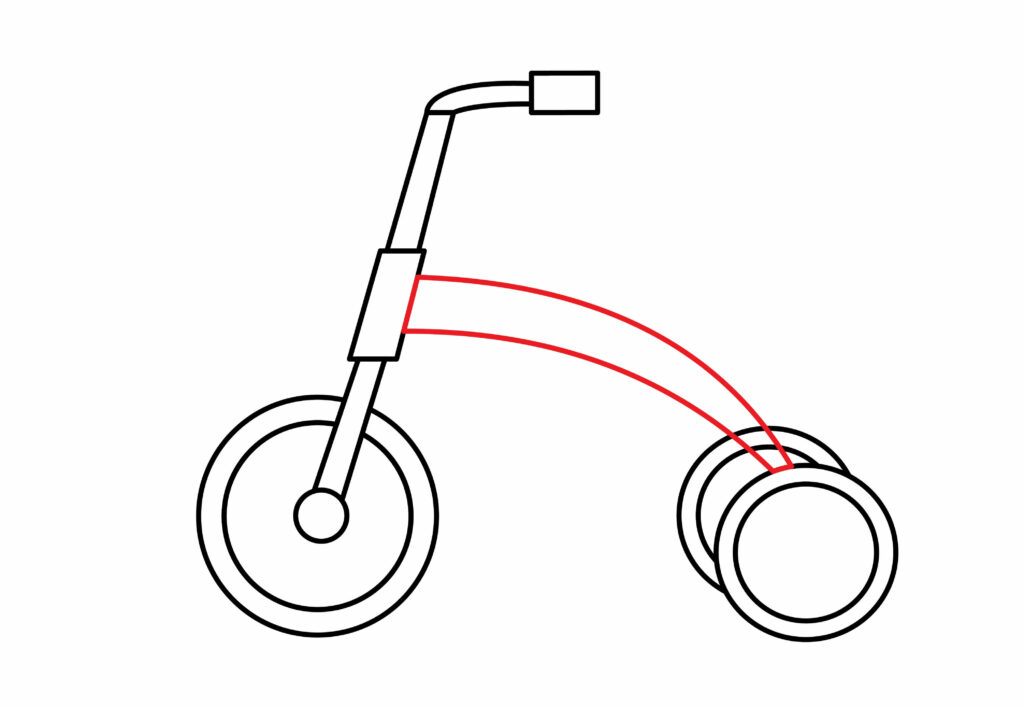
Step 6: Draw the main body of the tricycle
The body of a tricycle, otherwise known as the frame, supports the seat, wheels, and other components which provide stability for the rider while riding.
To complete this step, draw a horizontally curved rectangle extending from the right side of the handlebar drawn in step four.
Make sure the rectangle bears a slight curve all the way through until it connects with the upper part of the back wheel.
- Draw a horizontally curved rectangle extending from the side of the handlebar
- Ensure the rectangle bears a slight curve all the way through
- Connect the edge of the rectangle with the upper part of the first back wheel
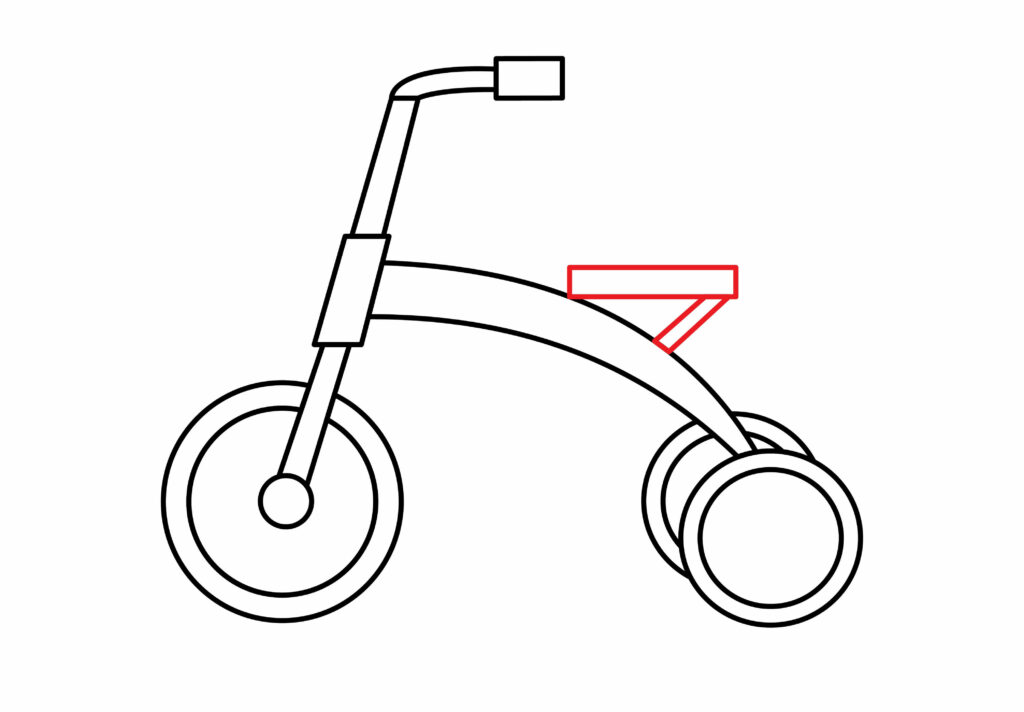
Step 7: Draw the seat
Now that all the major elements are out of the way, it’s time to add the fine details that is going to give your drawing the true essence of a tricycle. What would a tricycle be without a driver’s seat?
Complete this step by drawing a small horizontal rectangle on the upper side of the main body. Next, draw a thin diagonal rectangle from the outer side of the horizontal one and connect it to the bottom side of the main body.
Both shapes together should resemble a slanted triangle.
- Draw a small horizontal rectangle on the upper side of the main body
- Draw a thin diagonal rectangle that connects to the bottom side of the body
- Both shapes put together should resemble a slanted triangle
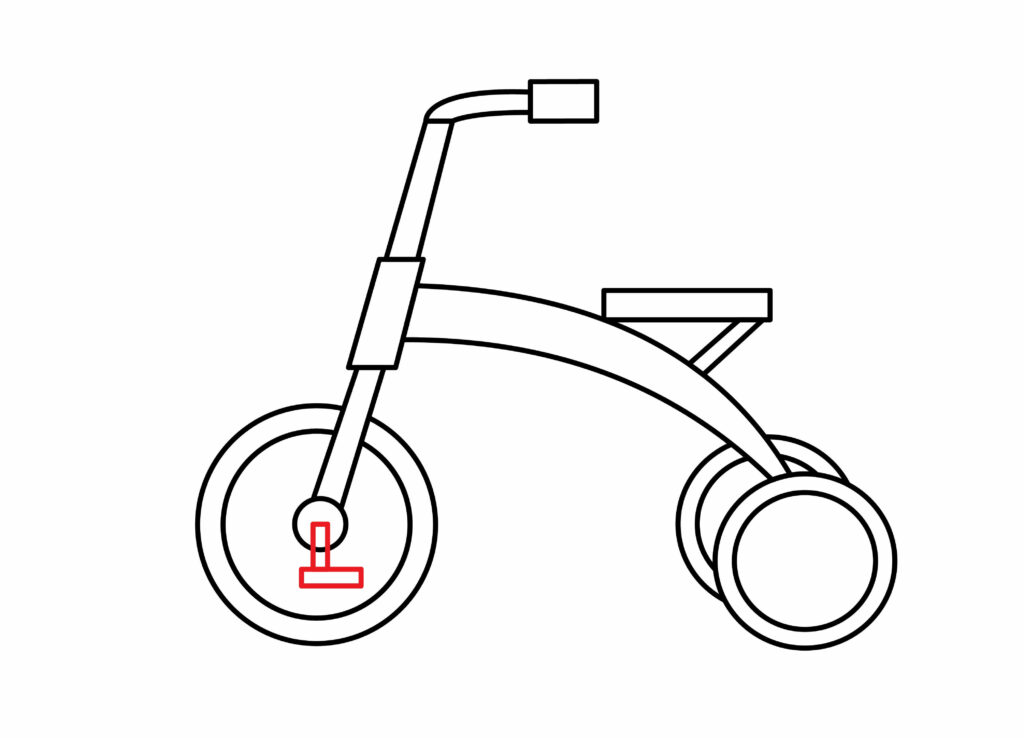
Step 8: Draw the pedal
On standard bicycles, the pedals are usually located on the sides of the vehicle. Some tricycles own this feature as well, but in this tutorial, we are going to opt for the standard tricycle design by placing the pedals on the front wheel.
To complete this step, draw a small vertical rectangle starting from the center of the hub. Then, add a little horizontal rectangle on the bottom of the vertical one. Sounds easy enough, doesn’t it?
Don’t be fooled by the simplistic nature of this step. It’s a critical addition to your tricycle drawing that’s going to elevate its realism by leaps and bounds!
- Draw a small vertical rectangle starting from the middle of the hub
- Draw a small horizontal rectangle at the bottom of the vertical one
- Follow the below image for a guide on the proportions
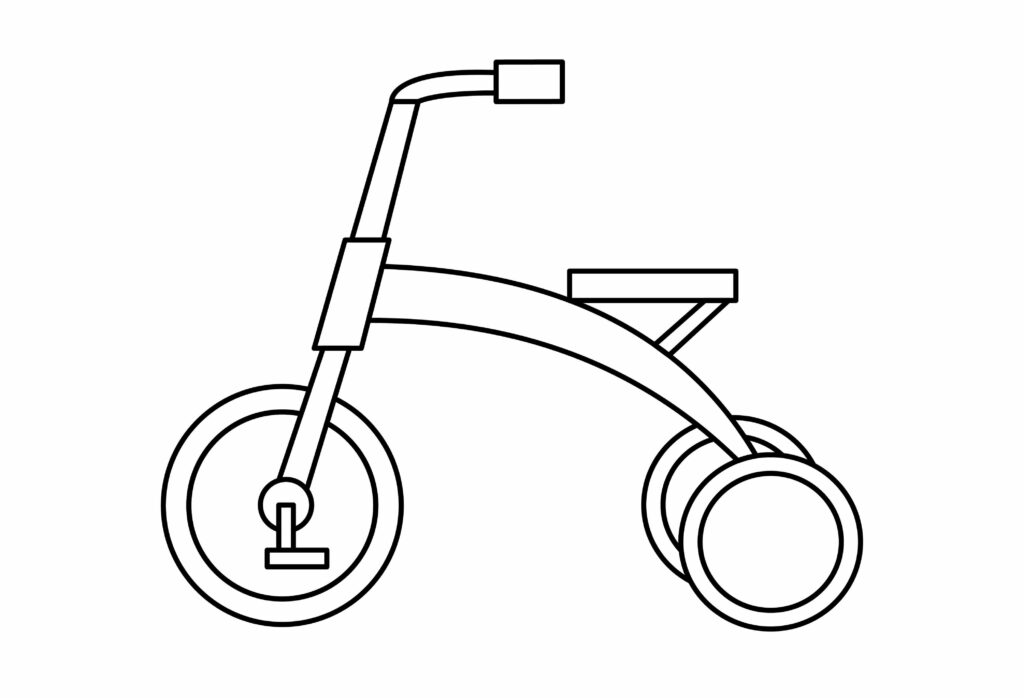
Congratulations! Your tricycle Drawing is complete
Have you followed along with all of the steps? If so, you now have a black-and-white sketch of a tricycle! Yay! 😊 Great job exercising patience and perserverence as you brought this idea to life.
Now that your sketch is complete, take a little moment to analyze whether or not you’re happy with the results. Use the image below as a guide for any possible corrections, and then once you’re ready, carry on with the rest of the tutorial!
Taking your Tricycle Drawing to the Next Level
At Edits101, we regularly encourage our students to push themselves beyond what is expected. Ask yourself this: why leave your tricycle sketch as it is when you can boost its appeal by adding a background and some color?
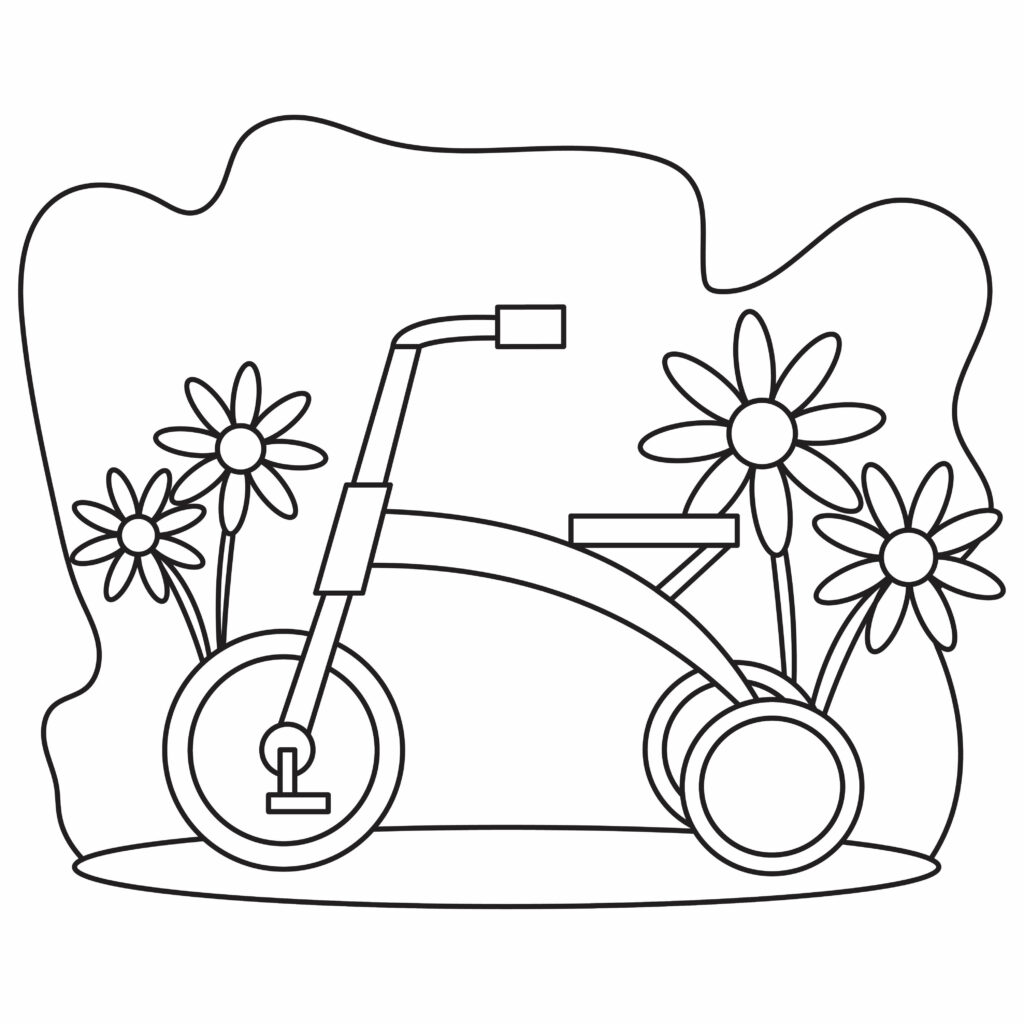
Step 9: Adding a background
This step is all about allowing your creativity to lead you where it wants to go. You can ultimately add any background you prefer to your tricycle drawing.
For a more realistic approach, a few great choices would be to draw a street, garden, or a park. You could even add an array of other vehicular children toys like bicycles, skateboards, hoverboards and scooters, to tie the scene together.
In our drawing, we have decided to draw a few flowers and bushes behind our tricycle. If you like the way this compliments the drawing, then you are welcome to implement a similar background in your design!
step 10: Adding color
Everyone has their own choice of colors. The great thing about this tutorial is that any color can be a part of a tricycle. Natural colors can be an excellent choice to make the tricycle look amazing.
This activity should be enjoyed thoroughly. Just pick up your colors and start coloring the tricycle. To maintain the aesthetics of the drawing, make sure the colors do not exit the boundaries.
Once you have colored the tricycle, be sure to also color the background. Light colors in the background will make the tricycle pop and stand out.

Bonus Tips
Apply some shading techniques to the sketch. Your drawing might benefit from some cross-hatching on the wheels and rider’s seat, and the favored scribbling technique on the background elements.
Watch YouTube videos explaining the perspectives used when drawing tricycles to help you better understand the process. It’s also a great tool to connect and interact with other budding artists.
Share your drawing with others on visual learning platforms or your favorite social media app.
I like adding my name and the date to my drawings because I feel like it personalizes the work and creates a timestamp that documents my progress. This is a fantastic tool for you to use as well, so be sure to consider it!
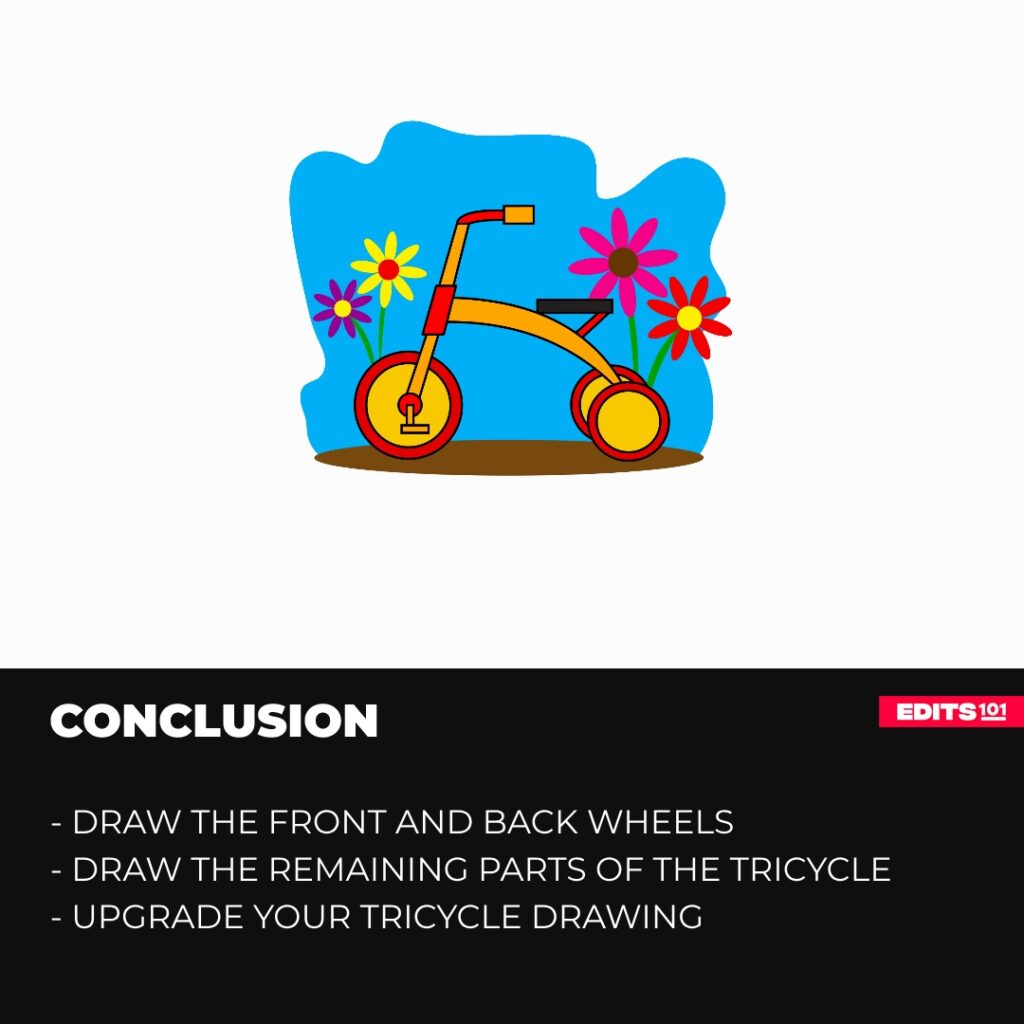
Conclusion
We have now reached the end of today’s lesson. If you completed all of the steps – background and color – plus a few bonus tips, then we’d like to commend you on your hard work! 👏
You started by creating the front wheel and back wheels. After that, you drew a handlebar to support the handle. Later, you added a handle on top of the handlebar and drw the main body plus the seat of the tricycle. Lastly, you drew the pedals.
We hope that you carry these techniques with you as you explore other drawing tutorials. From Edits101 to you, see you next time! 😊
Thanks for reading & feel free to check out more of our articles!
Author Rating
Overall Rating
Summary
This guide explains how to draw a tricycle in a simple and effective way.