How to Draw a Train | Easy Step-By-Step Tutorial
Are you ready to deliver? Today, we brought you another exciting drawing. We will draw a Train.
A train (from Old French trahiner, from Latin trahere, “to draw, to draw”) is a series of connected vehicles that travel along a railway line and carry people or cargo. Trains are typically pulled or pushed by locomotives (often known simply as “engines”), although some are self-propelled, such as multi-drive units. Trains are designed to a certain gauge or distance between rails. Most trains run on steel rails with steel wheels, whose low friction makes them more efficient than other forms of transportation.
What you will need
- A pencil
- An eraser
- A sheet of paper
- Coloring kit
- Ruler
- 30 minutes
How To Draw a Train
Grab your bags and go on a journey together. All you have to do is follow each step carefully. By doing that, you will have a fantastic Train within a few minutes.
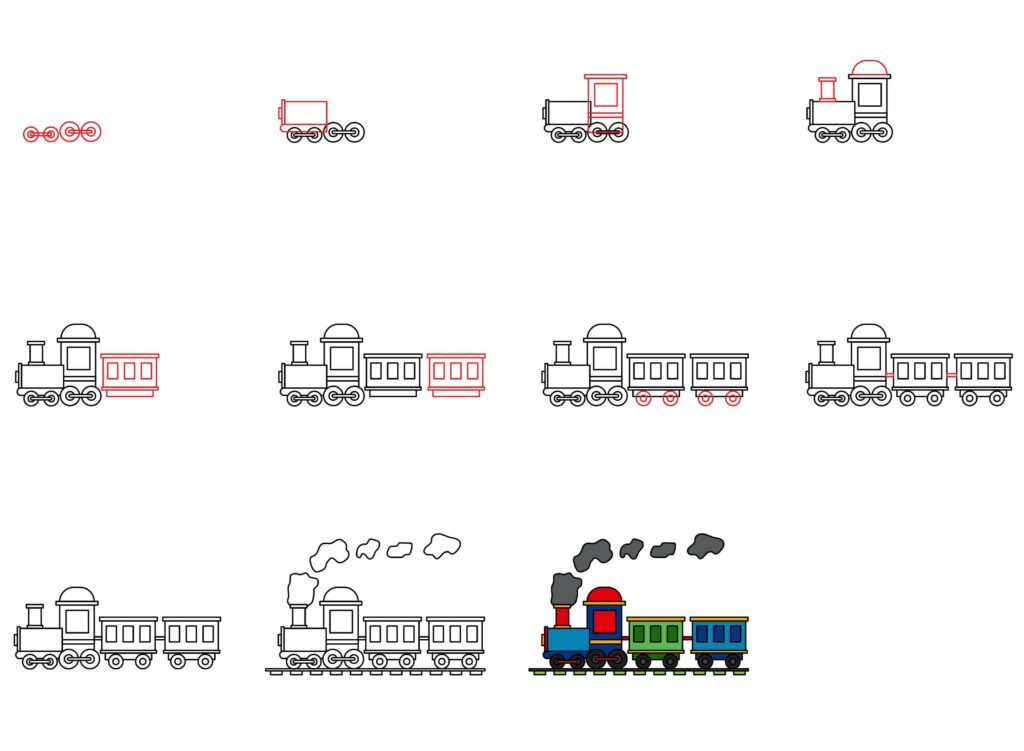
Step 1: Draw engine wheels
Trains are mostly made of steel, and so does their wheels. They are also made of heavy steel that gives the train its strength to carry tons of load and passengers from one destination to another at high speeds.
We will draw the car’s wheels to make the main body of our drawing. Draw 8 circles on both sides to make the train engine wheels.
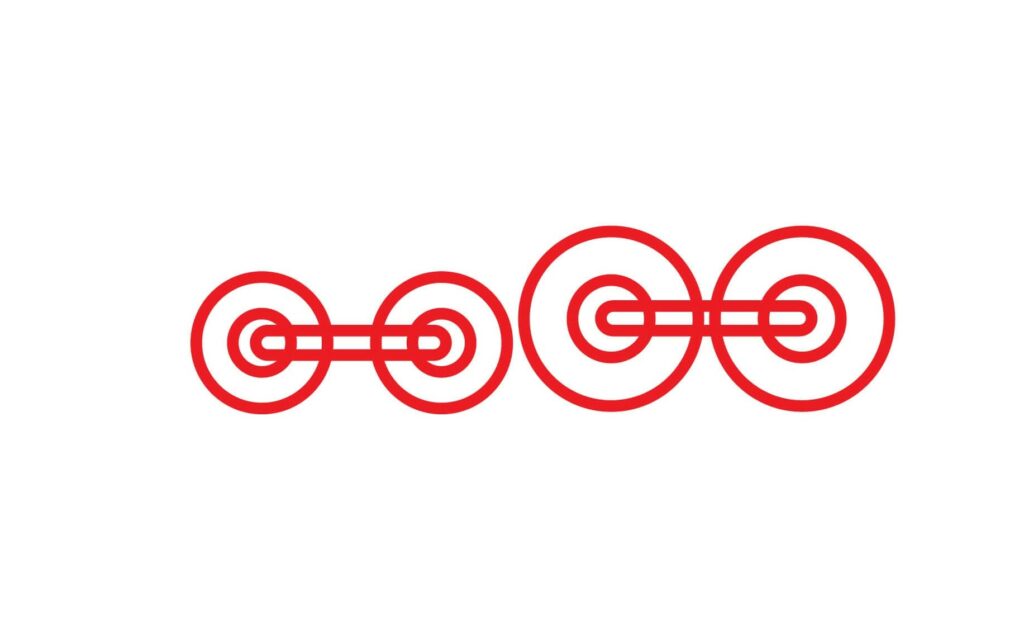
Young artists! This was an easy step, and the following steps are even more accessible. You’re doing a great job, and let’s complete it.
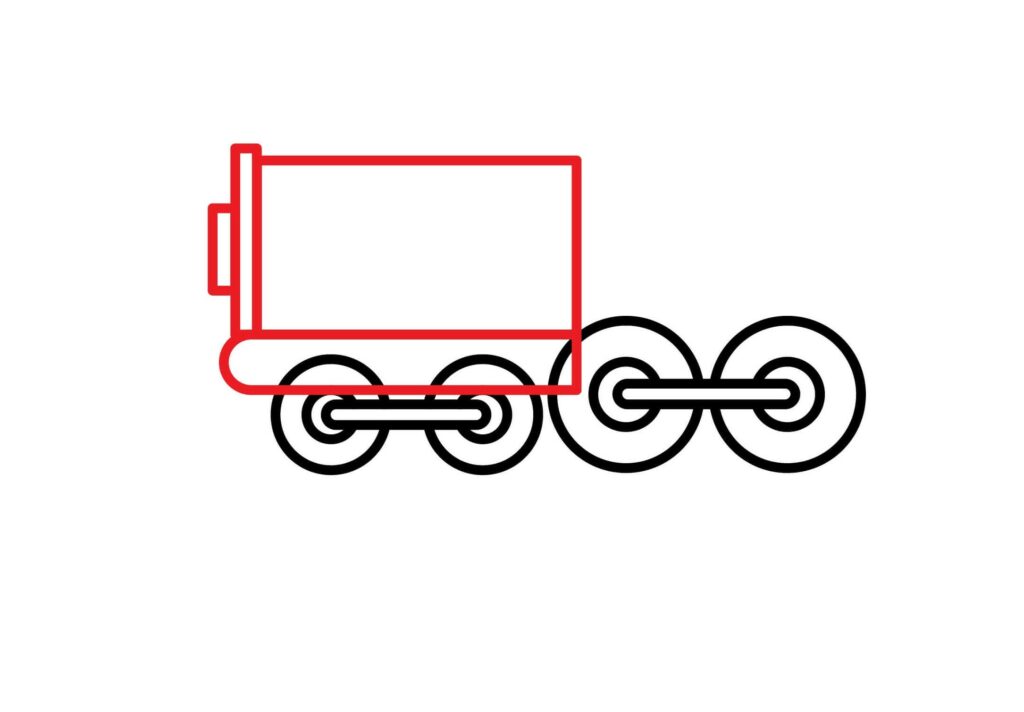
Step 2: Draw the head of the engine
With the invention of the steam locomotive in the UK in 1804, trains rapidly spread around the sector, allowing freight and passengers to move over land faster and inexpensively than ever viable earlier. Fast transit and trams were first built within the past due 1800s to transport big numbers of human beings in and around townsTo draw the front of the engine, Draw a horizontal rectangle and 2 vertical narrow lines and one side rounded rectangle under the first one to make the engine head.
Step 3: Draw the engine cabin
Towards the top of the 20th century, the multiplied focus of the blessings of trains for shipping led to a revival in their use and significance.
To create the Engine cabin, Draw a vertical rectangle and 2 horizontal narrow lines on the top and on in the middle for the engine cabin. And one rectangle with the cabin for the window.

Step 4: Draw smoker and cabin roof
A train has a chimney where the exhaust waste from the engine comes out. Old trains used to have steam engines, and they used to produce a lot of smoke. But nowadays, technology can also produce trains that work on electricity. Increased use of commuter rail has also been promoted to prevent visitor congestion on highways in city areas.
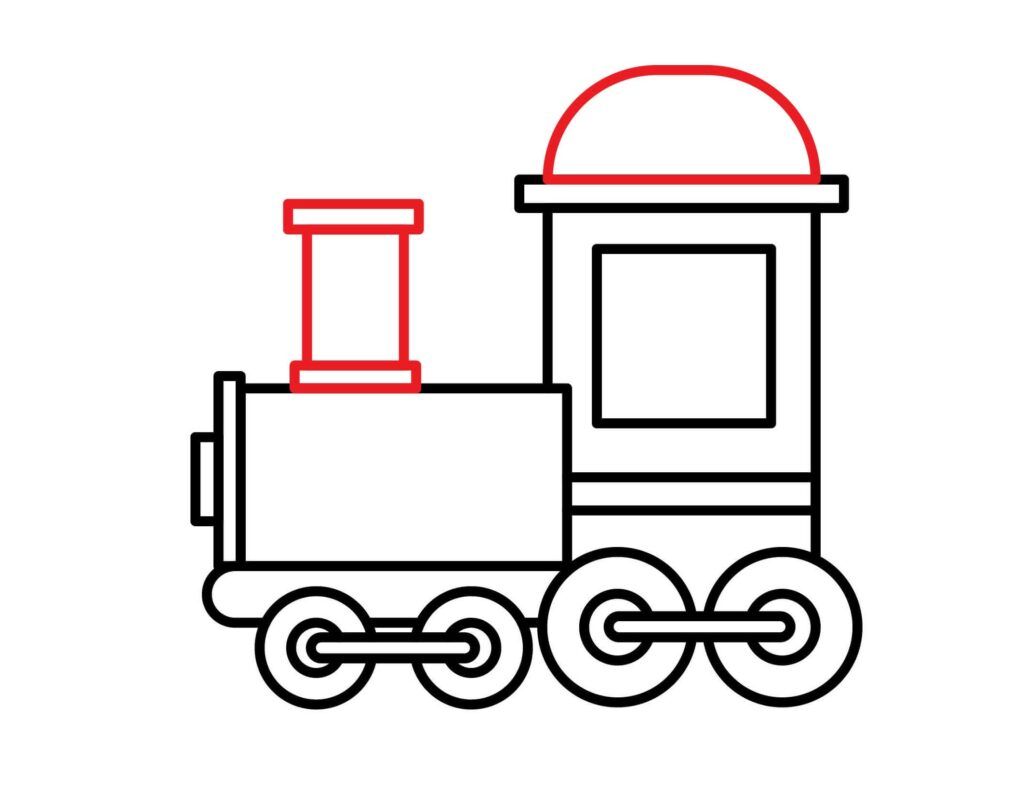
On top of the engine head, draw 2 narrow horizontal lines and one vertical rectangle for the smoker. On top of the cabin, draw a half circle to make the cabin roof.
Step 5: Draw the first passenger bogie
Bogies, also known in North America as trucks, support the wheels and axles of trains. Trucks range from just one axle to as many as four or more. Two-axle trucks are widely used worldwide, as they can handle curves and support heavy loads better than single-axle trucks.
To draw a bogie, you have to draw a horizontal rectangle, 2 narrow lines up and down, and one horizontal rectangle on the down end for the 1st passenger bogie.
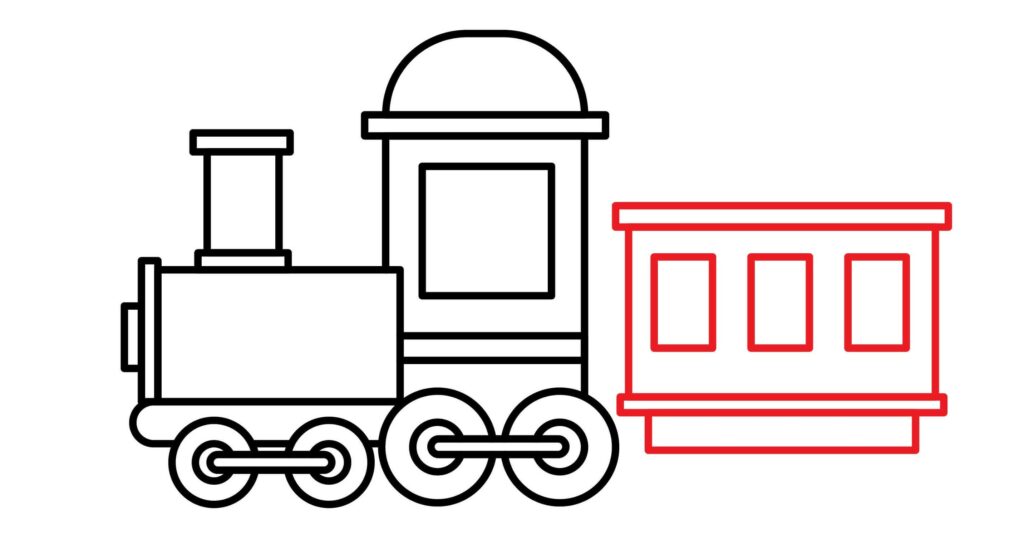
Draw 3 vertical rectangles in the middle of the bogie to make the windows.
Step 6: Draw second passenger bogie
Trains have multiple bogies to carry mass transit; therefore, we will also create additional bogies similar to the first one.
We will draw a horizontal rectangle and 2 narrow lines up and down the side and one horizontal rectangle on the down end for the 2nd passenger bogie.
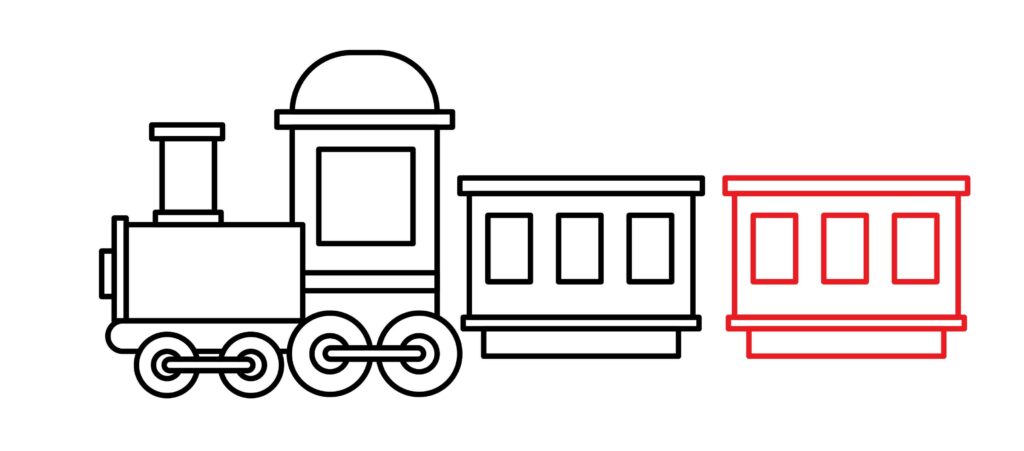
And draw 3 vertical rectangles in the middle of the bogie to make the windows.
Step 7: Add wheels on the bogies
Because trains are heavy, powerful brakes are needed to slow or stop trains, and because steel wheels on steel rails have relatively low friction, brakes must be distributed among as many wheels as possible. Early trains could only be stopped by manually applying hand brakes, requiring workers to ride on top of the cars and apply the brakes when the train went downhill. Hand brakes are still used to park cars and locomotives.
We will draw 4 circles on both sides below the 2 bogies to make the bogies wheels.
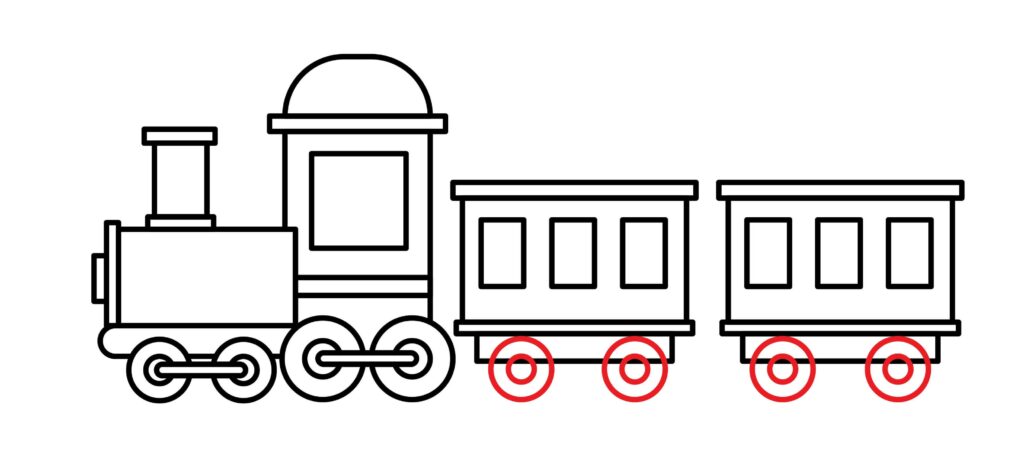
When making the wheels, ensure the above half of the wheel overlaps the train and the center part is connected right below the body.
Step 8: Connect the bogies
Train vehicles are linked to one another by various systems of coupling. In much of Europe, India, and South America, trains primarily use buffers and chain couplers, while knuckle couplers are used worldwide.
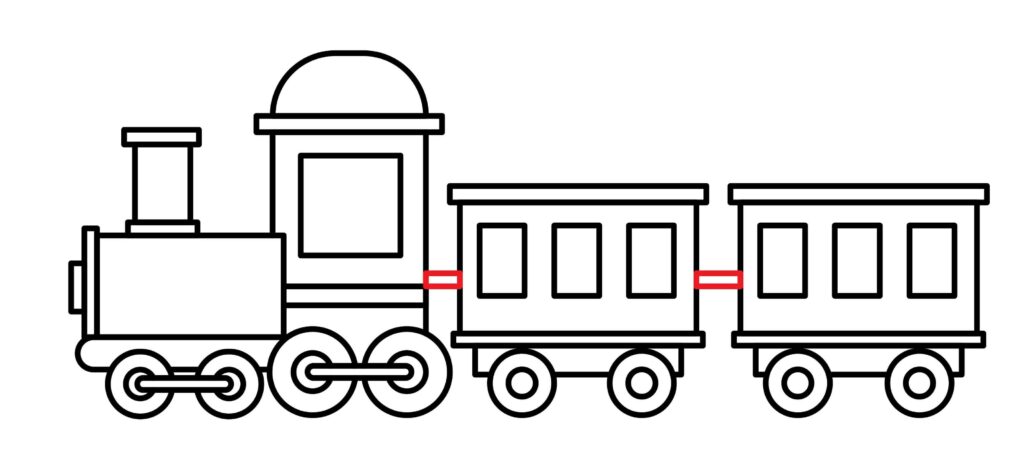
We will draw 2 narrow lines in the middle of the bogies and engine to connect them.
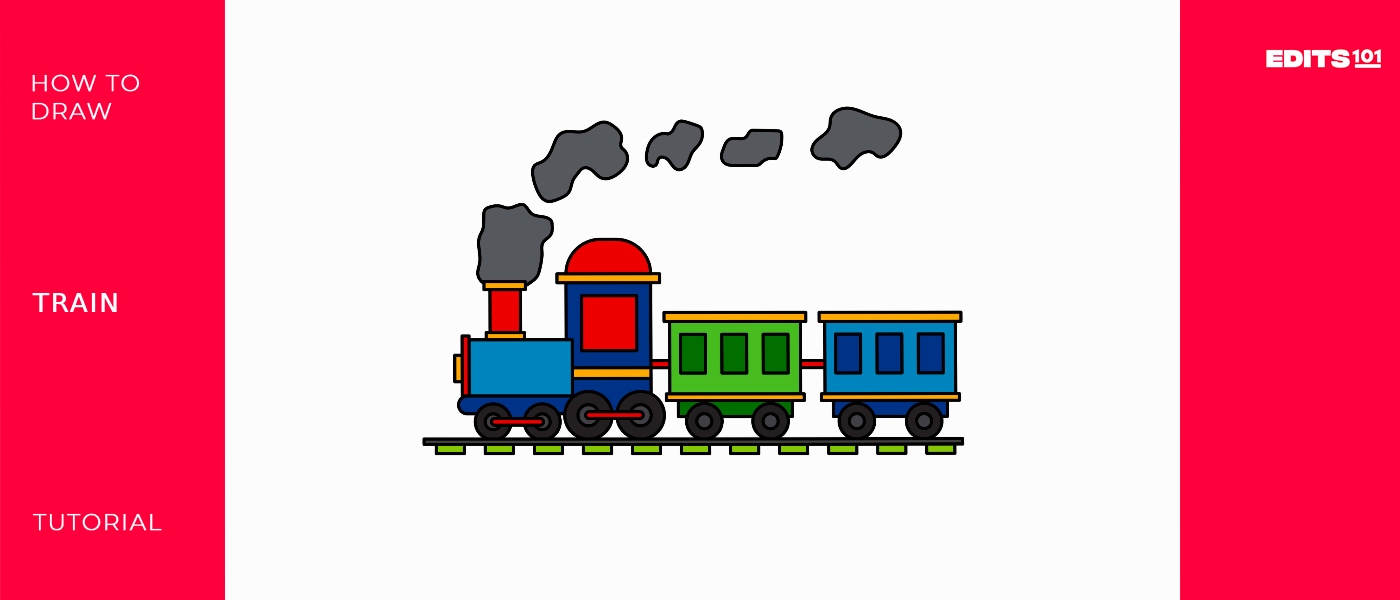
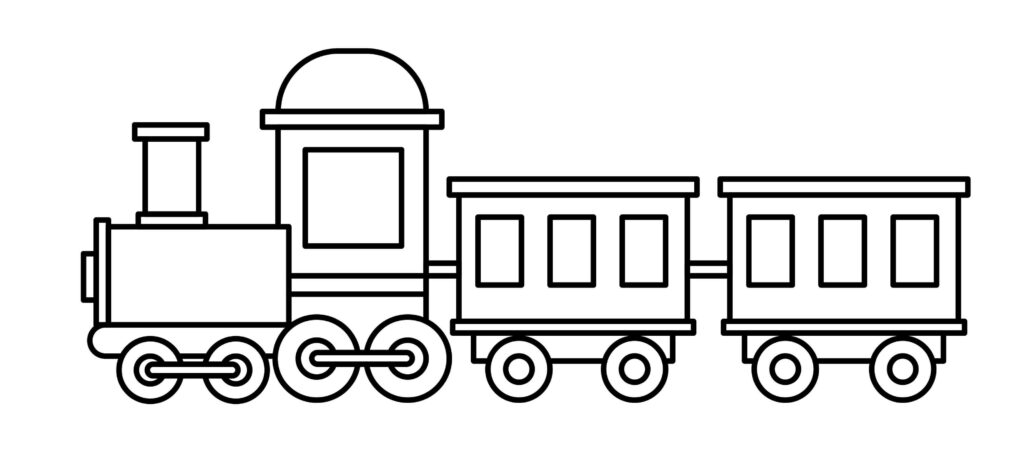
Step 9: The Train is ready
Congratulations! The train is ready to take you on a beautiful journey. You did a wonderful job. We are sure you followed each step and made your Train correctly. To make the drawing more prominent, we will outline it using a marker. After outlining, we will erase the pencil for a neat look.
Hey, wait! The real fun is about to begin. We are about to upgrade our drawing and make it look more realistic. Are you ready to unfold your imagination and creativity to make your drawing professional?
Taking yourTrain drawing to the next level
Let me tell you, there is no limit to your imagination. Once you use it effectively, you can achieve anything. Similarly, by using your creativity, you can make your drawing advanced. Let your thoughts run wild and create something awesome for your drawing.
Doing this will make you feel more confident and willing to draw more things. This section is all about creativity and experiments. We’ll add different things to our drawing.
Adding background to your drawing
A drawing’s background is essential for creating context, depth, atmosphere, and narrative. It enhances the composition, supports the subject, and adds to the artwork’s impact and significance.
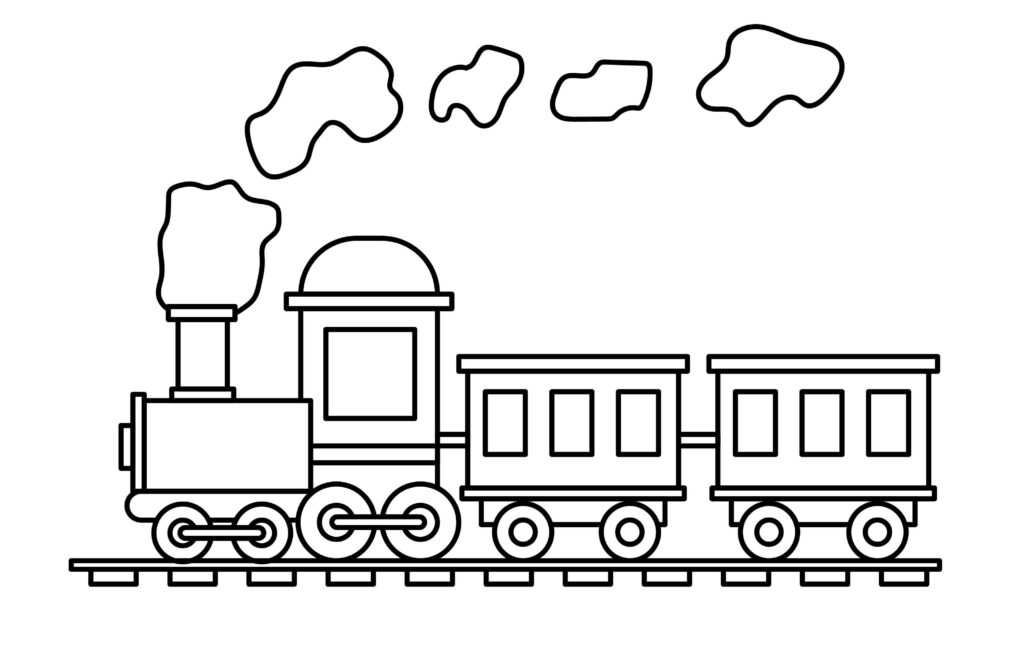
You can add the path below the train, like the image, as a background and create the clouds from the chimney to create the smoke effect from the train.
Adding colors to your drawing
Color in images is essential because it can evoke emotions, convey meaning, and create atmosphere. It transforms flat lines into lively, dynamic compositions, giving new life to a work of art. The color scheme you choose can affect your mood. Bright colors can give an impression of lightness, while cool colors can inspire relaxation or sadness. In addition, colors help define shape and depth so objects can be moved forward or backward. It creates a harmony or contrast that attracts the viewer’s eye and affects the overall visual effect.
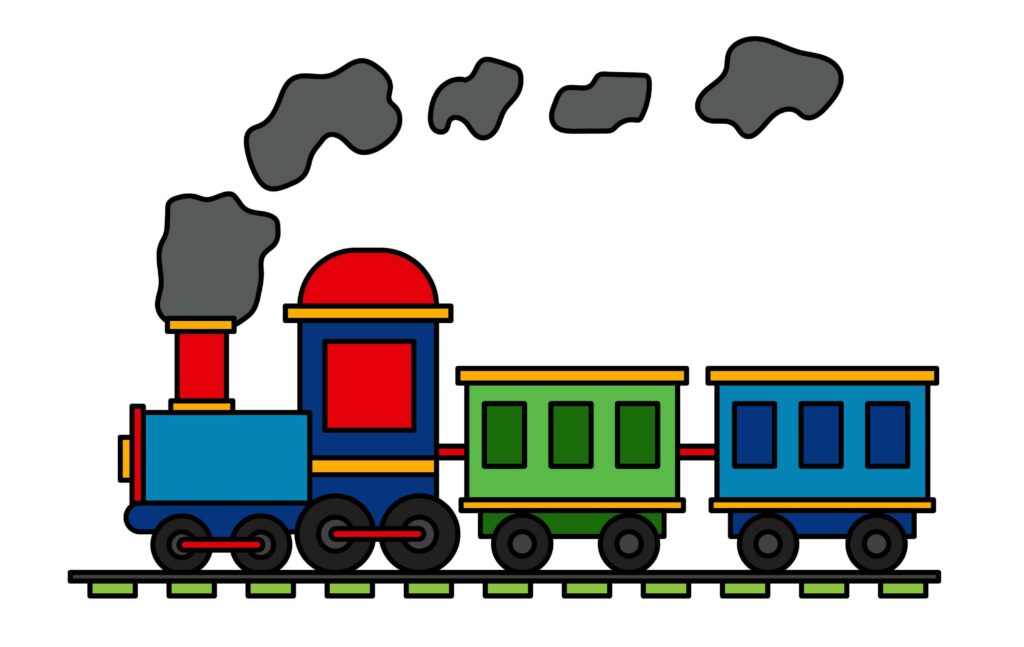
Let’s add some life to the train and the background by playing with our creativity in colors. There is no hard and fast rule for coloring. You can add color to whatever suits your mood. But few things will be colored as they are in real life, like dark grey smoke. Remember, it’s your Train, so you can make it as colorful as you like!
P.S. Bonus Tips
Our train is completed, and we’re sure you enjoyed it as much as we did. As mentioned earlier, there’s no limit to one’s creativity. The drawing can be upgraded in any way. We added background and colors, but there’s more you can do.
You can add some trees on the side or mountains in the background, adding to a great-looking picture.
Hey, champs! These are just a few ideas for your drawing. Don’t limit yourself to these ideas only. Use your creativity and give your drawing a new look. You can use your imagination in this part to be creative.
Conclusion
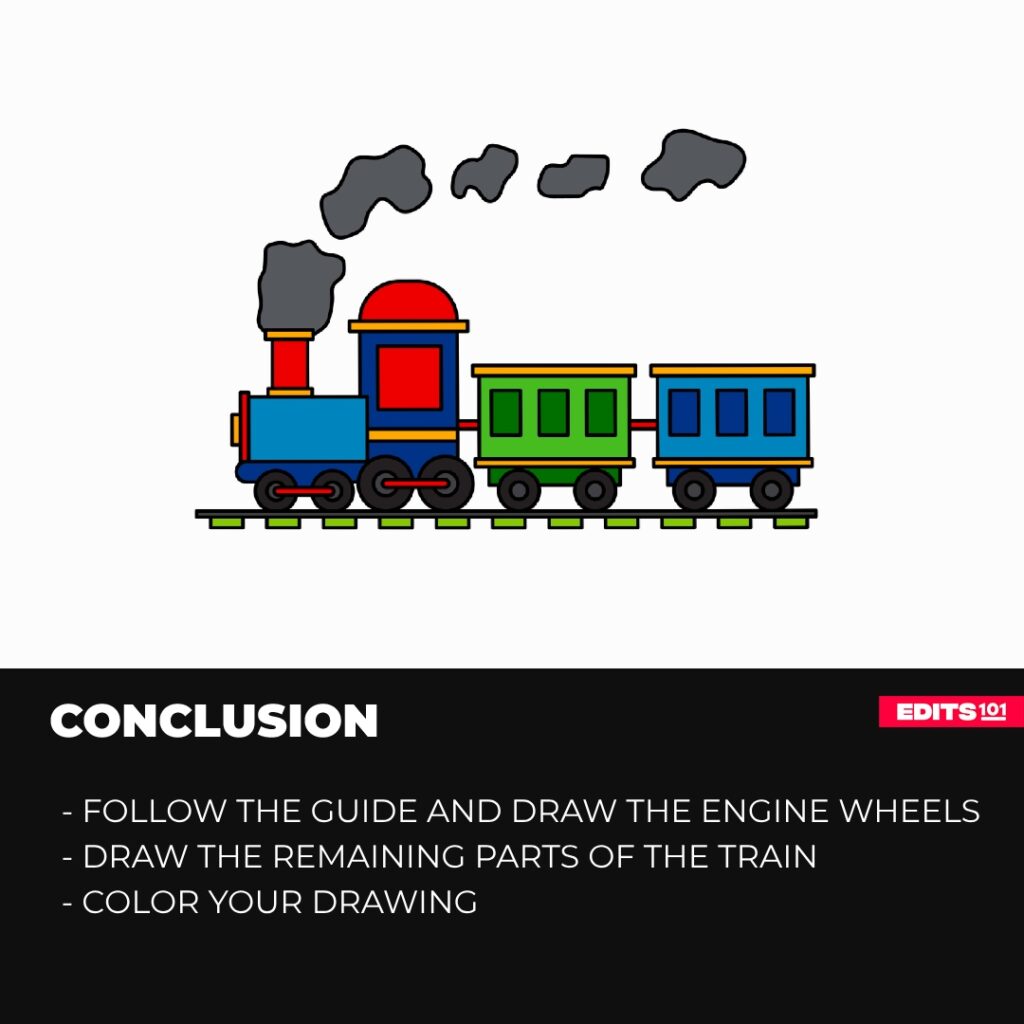
That’s it! Our picture is now completely ready. It was a fun and easy process. We are sure you have followed every step without skipping a beat and created a fantastic picture. We started by making the engine wheels, the engine head, the engine cabin, the smoker, and the roof of the cabin; the two bogies added the wheels to the bogie and then attached them to the engine.
Thanks for reading & feel free to check out more of our articles!
Author Rating
Overall Rating
Summary
This guide explains how to draw a convincing train. You will also learn a few interesting facts about this vehicle.