Adding Borders and Frames in Affinity Photo iPad | Easy Steps
Adding borders and frames in Affinity Photo for iPad to photos can give them a more polished, finished look. It makes it easy to add borders and frames of all shapes and sizes, with a wide variety of customization options.
We’ll show you how to add borders and frames to your photos with shape tools such as the Elliptical Marquee, Shape Tool & More. Then, let’s delve deep into using custom frames and borders, as well as custom effects.
We’ll also show you some tips and tricks for getting the most out of your image!
What are borders and frames in Affinity Photo iPad?
Borders and frames are graphical elements that can be added to photos to give them a more finished, polished look. Borders can be solid or dashed lines, while frames can be solid or outlined shapes. Affinity Photo for iPad offers a wide variety of border and frame options, making it easy to find the perfect way to style your photos.
Borders are a great way to add a simple, yet effective, design element to your photos. They can be used to highlight a particular area of the photo or to draw attention to the overall composition.
Frames are more versatile than borders and can be used for both aesthetic and functional purposes. For example, frames can be used to crop a photo or to create a vignette effect.
Let’s look at how to add a border to your photos in Affinity Photo for iPad.
How to add a border in Affinity Photo for iPad
There are multiple ways to adding a border:
- Using the Shape Tool
- Drawing Custom Frame – Using a Selection tool
- Effects Panel – Create an outline
Adding borders & custom Shapes – Step by Step
Step 1:
To use the Shape tool, select it from the toolbar and then use your finger to draw a shape around the edge of the photo.
You can also tap on the “Options” button in the toolbar to adjust the thickness, color, and other properties of the shape.
After Drawing the Shape, make sure that the shape is below your image (so we could clip it)
Step 2:
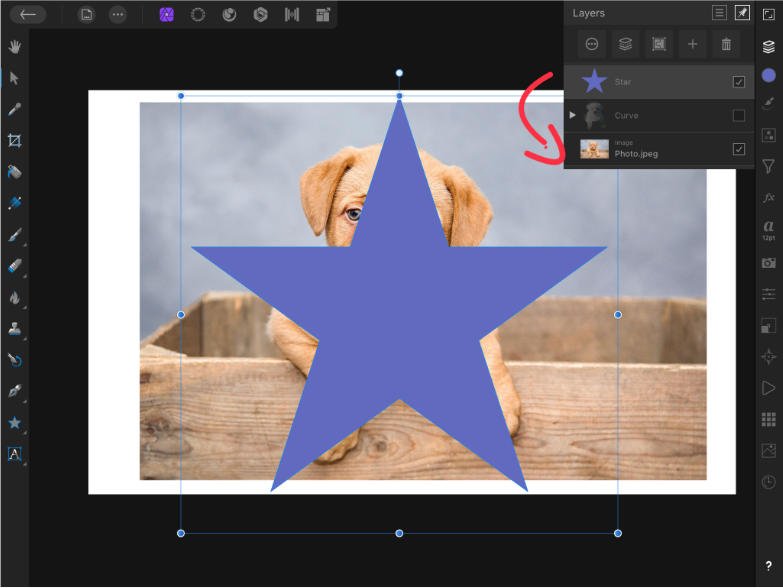
Now select a shape and this example is about using a star, but you can use any shape you want.
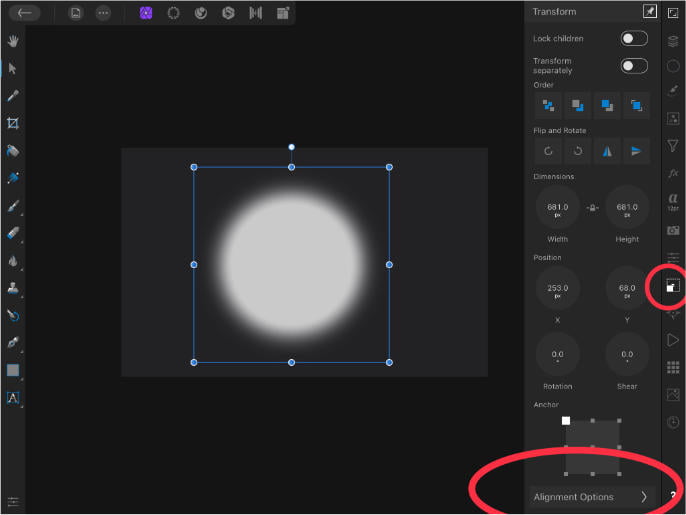
Next, you have to adjust the size of the shape layer and the image to be the same. To do that task select the image layer, select the move tool/transform panel and adjust accordingly.
Drag the image layer onto the shape layer until a blue line appears. This will clip the image to the shape (In-depth tutorial as follows).
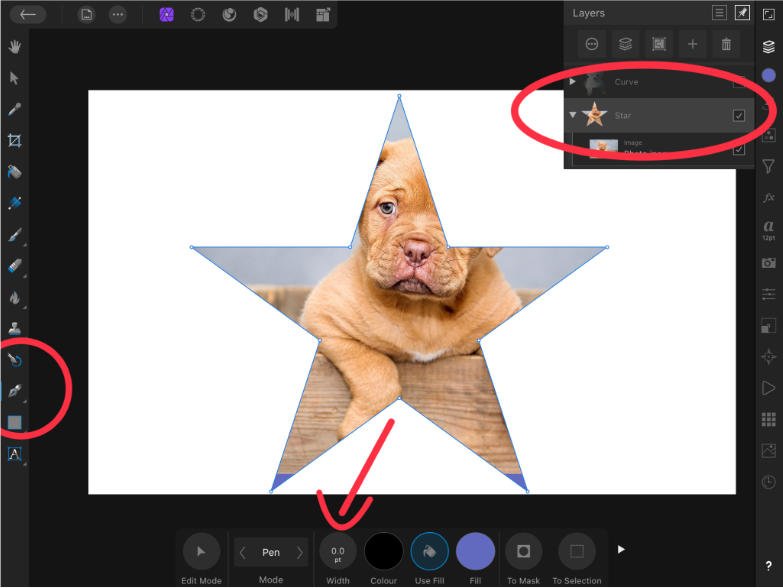
Step 3:
Next, select the shape layer & select the pen tool. Increase the width of the star and add any colour you want. This will add a border.
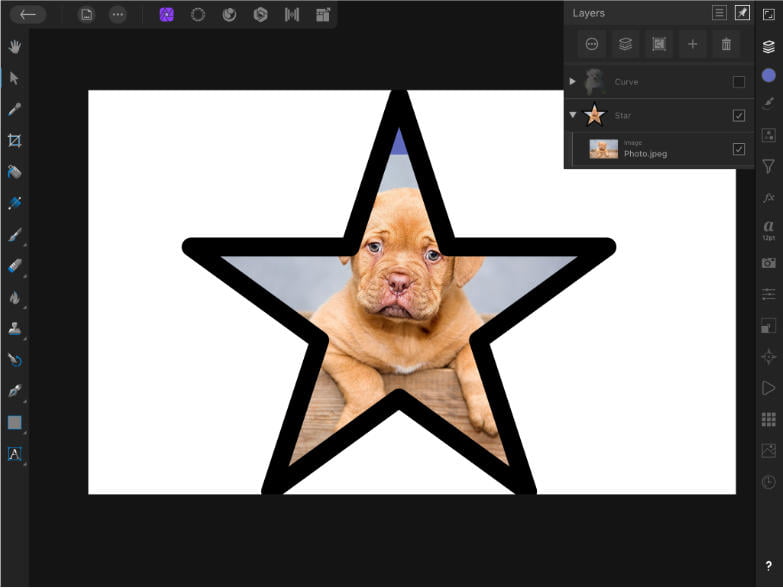
Step 4:
Choose the Move tool and place the image within the shape layer precisely, and you’re done!
Draw custom frame in Affinity Photo for iPad
You may wish to create a frame from scratch to complement your photo. Custom frames can be drawn using any selection tool of your liking.
Step 1:
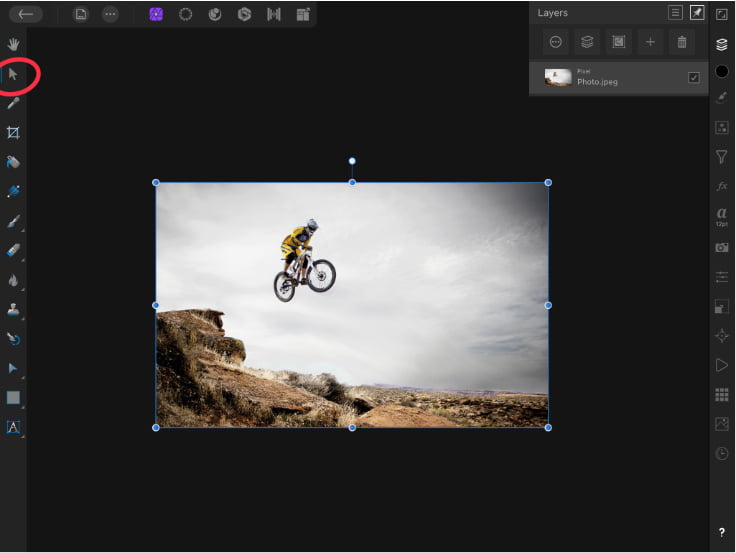
Let’s open up the image & select the layer by using the move tool (looks like a cursor).
Step 2:
Now scale the image from the centre. To do so it’s quite simple:
- With the move tool selected, Click & Drag the image from the the corners.
- While clicking & dragging – press with two fingers on the screen to constrain proportion.
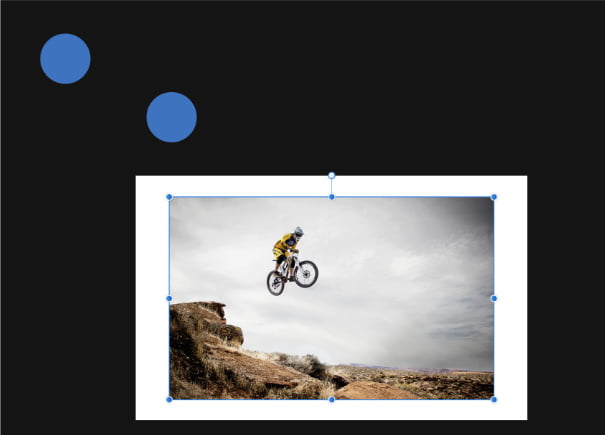
Scale the image as much as you’d like the border to be!
Step 3:
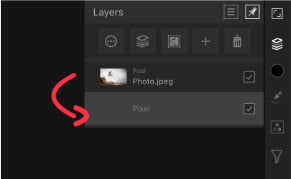
Add a new layer below the current image layer.
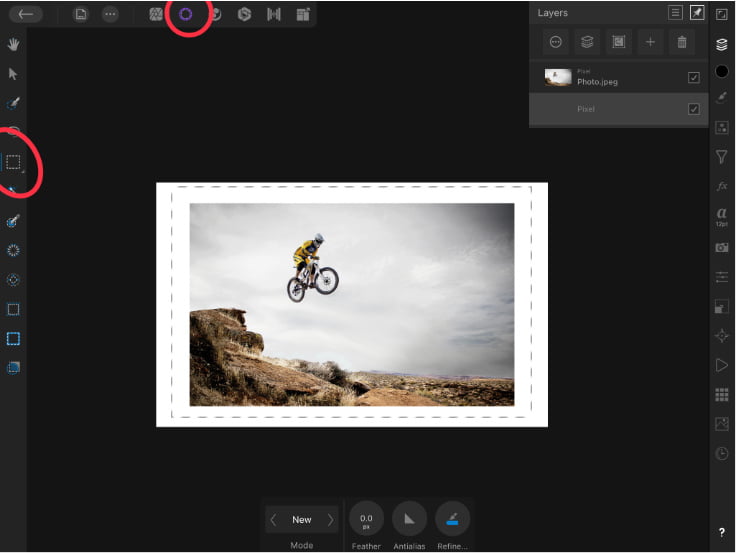
Step 4:
Open the selection persona and make a selection around the image.
Step 5:
With the selection still active, fill the pixel layer with a colour of your choice.
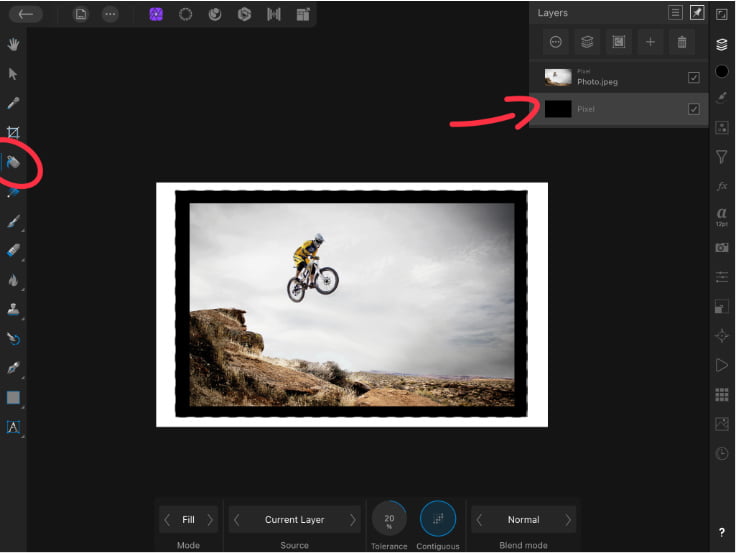
Feel free to align everything to canvas using the alignment panel.
Add an image/Texture as a Border/Frame in Affinity Photo for iPad
Let’s continue on the previous example. Let’s say we’d like to add an image/texture to the border we’ve created.
Step 1:
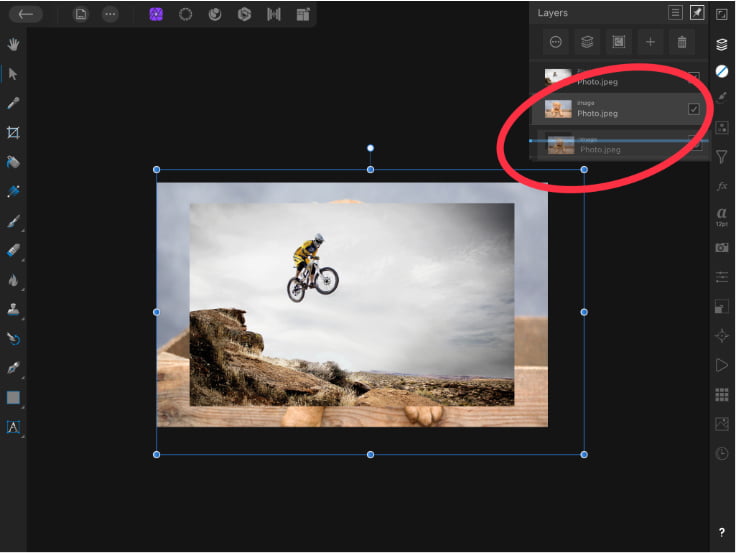
Add an image (click the 3 dots top left) & drag it on to the canvas. Drag the newly added image on the border layer. This creates a clipping mask (the image clips to the border).
Step 2:
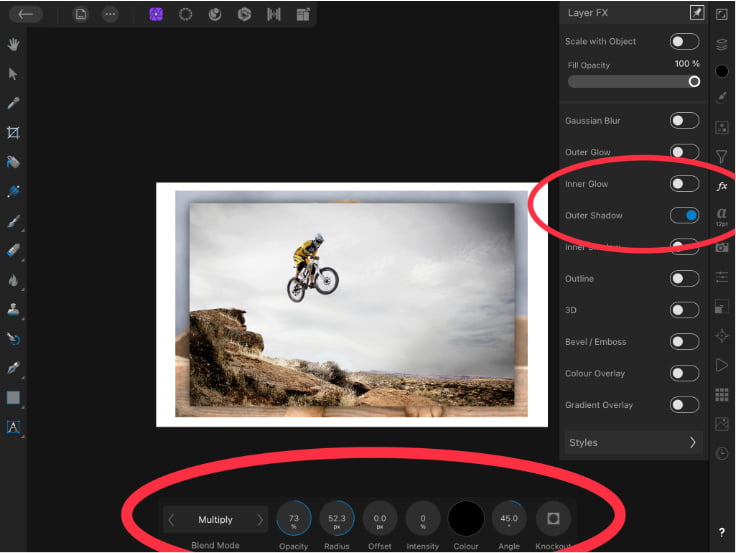
Now lets add a some effects to the main image (so it doesn’t look flat). Select Main image layer. In the Effects panel (FX) icon & select outer shadow.
At the bottom, play around with the radius & opacity to add a nice drop shadow on the newly added frame.
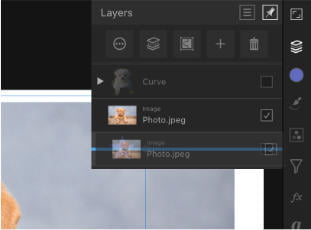
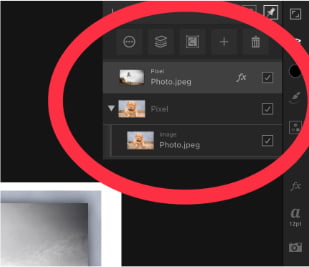
This is how the layers panel look.
Border filters in Affinity Photo for iPad
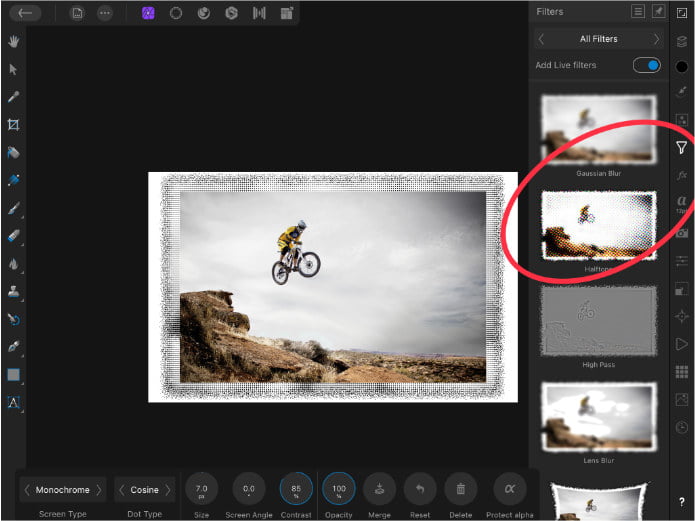
Let’s use border effects using the Filters Panel. Select the border layer & add any of the filters. You can add them as live filters so they aren’t destructible (meaning you could go back and edit them).
You can also change the border effect from the Halftone Filter. You have several border effects such as Diffuse, Line, Circular, Colour, Pixelate, Ripple, Twirl, and much more!
Using Effects as borders in Affinity Photo for iPad (FX Panel)
First add the image and select it from the layers panel. Choose the Layer FX option from the right-hand side and tap on the Outline option to add the border to the image.
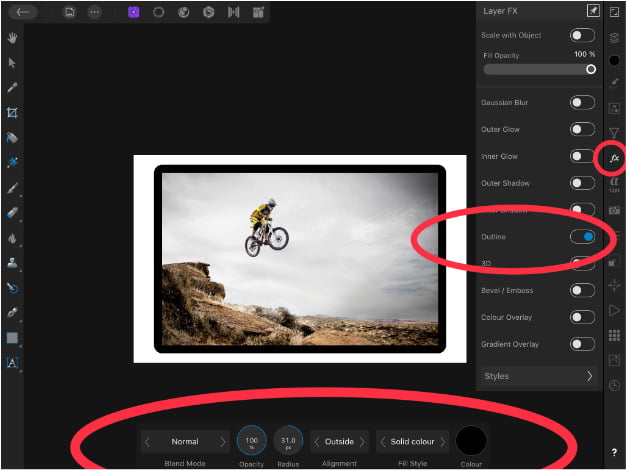
You could adjust the following options:
- Blend mode – To see how the border will interact with the background. (Learn More about blending modes here.
- Opacity – Can be used to make the border more or less visible.
- Radius – To change the thickness of the border.
- Alignment – Choose an alignment as per your requirement.
- Fill Style – To select whether the border should be solid, gradient or hatch.
- Color – Use the color option to use the color wheel to change the color to the desired view.
After customizing the border, hit the check mark to save it.
After finishing, feel free to crop out what you do not need! If you’d like to simply export the layers, group the image & the border. To export, open up the export persona. We’ve got a tutorial for that too 🙂
Author Rating
Overall Rating
Summary
Adding a border(whilst a simple technique), requires multiple techniques to achieve it. For a beginner it might seem daunting, however, if you follow step-by-step , it is quite easy & scalable (when needed).
Useful Links
Conclusion
We hope this blog post has given you some helpful tips for adding borders and frames to your photos.
We discussed how to add and customize borders, using shapes as borders and drawing custom frames as well as using border effects to create top notch photos.
Thanks for reading & feel free to check out more of our articles!