
Image resizing is an essential skill every designer should have. While there are countless tools available for this task, Photopea offers a fast and easy solution ideal for simple and complex photo edits.
In this guide, we will teach you how to resize an image in Photopea without losing quality. We’ll walk you through the best techniques to ensure that your visuals stay sharp and clean every time.
Scaling, Cropping, and Resizing – What’s the Difference?
Resizing an image means changing the dimensions of an image (making it smaller or bigger) without altering the original content. Since it’s easy to confuse these terms, let’s break them up for you.
What is Scaling?
Scaling is basically shrinking or stretching an image to fit a different size than the original. When working with raster images (such as PNG and JPEG), it is important to note that scaling doesn’t simply adjust the resolution but modifies the existing pixels. As a result, excessive scaling will cause an image to appear blurry or pixelated.
How about Cropping?
Cropping involves the removal of unwanted areas from an image. It’s typically used to improve framing, changing the aspect ratio and to set focus. It doens’t stretch or compress an image, it simply cuts out parts of it.
And Resizing?
Resizing is more technical, as it changes the actual pixel data inan image. To reduce the size of a photo, extra pixels are discarded. To enlarge an image, new pixel information has to be generated by the software.
How to Manually Resize an Image in Photopea
Resizing an image in Photopea starts by cretaing a new layer and setting the dimensions yourself.
Step 1: When you open Photopea, you need to create a new project. Here are the steps you should follow:
- Press File from the top panel then select New.
- If you are using Windows, you can simply hold the ‘Alt + Ctrl + N’ to open a new project.
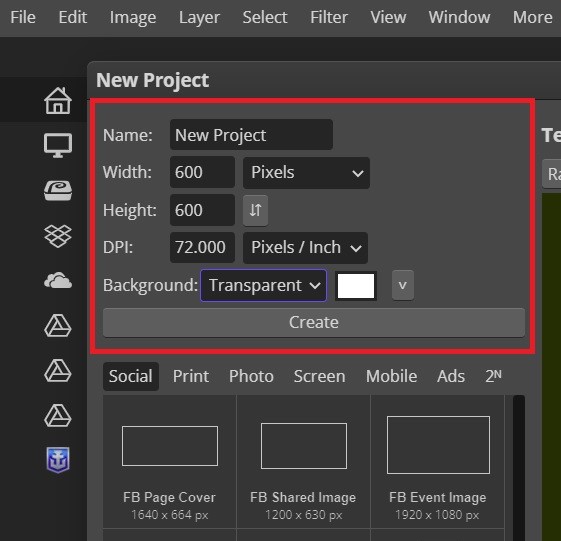
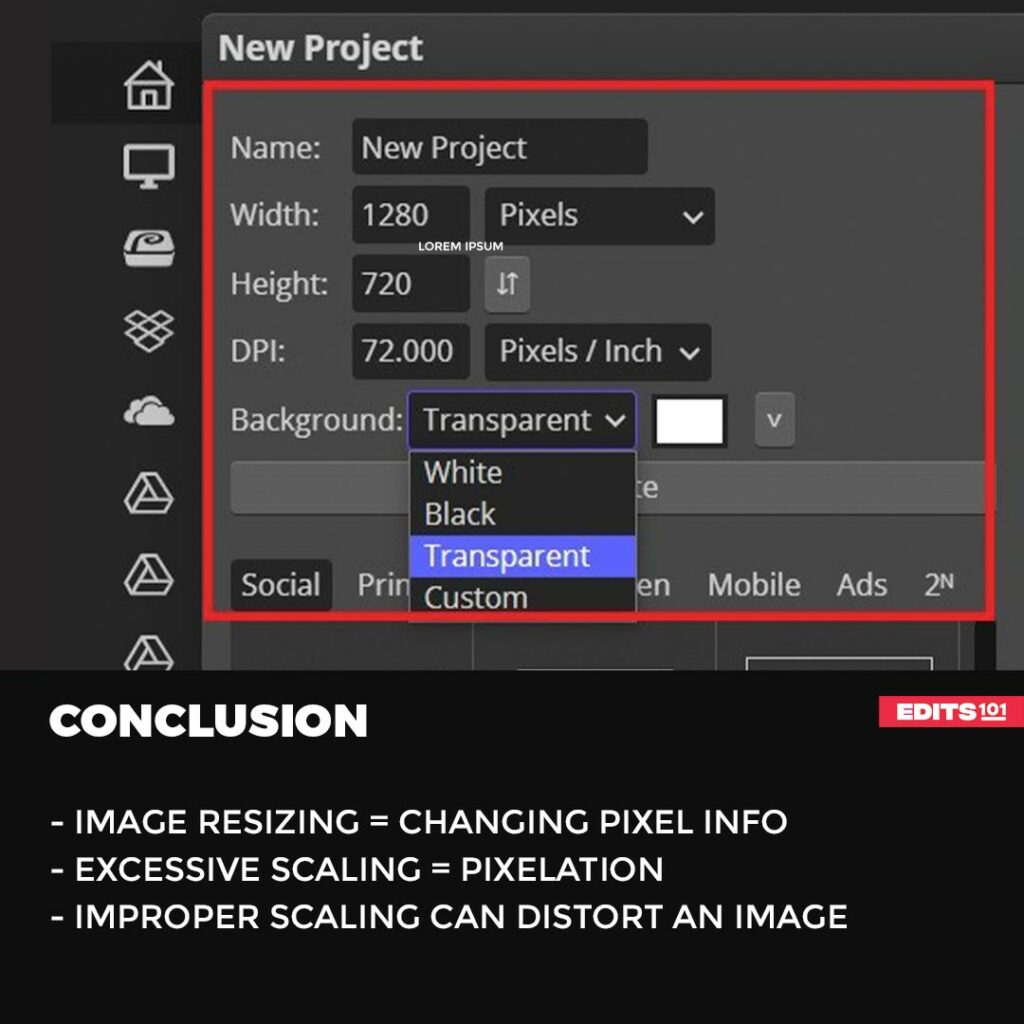
- When the new window pops up, do not click on Create just yet. You need to change the width and height parameters to the size of the image you want.
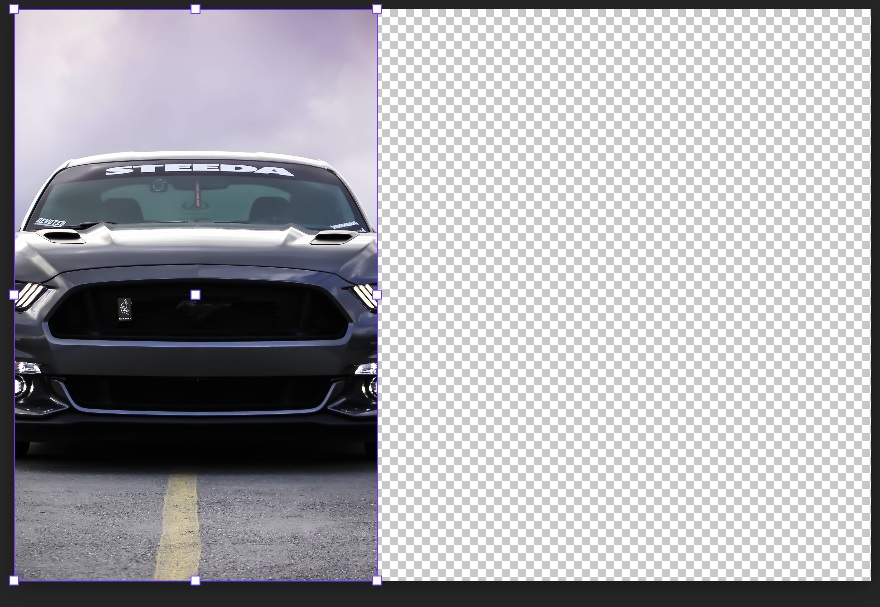
- You then have to change the background to Transparent then click Create to load the layer.

Step 2: You now need to open the image you want. Follow these simple steps
- Go to File then click Open.
- Alternatively, you can simply press ‘Ctrl/Cmd + O’.
- Select the image you want and click Open.
- The image will load in a new tab.
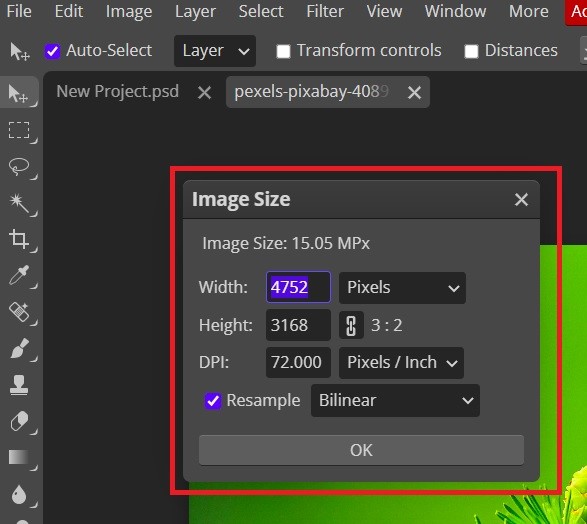
Step 3: From the tab with the image, go to Image and select Image Size.

The popup window will show you the available modification options. Depending on what you want, you can either increase or decrease the width or height to achieve the desired image size then click OK.
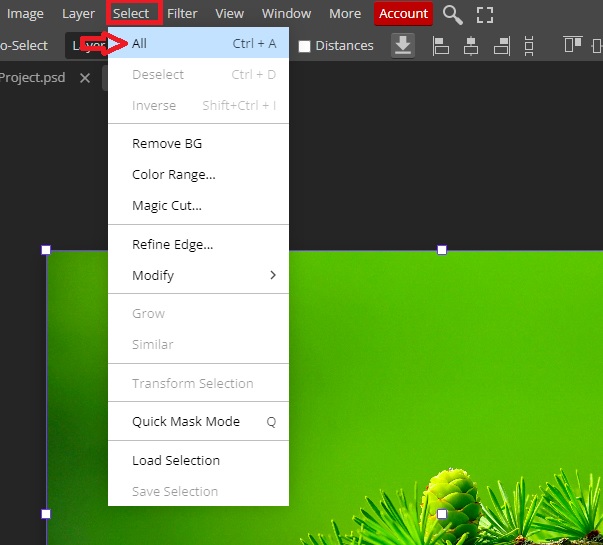
Step 4: You need to select the image so that you can move it to the tab with the transparent layer. To do so, go to the top panel and click Select then click on All.
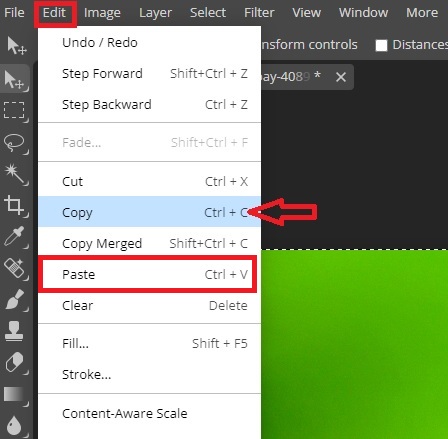
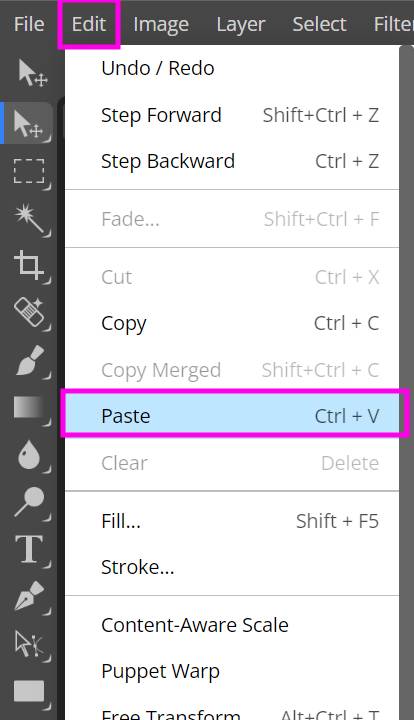
Go back to the top panel and press Edit and click Copy. Once that is done, move to the first tab, select Edit, and then click Paste.
The alternative is to use the Move Tool to drag the image from the image tab to the tab with the transparent layer.
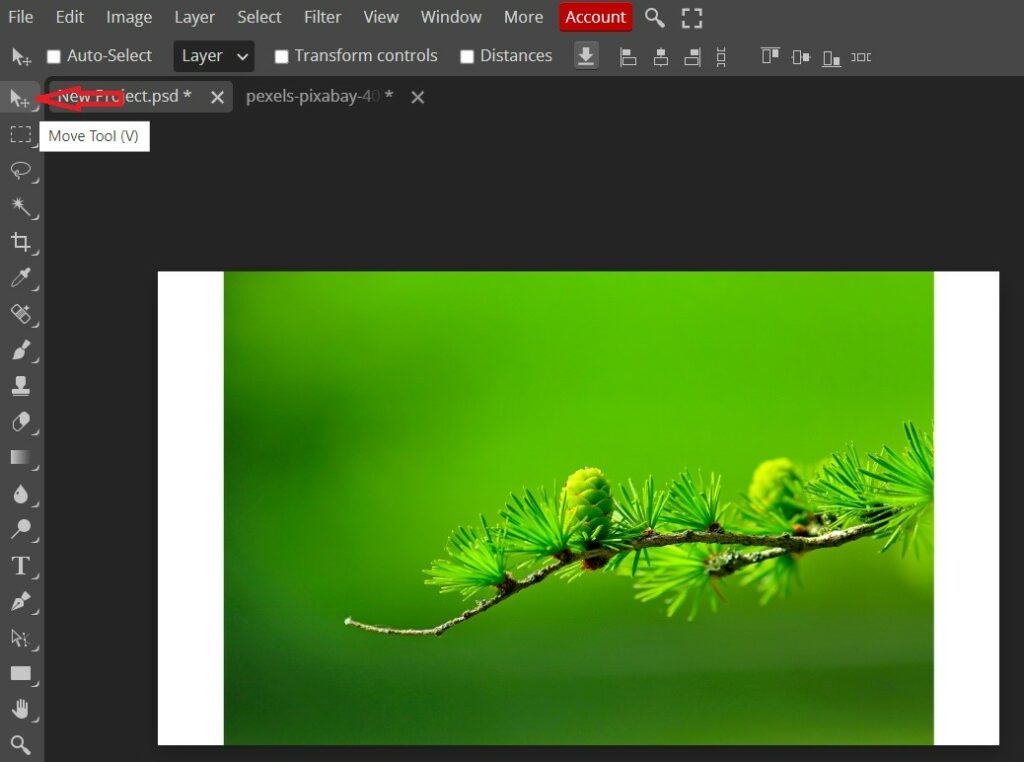
Step 5: After pasting the image on the first tab, select the Move tool and use it to align the image accordingly.
Once you align the image successfully, proceed to the last process, exporting the image. Go to File then hover your mouse over Export As. Photopea offers various export options.
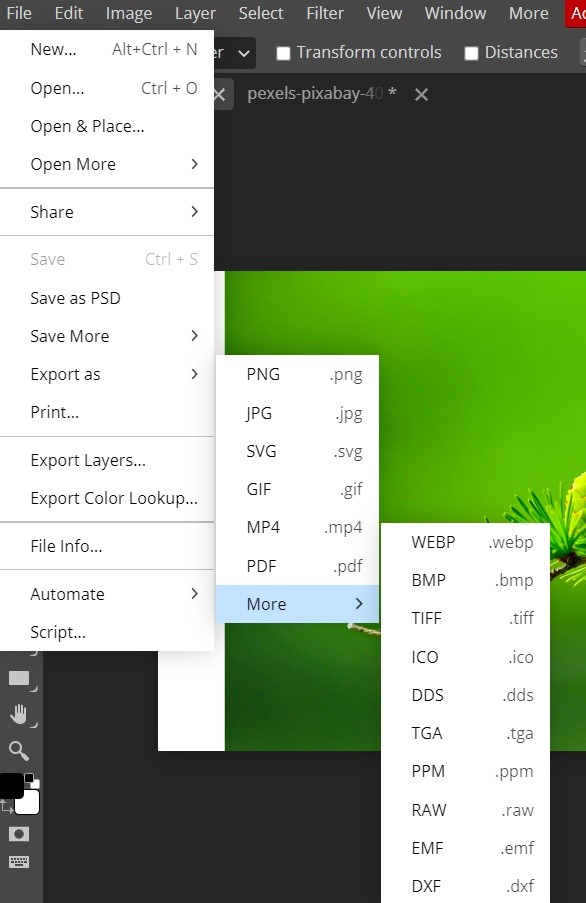
Your first idea may be to export the image as a JPG because it compresses the file and reduces size. The issue with this is that the JPG file format doesn’t support transparency. Thus, the transparent parts will turn black once the image is exported.
To preserve the image quality and keep it clean, we recommend exporting the image as a PNG. This is because it preserves transparency and maintains higher image quality.
How to Resize an Image to a Specific Size in Photopea
Sometimes, you may need is to resize an image to be exactly a certain size, like 600×600 pixels, when creating content for social media platforms or specific websites.
The tricky part is that most images are not perfect squares and when they are, the dimensions may be too small or too large.
Not to worry, resizing to a specific Photopea to a specific size is relatively straightforward and similar to the steps covered above.
Step 1: Start by creating a new project with the exact height and width you want your image to be.
(There is no need to set the background as transparent. A white background is ideal when trying to center an image or to make the image a perfect square.)
Step 2: Open up the image you wish to resize by clicking on File and then Open. The image will open in a new tab.
Step 3: Once the image is loaded, go to Edit and select Copy.
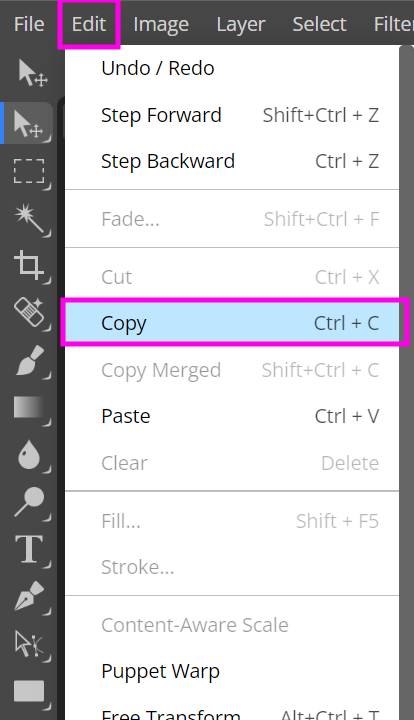
Move to the empty tab, select Edit, and click Paste.
Just like before, you can use the Move Tool to drag the image to the first tab.
Step 4: The image will be bigger than the document you created. You will therefore have to scale it down or up to make it fit.
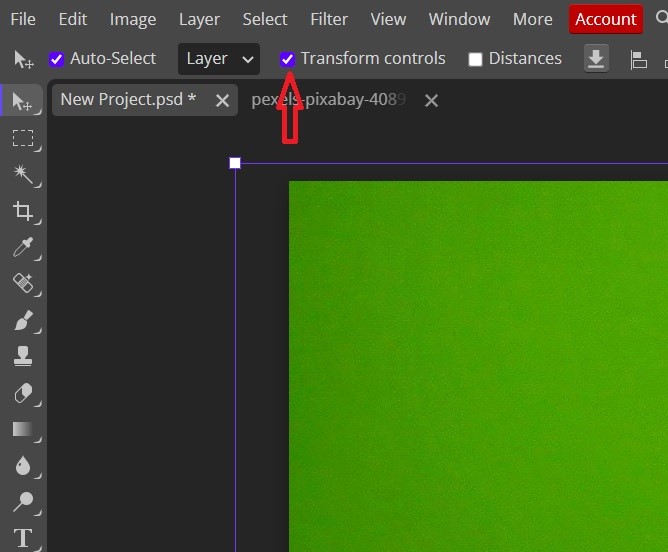
To do this, start by ticking the button next to Transform Controls. This will allow you to view the dimensions of the image and the control points.
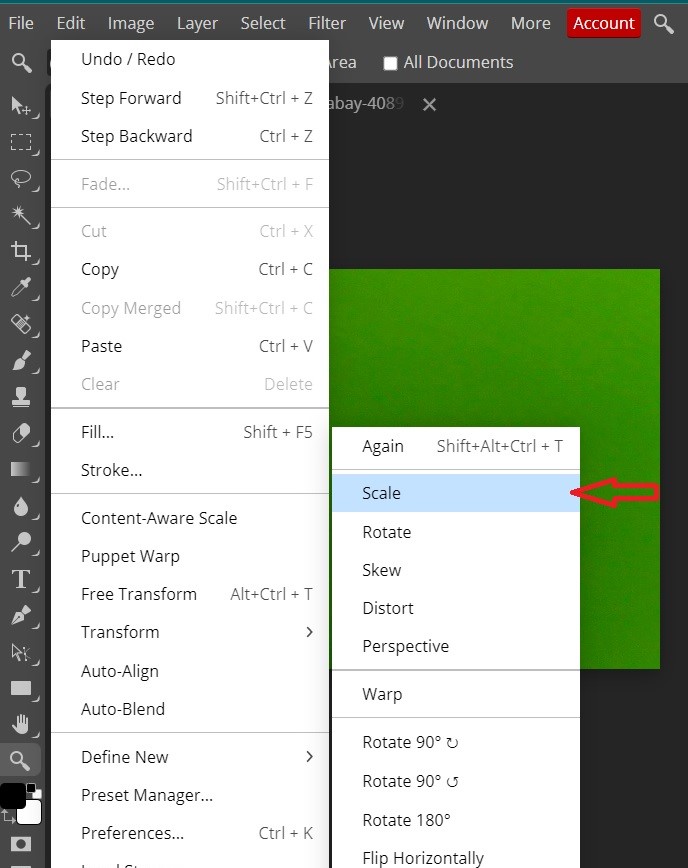
Alternatively, you can go to Edit from the top panel then move down to Transform and select Scale.
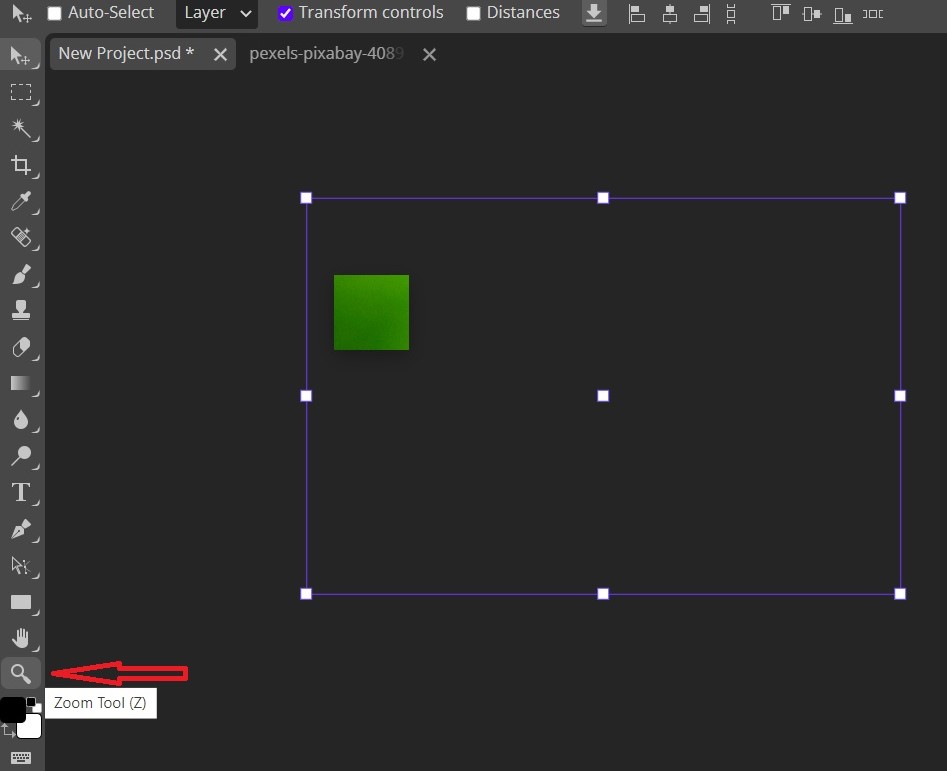
Step 5: To resize the image, you have to zoom out so you can see the entire canvas and the image edges clearly.
You can do this by selecting the Zoom Tool from the toolbar or by using these keyboard shortcuts:
- Zoom out by holding the Ctrl or Cmd key and then hitting the Minus key on the keyboard.
- Zoom in by holding the Ctrl or Cmd key then hitting the Plus key on your keyboard.
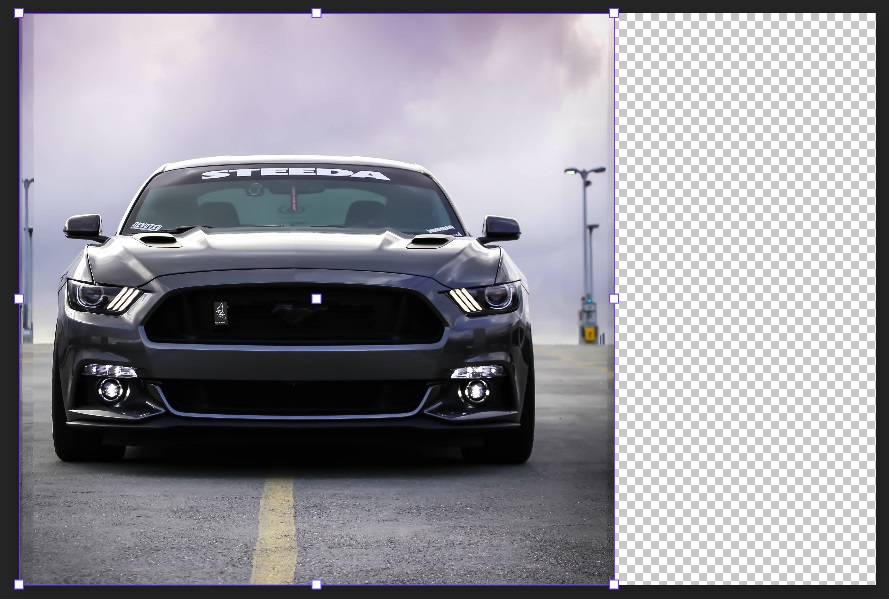
Step 6: Now that you can see the image and its control points, click and drag one of the corner handles inwards to scale the image proportionally.
With the Transform Controls active, you will still be able to see the image even if it falls outside canvas. Use the Move Tool to reposition the image inside the canvas and fine-tune until it fits nicely within the dimensions set earlier.

If the picture is not a perfect square, it will completely fill the canvas. In that case, you’ve got two options:
Option 1: Crop and Export As-Is
If you don’t mind trimming off the edges, you can position the image as best as possible and export it. This works well if you can afford to lose a bit of background detail.
Option 2: Scale to Fit the Entire Image
If you want the entire picture to fit inside the canvas, you’ll need to scale it down until it fits within the frame. Just note that this might leave some empty space around the edges. To make the final result look clean, ensure the background is not transparent and is filled with a color that complements your image. This is especially important when exporting as a PNG, to avoid unpleasent transparent corners.
How to Resize an Image Without Stretching it in Photopea
By default, scaling resizes the whole image as each and everypizel gets compressed or expanded. This makes it hard to fit a large image into a smaller canvas without distorting the main subject.
In Photopea, regular scaling is done by clicking and dragging the control points. If you hold the Shift key while scaling, the aspect ratio will not be preserved — which can result in a stretched or squashed image.
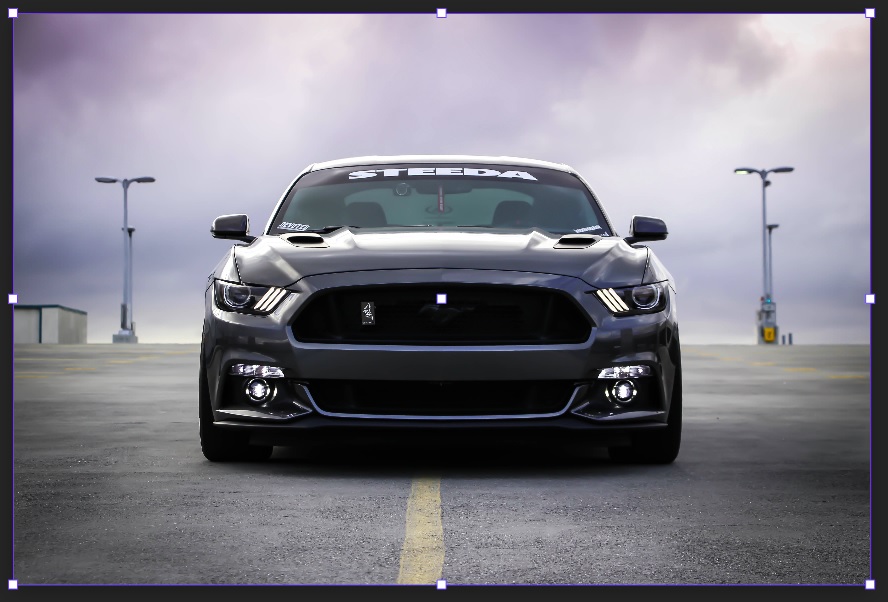
If you want a larger image to fit a specific size without distorting the subject, you will need to use the Content-Aware Scale. Here are the steps you should follow.
Step 1: Open Image in Photopea
Open the image you want to resize by going to File >Open. Then select the image you want from your device.
Step 2: Activate Content-Aware Scale.
This tool intelligently resizes the image by stretching only the less important areas, such as the background, while preserving the subject.
Step 3: Select Subject
Even with Content-Aware Scale, you might still see distortion if the subject isn’t properly protected. To fix this, you need to make a selection of the main subject and save it.
To fix this issue, you need to select and save the selection of the subject.
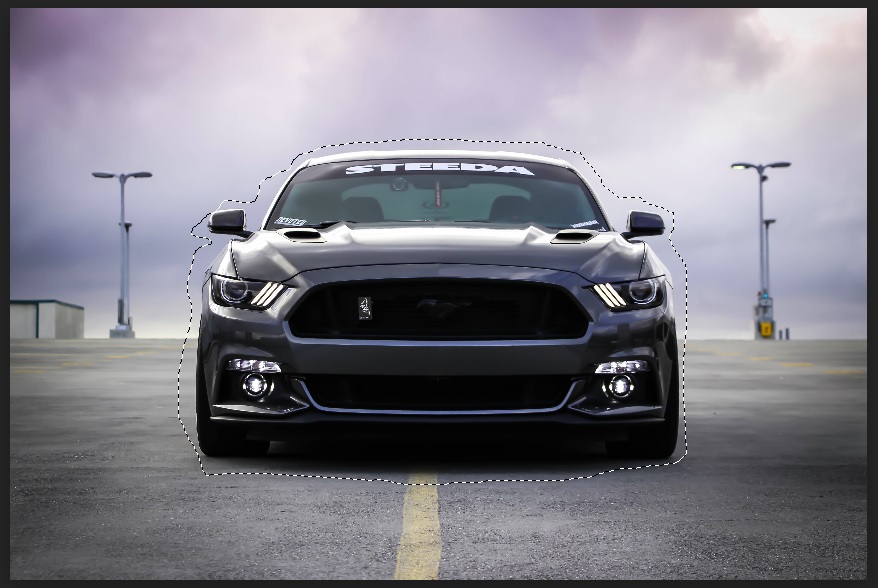
Ensure the layer you are working on is selected from the Layers Panel then select any Selection tool. For this, will use the Lasso Select tool.
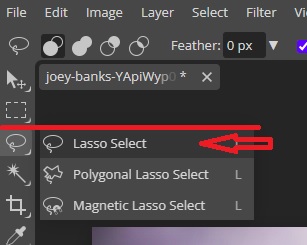
With the Lasso Select tool, make a selection around the subject. The selection doesn’t need to be perfect in this case. If your image doesn’t have a uniform background then you may need to make a perfect selection around the subject.
Step 4: Save the Selection
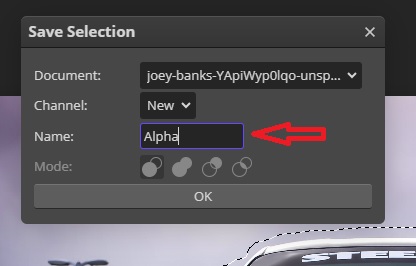
Next, we need to save the selection by going to the Select menu and clicking on Save Selection.

From the window that pops up, give the selection any name you want and press OK.
Once the selection is saved, press Ctrl (Command in Mac) + D to deselect.
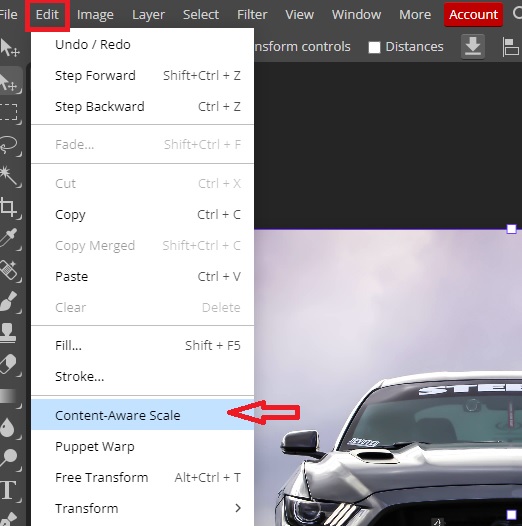
Step 5: Select the Content-Aware Scale again
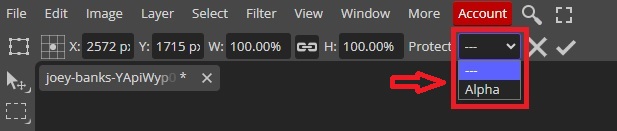
Go to Edit >> Content-Aware Scale
This time, there is a new Option Bar right below the Menu Bar. Click on the drop-down next to Protect and select your saved selection. In our case, we named our selection Alpha.
Step 6: Scale the Image
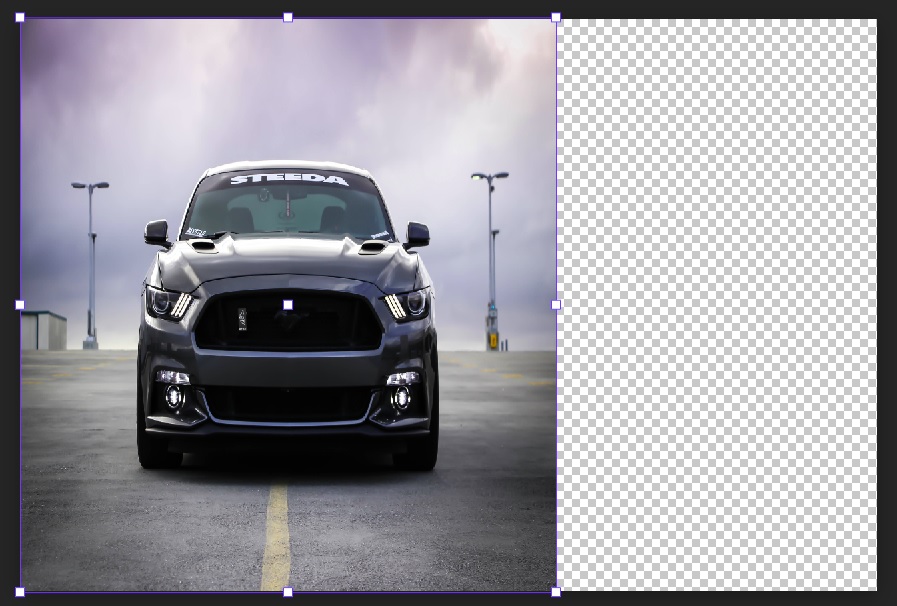
When you hold Shift and scale the image, you will be affecting all the other pixels apart for your Saved Selection.
Now you can scale your image to fit anywhere without distorting it.
Conclusion
To sum up, there are various ways to resize an image in Photopea depending on what you need.
You may opt for using the Image size from the Edit menu, or create a new document with your desired dimensions, import the image, and scale it manually to fit.
For more advanced rescaling, the Content-Aware Scale tool is best used for resizing without distorting the subject.
By following the steps provided, you’ll be able to resize almost any photo without compromising quality. Just keep in mind that when scaling, going too far can lead to distortion or pixelation.
Thanks for reading & feel free to check out more of our articles!
Expert Rating
Summary
Learning to resize an image in Photopea can be helpful for various purposes, such as optimizing images for web, creating thumbnails, or fitting images into specific dimensions. It is a functional and scalable feature that offers precise control over image dimensions, aspect ratios, and resolution, making it a versatile tool.


