
In this tutorial, I will show you how to cut a person from a picture like a sticker; for example, cutting someone out of a group photo and pasting them into another picture. Keep reading the next few sections to discover how!
What is cutting out?
Cutting out is similar to what we used to do when we were young. We take a pair of scissors and cut something out of a magazine or other printed material—a thing, a person, an animal, a building, or even a letter.
But in today’s digitally advanced world, cutting out can be done instantly through digital tools and software, such as Photopea.
I discovered two methods in Photopea for extracting someone from a picture. Let’s begin with the simplest method.
Image Masking in Photopea
Image Masking is like putting a precise mask around the person or object using tools like the Quick Selection Tool or Magic Wand Tool. This mask acts as a layer mask that separates the foreground from the background.
To use Masking in Photopea, follow these steps:
1. First, open your file in Photopea. You can either click the “Open File from Computer” option on the Photopea homepage if you know the exact location of the file. You may also Drag any files in the application.
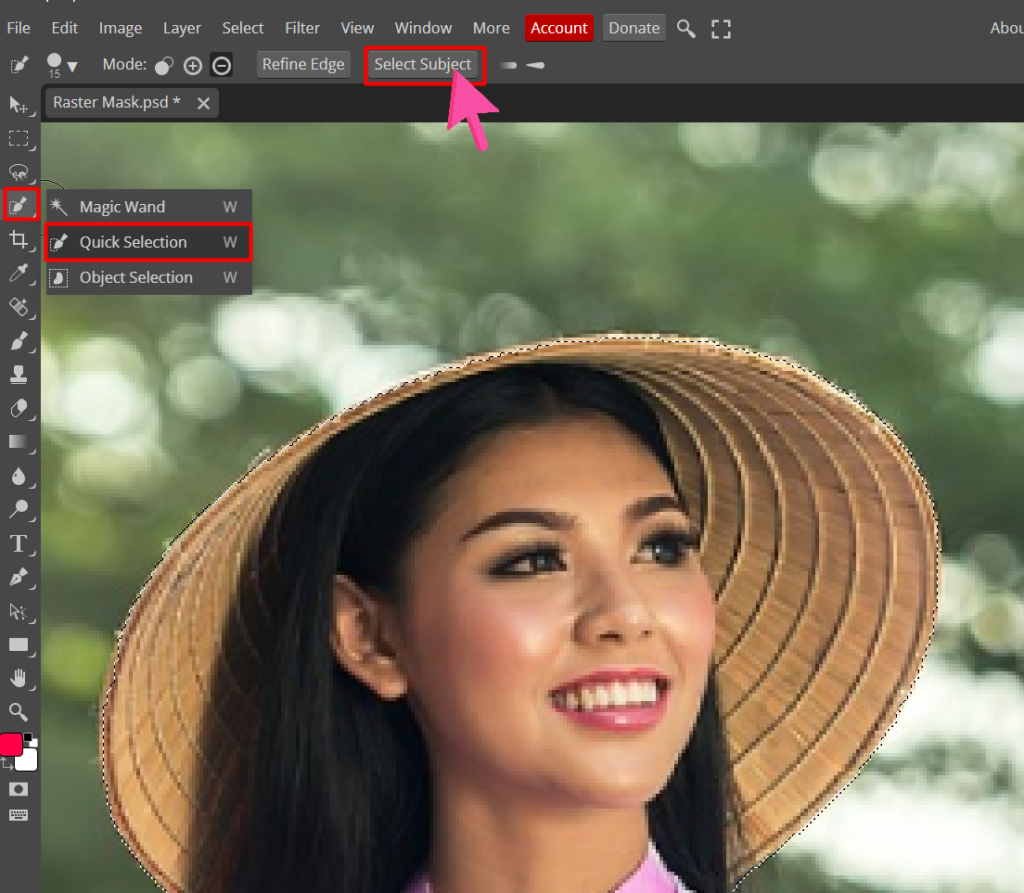
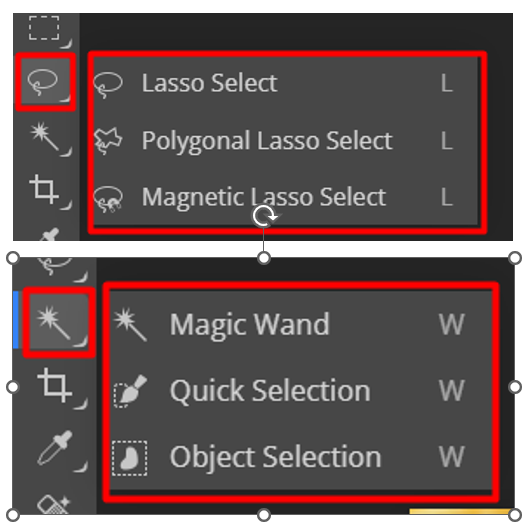
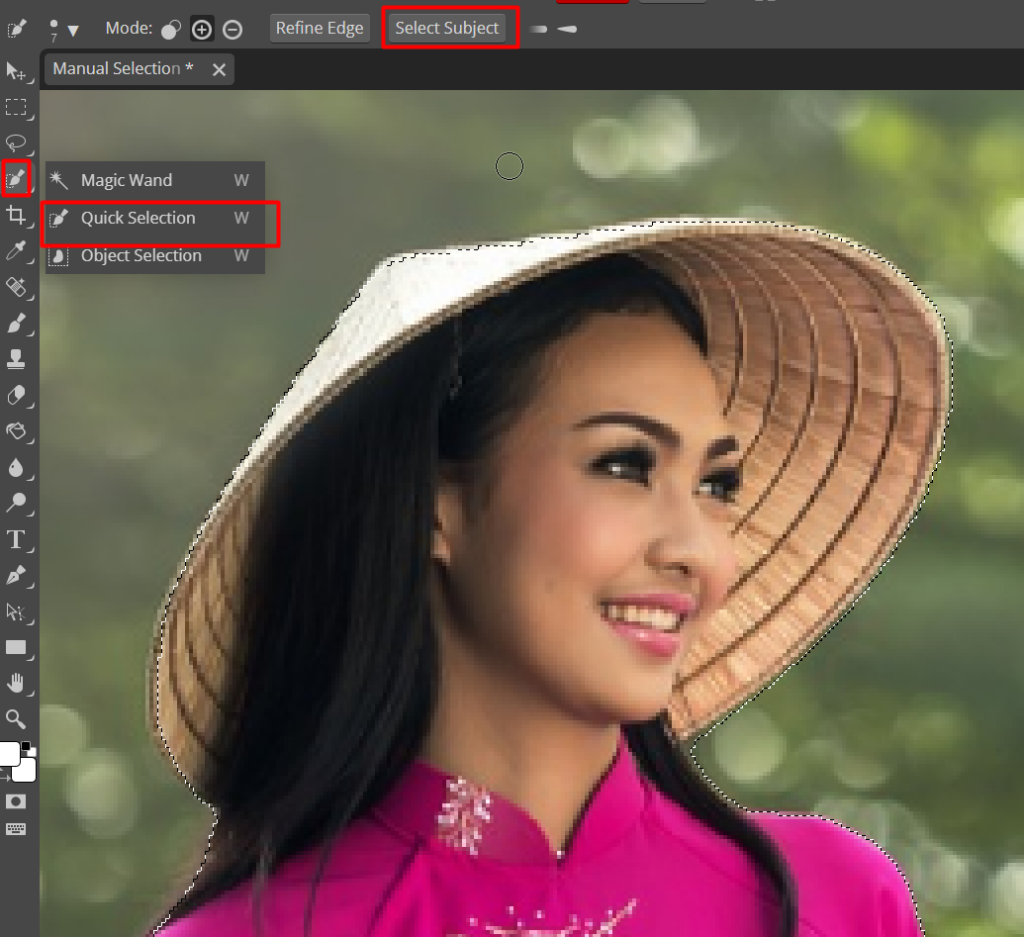
2. Use your preferred Selection Tool. You can use 6 options to select the object that you want to cut out. You can use Lasso Select, Polygonal Lasso Select, Magnetic Lasso Select, Magic Wand, Quick Selection, and Object Selection.
The tools are located on the left side toolbar.

To cut out an object or person from an image, choose the select subject option. This tool is preferred because it can quickly select even the smallest parts of the image.
To find the select subject option click on the magic wand tool in the toolbar and you will see the quick selection tool as well. Select any of them and the select subject option will pop up on the top bar.
Click on the select subject option and it will create a selection around the subject within your image.
Note: If your image has no clear subject then use the quick selection tool for the selection.
Read our detailed guide on how to make slections inside photopea.
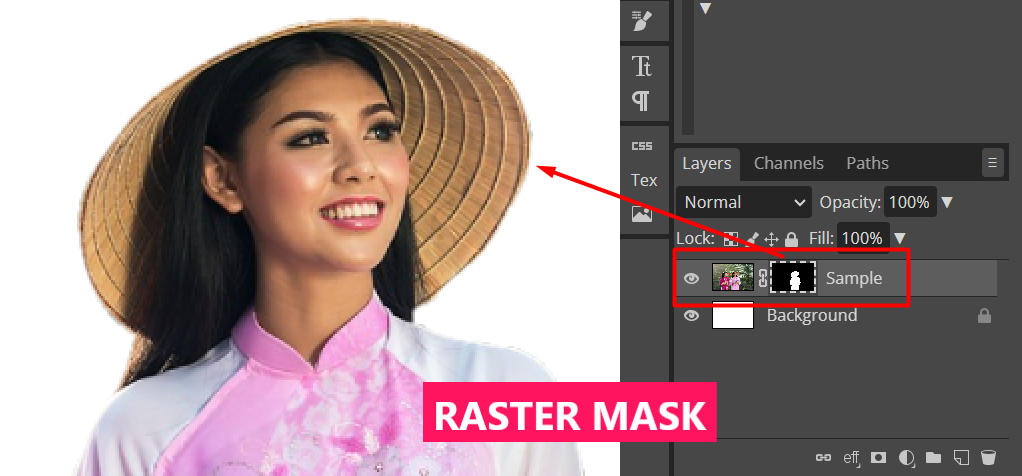
4. Add Raster Mask. On the bottom part of the Layers panel, find the icon for Add Raster Mask.
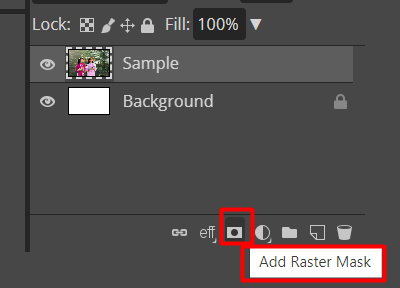
Click the Raster Mask icon, and then a mask will be seen in the layers panel.
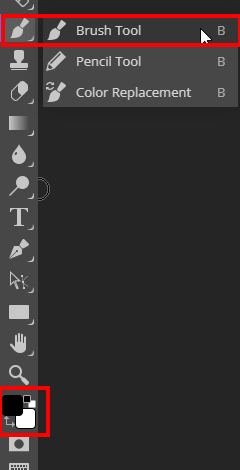
5. Refine the Edges of the cutout. To erase the excess background, you need to use the brush tool. Press the B key on the keyboard to select the brush tool.
Then select the raster mask which we just created, then make sure the brush colors are set to default (Black and white). Press the shortcut D to set the color to default, and then use the X key to switch between the black and white brush color.
If you paint with black color, then it will erase the areas you paint, but if you paint with white color, then it will bring back the masked areas.
Use the black brush to erase the excessive areas and then use the white brush to bring back the areas which are not meant to be masked.
Don’t forget to click Ctrl+S to save the file and export it to different files using File > Export As > Choose File Format.
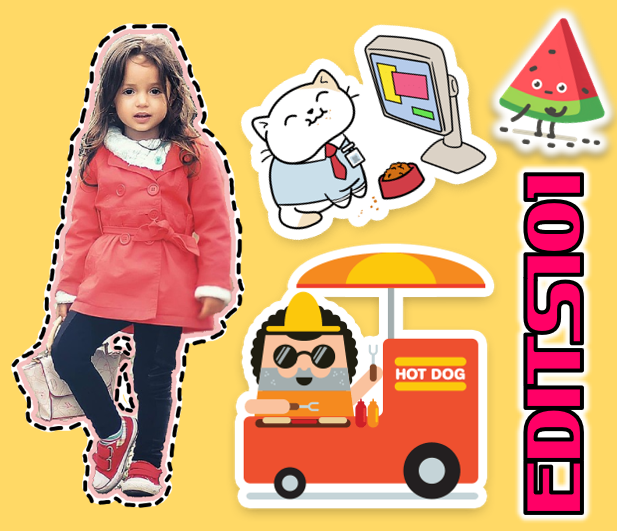
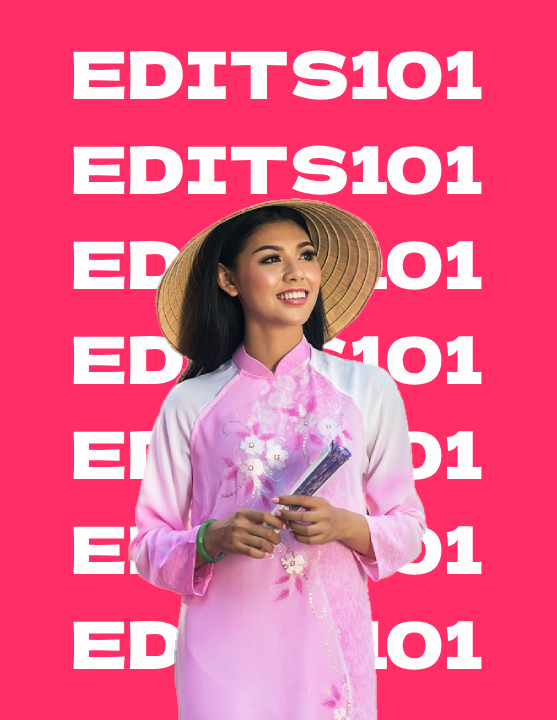
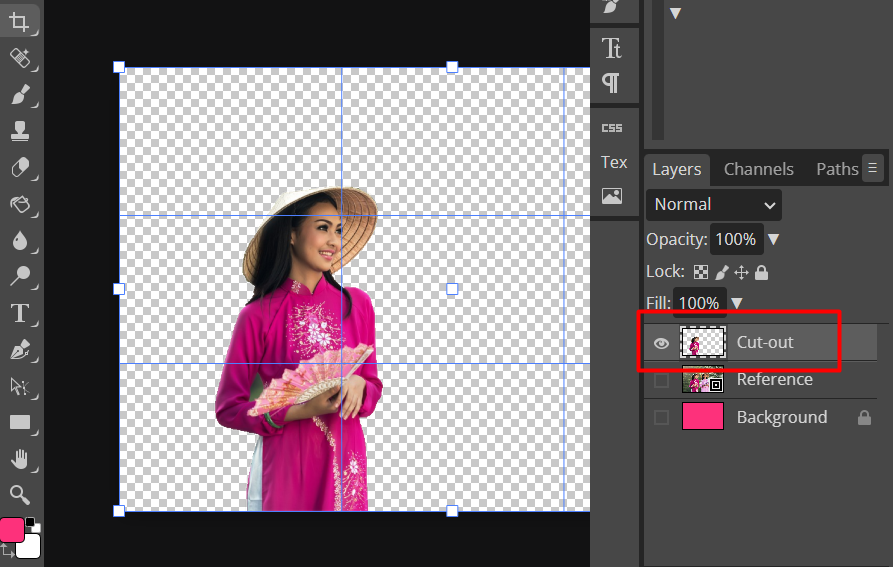
Here’s the result of the raster masking process:
Layer masks allow you to hide or reveal certain parts of a layer without deleting any pixels. This gives you the freedom to modify your edits whenever you want without erasing any crucial details from the original image.
Manual Selection
This method uses two tools for cutting out. The first is by using any of these selection tools: Lasso Select, Polygonal Lasso Select, Magnetic Lasso Select, Magic Wand, Quick Selection, and Object Selection. The second one is through Refine Edge option.
1. Open your file in Photopea. You can either click the “Open File from Computer” option on the Photopea homepage if you know the exact location of the file. You may also Drag any files in the application.
2. Use your preferred Selection Tool. You can use 6 options to select the object that you want to cut out. You can use Lasso Select, Polygonal Lasso Select, Magnetic Lasso Select, Magic Wand, Quick Selection, and Object Selection.
3. Select the quick selection or magic wand tool and select subject option will pop up, click on it and the subject will be selected.
4. Click Refine Edge. Refine Edge can be found at the top bar, where the parameters and settings for the selection tool can be adjusted.
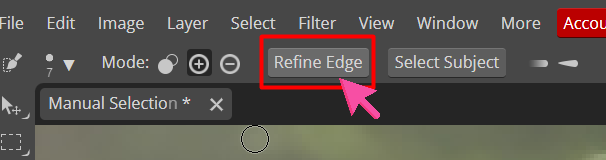
Once Refine Edge button is clicked, a dialog box will open. There, the edges of the images can be adjusted and improved by trimming out any unwanted segments.
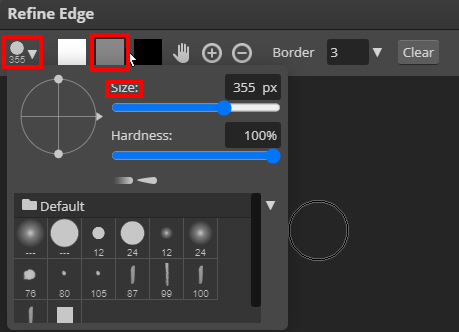
Change the brush size according to the edges and then click on the grey color; now, you need to paint on the edges, and you will see that the edges will get softer and unwanted areas will be removed. Make sure not to use a very large brush and only paint on the edges.
Once done and satisfied with the changes, click OK.
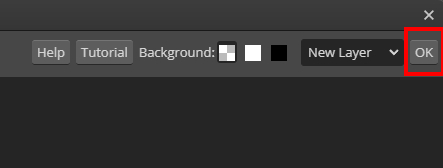
Cut-out is ready. The cut-out will be transferred to a new layer where other adjustments can be made. You can change the background, crop the photo, add filters, add borders, and others.
Once you are satisfied with all the adjustments made to the cut-out, don’t forget to click Ctrl+S to save the file and export it to different files using File > Export As > Choose File Format.
Here’s the result of the manual selection process:
What is the best method to use in Photopea?
In Photopea, we can actually use a variety of cutting-out techniques in addition to Image Masking and Manual Selection. We can also use Magic Cut and Background Remove.
But even for non-designers, I found these procedures, Image Masking and Manual Selection to be simple and effective.
Image Masking VS. Manual Selection
Layer masking is much faster and more effective than manual selection.
Using layer masking, we can quickly make any edits to a few selected areas of an image without affecting the original pixels. We can be confident that our edits will blend in accurately and seamlessly by using alpha channels.
What I like most about Image or Layer masking is that it is non-destructive, ensuring the original image remains unchanged. This means that if you want to go back and adjust a layer mask you previously used, you can simply select it and edit it with ease.
When using manual selection, however, any adjustments you make might completely change the original image or necessitate a time-consuming process of manually experimenting with the selection area until you get it just right. When it comes to photo editing, layer masking is a better option because it enables quick and precise editing of only the desired portions of an image without wasting time or effort on pointlessly adjusting unrelated portions of the image.
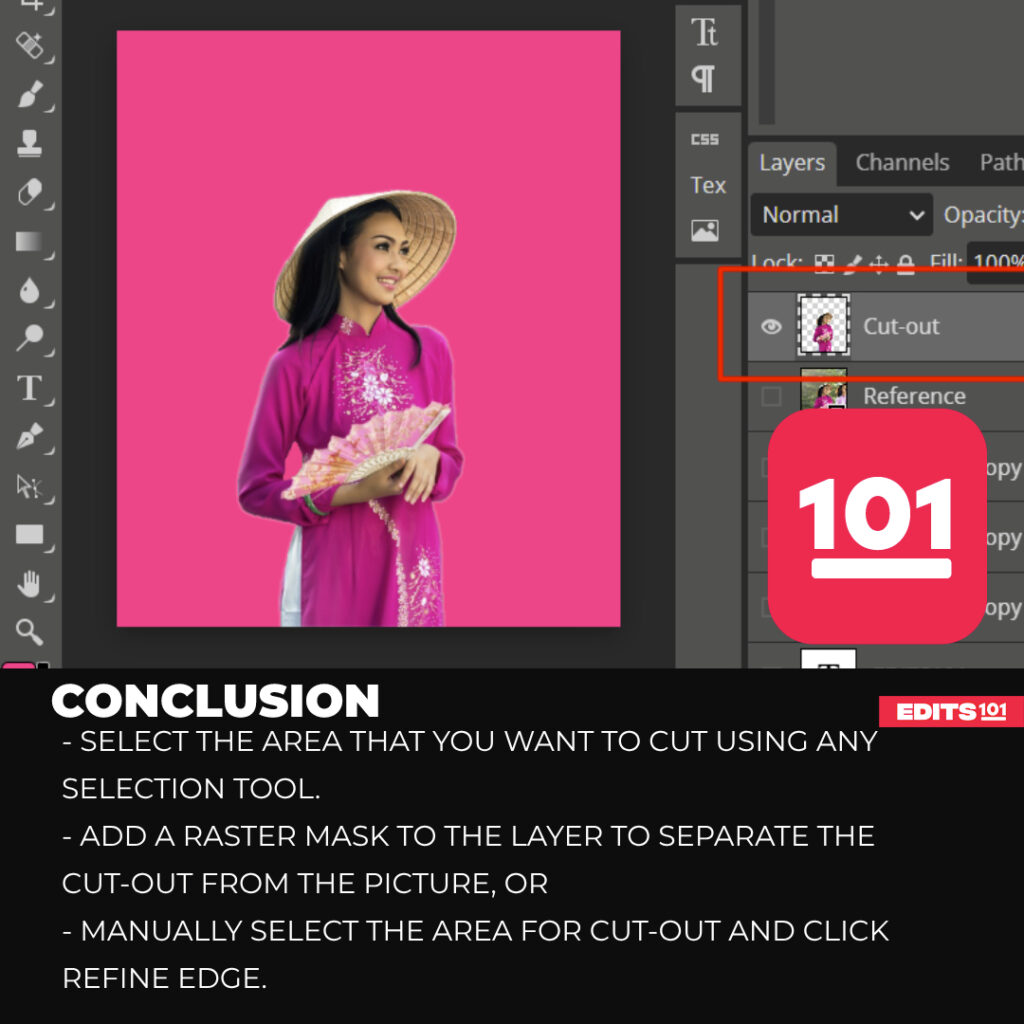
Conclusion
In this tutorial, we’ve learned two methods on how to cut someone out of a picture for free using the Photopea app.
Image masking is like putting a precise mask around the person or object using tools like the Quick Selection Tool or Magic Wand Tool.
Manual selection uses tools to highlight the subject and then delete the background or save the person/object on a separate layer.
In comparison, Layer masking is the better choice when it comes to cutting out pictures because it is non-destructive, ensuring the original image remains unchanged.
Thanks for reading and feel free to check out more of our articles!
Expert Rating
Summary
In this tutorial, we’ve learned two methods on how to cut someone out of a picture for free using the Photopea app. Image Masking and Manual Selection are two simple and effective methods even for non-designers. In comparison, Layer masking is the better choice when it comes to cutting out pictures because it is nondestructive, ensuring the original image remains unchanged.


