Creating a Video Collage in DaVinci Resolve 18 | A Step-by-Step Guide
If you have multiple cameras and want to show the different viewpoints on one screen or if you just want to easily and creatively present multiple footage together, DaVinci Resolve offers several ways to do this. You can divide the screen into many sections and display as many videos as you want simultaneously.
In this guide, we will discuss different ways to create engaging video collages or split screens. You can use the manual method or the video collage effect available within DaVinci Resolve. We will discuss how you can place from 2 to even 100 videos on the screen at the same time. But you should always keep the number between 2 and 9 to produce a high-quality and clear video.
Let’s get started.
Video Collage In Davinci Resolve
You can create a split screen or a video collage in DaVinci Resolve using two methods:
- Creating Video Collages Manually
- Creating Video Collages using the Video Collage Effect
We will cover both ways, and you can use whichever method you feel comfortable with or whichever fits your requirements.
Creating Video Collages in DaVinci Resolve Manually
To create a video collage, bring in the footage to the Timeline and place the videos on separate tracks.
We will be using 4 videos to create the split screen or video collage, and you can use as many as you want. No matter how many videos you choose, the process will always be the same.
Transform the Videos
To create the video collage, you need to transform your videos and rescale them. These are the two ways to do this:
- Adjust the Control Handles from the Viewer.
- From the Inspector.
Control handles in the viewer
Go to the Viewer and turn on the Transform controls.
- Once you turn on the transform controls, you will see a bounding box around the video.
- Grab the corner point and scale down the video to 25%, as we are using 4 videos, and at 25%, they will fit perfectly.
Repeat the process with each video and then click and drag the videos where you want to place them. Make sure the transform option is turned on.
- Dont click on the bounding box; click anywhere on the video other than the box while dragging.
Use Inspector Panel
To transform the videos in the inspector panel:
- Select the video and go to the inspector panel.
- Make sure you are in the video properties tab.
- Look for the zoom controls in the inspector panel. Bring your cursor over the numbers next to the word zoom.
- Click and drag toward the left to reduce the scale of the video.
Now repeat the process with all the videos you want to place on the screen.
- Now use the position controls to place the videos on the screen.
- Place all 4 videos on the screen.
And the video collage in Davinci Resolve with the manual method is ready.
Split Screen In Davinci Resolve Using Video Collage Effect
To create a split screen with the video collage effect in Davinci Resolve:
Bring your footage to the timeline and place the clips on separate video tracks.
Place the clips in the sequence you want them to be seen on the screen. Video 1 on the 1st track, video 2 on the second track, and so on.
Apply the Video Collage Effect
Now apply the video collage effect.
- Hide all the video layers except the video on track 1.
- Go to the effects panel and then click on the open Fx group.
- Search for a video collage effect, click, and drag the effect onto the first video.
- By default, there will be 4 tiles created that will split the screen.
To add more screens to the layout, go to the inspector panel and increase the number of tiles by increasing the number of columns and rows.
Tile Settings
While the effect is applied to the first video, we now need to adjust our tiles. Tiles can be stylized by adding shadow, border, or animation.
- To stylize the tiles, go to the Tile Tab.
- And then open the “Tile styling” tab, add a border and choose the border color, then go to the Drop Shadow tab if you want to add the shadow.
- To add the animation, go to the “TIle Animation” tab and change the animate property from manually keyframe to intro & outro. You can also choose intro only or outro only. Then you can choose fly and shrink types, and at the end, select the duration of the animation.
- Once you are happy with the settings, go to the Workflow tab and change the option to “Create tile” from “Create background” from the dropdown.
Apply the Settings to All the Videos
Once you click on create tile option, everything will be black except the first video.
- Now right-click on the first video. Then click on copy attributes.
- Select the other 3 videos (select all other than the first video if you are using more than 4), right click, and choose paste attributes.
- Check the plugin box under video Attributes and click apply.
Now turn on all the video layers.
- Select the second video, go to the inspector, and choose tile 2 from manage tiles.
- Then select the 3rd video and then choose Tile 3.
- Select tile 4 for the 4th video, and repeat the process if you have more than 4 videos.
Create the Background
You need to have a background to make the video collage more attractive. You can either import the background from your computer (video or picture) or use the background available within Davinci Resolve.
- Go to the effects panel and then click on the generators group.
- Drag and drop the textured background on the upper track.
- Apply the Video collage effect from the effects panel.
- Go to the workflow section in the inspector panel and choose create background if it is not selected by default.
And this is the second method to create attractive looking split screens and video collages in Davinci Resolve.
Final Result
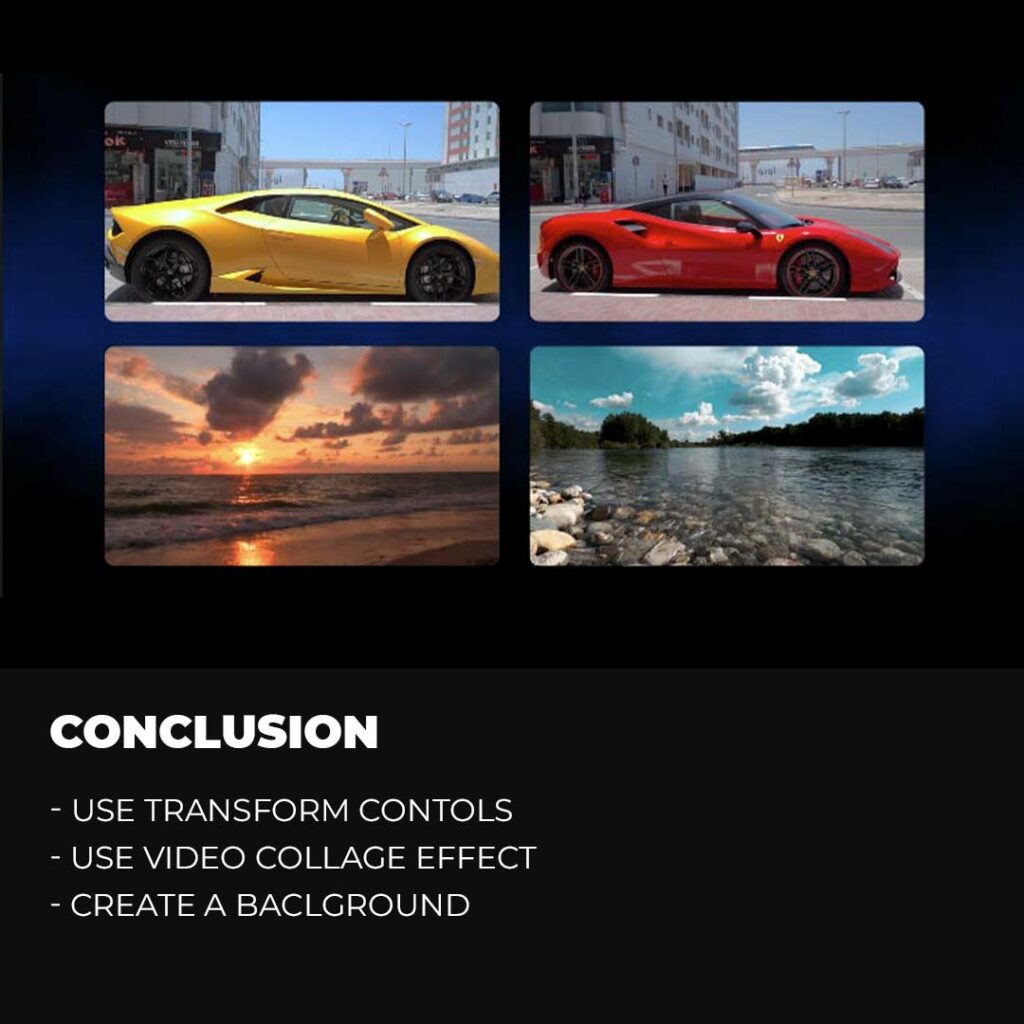
Conclusion
You can create the video collage in two ways; one is manually, and the second one is with the video collage effect. Both are easy to use and can be used to create engaging split screens for multicam videos and other purposes.
In the manual method, you need to use the transform controls like zoom and position to place more than 1 video on the screen simultaneously. You can change the transform properties from the settings in the viewer or from the inspector panel.
In the second method, you need to apply the Video Collage effect on the first clip and adjust the settings. Copy and paste the settings from the first video to all other videos. Choose the tile number according to the track number.
In the end, create the background with a video or a picture. You can also use the generator textured background.
And you will have a great looking split screen or a Video collage in Davinci Resolve.
Thanks for reading & feel free to check out more of our articles!
Author Rating
Overall Rating
Summary
Creating a video collage in DaVinci Resolve can add visual interest to your video projects. While it may require some practice to master, DaVinci Resolve provides a functional and scalable platform for creating video collages with its multi-track timeline, advanced editing tools, and customizable layouts.

