
There are multiple ways to track motion inside Davinci Resolve, and each method serves a different purpose.
In this guide, we will cover the step-by-step process of motion tracking in DaVinci Resolve and how you can use that tracking to create creative effects in your videos.
We will also cover the process of how to stick text to a moving object to make your videos more dynamic.
Motion Tracking in DaVinci Resolve
This feature can be used to track the movement of objects in a video and then use that tracking data to create various effects, such as:
- Animating a graphic to follow the movement of an object
- Stabilizing a shaky video
- Removing unwanted objects from a video
- Sticking text to an moving object.
And much more.
Import Video Clip in Davinci Resolve
Import the video clip you want to track and apply effects to. Make sure the video clip has an element with a good contrast which we can use as a tracking point.
To import the clip into Davinci Resolve:
- Go to the media pool and press Ctrl + I or Cmd + I. Or right-click and choose import media.
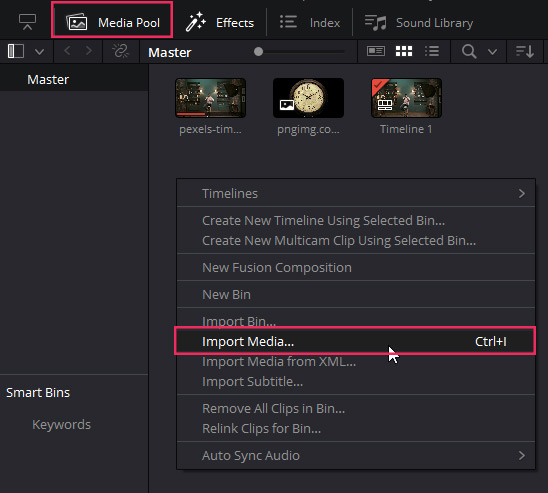
- A new window will open up, find and select your video clip.
- Click the open button, and the clip will be imported.
Take the Video Clip to the Fusion Page
Now bring the clip to the timeline by dragging and dropping.
To create a fusion clip from the video clip:
- Right click on the video clip on the timeline.
- Click on the option “Open in Fusion Page” from the menu.

This will take you to the fusion page, and now it’s time to start working on the neon effect.
How to Track Motion in DaVinci Resolve
There are multiple ways to track motion inside Davinci Resolve, but they all work on the fusion page. We will be using the following two methods for motion tracking inside Davinci Resolve.
Tracker Node
This node is used to simply copy the motion inside a video and apply it to something else to make it follow the movement of the video. This is useful if you want to simply make the text follow the movement of the finger or stick the text to a moving car.
How Tracker Node work
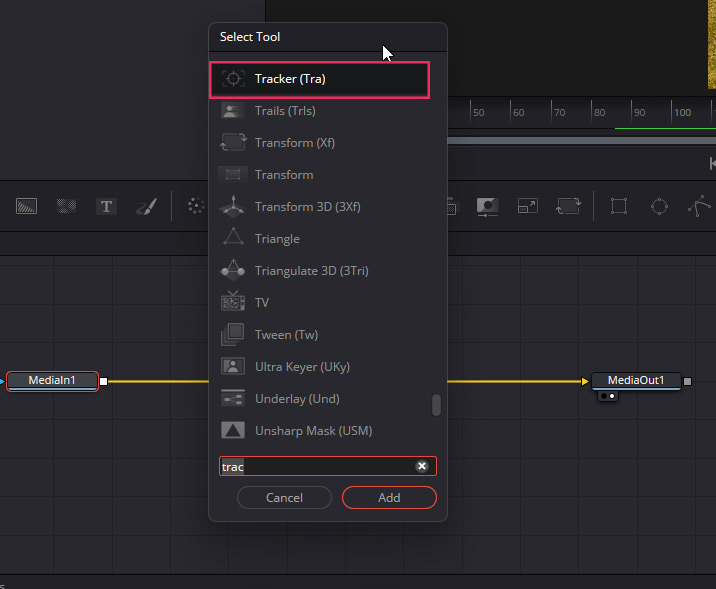
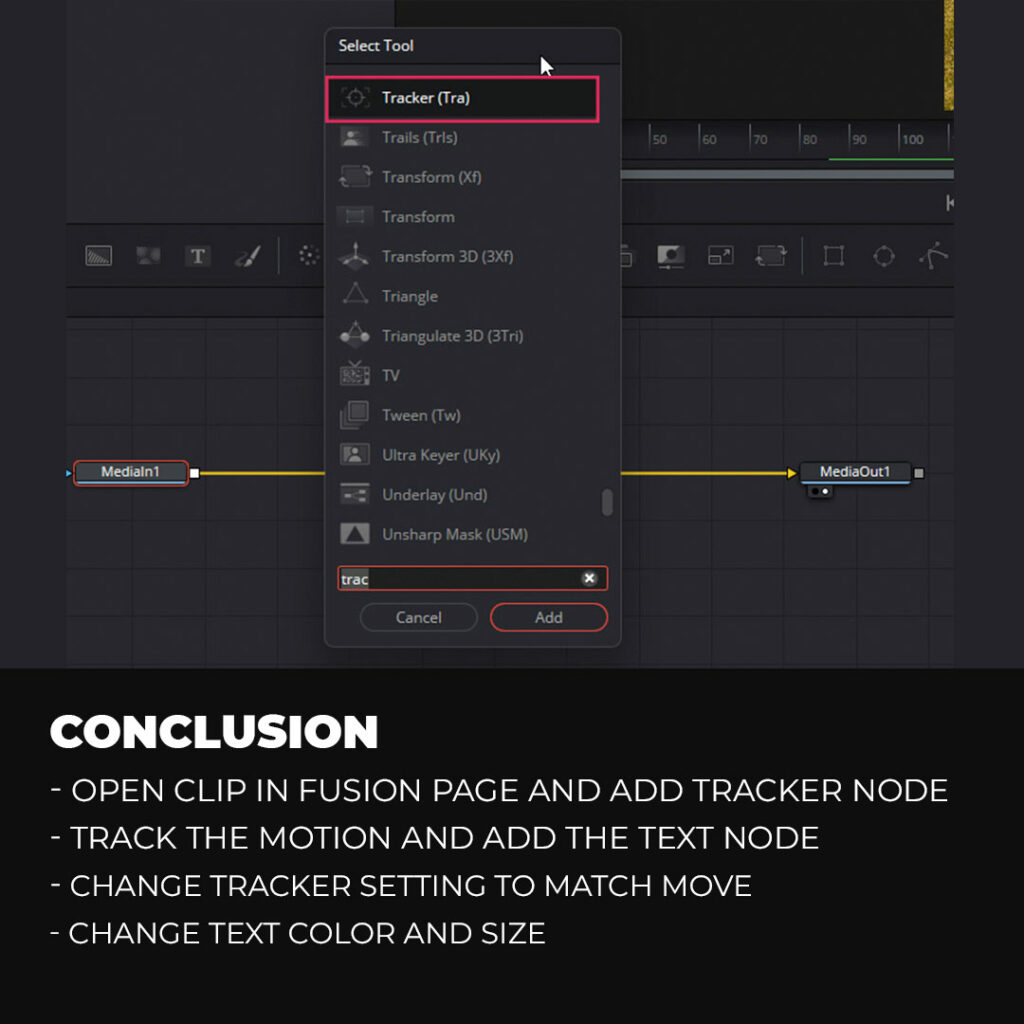
First of all, we need to create the tracker node. To do that, select the Mediain Node and then press shift + space; a search box will open up. Type in the word tracker and then select the tracker node, click on the add button, and it will be added to the node tree.
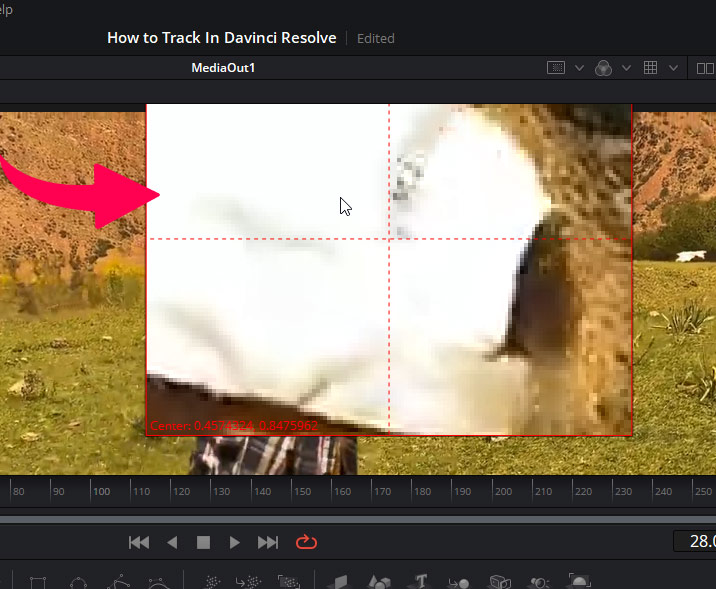
Set the tracker point
You will get a tracker point inside the viewer. You need to set the point to an area that remains on the screen for the whole duration and has good contrast.
Begin Tracking
Now that you have set the tracker point now, it’s time to begin the tracking. Make sure the tracker node is selected, and then go to the inspector panel. Click on the Track Forward button, and you will see that the object or area you selected will be tracked.
Planar Tracker Node
The planar tracker node has more features than the simple tracker node and is slightly more complex. It can be used to track an object on a wall, even if the wall is not perpendicular to the camera.
How Planar Tracker Node work
You need to create the planar tracker node first, select the Mediain Node, and then press Shift + Space; search for the planar tracker node and add it to the node tree by clicking on the add button.
Select The Tracing Area
In the planar Tracker node, you need to draw a selection around the area that stays inside the whole duration of the video and also has a bit of contrast.
Select the planer tracker node and go to the viewer; you will see that the shape of the cursor has changed. Click and draw a selection around the area that you want to track. Make sure to close the polygon; otherwise, you won’t be able to begin the tracking.
Begin Tracking
Make sure the planar tracker node is selected, and then go to the inspector panel. Click on the track forward button, and the motion will be tracked. Make sure the track stays in the area that you have selected.
How to Stick Text To A Moving Object in Davinci Resolve
First of all, follow the process discussed earlier to bring the clip into Davinci resolve and then take the clip to the fusion page.
Create the tracker Node
Select the Mediain Node and then press shift + space; a search box will open up. Type in the word tracker and then select the tracker node, click on the add button, and it will be added to the node tree.
Select The Hat As a Tracking Point
We are using a video of the boy walking, and he has a hat on his head, so we will use the hat as a reference area to set the tracker.
We are using the hat because it has a lot of contrast with the background, and the tracker will not jump to any other area.

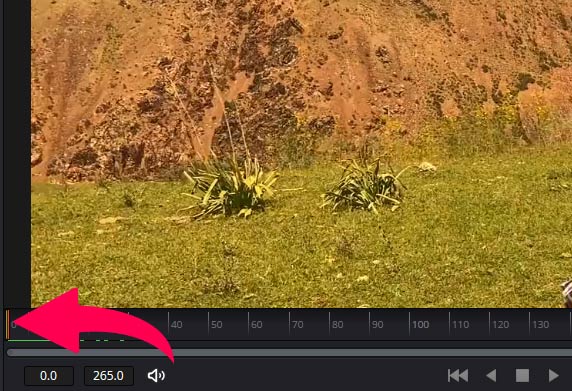
Go to the First Frame
Set your play head to the first frame of the video if it is not already there. We will be tracking forward as we need to track the whole duration of the video, so that is why it is important to set the play head at the beginning.
Start the Track
Select the tracker node, go to the inspector panel, and click the track forward button.

You will be able to see the preview of the area being tracked inside the viewer window.

If you see that the tracker has moved from the area you set it to, then you need to stop the track and choose another area that has more contrast with the background.
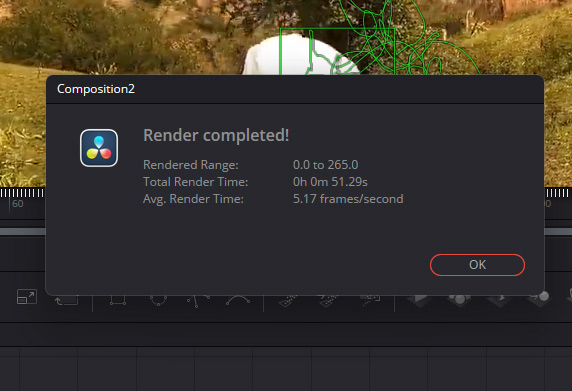
Let the tracker do its job, and you will get a pop-up when the tracking is finished.
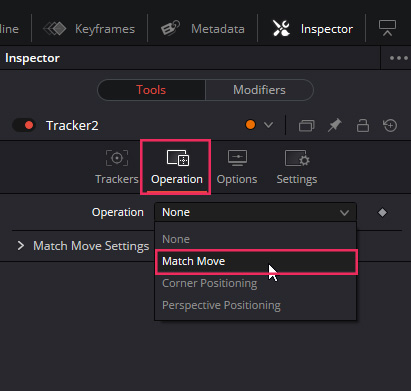
Change the Tracker Setting
Select the tracker node and then go to the inspector panel. Click on the Operation tab and select Match Move under the Operation drop-down.
Create the Text Node
Make sure to click on the empty area inside the node editor and then click on the text node icon to create the text node.

Click on the text node, go to the inspector panel, and type in your text.
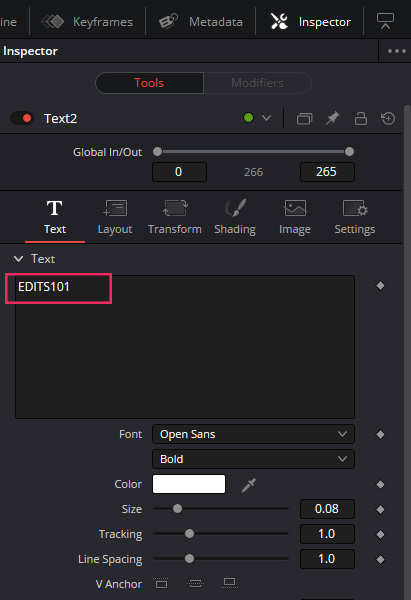
You won’t be able to see the text on the screen just yet.
Connect the Text Node to the Tracker
Now grab the grey point on the text node and drag it onto the tracker node; now, the text will be visible on the screen. Now if you play back your video, you will see that the text is following the movement of the hat.
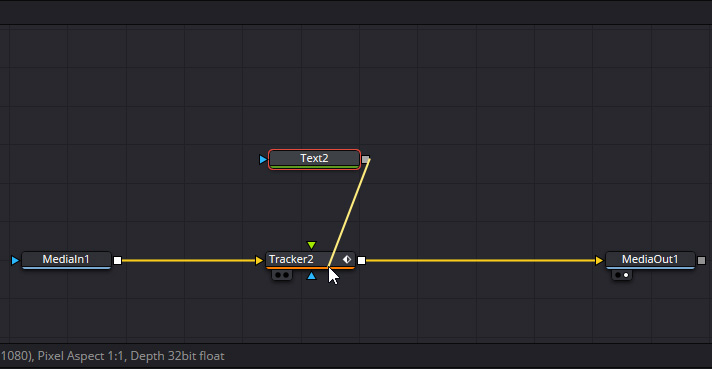
To change the position, scale, and color of the text, select the text node and then go to the inspector panel to change all these settings.
Conclusion
We have used the simple tracker node to track the video and added the text which follows the movement of the hat.
First of all, bring your clip to Davinci Resolve and take it to the fusion page. Create the tracker node, and then you will see a tracker in the viewer.
Set the tracker to the area you want to track and make sure the area has high contrast so that the tracker doesn’t confuse anything else with the track area; we used the hat as it has the most amount of contrast. Now change the operation mode to match move from the inspector panel.
Now create a text node and type in your text. Connect the text node to the tracker node, and now the text should follow the movement of the hat.
You might need to change the scale and position of the text, which you can do in the inspector panel after selecting the text node.
Thanks for reading & feel free to check out more of our articles!
Expert Rating
Summary
In Davinci Resolve, tracking can be achieved using the “Tracker” node to follow object or subject movement. While it may be moderately challenging, with practice, it becomes functional and scalable, offering precise tracking capabilities for adding visual effects and stabilizing footage, thus enhancing the quality and creativity of video projects.


