
In this tutorial, we’ll go over four easy and quick methods for duplicating objects and subjects in Photopea.
Using multiple copies can draw attention to a subject and show how objects in the image are related.
We will cover the most common methods for duplicating the subject in Photopea, including simple copy and paste, clone tool, lasso tool, and patch tool.
How to Duplicate Subject in Photopea?
Opening the file in the Photopea app is the first step in each of the four methods that will be covered.
First, open your file in Photopea. You can either click the “Open File from Computer” option on the Photopea homepage if you know the exact location of the file. Alternatively, you may Drag any files on the homepage.
Duplicate Objects in Photopea
Let’s start by duplicating single objects or vectors.
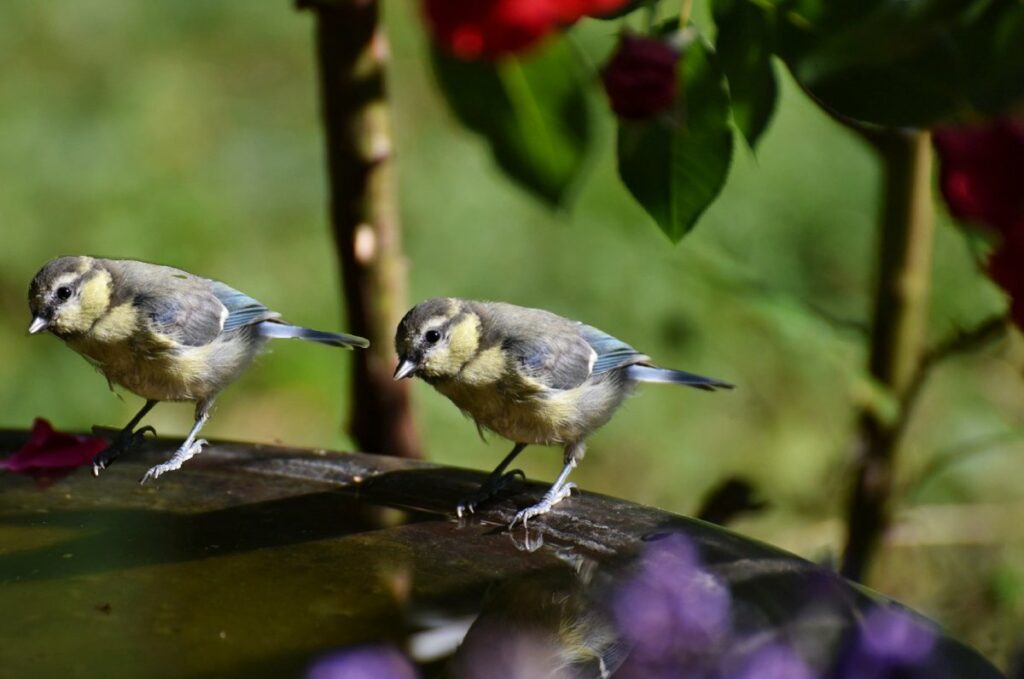
I will use a PNG image to demonstrate this process. This image is downloaded from pngwing.com.
1. Once the image is on the canvas, resize it according to your preferences.
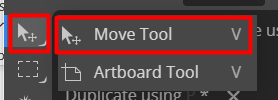
2. Go to the Move Tool on the left side Toolbar, or click the letter “V” on your keys.
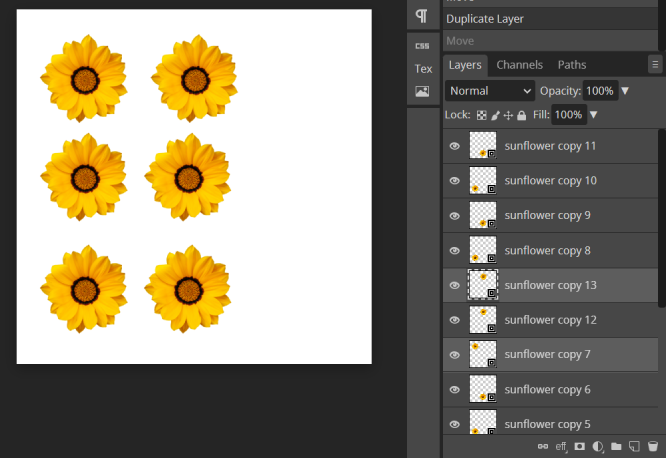
3. Hold the Alt key, click, and drag the object that you want to duplicate. Alternatively, you may click the virtual keys, the bottommost tool of the left-side toolbar.
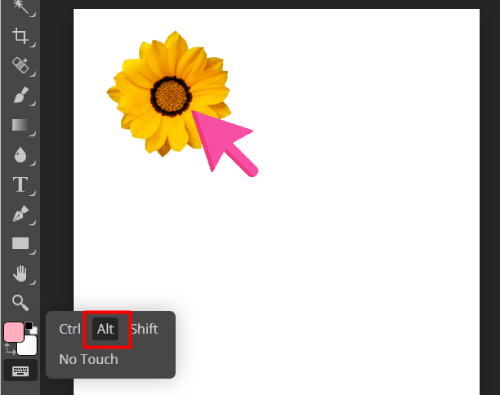
4. While holding the Alt key, drag your mouse on the canvas, and the object will automatically be duplicated.
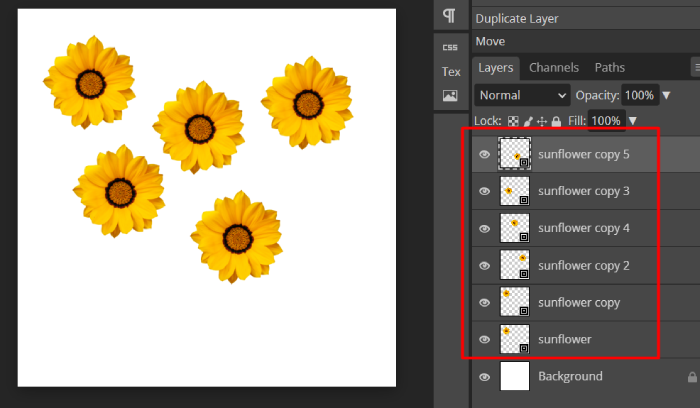
If you want to align your objects in a straight line while duplicating automatically, press Shift+Alt while dragging a copy of the object.
You can use this method in any transparent image, icon, or graphic that you want to duplicate.
Duplicate using Clone Tool
Another tool used to duplicate images in a symmetrical manner is the Clone Tool. This tool copies an area of a photo and applies it to another area.
To use the clone tool, follow these steps:
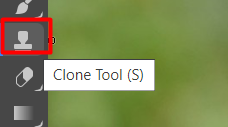
1. Locate Clone Tool on the left side Toolbar. The icon for this tool looks like a stamp.
Once you select the Clone Tool, make sure to set the following parameters in the Top bar settings.
- Blend Mode is Normal.
- Opacity is 100%.
- The Aligned button is checked and enabled.
- The source is set to Current & Below.

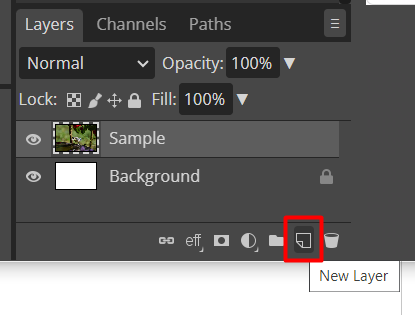
3. Add a new layer. Click the paper icon at the bottom part of the Layers panel to add a new layer. Alternatively, Click Shift + Ctrl + N on your keys, and a new blank layer will automatically be created.
Note: Don’t forget to rasterize the layer first.
To rasterize the layers, right-click on the duplicated layer and find the “Rasterize” button in the drop-down menu.
4. Start cloning by taking a sample from the area you want to duplicate. To take a sample, hold the Alt key and click to record a sample. In my case, I will sample the right part of the subject.
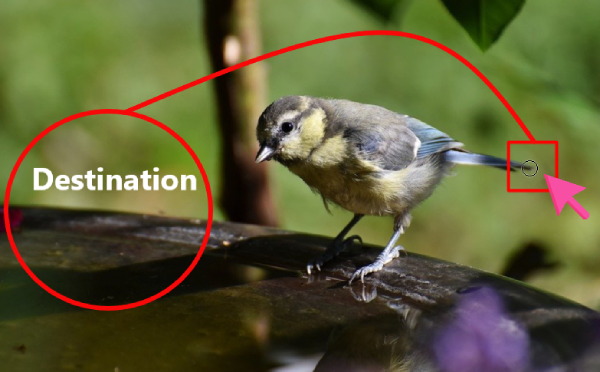
While holding the Alt key, this circle cursor at the tail of the bird will change to plus (+) sign, which means that now you are recording a sample. Then once you release the Alt key, paint the area where you want to put the duplicated subject.
5. Paint the clone tool to the destination area. Brush until the whole subject is copied and replicated.
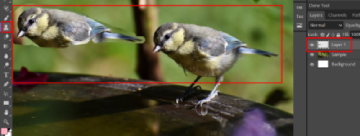
6. Blend to create a seamless duplicate. In the new layer, cut the excessive and unwanted edges of the cloned image through the eraser tool.
Here’s the result of the cloning process:
Duplicate using Lasso Tool
The use of Lasso Select in duplicating a part of an image is similar to cutting out a picture. To use this tool, follow these steps:
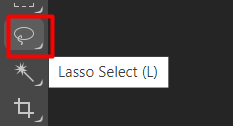
1. Find the Lasso Select at the left side Toolbar. It has an icon of a rope.
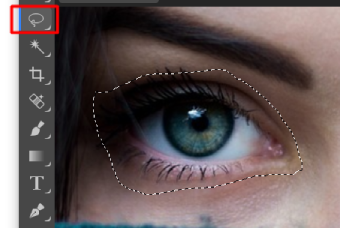
2. Once the tool is clicked, draw a rough selection of the area that you want to duplicate. In this demonstration, I will duplicate the eye of the girl.
3. Find Select at the Main menu on top. Click on Select > Modify > Feather. A dialog box will pop up where you can adjust the feather. Adjust the Feather to 20 pixels, then Click OK.

4. Create a new layer for the eye. To do this, click Ctrl + J. A new separated layer for the eye will be created.
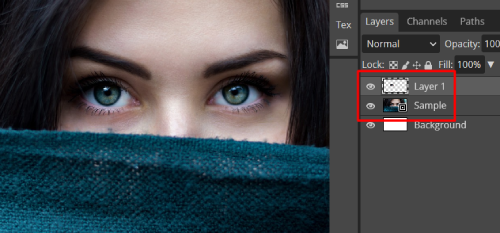
Now, the eye area is already duplicated in this case.
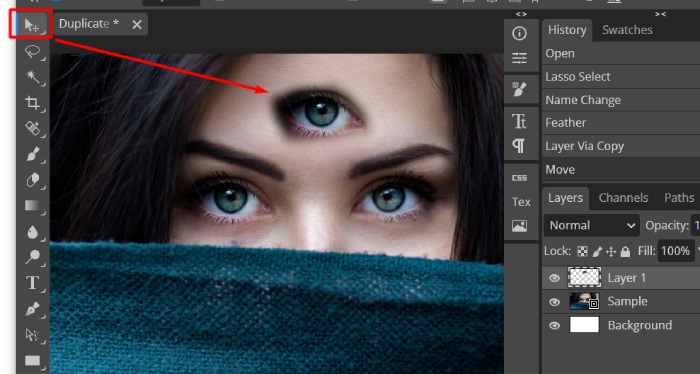
5. In Layer 1, Go to the Move tool and drag the duplicated area to your preferred position. In this tutorial, I would like to make a third eye for the girl so that I will put the eye on her forehead.
6. Blend the duplicated area into the image. To do this, double-click on Layer 1, and a dialog box will pop up.
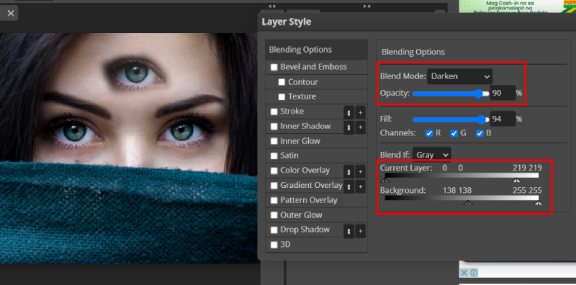
Adjust the settings until the duplicated area is blended perfectly.
This is the result of this duplication method.

Duplicate using Patch Tool
The Patch Tool in Photopea allows users to duplicate any area of an image, including creating an image mosaic.
To duplicate using the Patch tool, follow these steps:
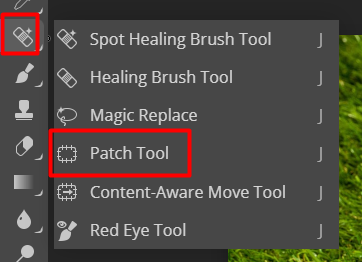
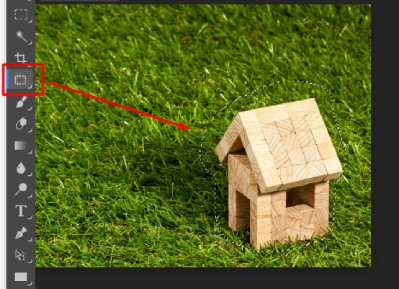
1. Find the Patch Tool on the left side toolbar. It can be found on the pop-up window once the band-aid icon for the Spot Healing Brush Tool is clicked.
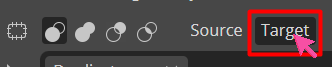
2. Once the Patch Tool is selected, Click Target on the button at the Main Menu on top.
Note: Don’t forget to rasterize the layer first.
To rasterize the layers, right-click on the duplicated layer and find the “Rasterize” button and click on it in the drop-down menu.
3. Draw a selection around the area you want to duplicate. I will encircle this small wooden house using a patch tool in my sample.
4. Now Drag the selected area to your preferred destination. Make sure the selection is active when you are dragging the selected area.
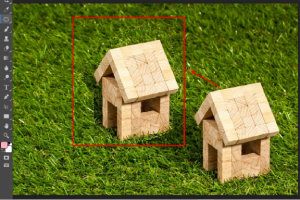
When working with images containing a clear subject and a lightly textured background, the Patch tool is a useful method for duplication.
This is the result of the duplication process using the Patch tool.

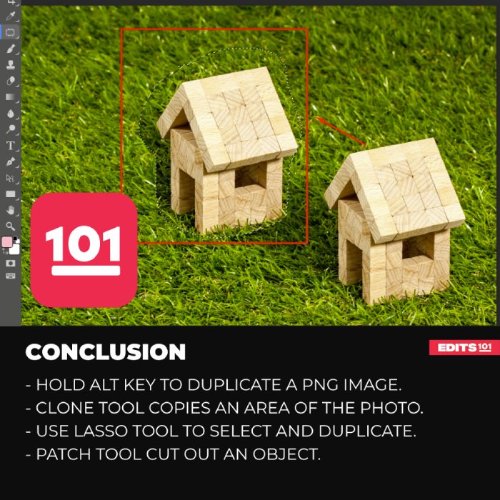
Conclusion
In this tutorial, we’ve covered four methods on how to duplicate a subject in the Photopea app. The four processes include: Duplicating subjects through by using, the Clone tool, Lasso Tool, and Patch Tool.
- To duplicate an object, you must Hold the Alt key while dragging the object.
- The clone tool copies an area of a photo and applies it to another area.
- Use the Lasso Tool to select the area that you want to duplicate. Once selected, you can duplicate the desired object with a quick press of the Control or Command key plus the letter J. This will instantly duplicate the object in the same position it was in when the selection was made.
- The Patch Tool cuts out an object from the area of an image and pastes it into another destination.
Thanks for reading, and feel free to check out more of our articles!
Expert Rating
Summary
Duplicating a subject in Photopea can be achieved through the Clone Stamp Tool, clone tool or patch tool. With practice, it becomes easier and offers creative flexibility. This feature in Photopea is functional, scalable, and valuable for various graphic design projects.


