
When it comes to video editing, knowing how to quickly select clips within the timeline is essential. This will make your workflow more efficient and smooth which in turn allows you to produce amazing videos in a shorter amount of time.
In this step-by-step guide, we will explore how to select parts of your video in DaVinci Resolve 18, with and without the audio, while also including important keyboard shortcuts.
Manually Selecting Clips in DaVinci Resolve 18
The manual method of selecting clips is the easiest way to select clips in DaVinci Resolve 18. If you want to quickly drag a set of clips not located next to each other, this method of selecting clips is the best way for you.
To manually select clips in the Edit page,
- Make sure you are on the Edit page by going to the bottom of your screen and clicking on the Edit page icon.
- Next, make sure your timeline is set properly in order to select the clips.

- Go to the Toolbar and make sure that the Selection mode (Keyboard Shortcut: ‘A’) is selected by clicking on it and the cursor icon becomes red.
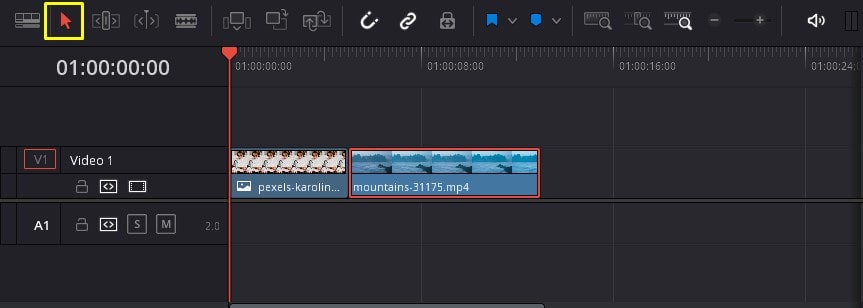
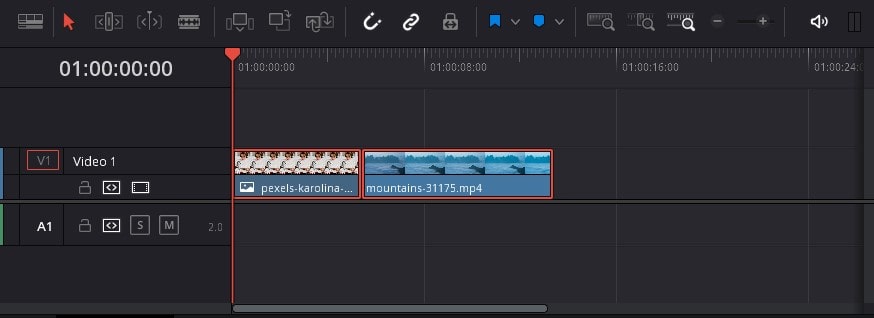
- Simply left-click on the clip you want to select in order to select it.
- Once a clip is selected, you will see that it will be outlined in red.
- Now, if you want to move the clip anywhere within the Timeline, simply click on it and drag it in the direction where you want to place it.
- You can move a clip anywhere within your timeline- up, down, right and left.
How to Select All the clips In the Timeline
There are instances where you want to select all the clips within the timeline in order to push them towards a particular direction. This is a very handy shortcut.
To select all the clips within the timeline,
- Make sure you are on the Edit page.
- You can select all clips by holding the ‘Ctrl/Cmd’ button and clicking on each and every clip. Another way would be to select the first clip, hold ‘Shift‘ and click on the last clip. These two methods can be extremely time-consuming, especially when you have a limited timeframe for your project.
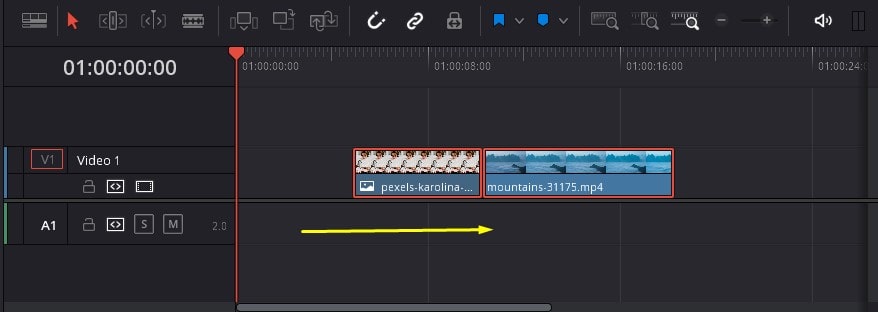
- An easiest and quickest method would be to press ‘Ctrl/Cmd+A’ to select all the clips in the timeline. If the clips are selected, a red outline will appear around the clips.
- Then, click and drag the clips towards the direction you prefer move them.
This is an easy and effective shortcut to select all the clips in the timeline in an instant!
How to Select the Clips to the left or right of the playhead
In this section, we will walk through selecting all the clips located to the left or right of the playhead. We will teach you both the manual method and the keyboard shortcuts.
Step 01: Setting up the Project
How to open the project in DaVinci Resolve
Initially, you need to open a clip or project,
- Open the DaVinci Resolve 18 application.
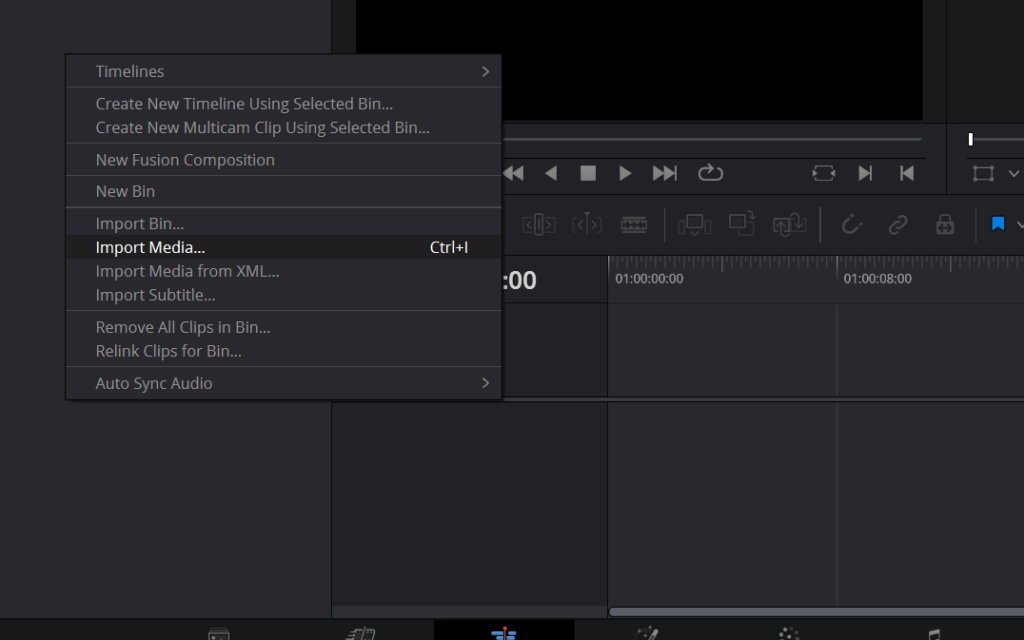
- Right-click on the media pool section.
- Choose the option Import Media as displayed below.
- Alternatively, use the keyboard shortcut Ctrl/Cmd+I to open the media.
Go to the location where the media is placed on your computer or PC. Choose the media and click Open to display it on the DaVinci Resolve 18 application. Now you are set to learn to select clips as per your requirement.
Go to the Edit page > Set the media clips
Before you begin, you need to go to the Edit page,
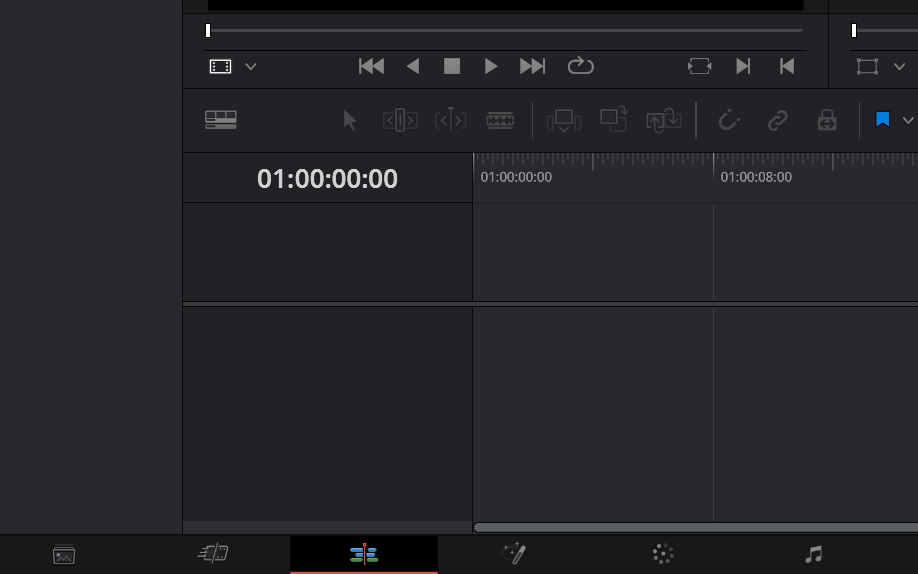
- Go to the bottom of the canvas.
- Choose the Edit page icon as shown below.
To choose media from the Media Pool:
- Make sure the clips are imported to the Media Pool.
- Next, click and drag the clips and place them in the timeline on the Edit page.

Step 02: How to Select Clips in DaVinci Resolve 18
In this example we will show you how to select both clips without audio and clips with audio.
How to Select Everything to the Right of the Playhead? (Clips with no audio)
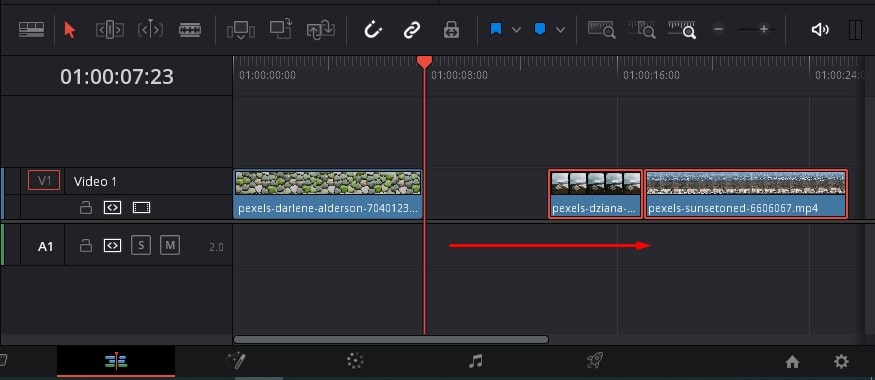
Before you begin to select the clips, position your playhead before the first clip you want to select.
Once you place the playhead,
- Press Alt+Y on Windows or Option+Y on Mac.
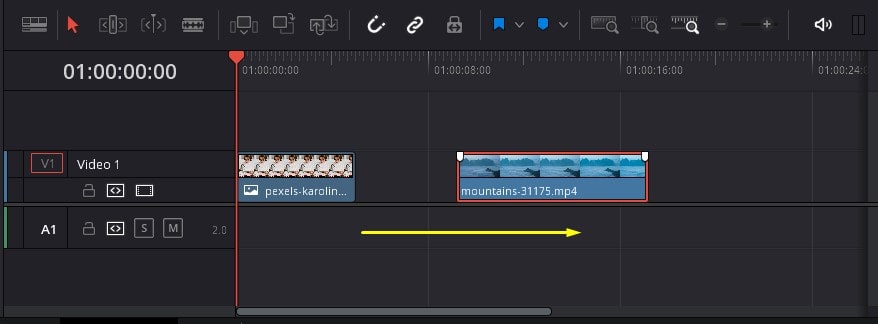
Then, you would notice that the clips to the right of the playhead have become selected.
Once you are set, simply click and drag the clips as desired. You would notice that the selected clips will move in conjunction with each other without having to move each and every clip.
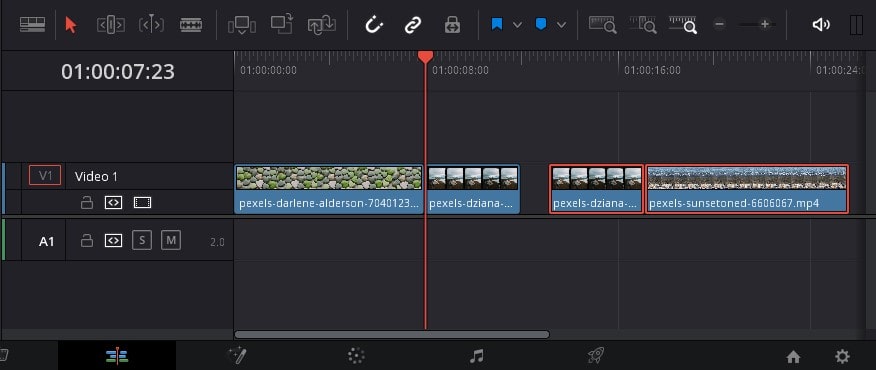
Next, if you want to add a new clip to fill the gap,
- Select and drag a clip from the Media Pool to the timeline within that gap.
- Once again, place the playhead before the first clip and use the keyboard shortcut Alt+Y. Click and drag the clips to the newly added clip.
How to Select Clips on the right without affecting the audio?
If you have a separate audio clip, you can use this method to separate and select the clips to the right of the playhead.
Firstly, place your playhead before the first clip you want to select. In the Track header located on the left hand side of the timeline, one can find different controls which allow you to lock, auto select and enable/disable video and audio tracks as may be necessary.
Go to the Track Header and disable the Audio Track Selector of the audio track you want to remain unaffected when selecting the video tracks.
Once you disable the auto-select, the selections you make will not affect any audio on this track. If you enable it, the selections you make will include their audio clips as well.

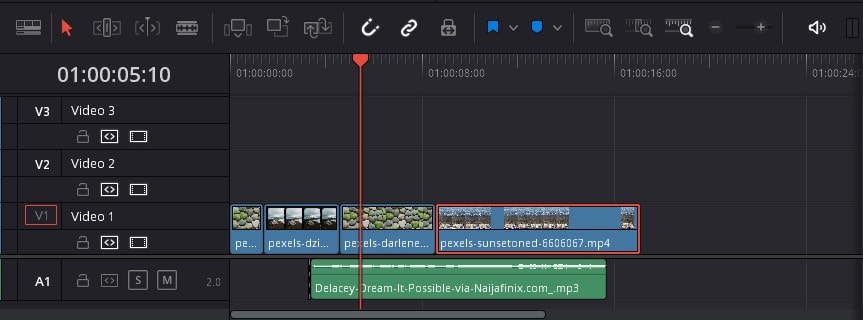
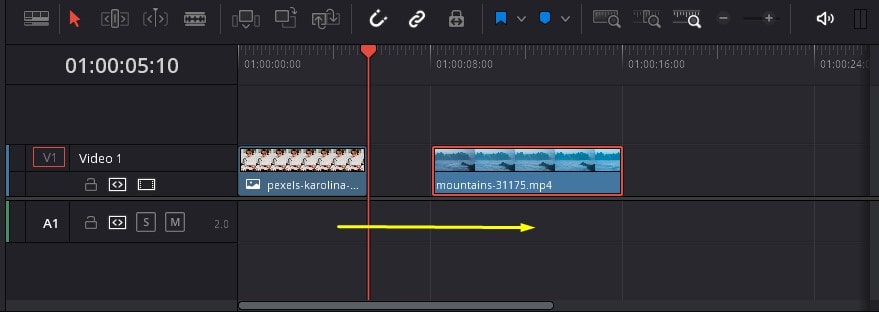
After you place the playhead on the timeline,
- Press Alt+U on Windows or Option+U on Mac.
You will notice that the clips to the right of the playhead have become selected. As show in the above image, the audio track has not been selected.
This is a handy technique to only select video tracks without affecting the audio. This can be done the other way round by disabling the Auto Track Selector of the Video Track.
Click and drag to drift the clips as required. Once again you can add new clips to fill the gap.
To add a new clip,
- Go to the Media Pool on the left-side corner top.
- Click and drag a clip from the Media pool to the timeline.
- Now, reselect the clips and join them to the new clip.
In summary,
- Import the media.
- Go to the Edit page and set the timeline.
- Place your playhead.
- Disable the Auto Track Selector for the audio.
- Apply the keyboard shortcut Alt/Option+U .
- Click and drag the clips as necessary.
- Optional: Insert clips in between.
That’s it! This is how you select clips on a particular track to the right of the playhead with ease.
How to Select clips to the right or left from the Timeline Menu
You can use this alternative method to select the clips to the right and left of the playhead to avoid manual selection. Since manual selection is less precise when you have multiple tracks, this method can be extremely handy!
To select clips on the left or right of the playhead, follow the below steps:
- Set your timeline between the clips according to which clips you would like to select and in which direction.
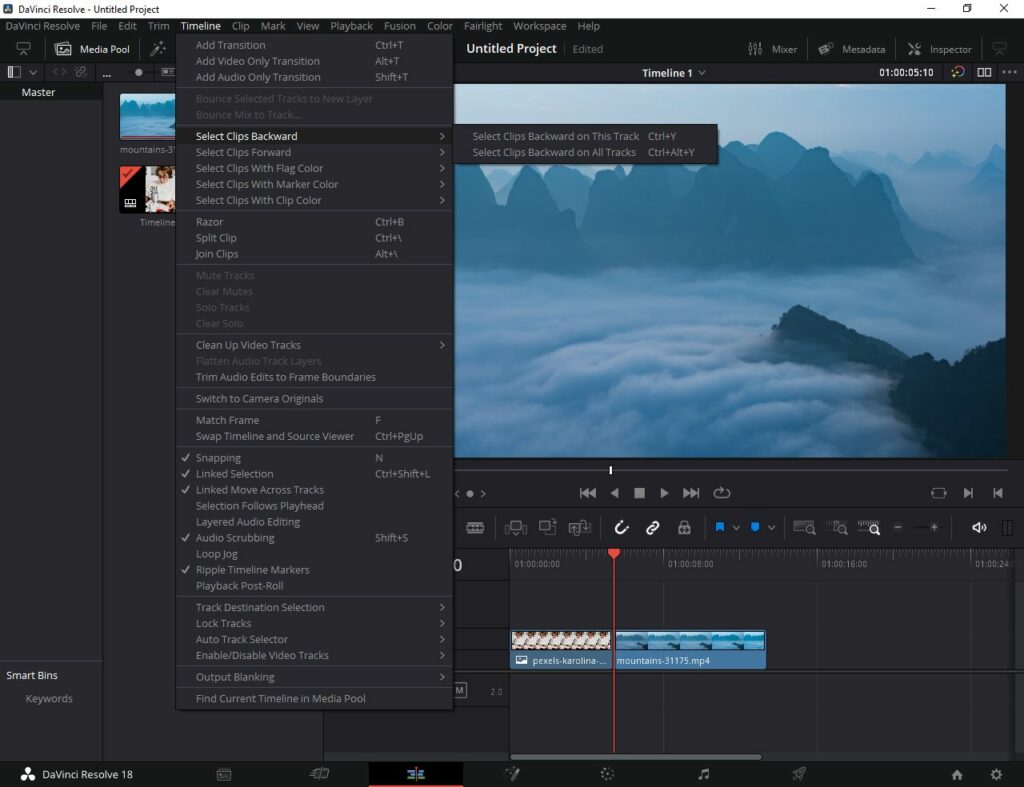
- Go to the Timeline Menu in the Menu bar
- Choose Select Clips Backward if you want to choose the clips located to the left of the playhead. From these two options, choose whether you want to limit the selection to the current track or all tracks (which have the Auto Track Selector enabled).
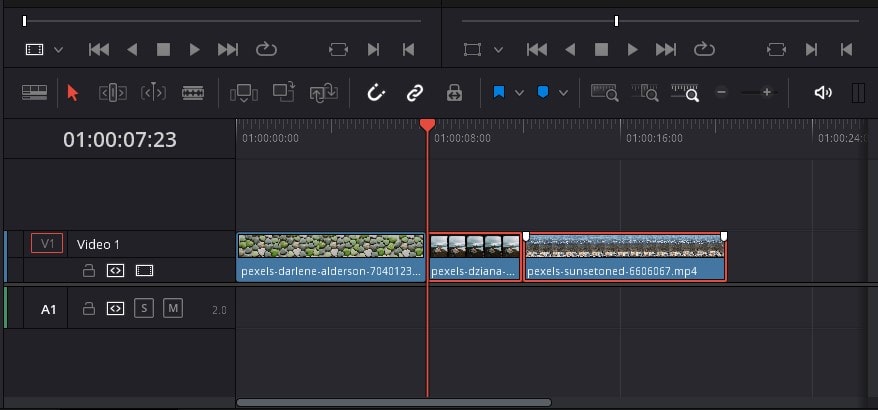
- Choose Select Clips Forward if you want to choose the clips located to the right of the playhead. Once again, choose between the two options as required.
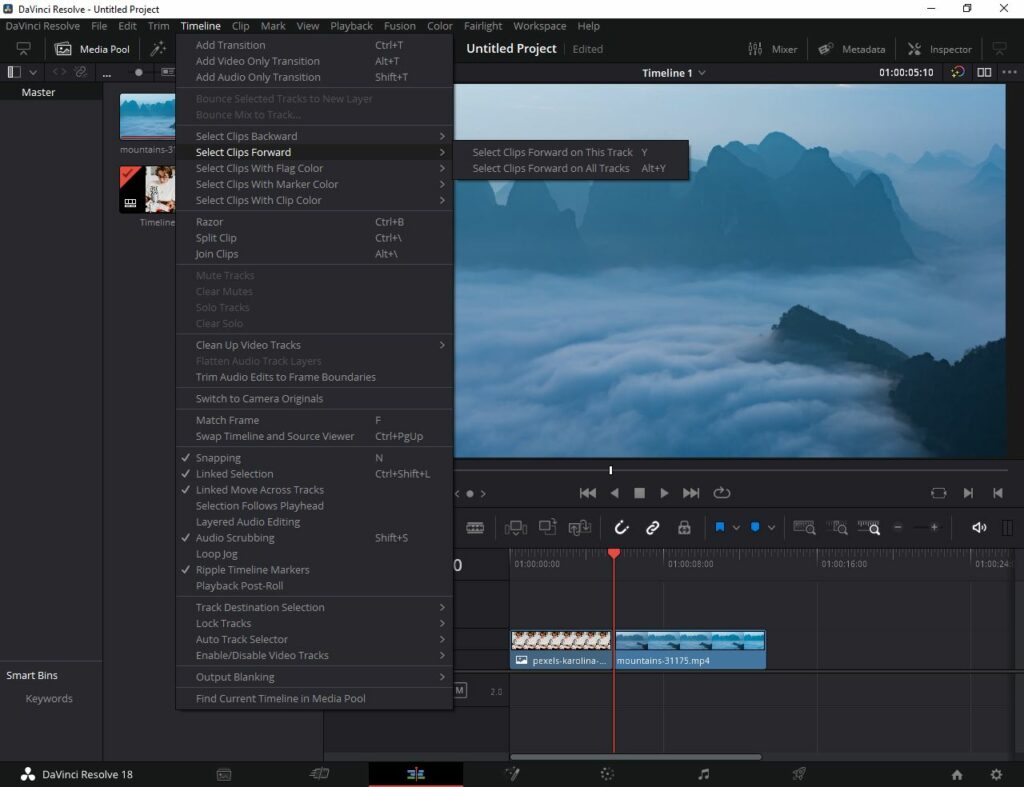
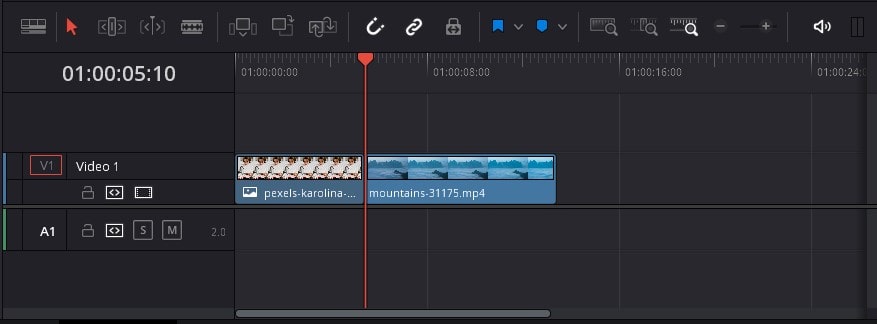
The following is the result of choosing option to Select Clips Forward.
Conclusion
In conclusion, selecting in DaVinci Resolve 18 is an essential skill for any video editor who wants to produce videos as efficiently as possible.
By following the step-by-step guide in this tutorial, you can learn how to select clips and how to disable the Auto Track Selector as necessary in DaVinci Resolve 18.
We also looked at the essential keyboard shortcuts to accomplish the above tasks in no time!
Thanks for reading & feel free to check out more of our articles!
Expert Rating
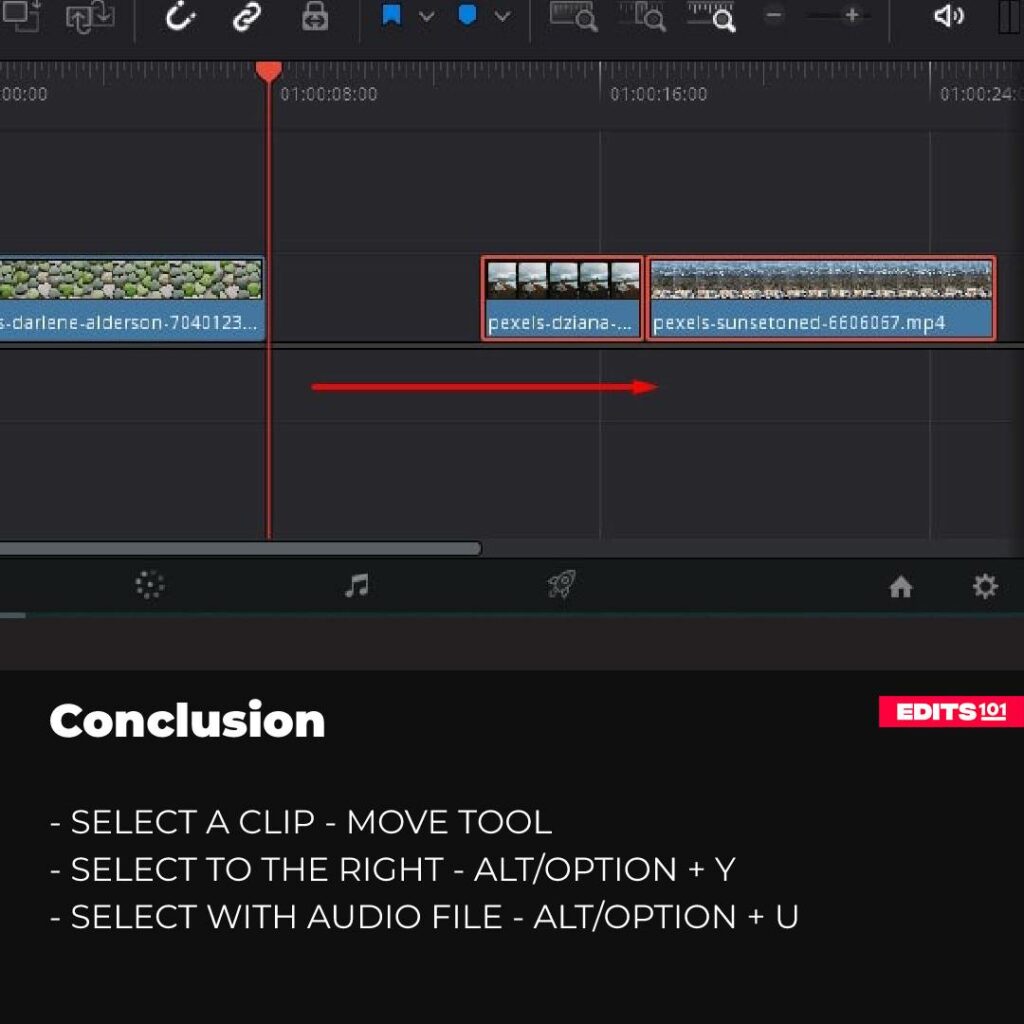
Summary
Selecting clips, all clips and clips located to the right or left of the playhead are extremely easy tasks. Make sure to use the keyboard shortcut “Alt/Option + Y” or “Alt/Option + U” based on your requirements for selecting clips as quickly as possible.


