

This guide will show you how to make and remove selections using the various selection tools GIMP has to offer. We also included quick shortcuts to make your editing easier and faster ????
Introduction to Selecting & deselecting in GIMP
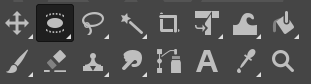
There are several ways to create selections when using GIMP. We have Rectangle Select, Ellipse Select, Free Select, Fuzzy Select, and Select by Color. All are great ways to make selections, based on the image you’re working with.
To deselect, there are two ways. The first method is by using the Select none option, and the second option is to use the keyboard shortcut (Shift+Ctrl/Cmd+A).
These will come in handy when you want to make changes to a specific area of an image.
How to make a selection
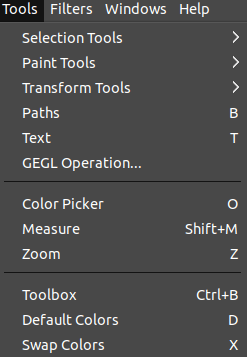
There is a wide variety of selection tools available for making precise selections. Access the selection tools by following these steps:
- Click the Tools menu.
- Choose Selection Tools.
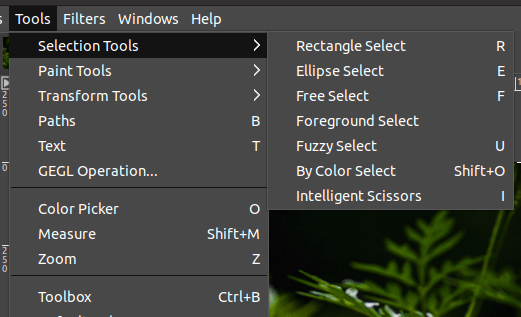
The following are the key selection tools in the drop-down:
- Rectangle Select Tool
- Ellipse Select Tool
- Free Select Tool
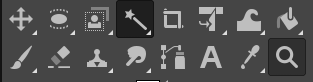
- Foreground Select
- Fuzzy Select Tool
- Select By Color Tool (a.k.a. By Color Select)
- Scissors Select Tool (a.k.a. Intelligent Scissors)
Let’s take a detailed look at how to some of these tools.
Rectangle Select tool (R)
The Rectangle Select tool is one of the most basic selection tools in GIMP. It allows you to select a rectangular portion of an image. This tool is also often used to crop an image or to select a specific area for editing.
To select the Rectangle Select Tool,
- Go to the Tools menu.
- Choose Selection Tools.
- Next, click on the Rectangle Select Tool.
Alternatively,
- Click the Rectangle Select Tool from the Toolbox on the left-hand side.
- Or simply use the keyboard shortcut (R) to activate the Rectangle Select Tool.

Once you have the tool selected, click and drag on the layer to make a selection. The selection will be visible as follows:

Here you can proceed with any type of edit, such as cropping, filling with color, applying filters, etc. Do take note that these changes would only apply to the area selected using the Rectangle Select tool.
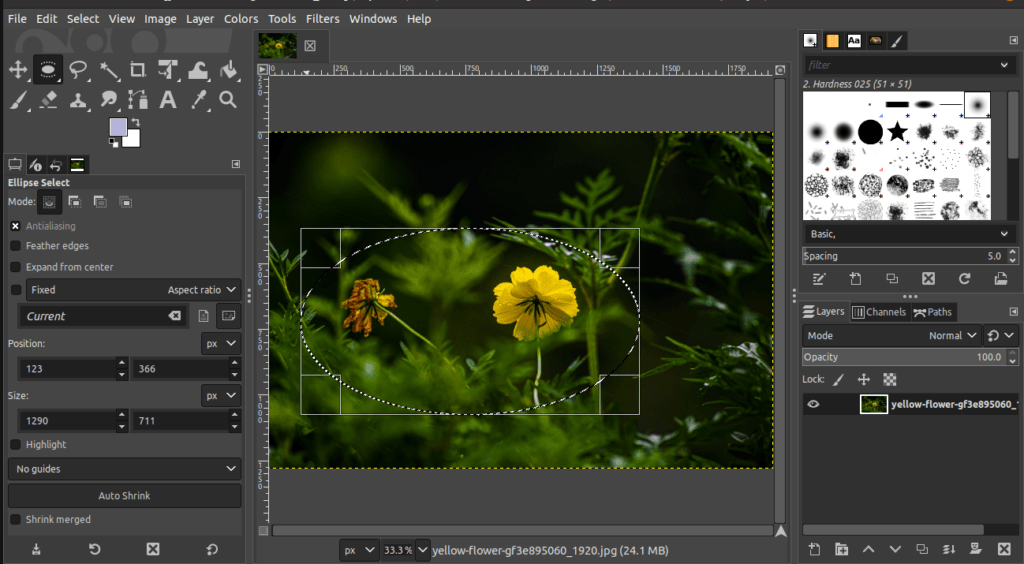
Ellipse Select tool (E)
The easiest way to select a circular part of an image is through the Ellipse Select Tool. You can change the shape of the ellipse based on the size of the object you want to select.
To select the Ellipse Select tool,
- Go to the Tools menu.
- Choose Selection Tools.
- Next, click on the Ellipse Select tool.
Alternatively,
- You can select the Ellipse Select Tool from the Toolbox on the left-hand side.
- Use the keyboard shortcut (E) to pick the Ellipse Select tool.
Once you’ve selected your tool, click and drag it on the canvas. You will see a selection in the shape of an ellipse.
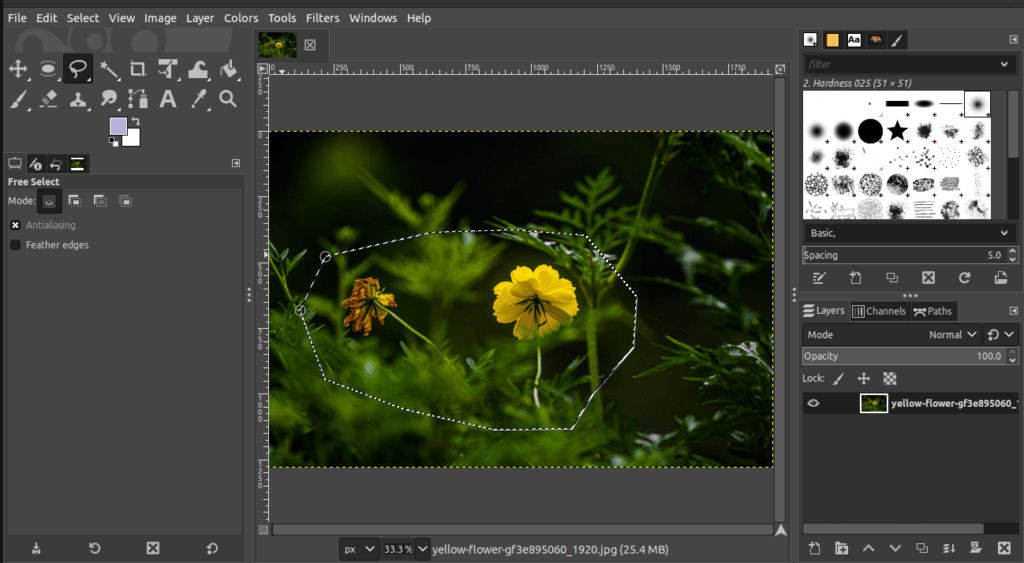
Free Select tool (F)
GIMP’s Free Select tool is one of the most versatile selection tools and can be used for creating selections in any shape. This tool allows you to draw free-hand selections. It can also facilitate selections by tracing a subject in order to isolate specific portions of an image.
To select the Free Select tool,
- Go to the Tools menu.
- Choose Selection Tools.
- Next, select the Free Select Tool.
Alternatively,
- You can click on the Free Select Tool from the Toolbox on the left-hand side.
- Use the keyboard shortcut (F) to quickly select the Free Select Tool.

Once you click on the tool, all you have to do is draw by clicking and dragging from one point to another.
Finally, you need to make sure the start and end nodes meet at one point to complete the selection. See the example below to better understand how the Free select tool works:
Fuzzy Select tool (U)
The Fuzzy Select Tool in GIMP is used to make quick and easy selections based on pixels. This tool also helps in selecting objects with hard edges and similar color ranges. Take note that selections with this tool will automatically snap to the edges of the subject.
To select the Fuzzy Select Tool,
- Go to the Tools menu.
- Choose Selection Tools.
- Click on the Fuzzy Select tool.
Alternatively,
- You can select the Fuzzy Select tool from the Toolbox on the left-hand side.
- Simply use the keyboard shortcut (U) to choose the Fuzzy Select Tool.
Once you select the tool, click on a specific color in the image. Then, the adjacent regions of the color will automatically be selected.
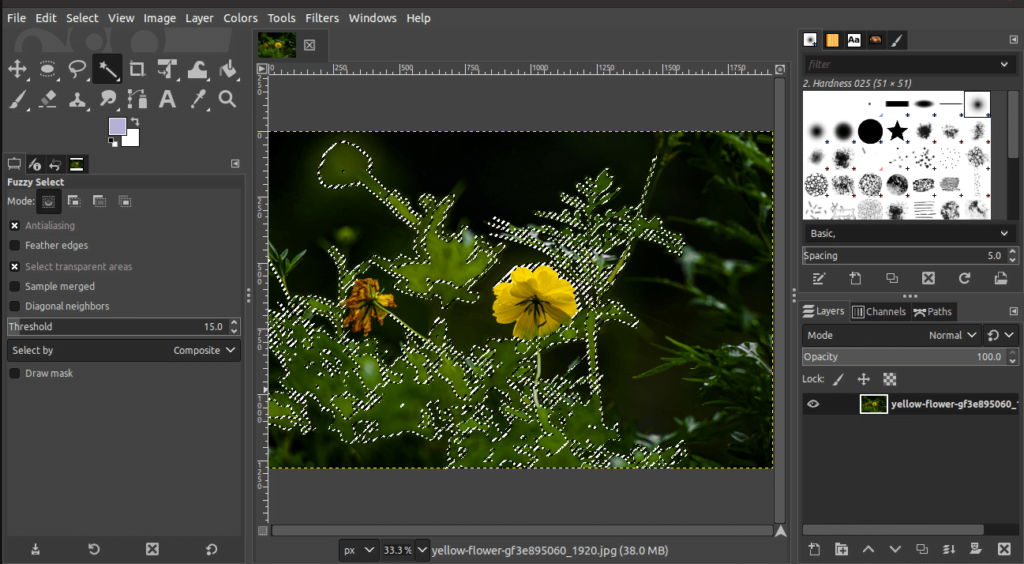
Now, you can change the mode and adjust the selection using the tool’s available options.
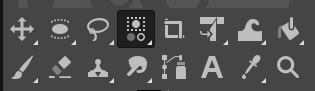
Select By Color tool (Shift+O)
Select by Color (or By Color Select) is another tool in GIMP that allows users to select an area of an image based on color similarity. This tool can be useful for making precise selections or for removing a certain color from an image.
The difference between using the Select by Color Tool from the Fuzzy Select Tool is the selected area. The Select by Color Tool can select regions with similar colors wherever they are in the image.
The Fuzzy Select tool, however, would only select pixels having a similar color adjacent to your starting point. To select the Select by Color Tool,
- Go to the Tools menu.
- Choose Selection Tools.
- Next, click By Color Select.
Alternatively,
- You can click the Select by Color Tool from the Toolbox on the left-hand side.
- Use the keyboard shortcut (Shift+O).
After you select the tool, click on your preferred color to select all parts of the image with the same color.

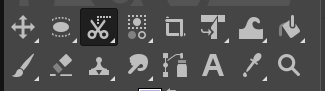
Scissors Select tool (I)
The Intelligent Scissors Select tool (a.k.a. Scissors Select) is another cool tool in GIMP as it works similarly to the other mentioned selection tools. This tool automatically cuts out areas from your image by detecting strong contrast variations in your image. The more defined your image is, the more effective this tool works!
To select the Scissors Select Tool,
- Go to the Tools menu.
- Choose Selection Tools.
- Next, select Scissors Select.
Alternatively, you can click on the Scissors Select tool from the Toolbox. Also, consider using the keyboard shortcut “I” to choose the Scissors Select tool.
Below is a sample selection made using the Scissors Select tool to give you an idea of how it works.

the Paths Tool (B).
From the Tools menu, select Paths from the drop-down options.
Alternatively, you can use the Paths Tool keyboard shortcut (B).
Step 02: Create your Path and selection.
- Click and drag around your subject to place different points.
- Click and drag your lines to create curves and align the selection on the edges of your subject.
- Close off the path by connecting/clicking on last point and holding CTRL/CMD.
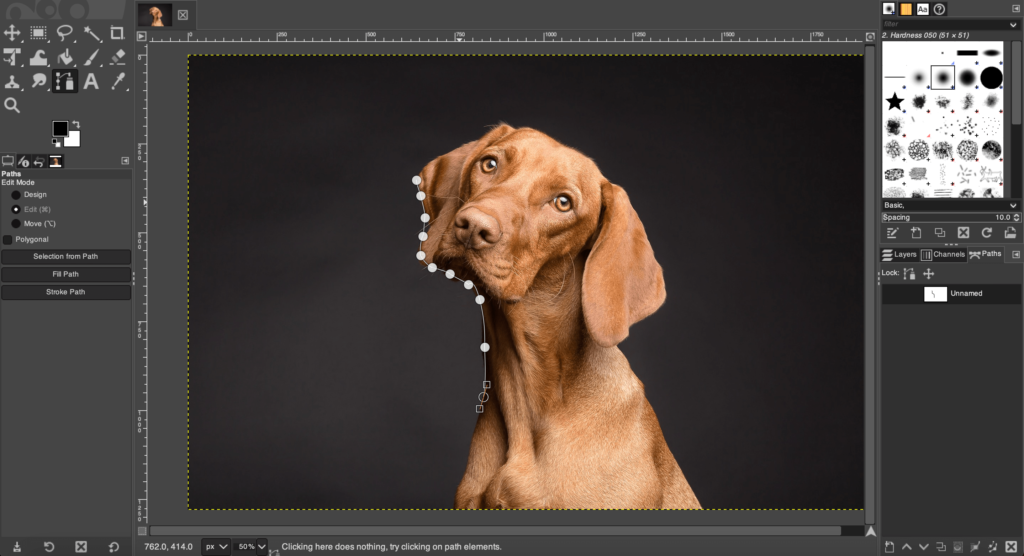
Pro tip: To continue working on your selection, make sure to select your last created point before clicking and creating another point on your subject.
Step 03: Make your path a Selection.
- To close your path, click on your original point (first point) + CTRL/CMD.
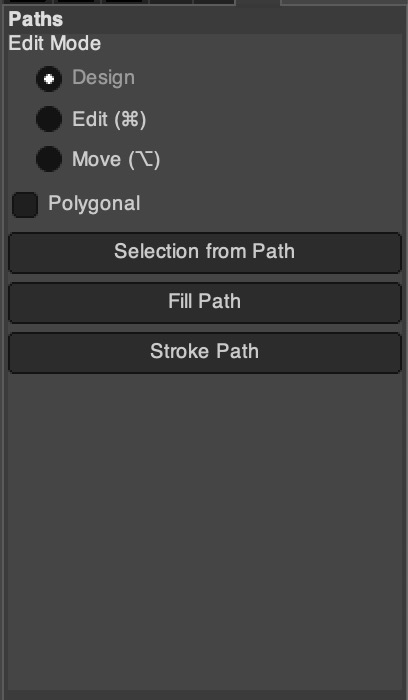
- Go to the paths panel.
- Click on make selection at the bottom.
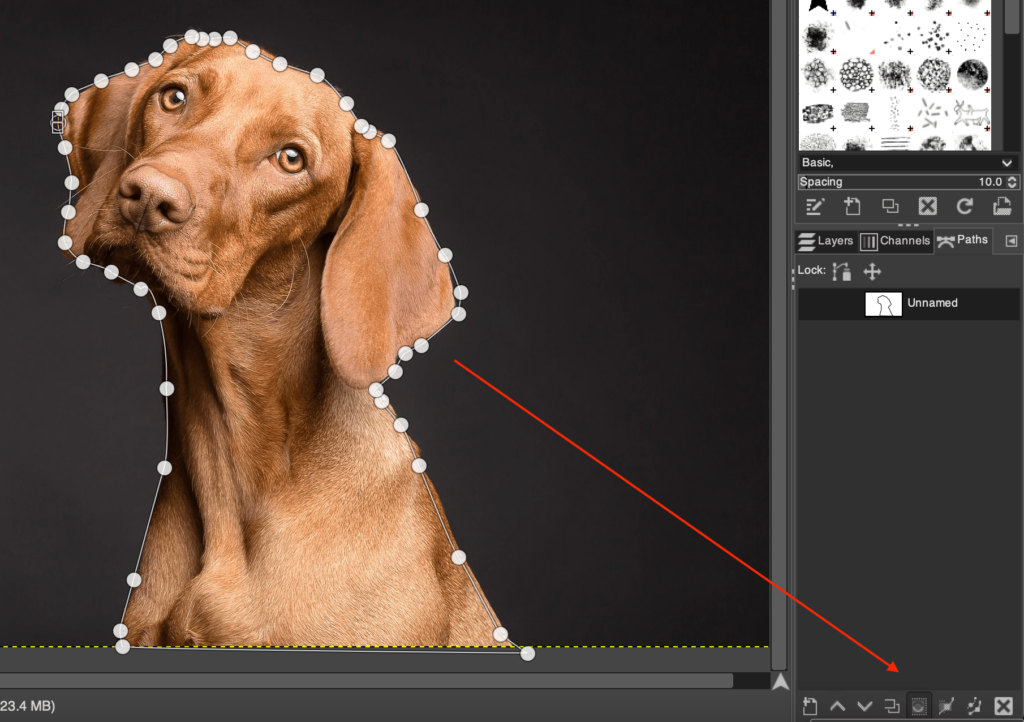
or
- Select “selection from path” in the “Tools Options (TV Icon)” panel (Top Right).
Deselecting
If you made a selection in GIMP and realized that you didn’t want to include everything in that selection, you can use the deselect function to remove unwanted parts of the section.
There are two ways to deselect:
- Use the Select None option.
- Use the keyboard shortcut Shift+Ctrl or Cmd+A.
How to use the Select None Option
The Select None option is located in the Select menu, allowing you to deselect in a few clicks. To use the Select None option, follow these steps:
- Go to the Select menu.
- Choose the None option.

As soon as you click the option, the active selection is deactivated.
The Select None option is also helpful if you want to select a new area. By deselecting your current selection, you can easily select a new area without having to worry about the old selection.
Conclusion
Learning how to create and remove selections when using GIMP is an essential skill in terms of image editing. From removing backgrounds to changing colours, mastering targeted selections is an extremely important skill to learn.
Thanks for reading & feel free to check out more of our articles!
Expert Rating
Summary
There are various ways to select parts of your image in the desired fashion. The scalability as well as functionality of this skill are virtually unlimited. Combined with being quick and easy to learn using the above tutorial, you’ll be on your way to Image Wizard in no time.


