
Cropping is an essential aspect of video editing that allow you remove unwanted parts of your clips and focus on the most important parts. In this tutorial, we will cover the three main ways to crop in DaVinci Resolve 18: the Cropping Tool, the Crop Icon, and Aspect Ratio.
We will go through each method step-by-step and provide helpful tips and tricks along the way. By the end of this tutorial, you will be able to crop your videos like a pro using DaVinci Resolve 18. So, let’s get started!
How To crop a video in DaVinci Resolve?
There are 3 ways to crop in DaVinci Resolve 18. The following are the three ways of cropping which we will discuss in this tutorial in detail:
- Cropping Tool (Inspector)
- Crop Icon (Toolbar)
- Aspect ratio
Cropping Tool
The Cropping tool allows you to crop a clip from the left, right, bottom, and top based on the settings adjusted. Apart from that, it helps to retain the position and create soft edges for the clip as well.
Step 01: Importing Media
To do this task,
- Open the DaVinci Resolve 18 application.
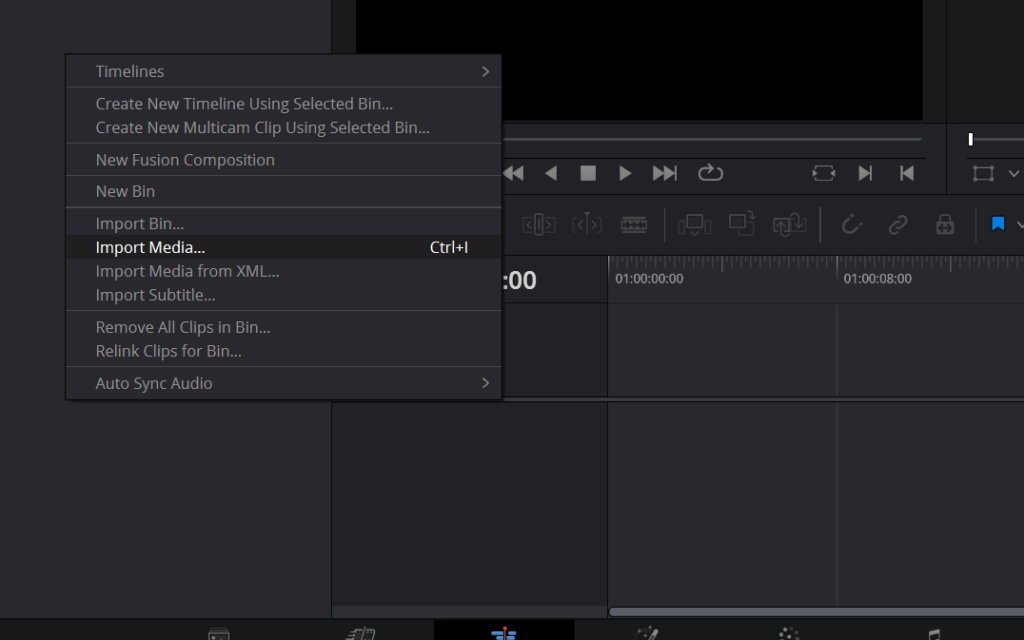
- Right-click on the media pool section.
- Choose the option Import Media as displayed below.
- Alternatively, use the keyboard shortcut Ctrl/Cmd+I to open the media.
Go to the location where the media is placed on your computer or PC. Once you add the media content, make sure to drag your clips to the timeline and adjust them accordingly.
Step 02: Edit page > Crop tool
Once you have opened the media content in DaVinci Resolve 18, you can start cropping instantly. Before that, make sure you are on the Edit page.
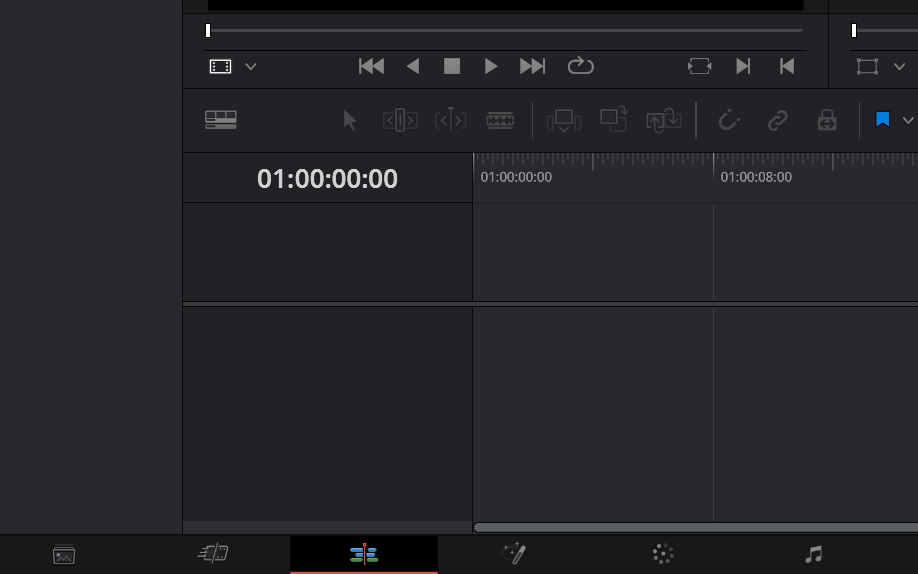
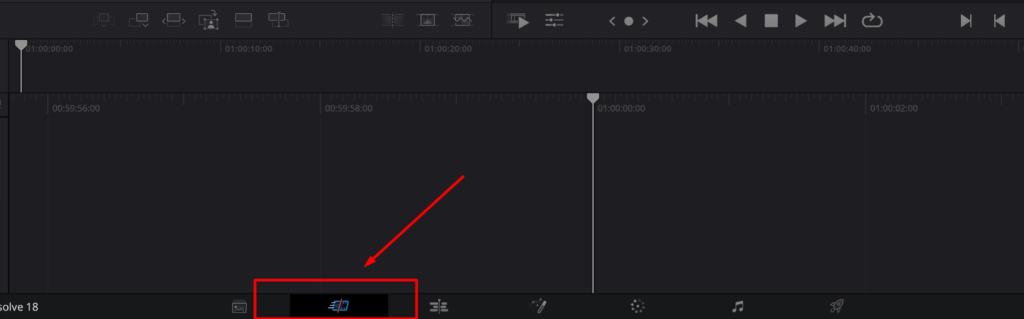
To go to the Edit page,
- Click on the Edit page icon placed at the bottom of the screen.
Next, to choose the Crop tool,
- Click on the Inspector in the Interface toolbar.
- If you scroll through the options, you can take note of the Cropping option.
- Below the Cropping option, there are a couple of settings for cropping videos.
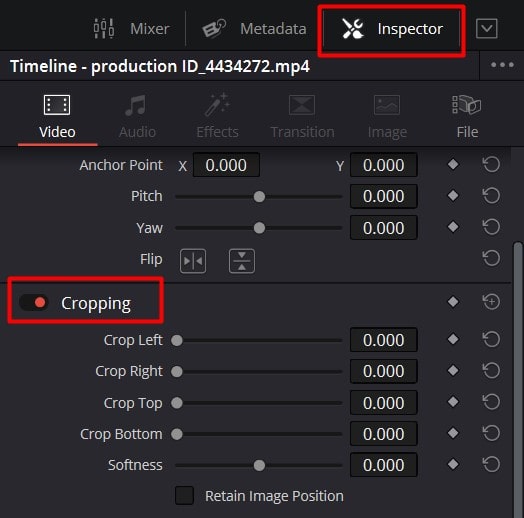
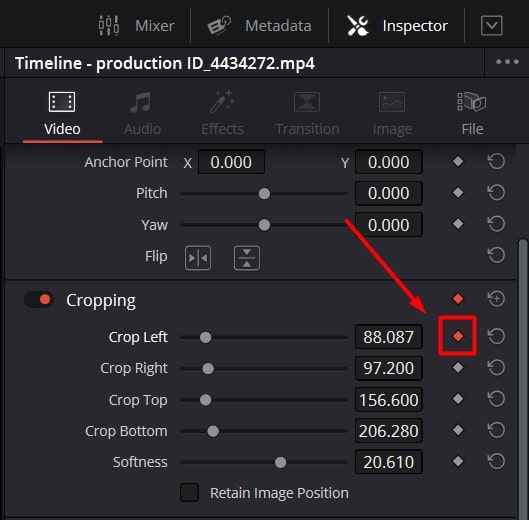
The following are the options the cropping tool provides:
- Crop left: Crops the clips from the left side of the Viewer.
- Crop right: Crops the clips from the right side of the Viewer.
- Crop top: Crops the clips from the top of the Viewer.
- Crop bottom: Crops the clips from the bottom of the Viewer.
- Softness: Creates soft edges by blurring the sides of the clip depending on the slider value.
- Retain image position: When you adjust the above cropping settings, the position of the clip changes. If you enable this option, the clip remains in its place and is not affected by any cropping.
Step 04: How to add keyframes for cropping
You may wish to crop a clip at a particular frame. In order to do this, you have to add keyframes. Beside each cropping setting, you can notice the little diamond.
To add keyframes,
- Choose which setting you want to adjust first.
- Click on the red diamond next to this particular option.
- Move your playhead to the frame you want to add the keyframe to.
- Then, adjust a setting and click on the left arrow next to the red diamond to add the keyframe.
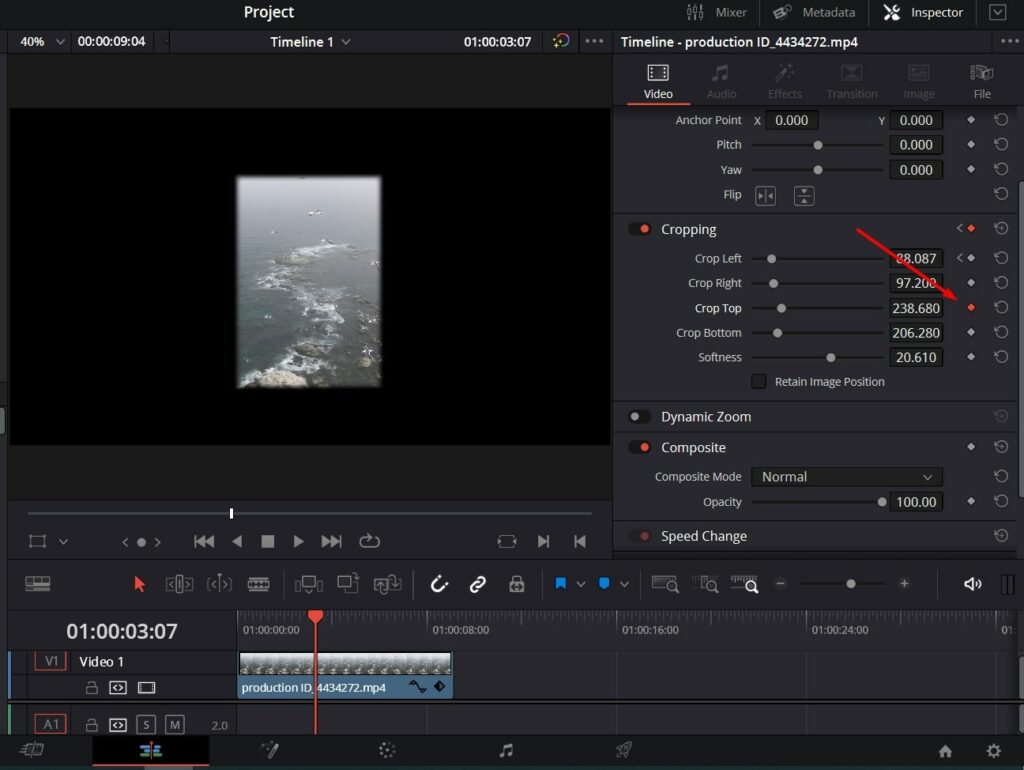
If you want to add another keyframe:
- Push the playhead forward and change the crop setting.
- Click on the diamond icon to add the next keyframe. Now, you have added a 2nd keyframe.
- In the below image, you can notice that the ‘Crop top’ setting has changed and the keyframe is added.
- You can repeat these steps to add as many as keyframes as you require to make it an animated clip.
Once you add the keyframes, click on the diamond icon on the timeline to check the durations where the keyframes are added. Keyframes are handy to create animated clips. This is how you create animated clips using the Crop setting.
Crop Icon
The Crop icon is handy if you want to crop the media using control handles. These handles will be displayed in the Viewer.
Step 01: Importing Media
- Open the DaVinci Resolve 18 application.
- Right-click on the media pool section.
- Choose the option Import Media as displayed below.
- Alternatively, use the keyboard shortcut Ctrl/Cmd+I to open the media.
Go to the location where the media is placed on your computer or PC. After you add the media content, make sure to drag your clips to the timeline. Then, adjust the clips in the correct order.
Step 02: Cut Page > Crop icon
Before you find the Crop icon, make sure you choose the Cut page. You can find the Crop icon in the Cut page.
To go to the Cut page,
- Click on the Cut page icon placed at the bottom of the screen.
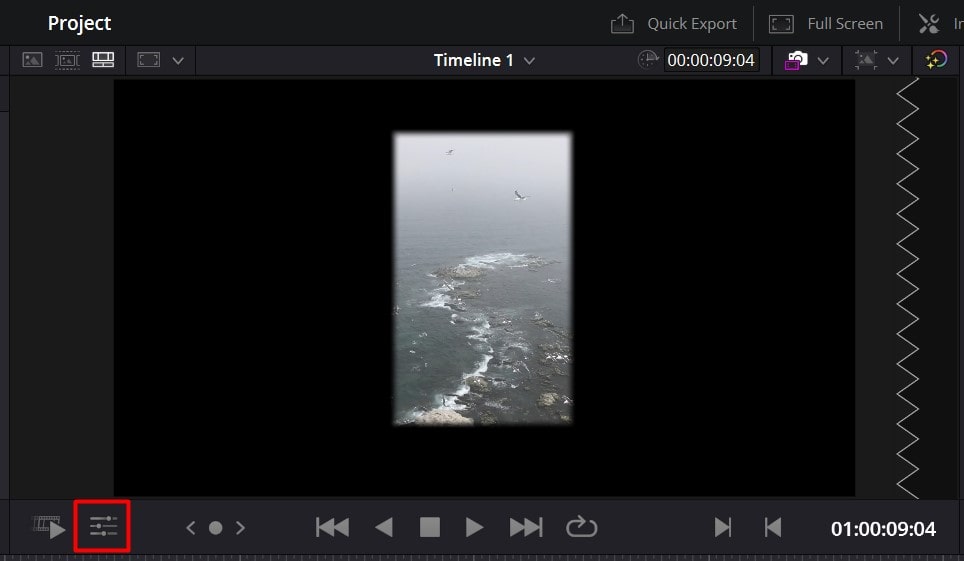
Underneath the Viewer, there are several controls in the Toolbar. These include play, pause, playback, forward, and much more!
Click on the Tools button to access more tools and to find the Crop icon.
The tools button shows offer various s options to edit your clips.
- Click on the Crop icon (second one from the left) to crop the clip.
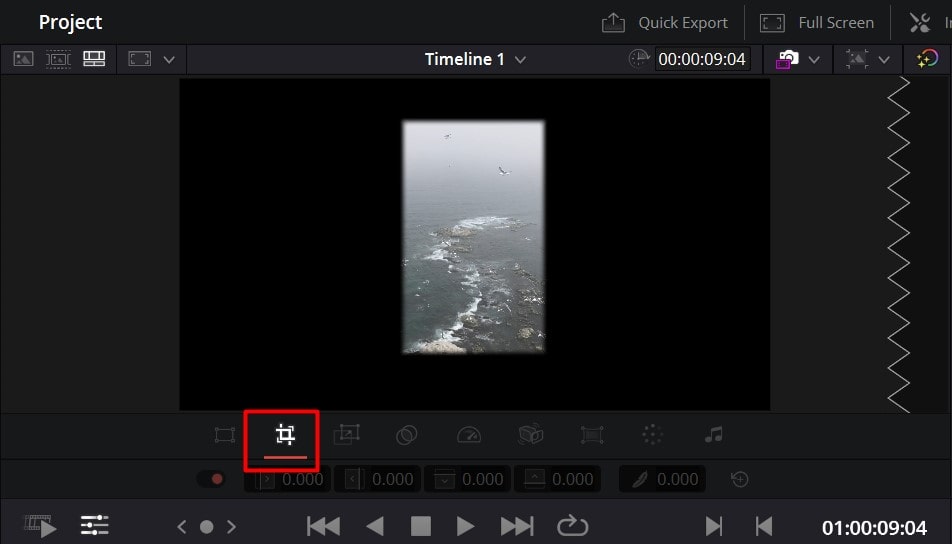
- As soon as you click on it, handles appear around the clip in the Viewer. You can use the handles as per your requirement to crop the clip.
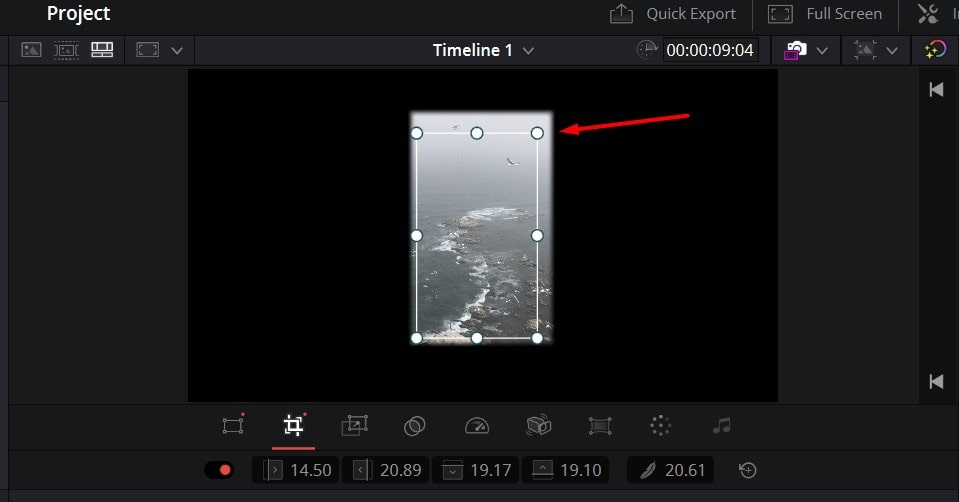
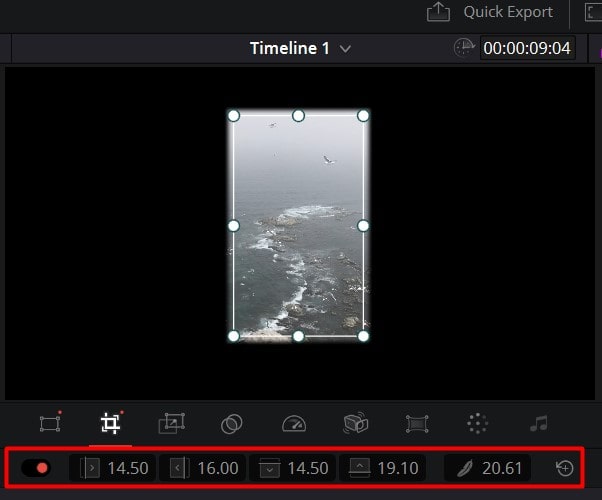
- Apart from the handles, you can use the Crop options shown below to manually crop the clip.
- All you need to do is, hover over each icon and drag to the left or right as per your requirement.
Aspect ratio
The Aspect ratio option is helpful to crop the clips based on the chosen aspect ratio.
Step 01: Importing Media
- Open the DaVinci Resolve 18 application.
- Right-click on the media pool section.
- Choose the option Import Media as displayed below.
- Alternatively, use the keyboard shortcut Ctrl/Cmd+I to open the media.
Go to the location where the media is placed on your computer or PC.
Step 02: Edit page > Aspect ratio
To go to the Edit page,
- Click on the edit page icon placed at the bottom of the screen.
Once you are on the Edit page, you can directly go to the aspect ratio option to crop your clips.
To choose the aspect ratio ,
- Go to the Menu bar and click on the Timeline menu.
- Once you click on it, a drop-down menu appears.
- Choose Output Blanking
- If you hover over it, different aspect ratios will appear.
- If you click on a specific aspect ratio, the clip is automatically cropped accordingly.
If you want to crop the left and right sides of the clip,
- Choose an aspect ratio below 1.77
If you want to crop the top and bottom of the clip,
- Choose an aspect ratio above 1.77
Conclusion

In conclusion, DaVinci Resolve 18 offers several efficient and user-friendly ways to crop your videos. Whether you prefer the precision of the Cropping Tool, the ease of the Crop Icon, or the flexibility of the Aspect Ratio, you now have the knowledge to crop your videos like a professional.
Thanks for reading & feel free to check out more of our articles!
Expert Rating
Summary
In summary, you can crop using three ways such as crop tool, crop icon, and the aspect ratio. It takes a small time to learn and master these skills.


